
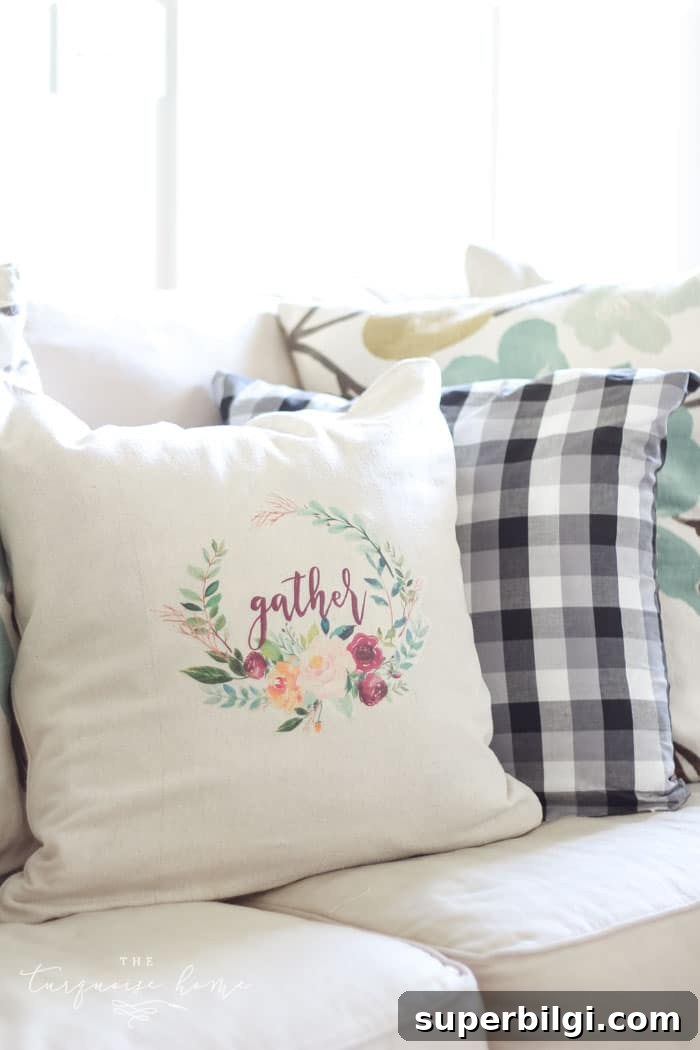
Make a pillow cover from any image in five easy steps using iron-on transfer paper and a little creativity!
You can turn almost any image — including free printables — into a custom pillow cover, a T-shirt, or any fabric item using iron-on transfer paper. It’s an inexpensive, quick way to add personality to your home décor or to create a thoughtful handmade gift.
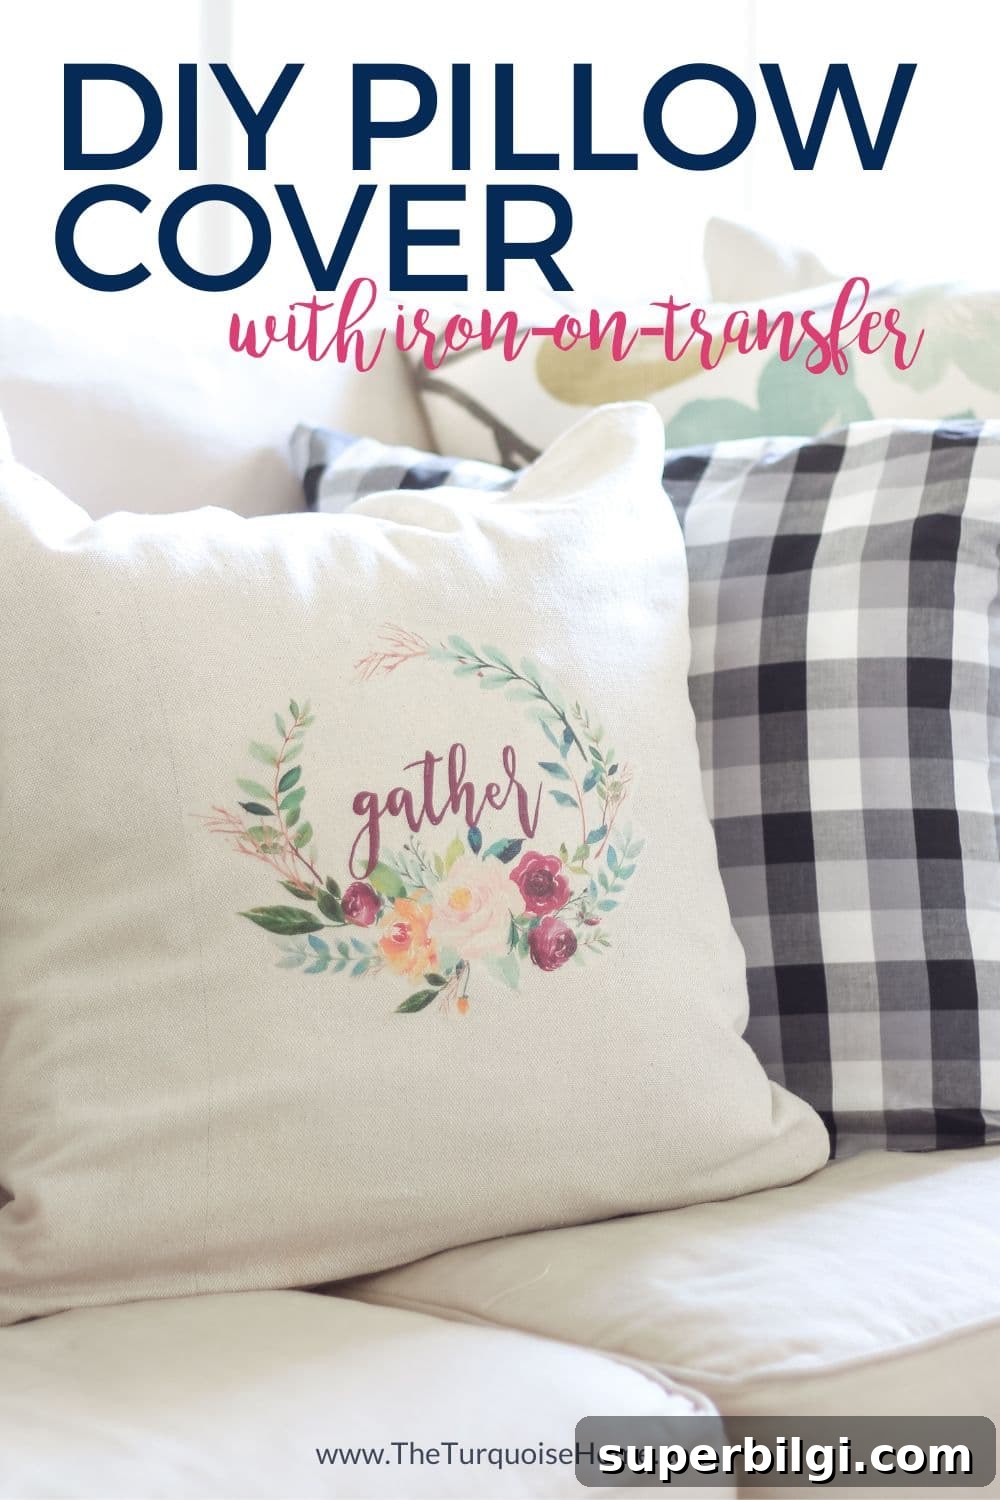
A friend recently introduced me to iron-on transfer paper and I was amazed at how simple and fun it is. I designed a few free printables to try it out, and the process was so straightforward I had to share the results.
Below is a clear, practical guide to making an adorable pillow cover using mirrored printables and iron-on transfer paper. You’ll find a short supplies list, step-by-step instructions, and a few tips to help you get professional-looking results.

Make a Blank Pillow Cover
Start with a plain pillow cover. You can buy a ready-made cover or sew one yourself. I used a simple drop cloth fabric and followed a basic throw pillow tutorial to create a neutral, durable background that complements the printed image.

Supplies for DIY Pillow Cover with Iron-On Transfer
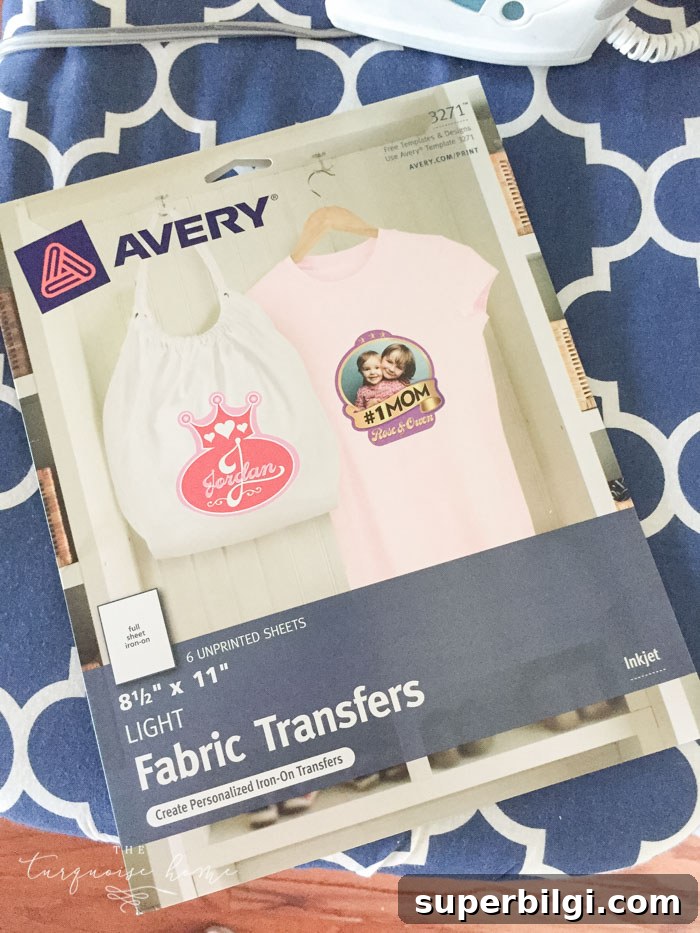
- Iron-on transfer paper — choose the correct type for light or dark fabric.
- An image you want to transfer — free printables, photos, or illustrations will work. The image must be mirrored before printing when required by your transfer paper.
- An iron (or heat press) — follow the transfer paper instructions for temperature and pressing time.
- A pillow cover or other fabric item — cotton and natural fibers usually accept transfers best; test on a scrap if unsure.
- An inkjet color printer — if your transfer paper specifies inkjet only, be sure to use an inkjet printer. Many office print services can also print on transfer paper if you don’t own a suitable printer.
How to Make a Pillow with Iron-On Transfer Paper
1. Select an Image
Choose a high-resolution image for a crisp print. Printables, hand-drawn art, or clear photos work well. If you plan to use a printable from a website, check the image size and resolution so it fits the area of the pillow without becoming pixelated.
2. Mirror Your Image
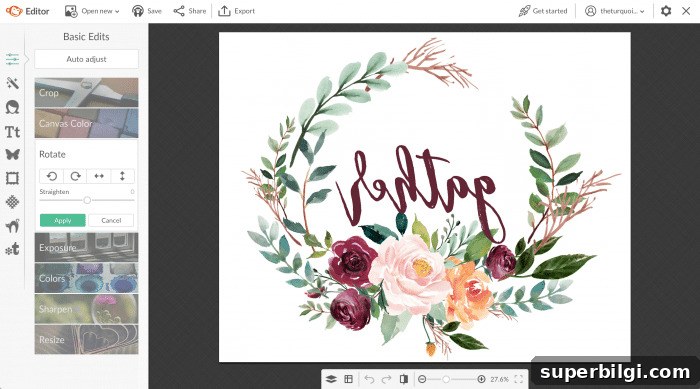
Most iron-on transfer papers require a mirrored image so the design reads correctly once pressed onto the fabric. Use an image editor or online tool to flip the image horizontally. If the printable you’re using is already mirrored, you can skip this step.
3. Print onto the Iron-On Transfer Paper
Load the transfer paper into your inkjet printer with the correct side facing the print head as specified by the manufacturer. Use the best quality print settings for stronger color saturation. Allow the print to dry a few minutes before handling to avoid smudges.
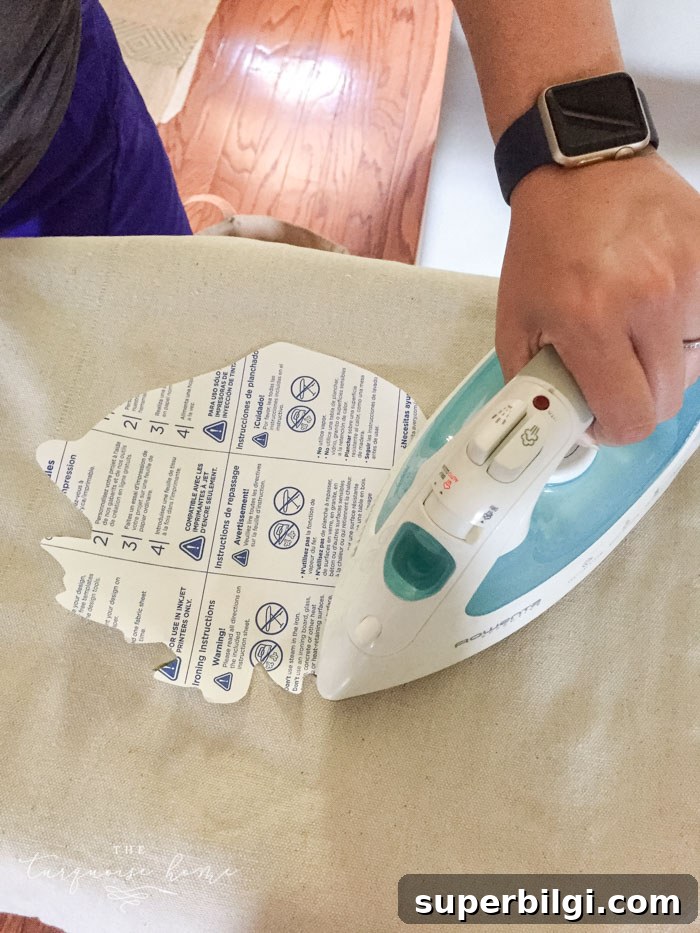
4. Iron-On the Transfer to the Pillow Cover
Position the printed transfer on the pillow cover exactly where you want the design to appear. Follow the transfer paper instructions for heat and pressure—usually pressing with an iron for a set time, with no steam. Use a hard, heat-resistant surface and protect surrounding fabric with parchment paper or a pressing cloth if instructed.
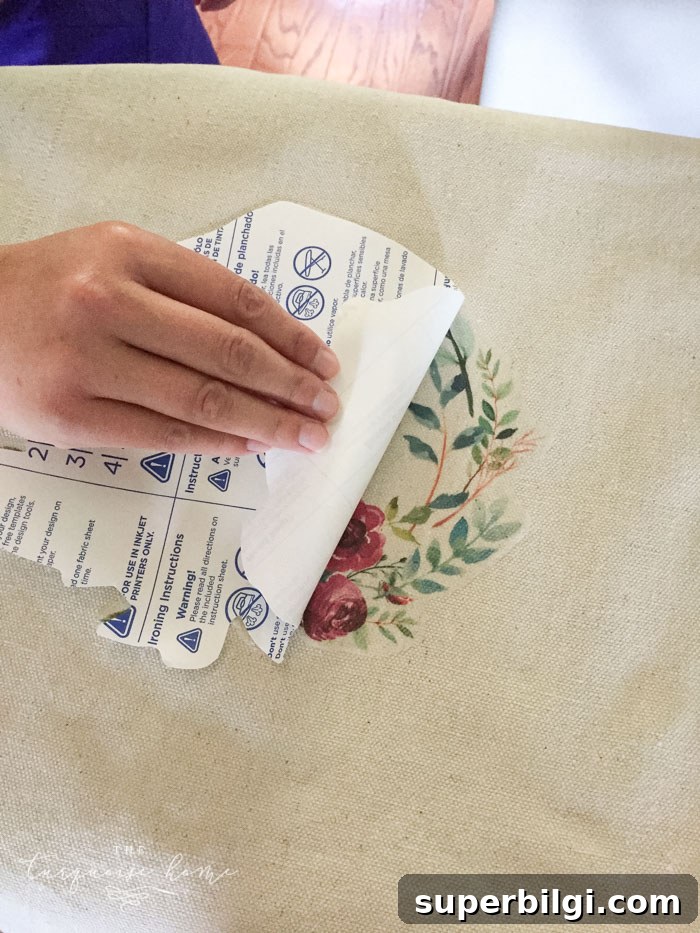
5. Remove the Transfer Backing
After the recommended cooling or waiting period, peel the backing sheet off according to the product directions. Some transfer papers require a warm peel, others a cool peel. The result should be a smooth, vibrant image adhered to your fabric.

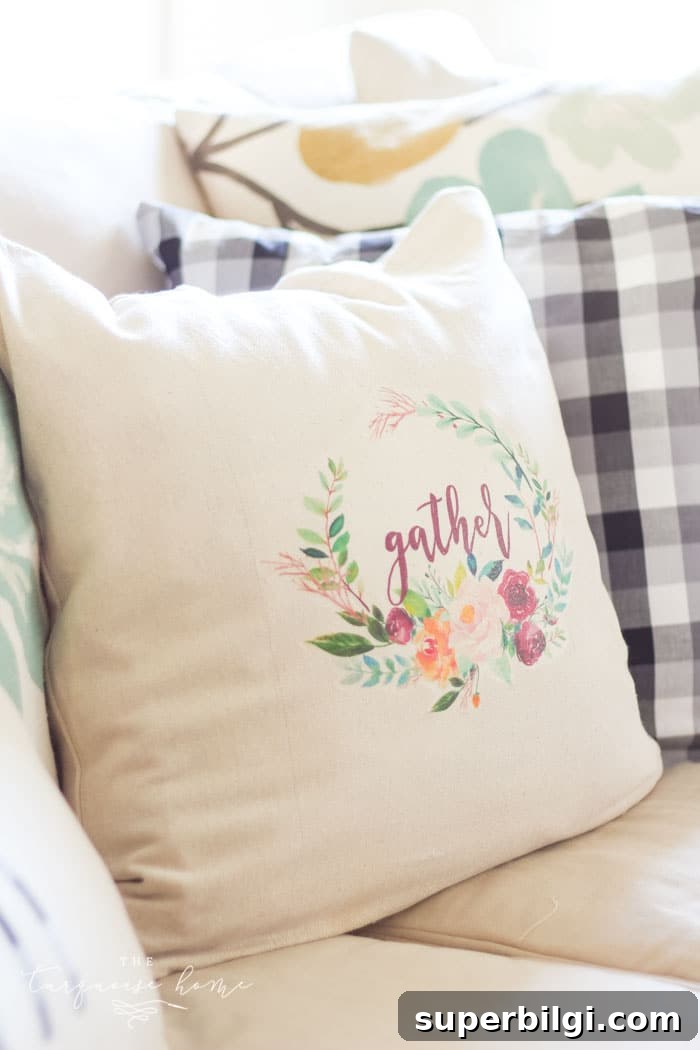
Free Fall Printables (Mirrored for Transfer Use)
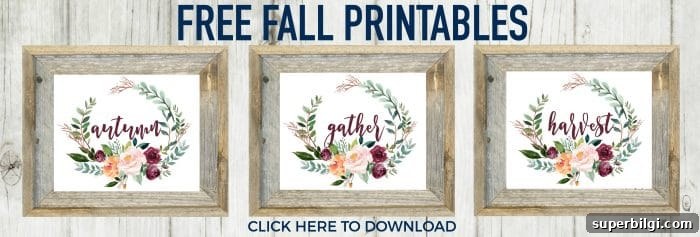
I created three fall-themed printables ready for iron-on transfer — mirrored and formatted so you can use them right away. If you prefer, you can also print them on regular paper to frame instead of transferring to fabric.
Enjoy creating your custom pillow cover! With a few simple supplies and these steps, you can personalize pillows for every season or occasion. If you like this project, try experimenting with different fabrics, image sizes, and layered transfers to expand your DIY repertoire.
More projects you may enjoy:
- Fall kitchen decorating ideas
- Mason jar lid pumpkin craft
- How to choose and style sofa pillows
- Best living room paint colors
- DIY fall wreaths