
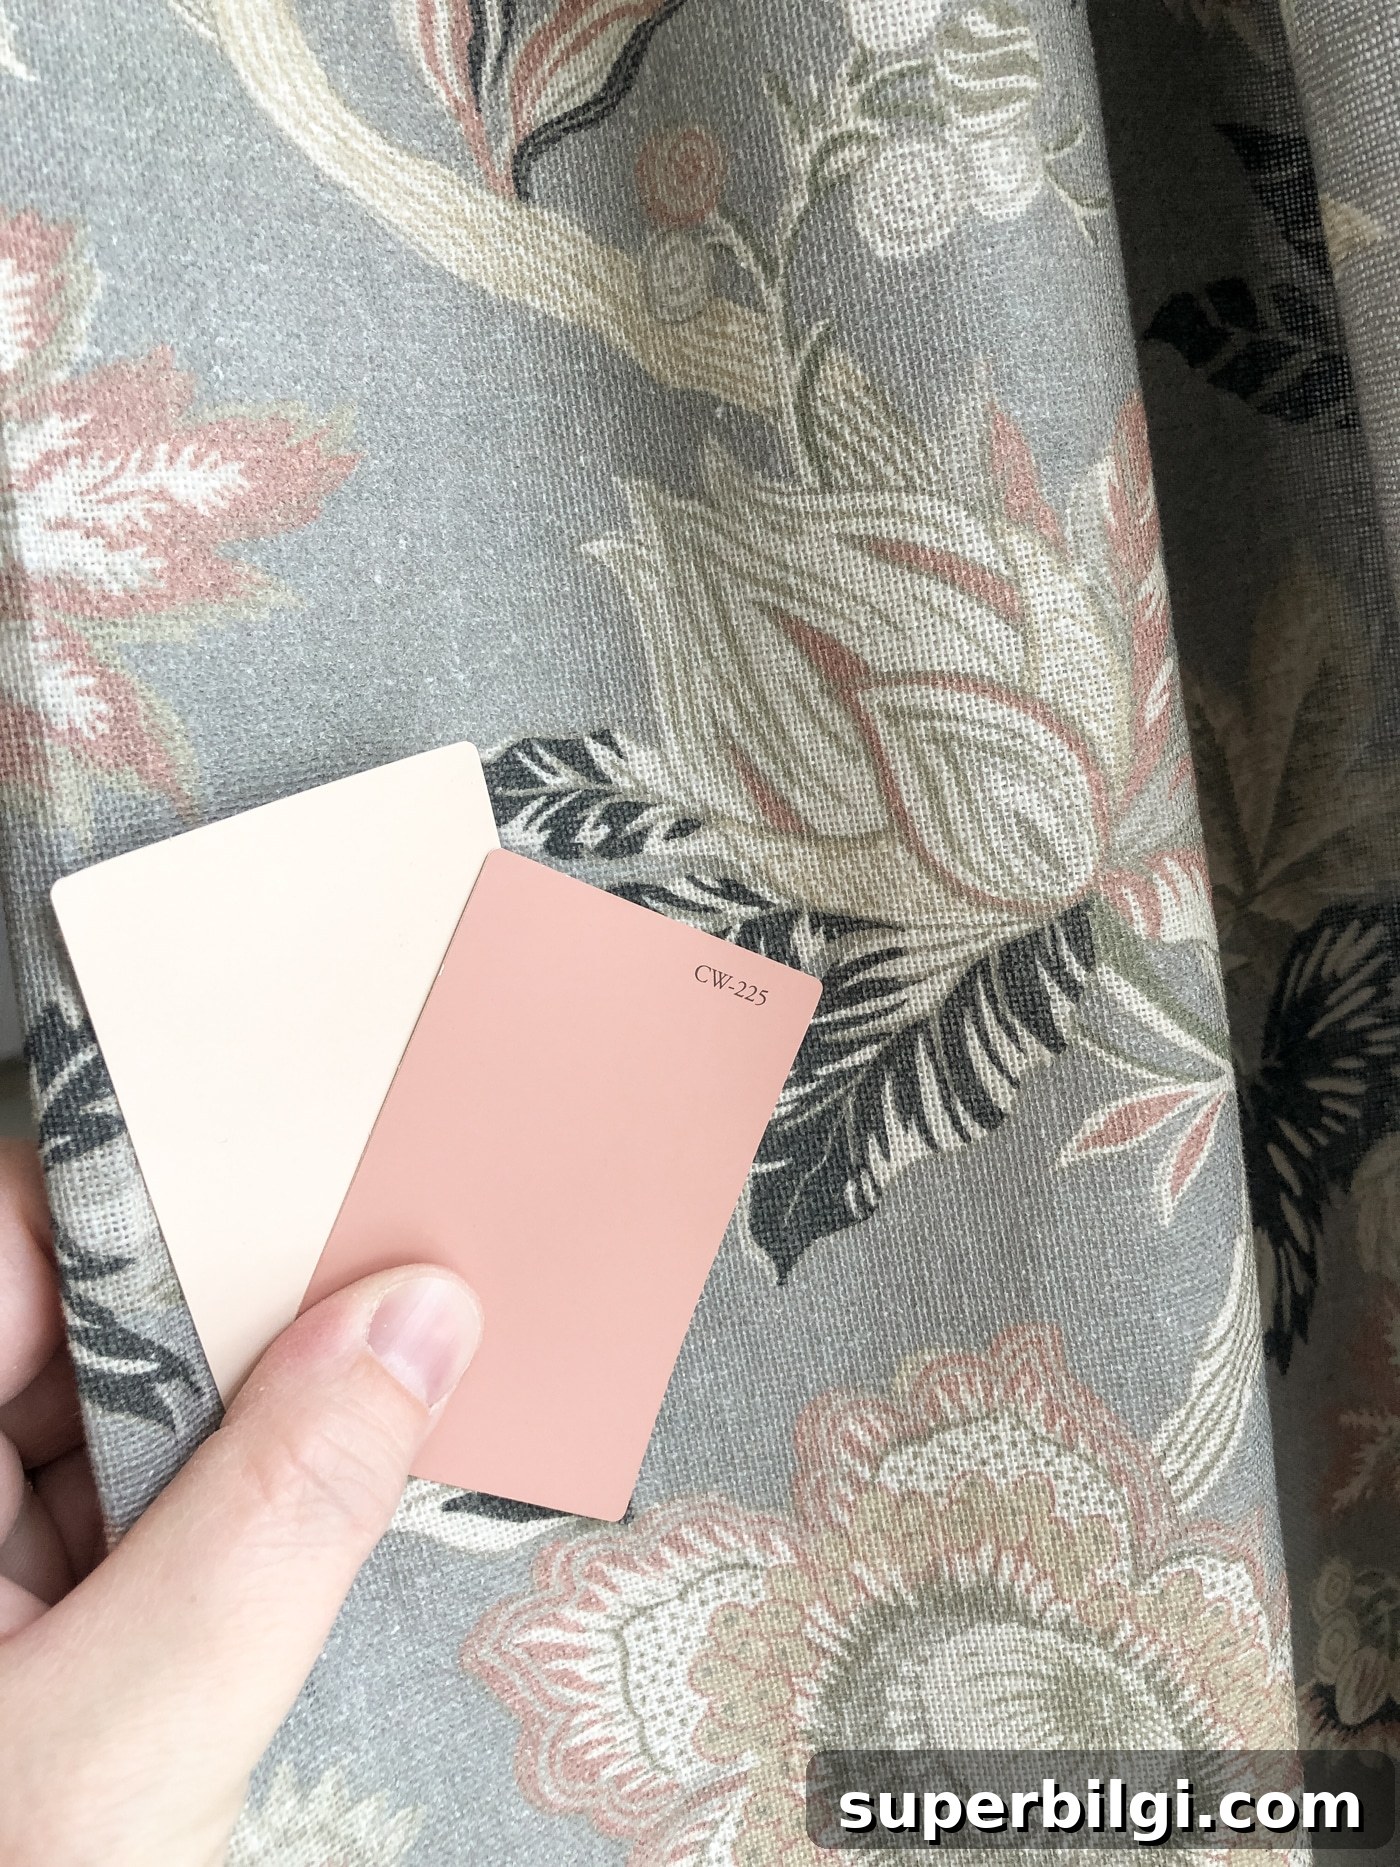
Learn how to choose the perfect paint color for your home with an easy, step-by-step guide. From understanding undertones to testing samples, this post walks you through a clear process for finding a shade that suits your space.
I realized I’d never written a comprehensive guide on choosing paint colors—so here it is. Picking the right paint can feel overwhelming, but there’s a reliable process you can follow to get it right the first time. With a little planning and a systematic approach, choosing paint becomes much easier and even enjoyable.

Follow the steps below and you’ll avoid common mistakes and regrets. The key is to slow down, gather context, and test before committing.
This post contains affiliate links for your convenience. See my full disclosure policy.
How to Choose the Right Paint Color in 6 Simple Steps
1. Furnish the Room First
One of the biggest mistakes is choosing paint before you’ve brought any furnishings into the room. Instead, start by selecting key pieces—furniture, rugs, or artwork—so you can match the paint to real items rather than imagining how it will look. It’s much easier to coordinate paint around a favorite rug or piece of art than to force furnishings to match a wall color you already picked.
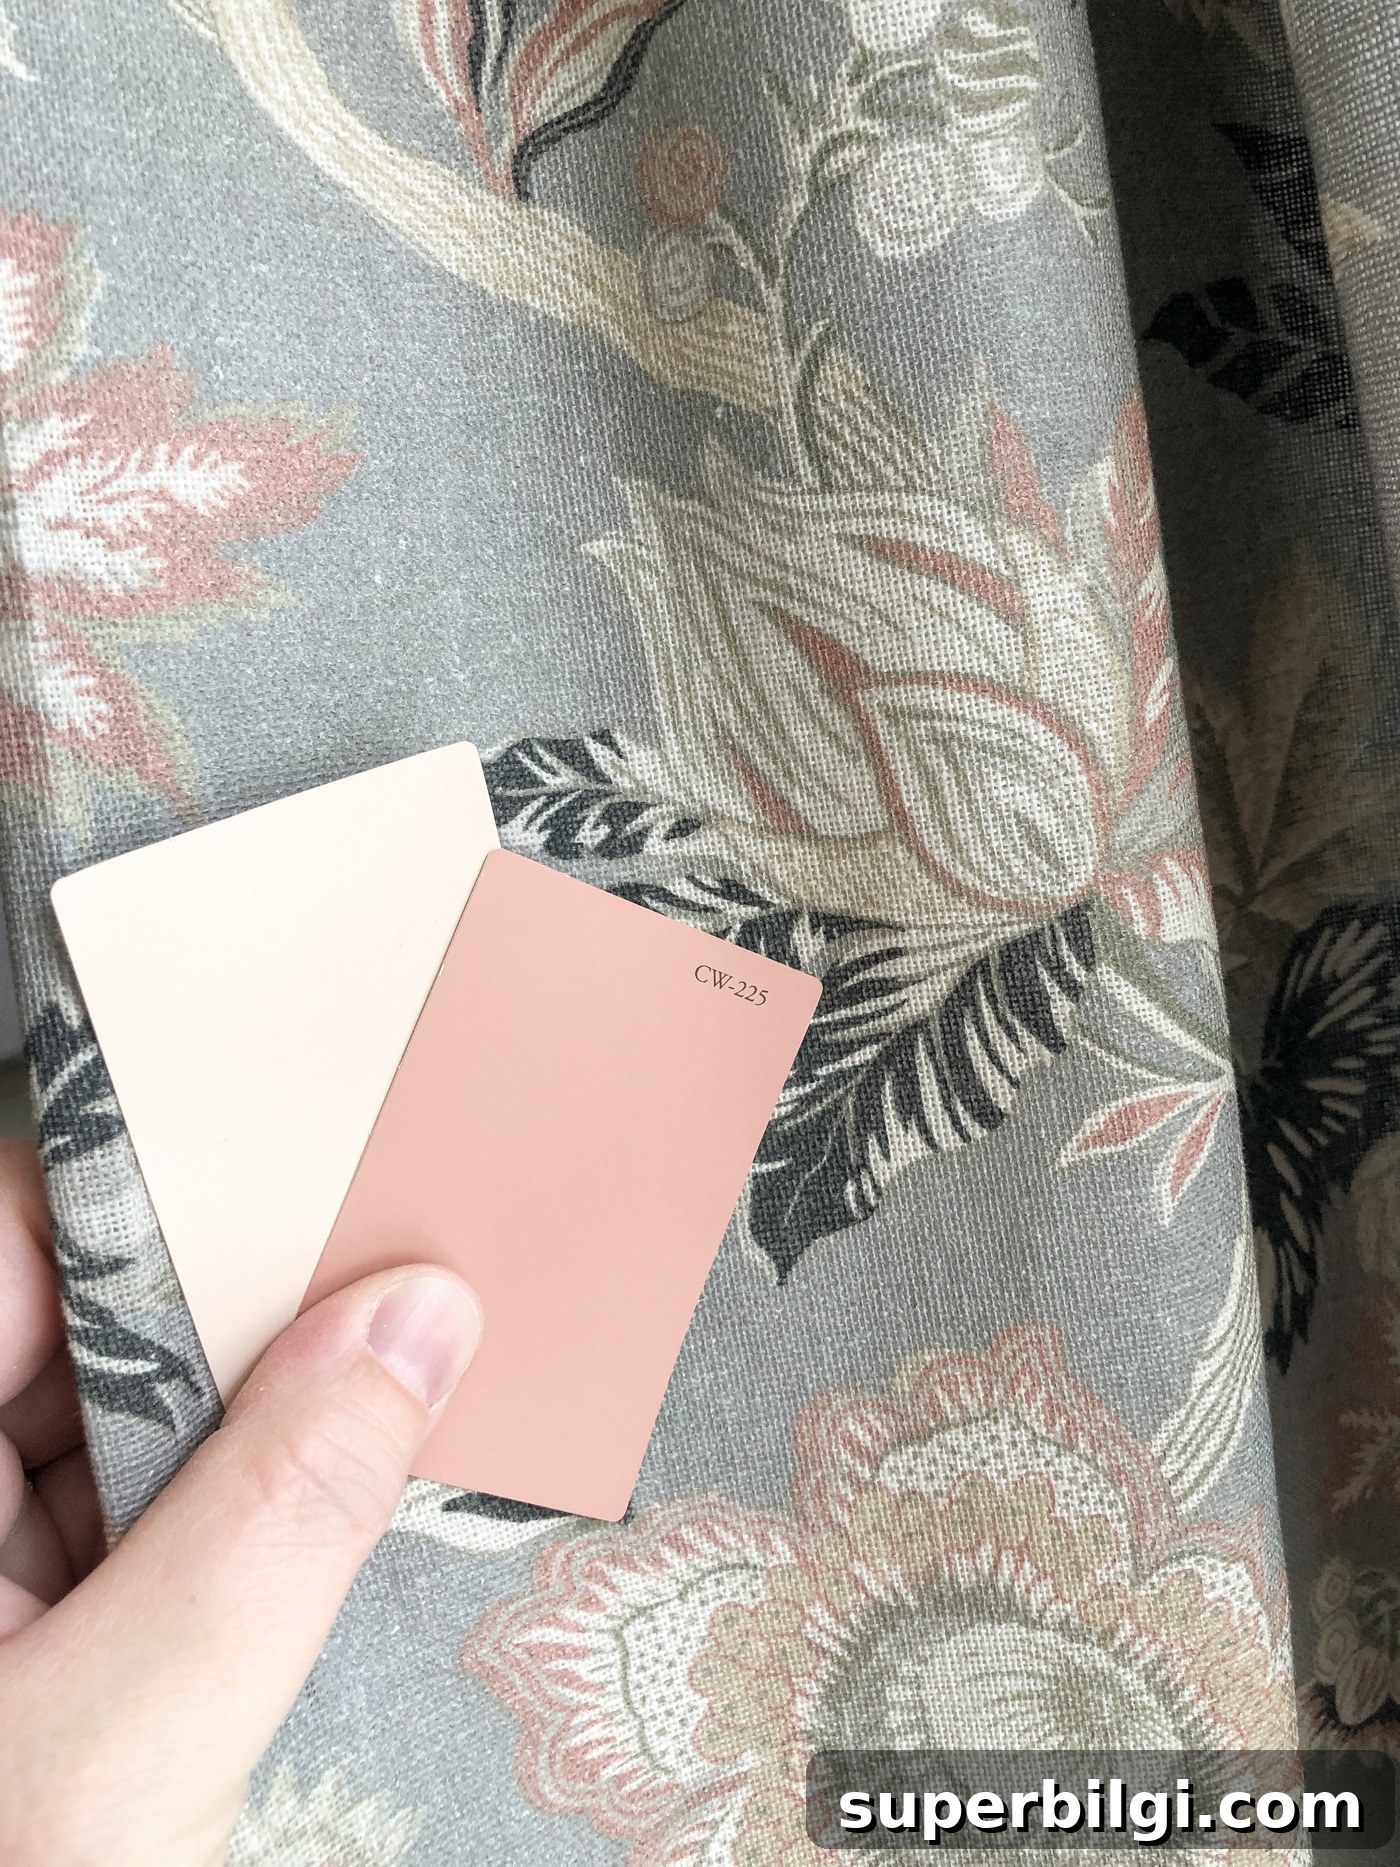
If you’re starting from scratch, bring in a few key items first, then choose your paint. This approach reduces guesswork and creates a cohesive look.

Design tip: Create a simple mood board or gather images and swatches of the items you plan to use—that makes color decisions much clearer.
2. Consider Existing Elements
Account for permanent features. Existing finishes—like flooring, countertops, tile, or built-in cabinetry—have undertones that affect how paint will read. A countertop with warm veining will usually pair best with paint that has warm undertones; similarly, cool stone or gray flooring will usually harmonize with cooler paint tones.
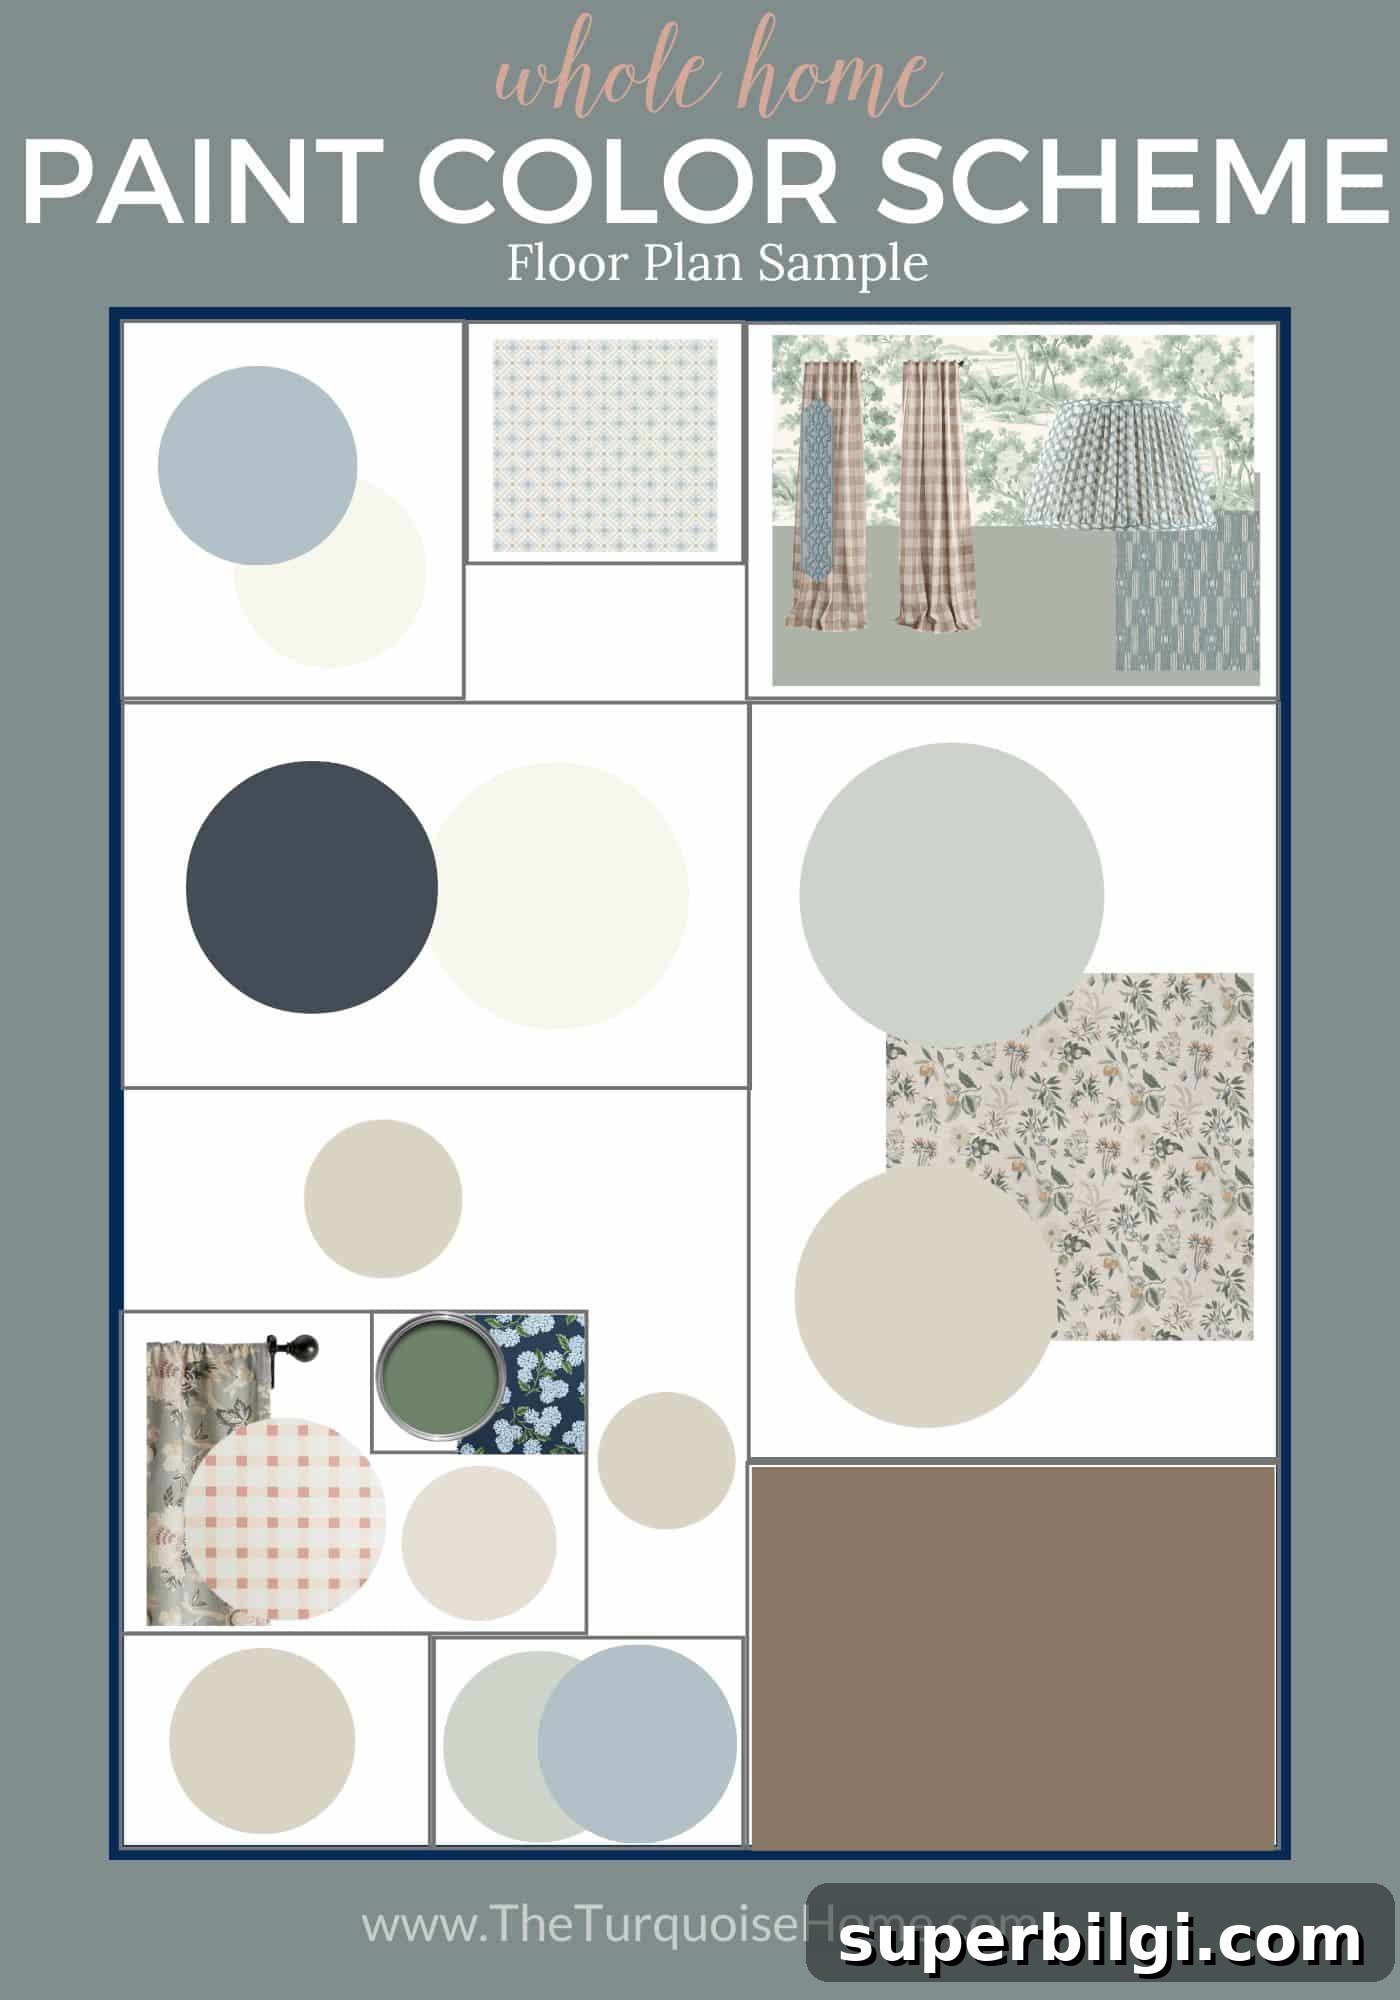
Think about flow between rooms. Look at the colors in adjacent spaces and aim for a cohesive palette. Repeating color families or undertones throughout the home helps everything feel connected rather than disjointed.
Evaluate natural light exposure. The direction your room faces and how much daylight it gets will dramatically change how paint appears:
- North-facing rooms: naturally cool, with blue-gray light—warmer paint can prevent a chilly feel.
- South-facing rooms: get warm, bright light; cooler paint can balance the warmth, or you can embrace warm undertones.
- East-facing rooms: benefit from bright morning light and cooler afternoons—slightly warm or neutral paints work well.
- West-facing rooms: can be cool in the morning and warm in the late afternoon; both warm and cool undertones can work depending on your goal.
3. Learn About Undertones
Undertones determine whether a paint reads warm or cool. You don’t need to be an expert—start by comparing a paint chip to a sheet of pure white paper. If the color looks a bit yellow, pink, or orange next to white, it likely has warm undertones. If it looks slightly green, blue, or purple, it’s leaning cool.
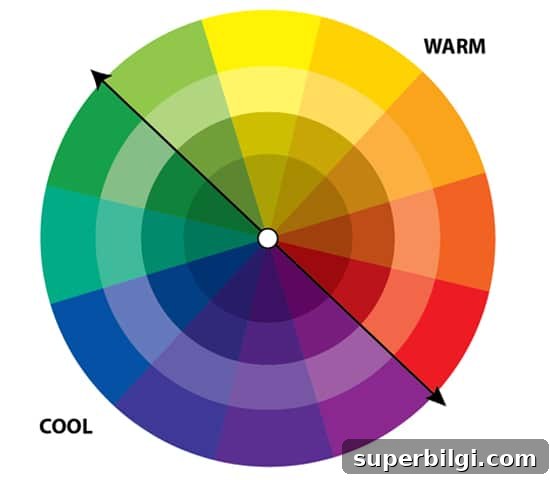
Understanding undertones helps you avoid surprises—what looks like a warm neutral in the store may look rosy or greenish in your home depending on lighting and surrounding finishes.
4. Narrow Down Your Color Family
After you’ve gathered furnishings, noted permanent elements, and checked light and undertones, choose a color family to focus on—one or two at most. Limiting your options keeps the process manageable and helps you compare similar shades effectively. For example, if your room’s fabrics and floors lean toward warm taupe, concentrate on that family rather than jumping to cool grays.
5. Research the Colors You Like
Search for photos of rooms painted in the color families you’ve selected so you can see how those colors look in real homes. Save images that show paint next to similar furniture and lighting to yours. Make a shortlist of colors that keep appearing or that consistently appeal to you—this becomes the pool of shades to test.
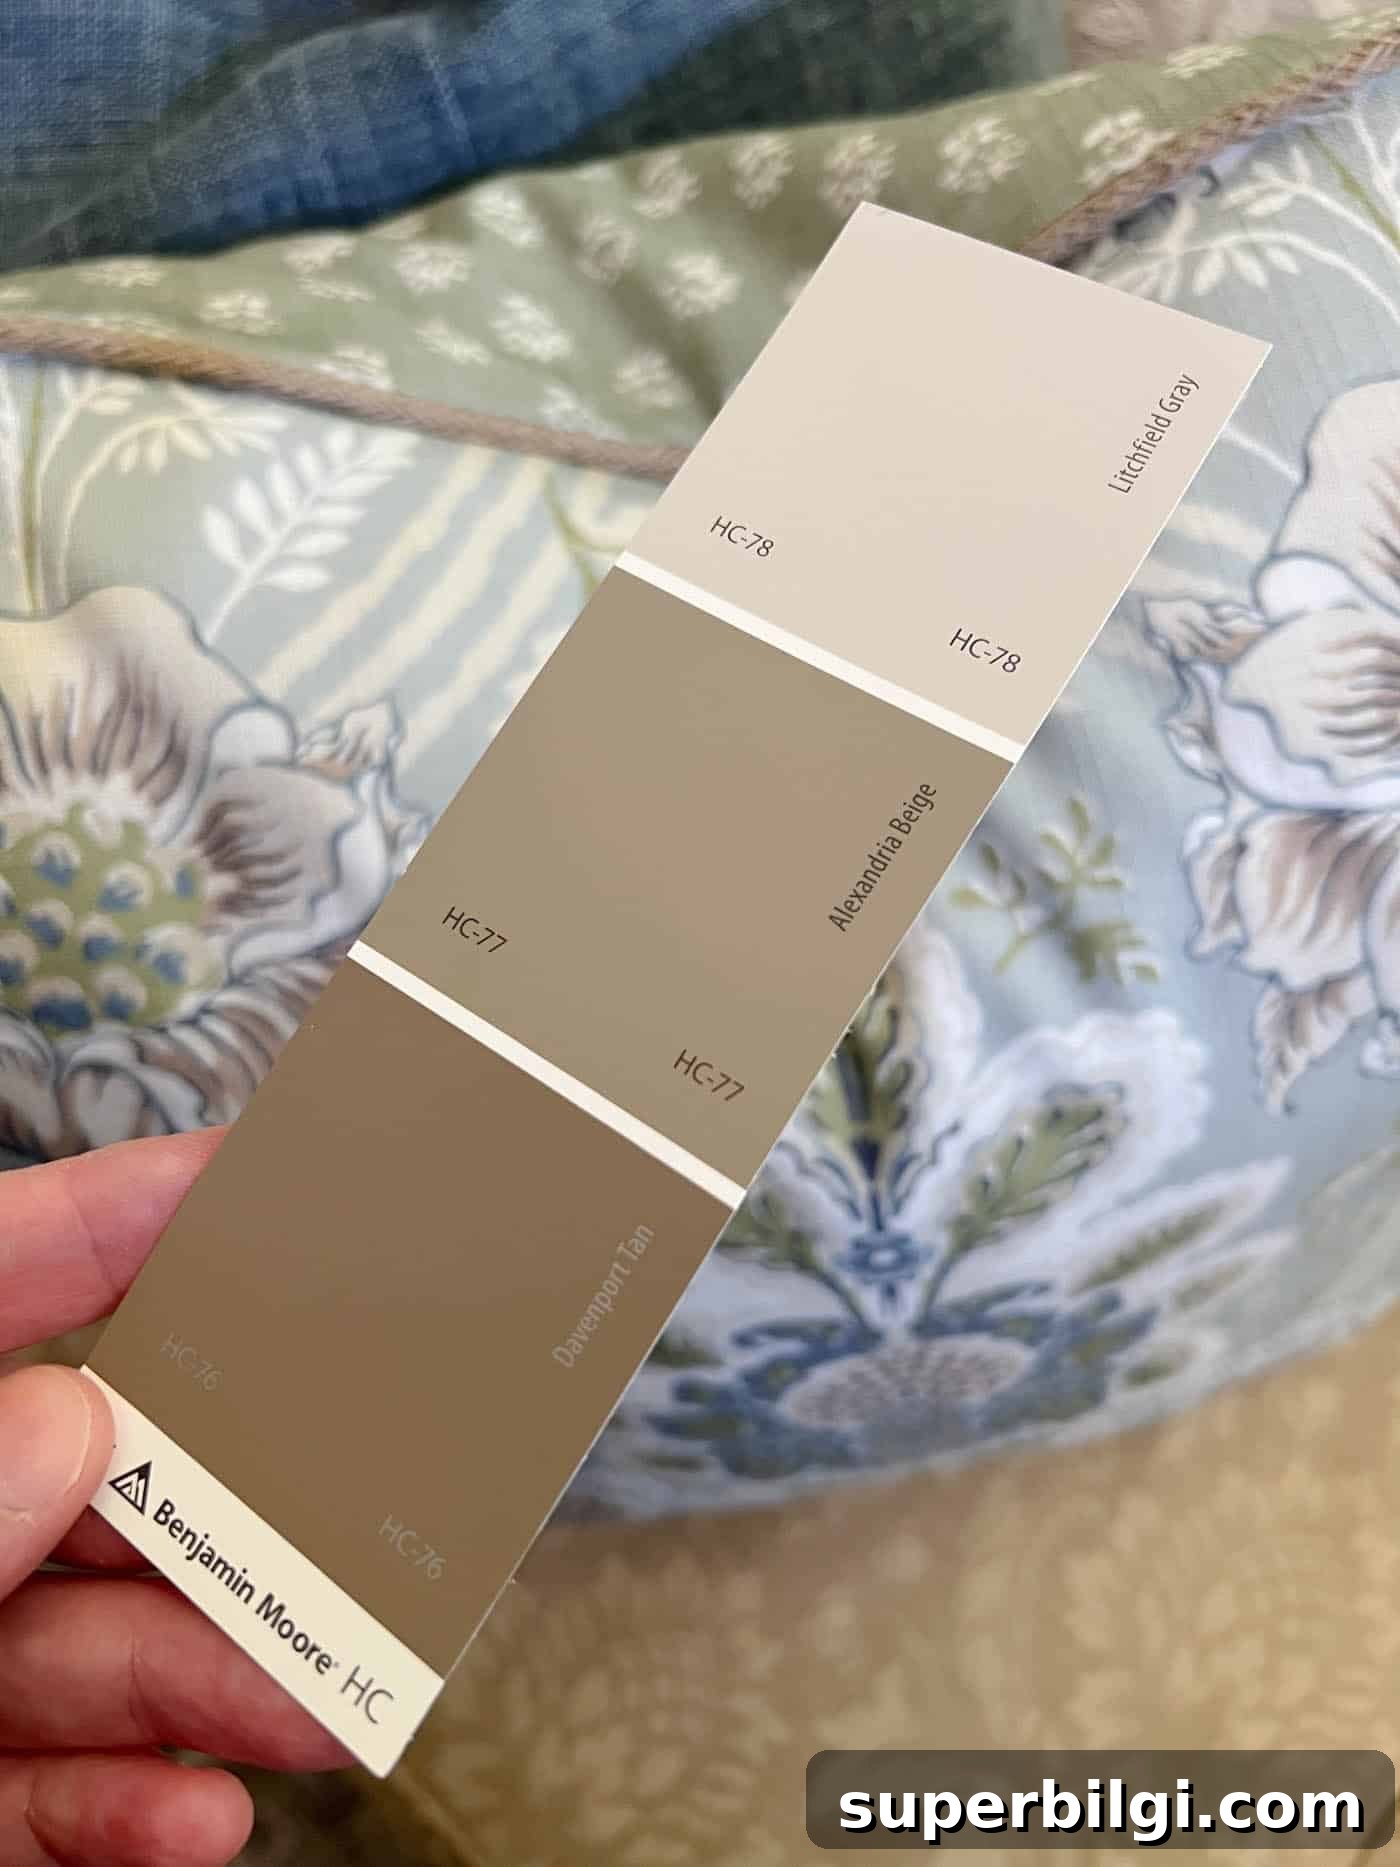
6. Test Samples
Testing is the most important step. Narrow your shortlist to about 5–10 shades, then get peel-and-stick samples or small sample paint pots. Apply samples to different walls and observe them throughout the day and under artificial light.
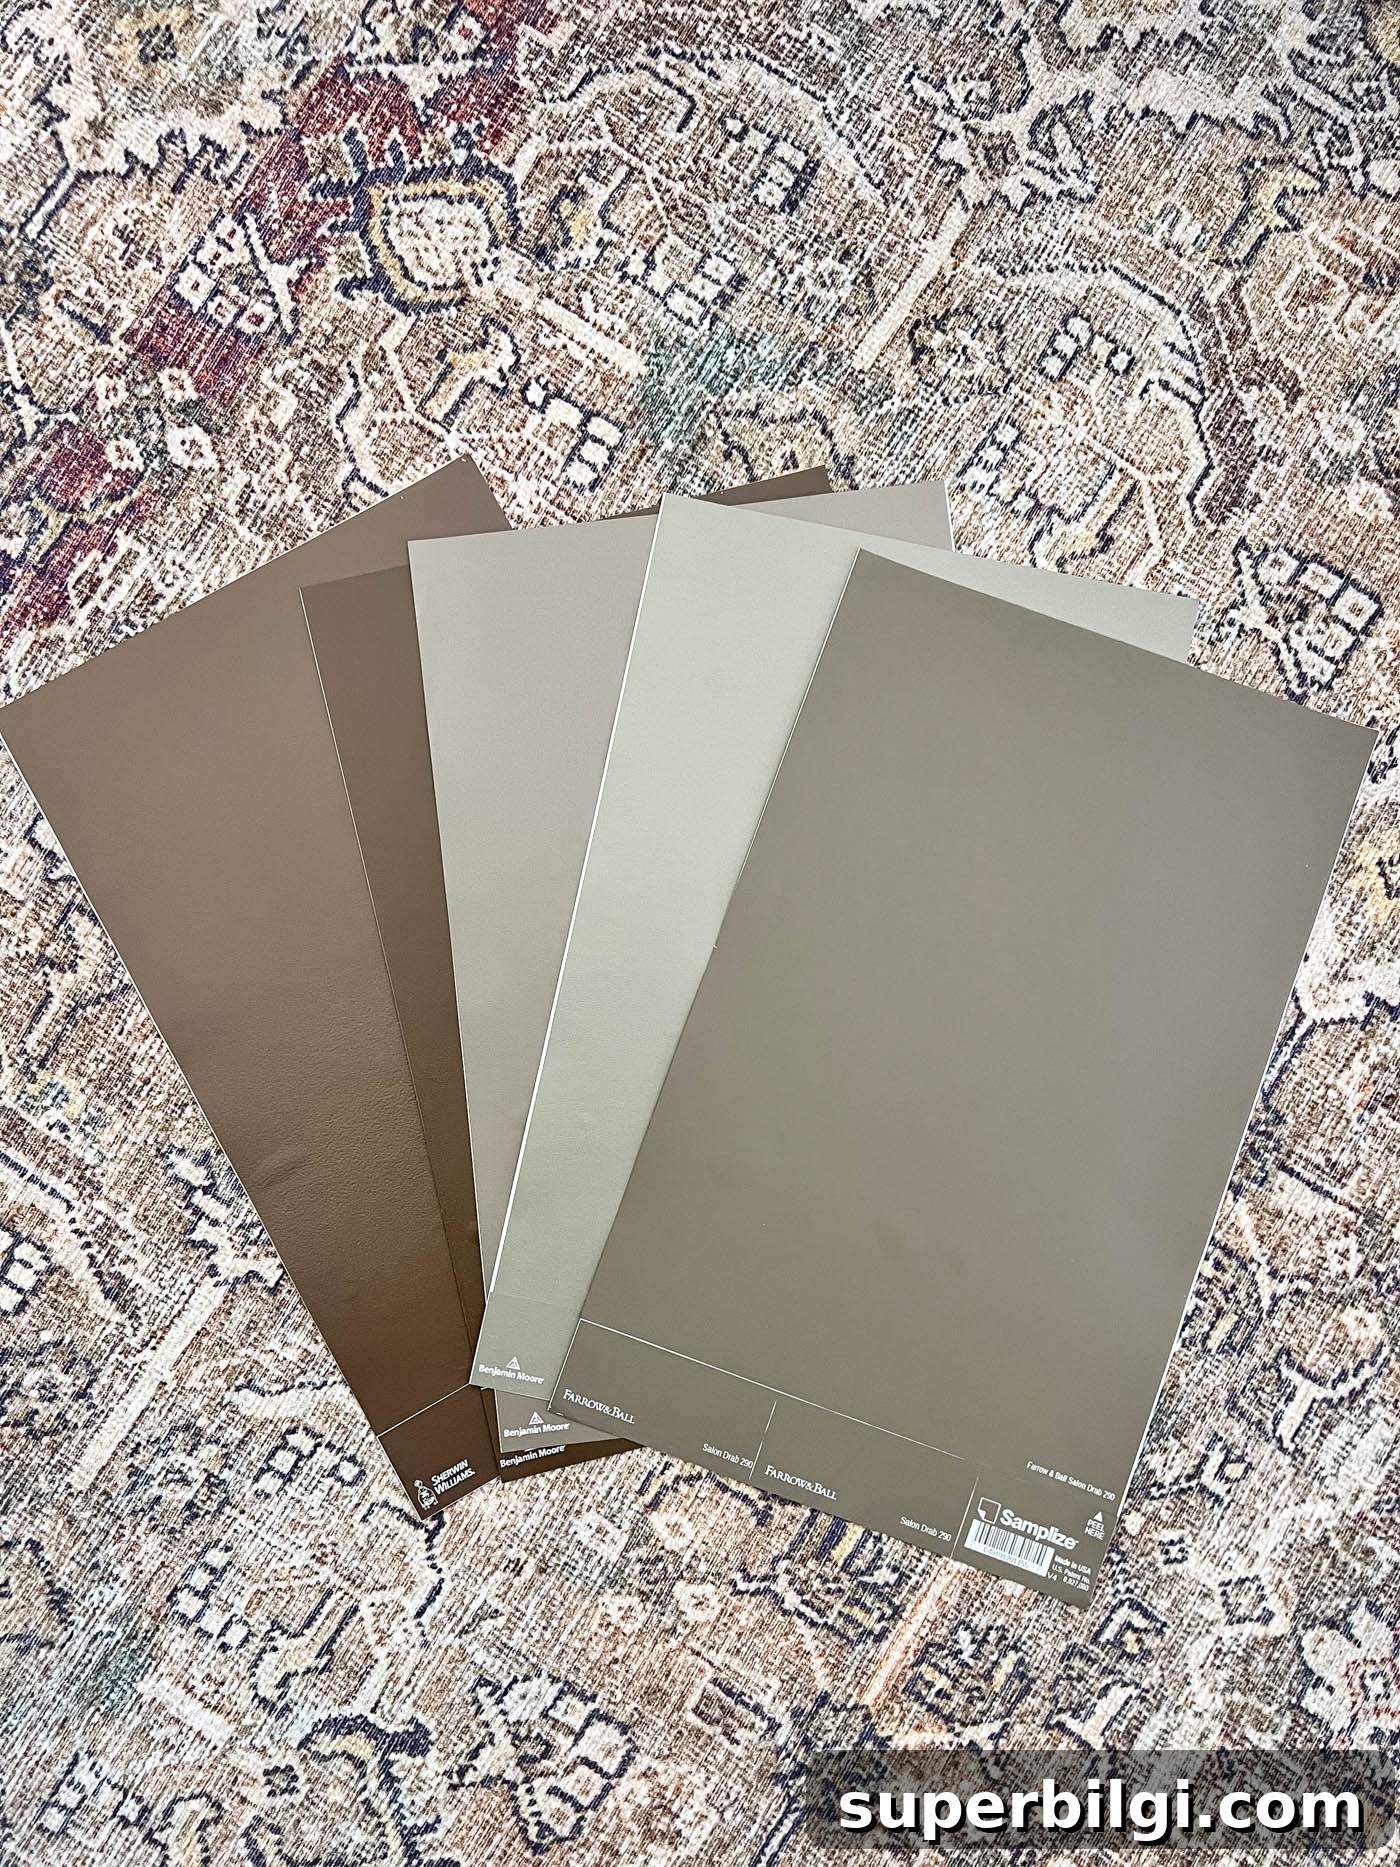
Effective sample testing steps:
- Place samples on multiple walls and leave them up for several days so you can see changes in morning, afternoon, and evening light.
- Compare samples on a white poster board or sheet of paper to neutralize the existing wall color and reveal true undertones.
- Once a peel-and-stick sample narrows your choice, paint small sections with sample pots to confirm texture and finish in real life.
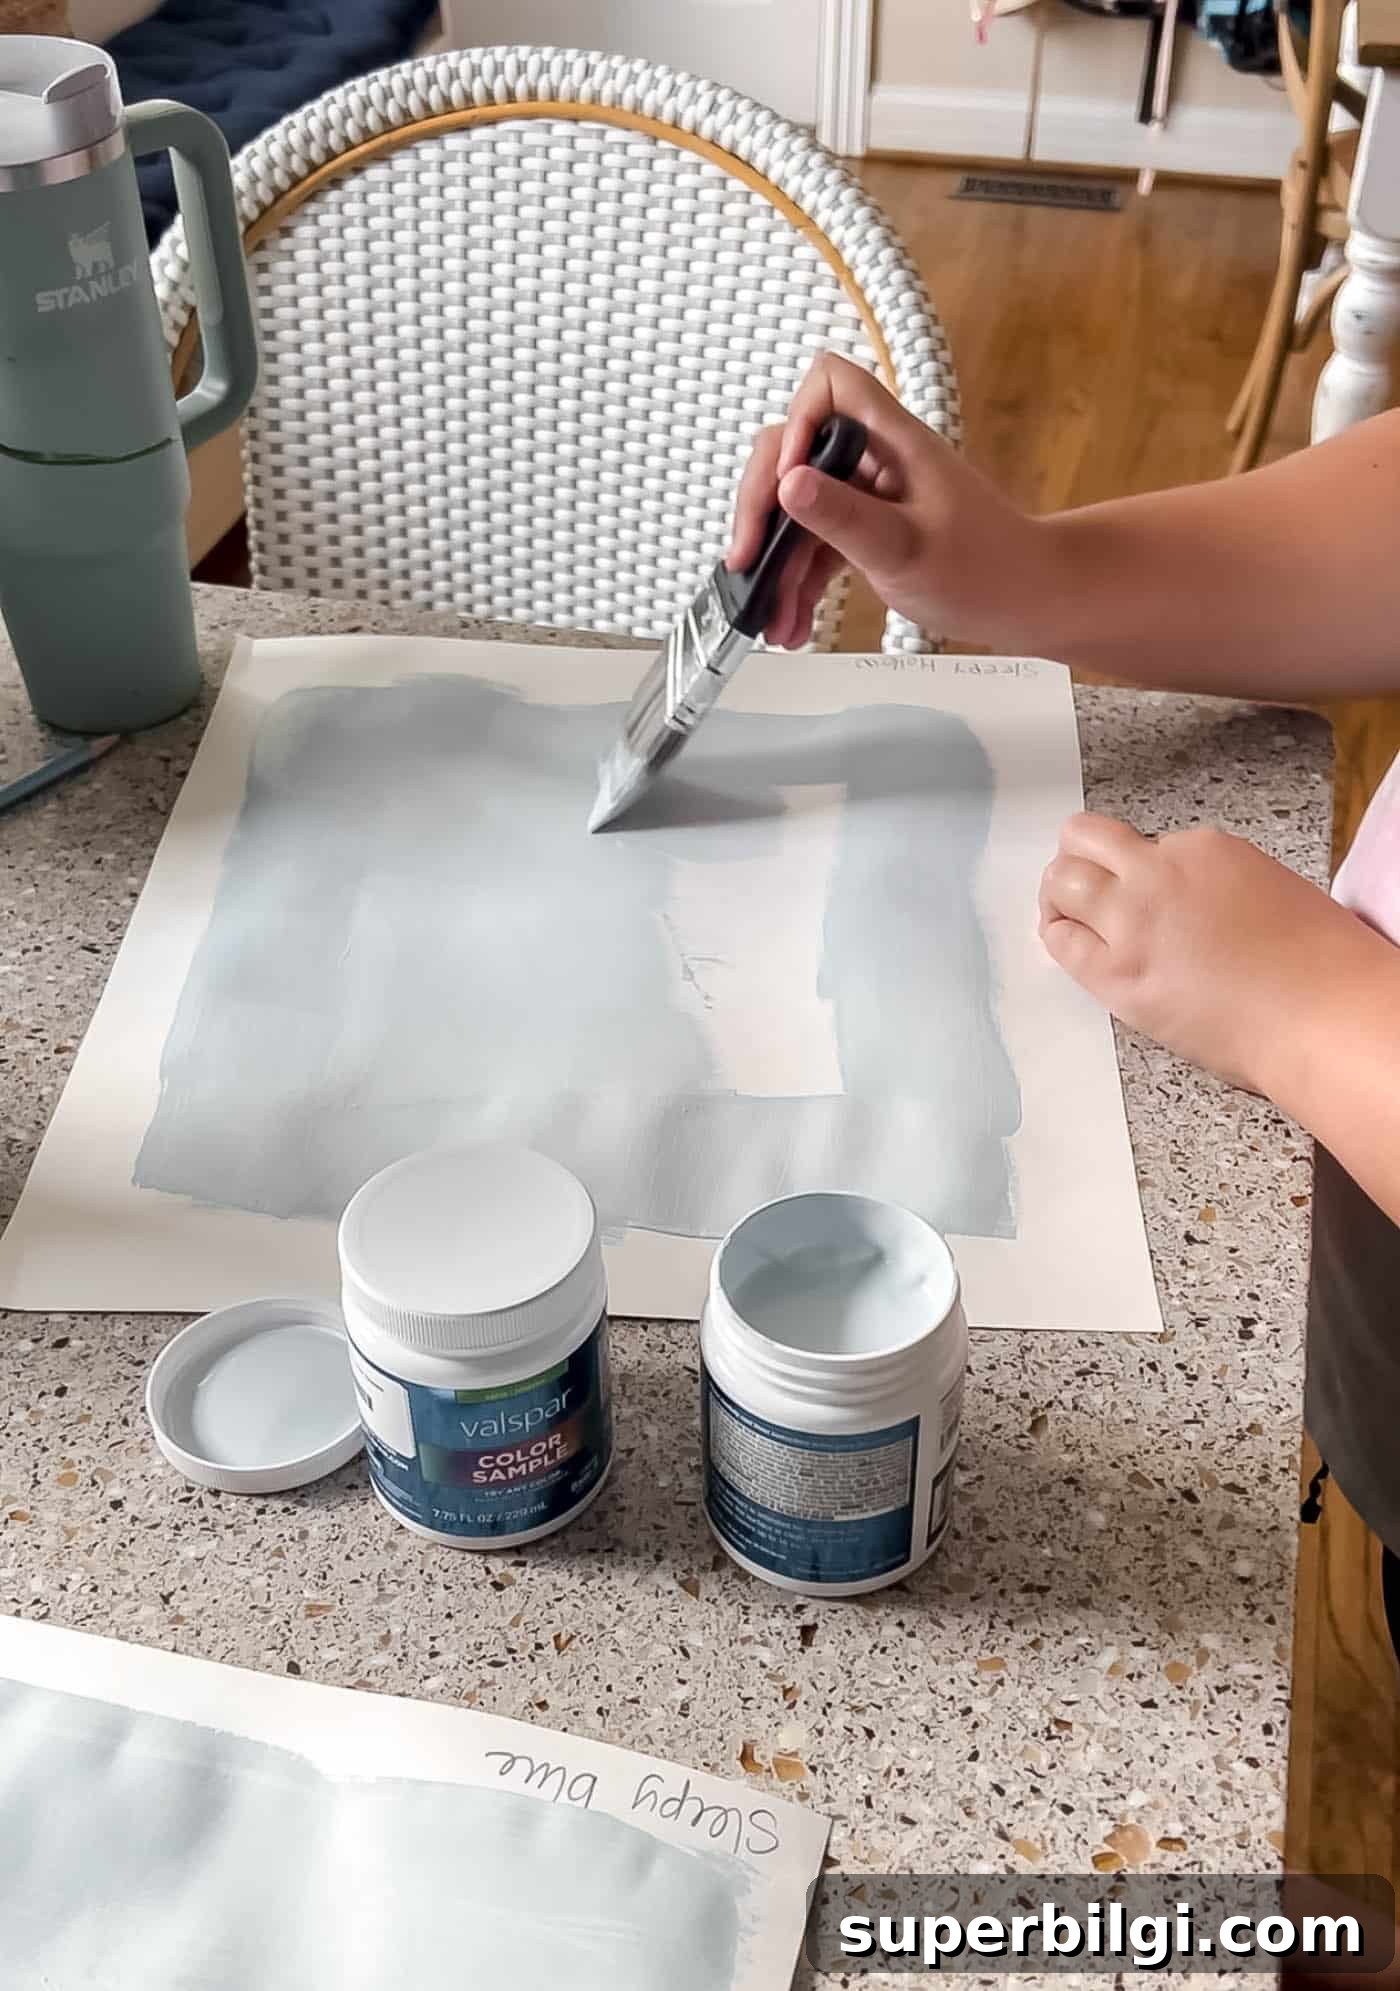
If you’re torn between two shades, live with the samples for a week. Invite a trusted friend for a second opinion if you need help. Remember: paint is inexpensive and reversible—if you change your mind, you can repaint.
Final Thoughts
Choosing paint doesn’t have to be stressful. Follow these steps—furnish first, account for permanent elements and light, learn undertones, narrow your color family, research examples, and thoroughly test samples—and you’ll make confident decisions that look great in your home.
Focus less on what’s trending and more on what feels right in your space. With patience and a clear process, selecting paint becomes a rewarding part of decorating rather than a guessing game.
More posts you might like:
- How to Paint Outlet Covers
- Peel-and-Stick Paint Samples Review
- Best Paint Colors That Go with Oak Cabinets
- The Best Grout Refresh with Grout Paint
- Favorite Paint Tools, Tips, and Tricks