How to Make a Cute DIY Wood Bead Garland in About 10 Minutes
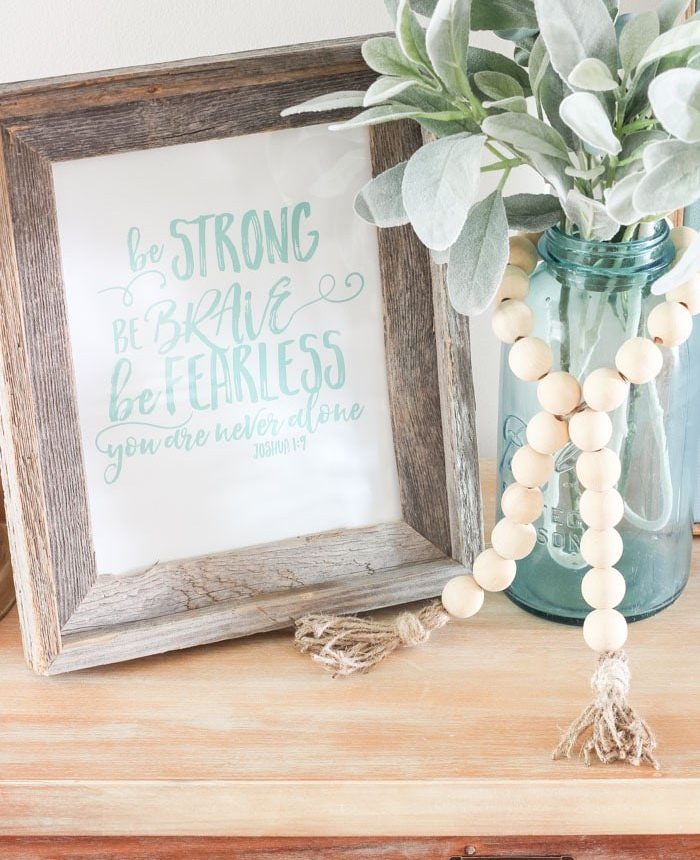
Have you noticed the charming wood bead garlands popping up in home decor recently? They look like little wooden necklaces for your vases, jars, and shelves. This simple trend adds texture, movement, and visual interest to any vignette, and the best part is how fast and affordable they are to make.
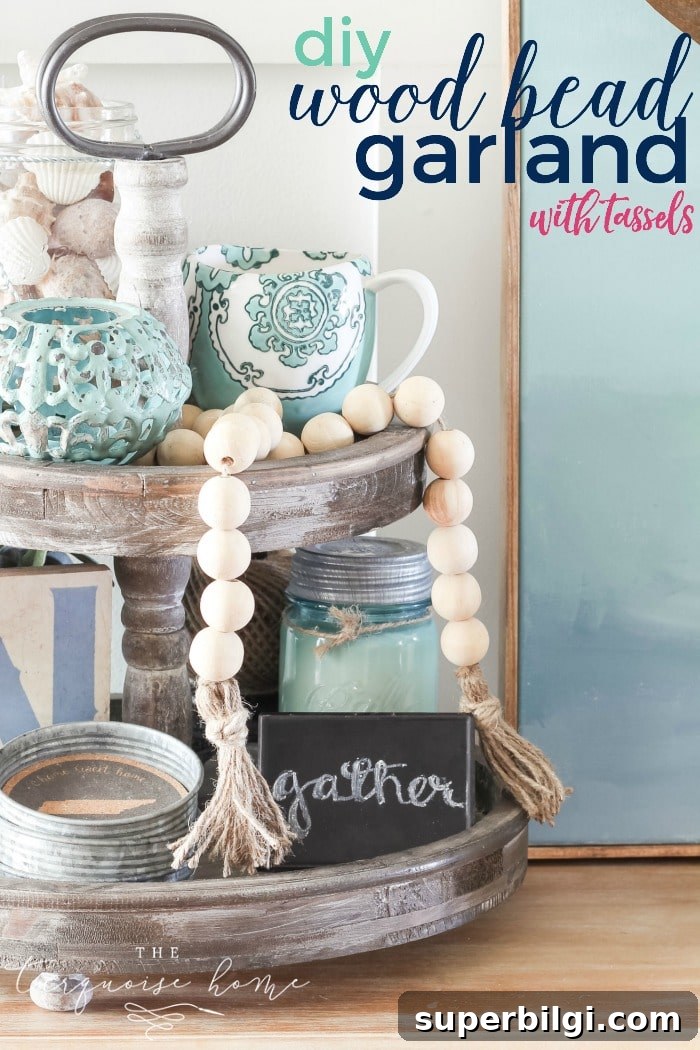

I put this garland together in about ten minutes while my kids were bouncing off the walls, so speed is definitely possible. If you want a quick, stylish accent that elevates a shelf or tiered tray, this project is ideal. It’s an especially satisfying craft because it looks polished while needing only a few supplies and minimal time.
Supplies You’ll Need for a DIY Wood Bead Garland with Tassels
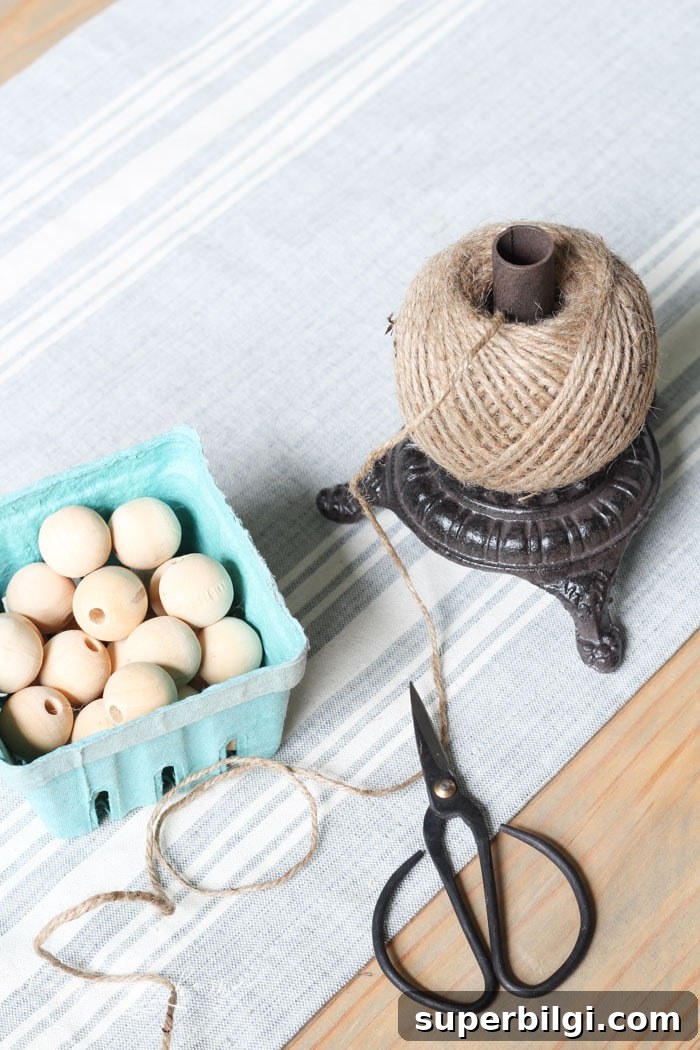
- Wood beads – choose the size you like. The project shown here used medium-size beads and ended up with 27 beads on the strand.
- Jute twine (or similar twine, yarn, or strong string)
- Scissors
Steps to Make a DIY Wood Bead Garland with Tassels
Step 1. Gather Your Supplies
Pick a bead size that fits the look you want. The 25 mm beads used here give a bold farmhouse look, but you can go slightly larger or smaller. Avoid very tiny beads—something around 14 mm or larger is easier to work with for this style. Make sure the bead hole is wide enough for your twine.
Step 2. Make Your First Tassel
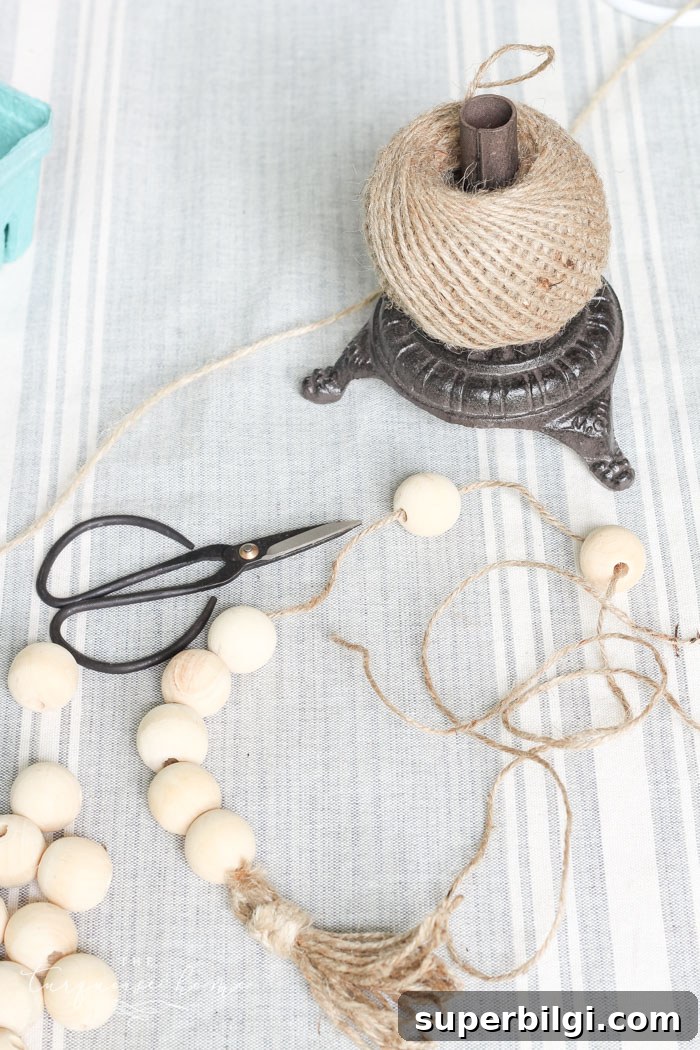
To form a tassel, take an end of the jute and wrap it around four fingers several times. There’s no exact count, but keep track of your wraps so the tassel on the other end matches. I wrapped about 15 times for the tassel shown.
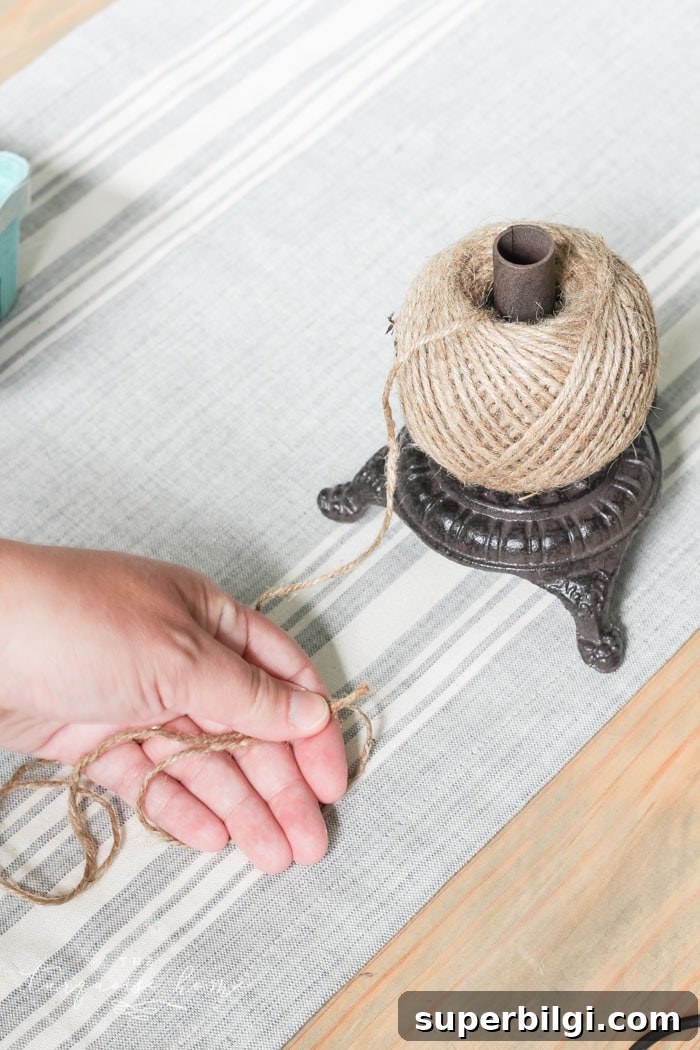
Make sure the loose, cut ends of the twine end up on the same side so you can tie and attach the tassel cleanly to the main garland cord.
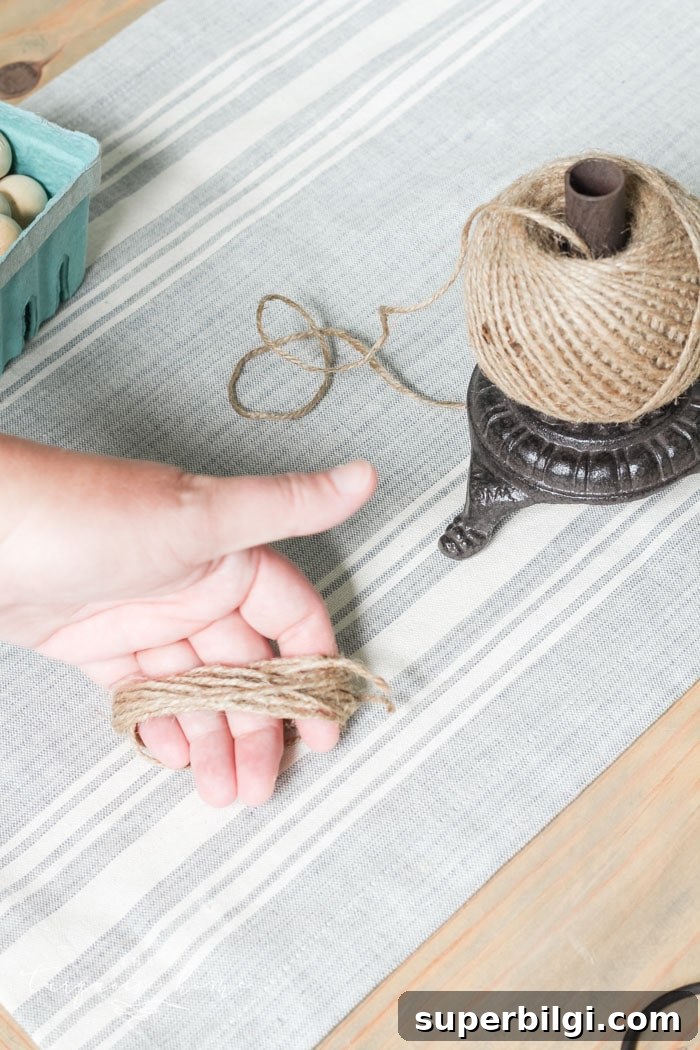
Step 3. Tie Off the Top of Your Tassel
Pinch the wrapped loop at the top opposite the cut ends and tie it securely with a short length of twine. This creates the tassel head and gives you something to attach to your main cord.
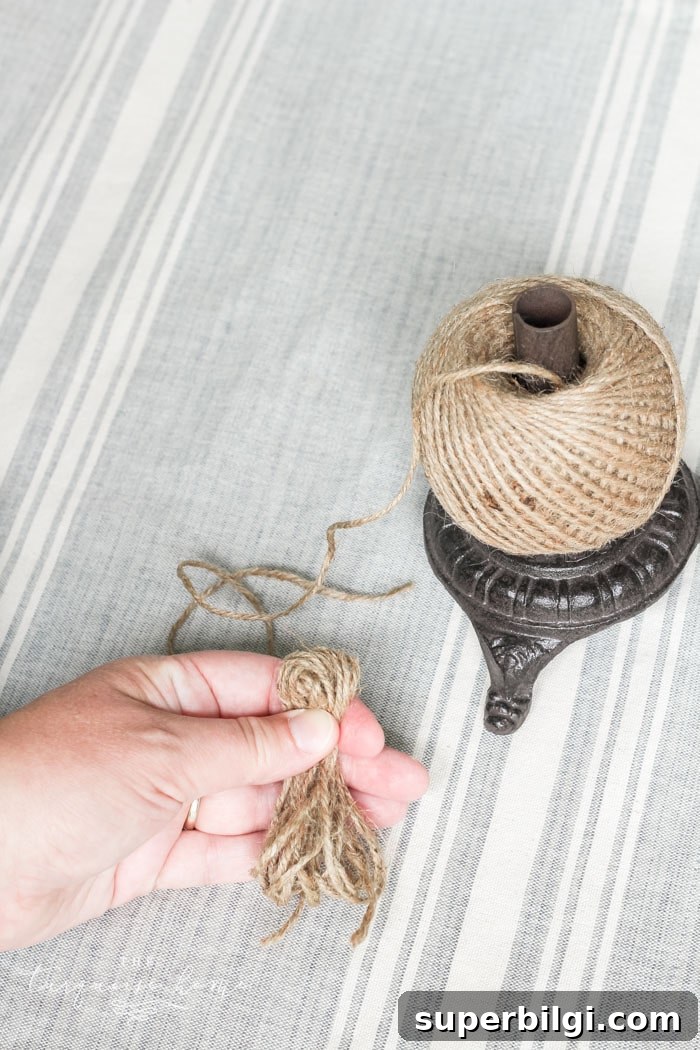
Use the tail of the jute to secure the wrapped loop to the main string or to create a finishing knot. Tuck loose ends in for a neat look.
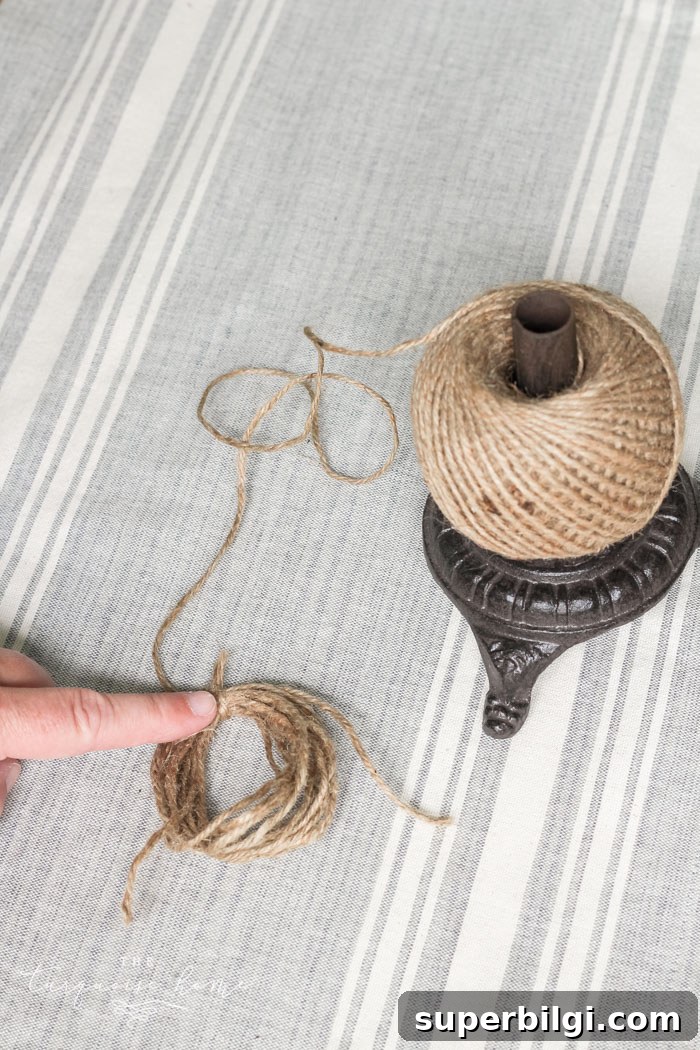
Step 4. Wrap the Top of the Tassel
Take a longer piece of twine and wrap it around the tassel head several times for a finished look. Tie it off and tuck or trim the ends neatly. You can hide the ends under the wrapped section to keep everything tidy.
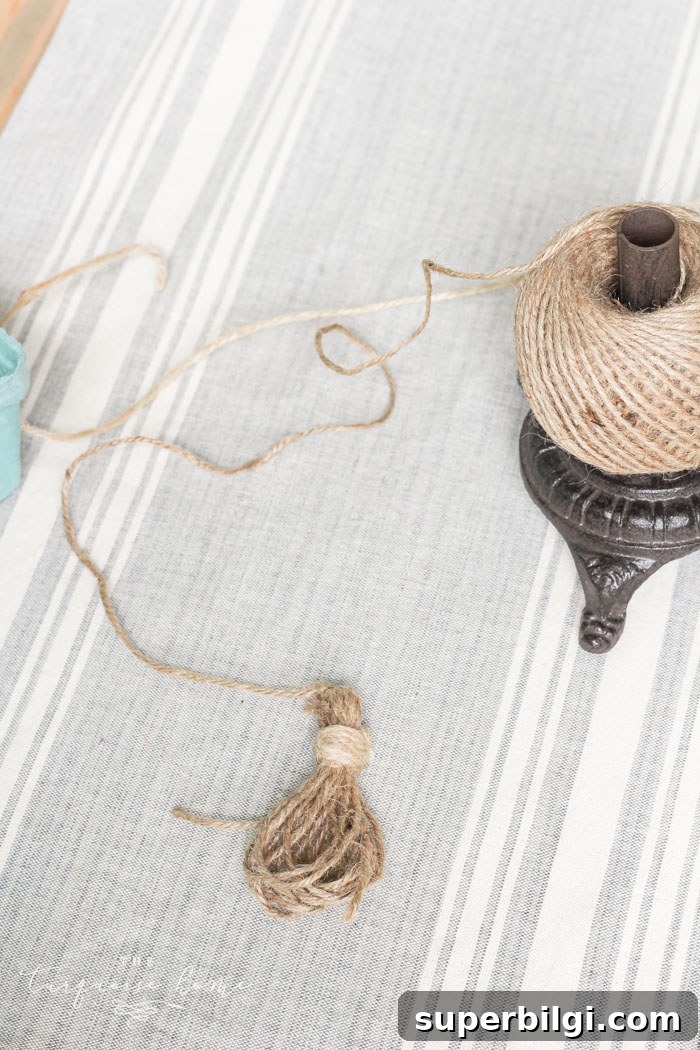
Step 5. Cut the Bottom Loop to Finish the Tassel
Cut the bottom loops open to create the tassel strands, then even up the ends with scissors so the tassel looks straight and tidy. Fluff it a bit for texture.
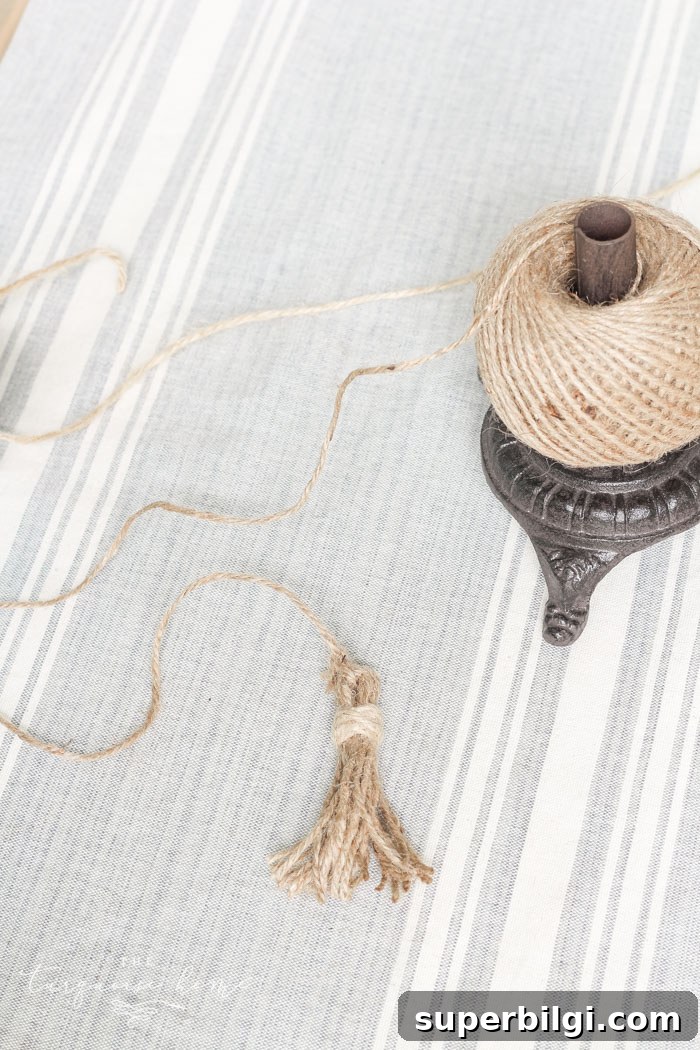
Tassel one—complete!
Step 6. Cut Your String to the Length You Want
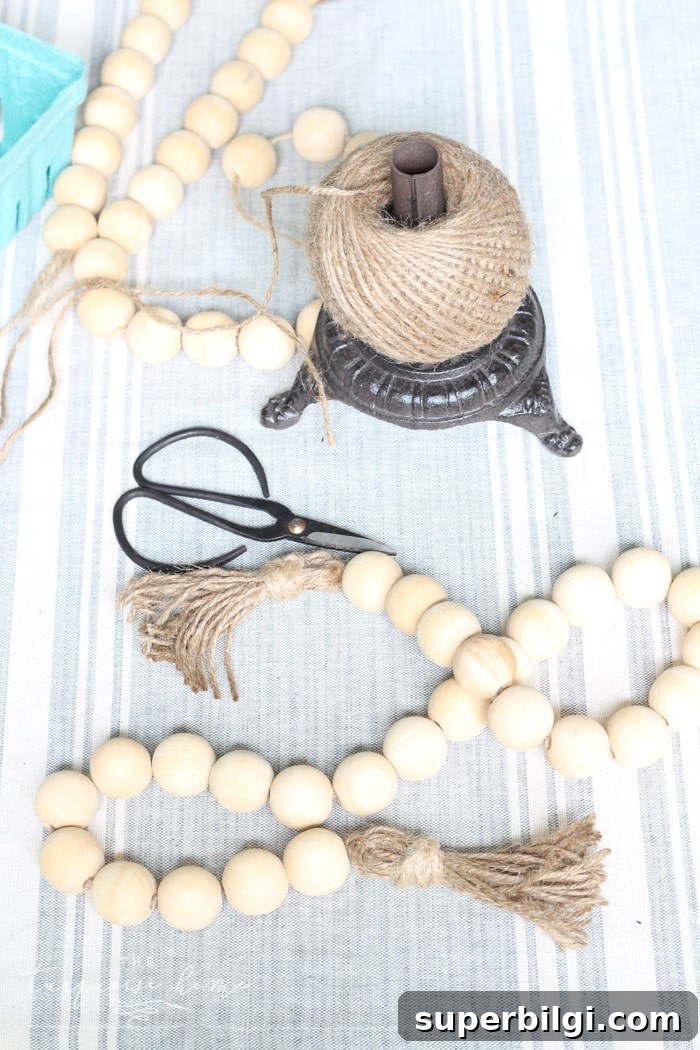
Decide how long you want the finished garland to be. The example here measures about 26 inches between tassel heads (not including the tassels themselves) and holds 27 beads. Cut your main cord a little longer—about 10 inches extra—to allow for tassels and knots.
Step 7. String Your Beads
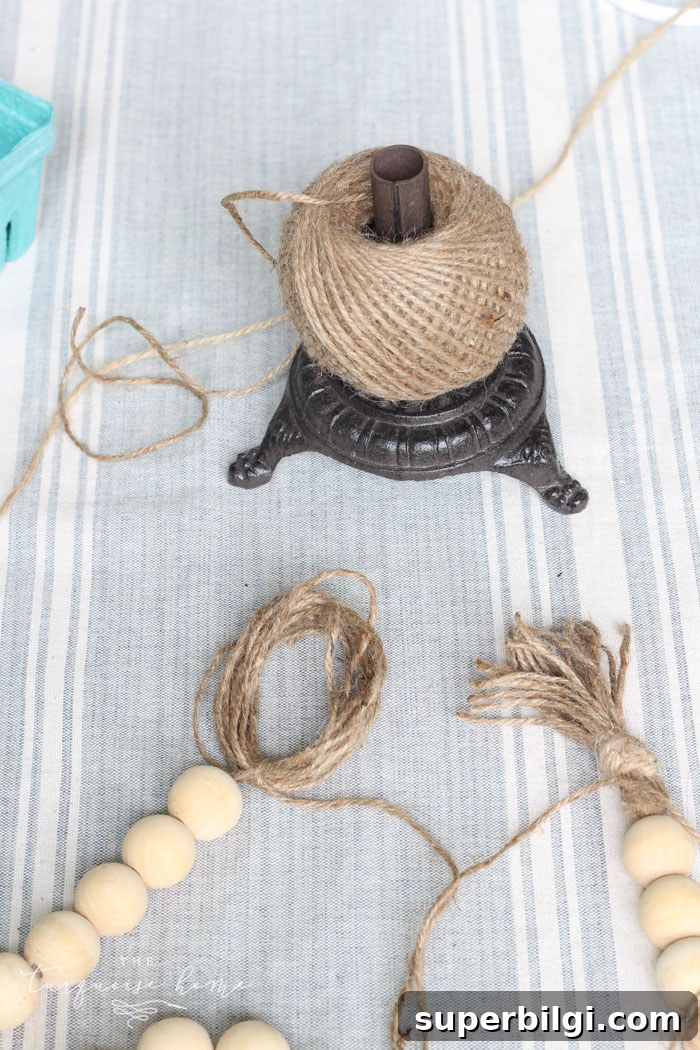
Slide beads onto the twine until you reach the desired look. You can space them tightly or leave small gaps for a more casual feel. For a longer garland you can add more beads or create multiple wraps for styling around jars and vases.
Step 8. Make the Second Tassel (Repeat Steps 2–5)
When you finish adding beads, cut the main twine to the final length, leaving a little extra for tying. Create a matching tassel on that end the same way you made the first. Tie it securely to the cord so both ends match and the garland hangs evenly.
Once the second tassel is finished and secured, your garland is ready to style. This basic version is a great starting point—you can customize it any way you like.
Ideas to personalize: paint the beads or buy colored ones, mix bead sizes, add small charms or wooden letters, or use leather cord instead of jute for a different feel. These variations let you match seasonal decor or room color schemes without much extra work.
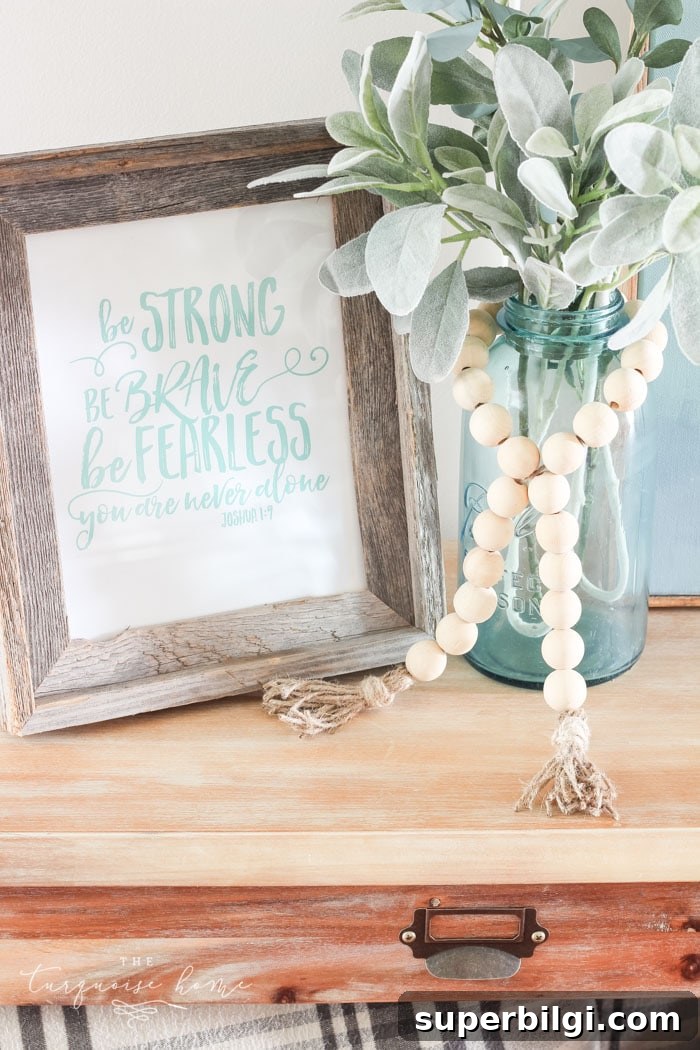
Related: Be Strong, Be Brave, Be Fearless — Free Printable
I used this garland in a few different vignettes to show how versatile it is. You’ll find plenty of ways to style one: draped on a tray, wrapped around a candle, hung over a pitcher handle, or looped through a vase neck. The simple texture makes jars and tiered trays look more intentional and layered.
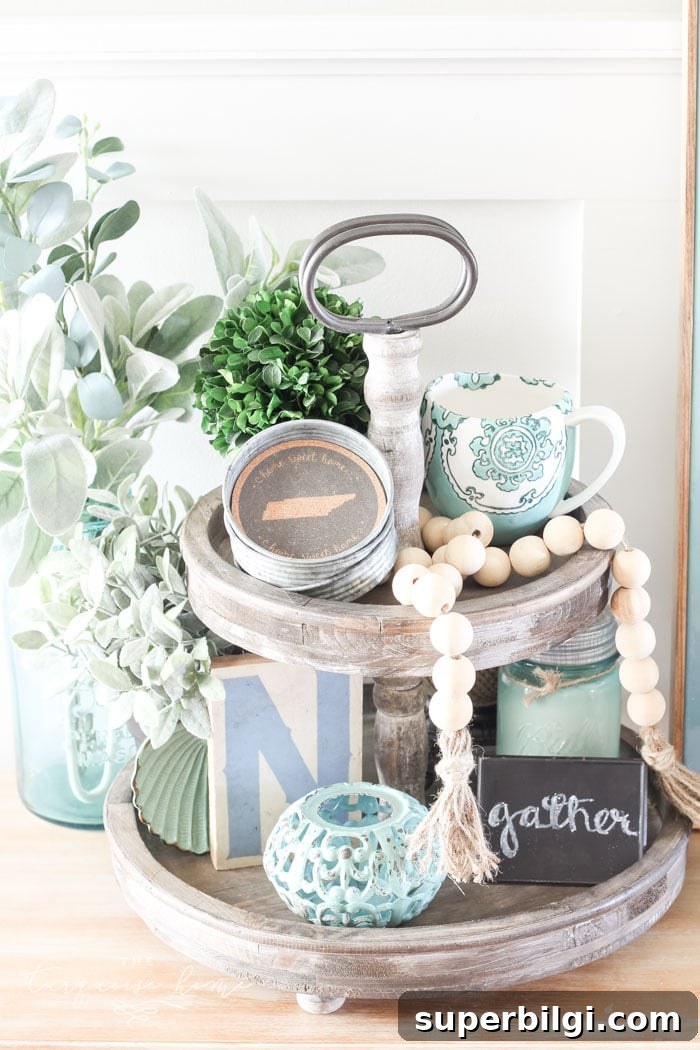
This quick craft is satisfying because it’s cheap, fast, and makes a real difference in how small decor items read together. Whether you make one in a neutral tone for year-round use or a colored version for holidays, a wood bead garland is a flexible, stylish addition to your home.
Don’t Have Time? No Problem!
If you don’t have a free ten minutes, there are many ready-made options available from small makers. Buying is a fine choice when you want a specific color, size, or detail that would take more time to source and assemble yourself.
More Posts You Will Love:
- How High to Mount a TV (Guidelines & Tips)
- Adding a New Stair Runner
- 25+ Ways to Decorate Your Home on a Budget
- Budget-Friendly DIY Shelving Ideas for Your Home
- The Best Grout Refresh with Grout Paint
How will you use your new wood bead garland? Share styling ideas with friends or keep it as a seasonal little upgrade—you’ll find yourself reaching for it again and again when putting together small décor moments.