If you want a fast, effective way to refresh your wood fence, using a paint sprayer is one of the easiest methods. Here’s a clear, step-by-step guide to painting a wood fence with a sprayer.
We lived in our previous home for eight years and were fortunate to have a large backyard enclosed by a solid wooden fence. Over five years of weather and regular wear, the fence started to look tired and dirty. The homeowners association also notified us that the fence needed to be painted the approved neighborhood color.
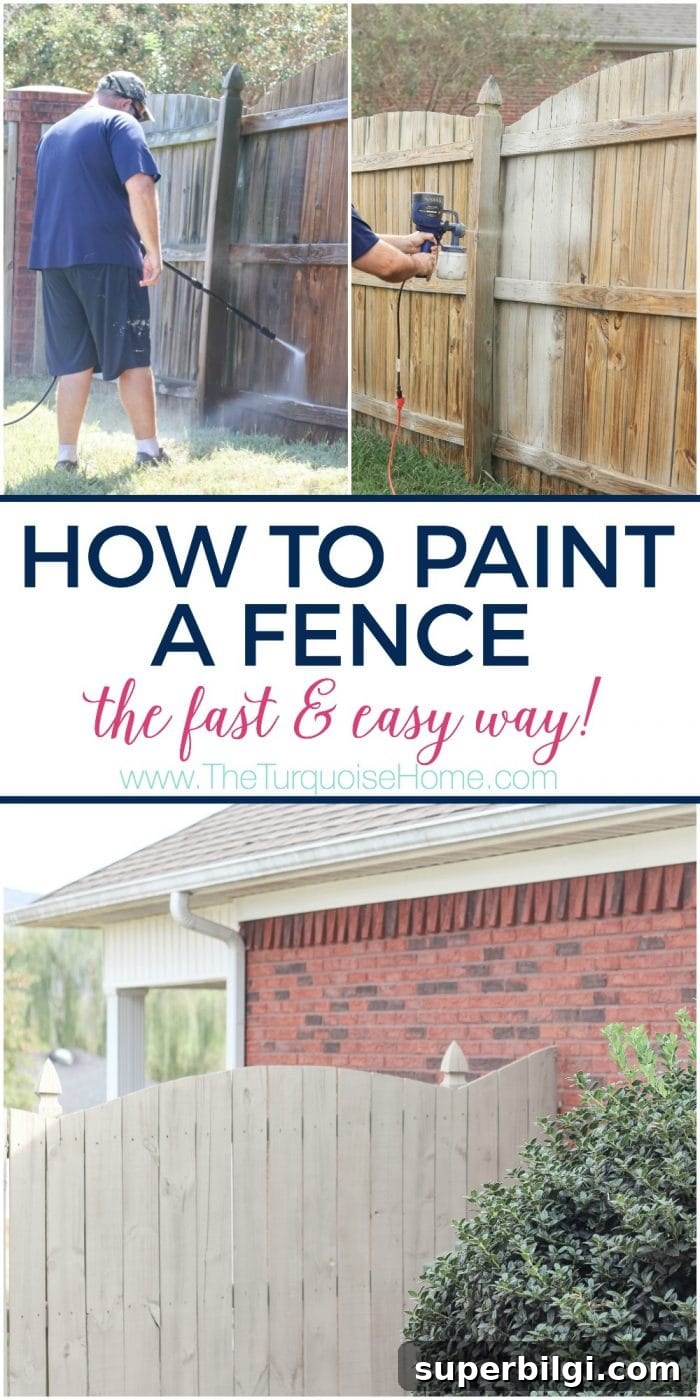
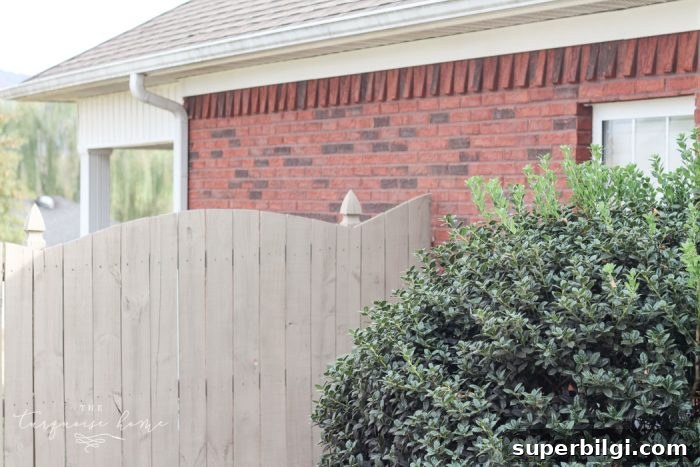
At first I resisted the HOA’s color choice, but it turned out to be a pleasant surprise: Sand Castle by Sherwin-Williams, a neutral greige that complements our red brick well. The product recommended for the job was an exterior solid stain designed for outdoor use.
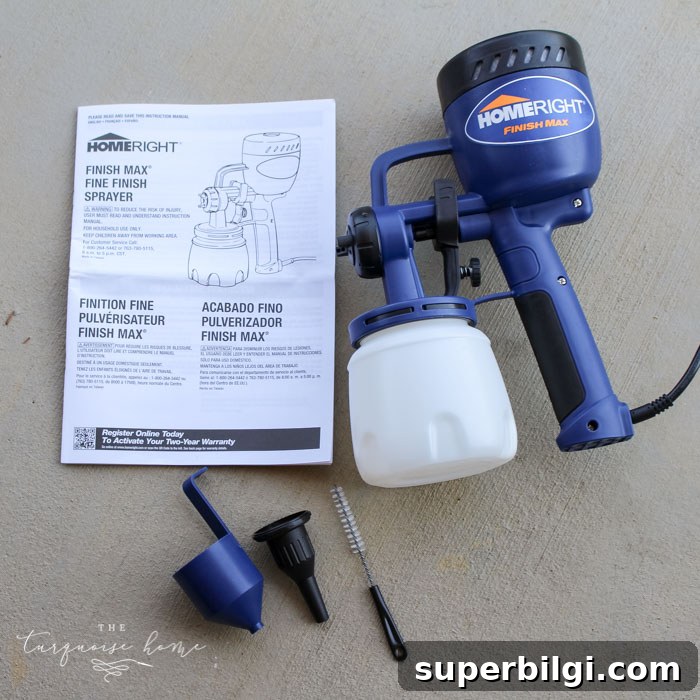
Being a DIY enthusiast, I decided to tackle the project myself and try a paint sprayer for the first time. I chose the HomeRight Finish Max paint sprayer—an affordable option that made the work much faster than brushing. After using it, I was confident I’d use a sprayer for future large painting projects.
Tools You Need to Paint a Wood Fence
- Paint sprayer (I used a compact, affordable finish sprayer)
- Exterior paint or stain suitable for outdoor wood
- Extension cord (length depends on your project)
- Clear plastic sheeting to protect nearby surfaces and landscaping
- Pressure washer (handheld or rented commercial unit for heavy grime)
Steps to Paint a Wood Fence
1. Clean the Fence
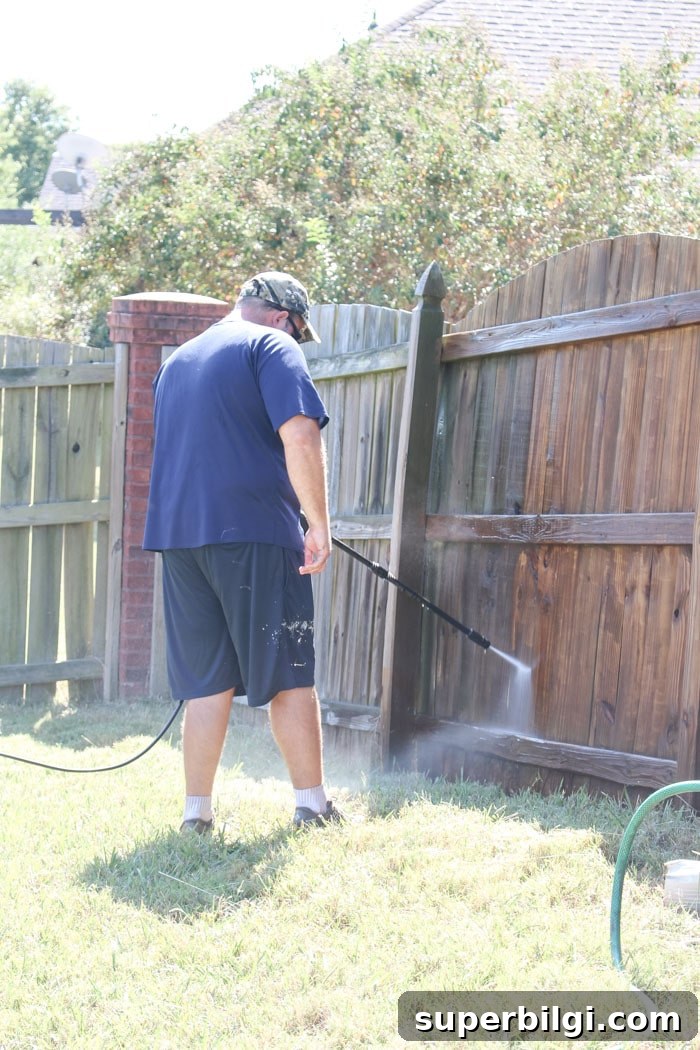
Start by removing dirt, mildew, and loose paint. A pressure washer is the quickest way to knock off grime and expose the wood so the new finish will adhere properly. It doesn’t have to be perfect—just remove the top layer of dirt and anything flaking away. After washing, allow the fence to dry thoroughly for at least 48 hours before applying paint or stain.
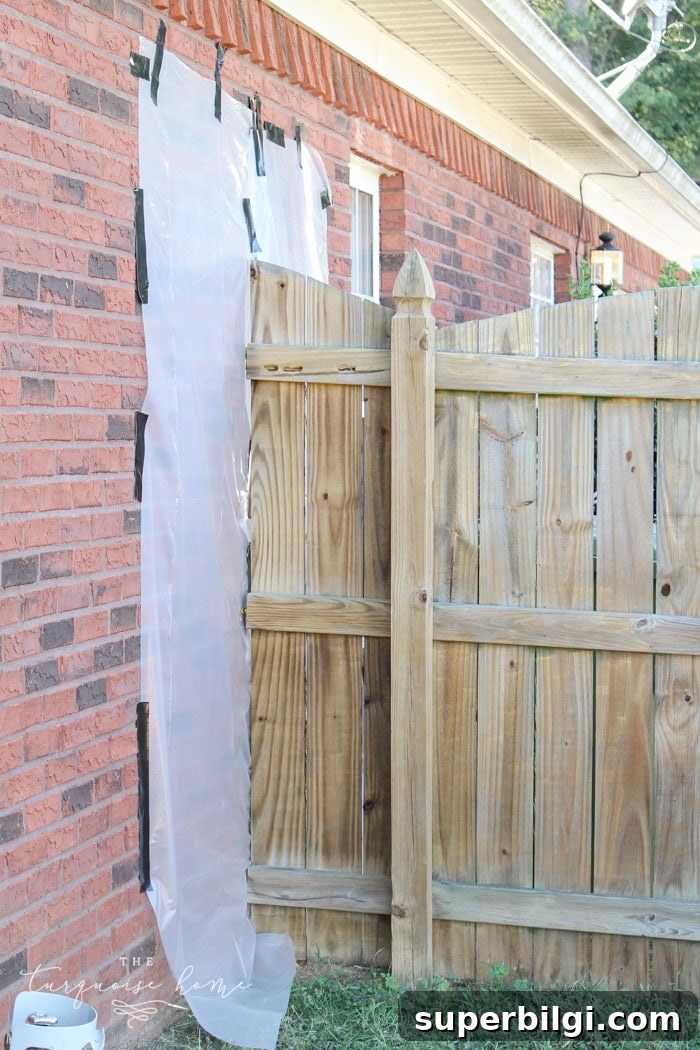
2. Protect the Areas You Don’t Want Painted
Cover windows, brick pillars, plants, and any nearby surfaces with clear plastic sheeting or drop cloths to avoid overspray. Put protections in place right before you begin painting—if you install them too early they can come loose in wind. Secure edges with painter’s tape or weights so the coverings stay put during spraying.
3. Prep the Paint and Sprayer
Read the sprayer instructions before you start. Most handheld sprayers require thinning thicker paints or solid stains with water to achieve the right consistency. Use the provided funnel or viscosity cup to test how fast the paint flows; it should run through within the specified time range in your sprayer manual. For my solid stain, thinning to roughly a 50/50 mix with water produced a smooth, even spray.
4. Paint
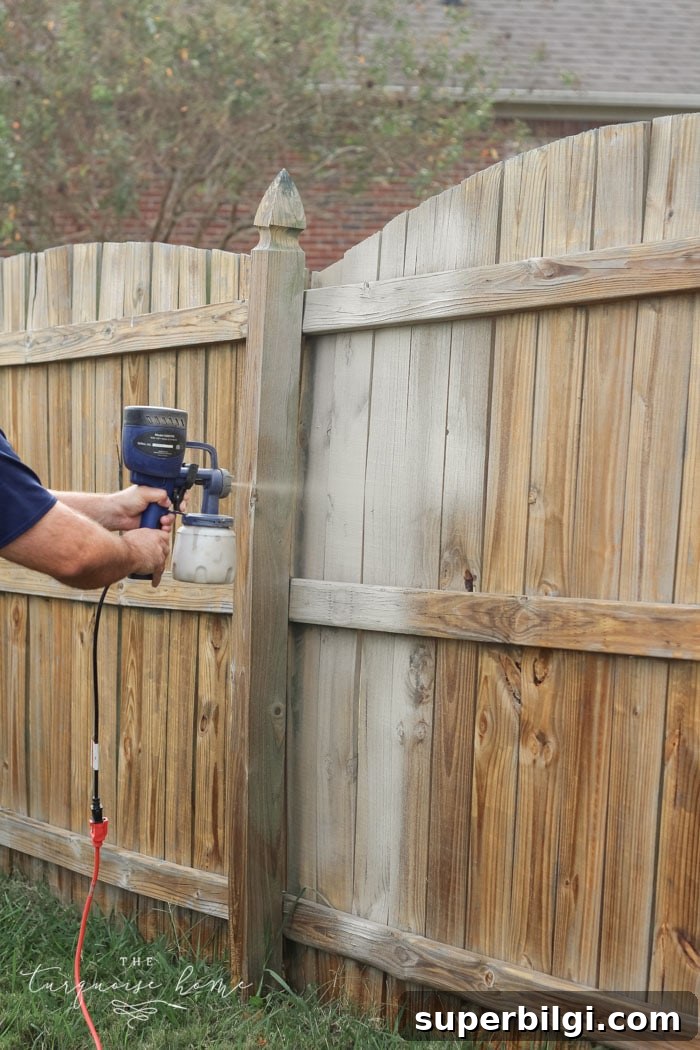
Fill the sprayer reservoir, plug in the unit, and maintain an even distance of about 8–12 inches from the wood. Move steadily and overlap each pass slightly to ensure full coverage. Set the nozzle orientation—vertical or horizontal—based on the direction of your strokes. Thin, even coats prevent runs and drips; it’s better to apply two thin coats than one heavy one.
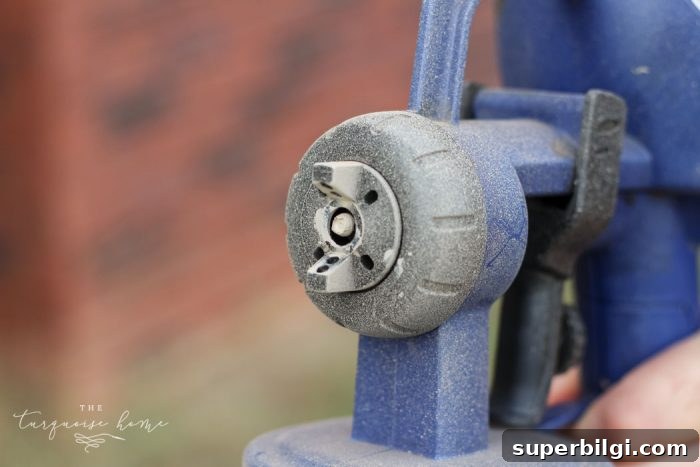
If you need to pause for more than 20–30 minutes, be prepared to clean the nozzle before restarting. Paint drying in the tip can cause uneven spray; simple disassembly and a quick rinse will usually restore proper function.
5. Clean Up
After finishing, disassemble and clean the sprayer according to the manufacturer’s instructions. For water-based paints, flush parts with warm soapy water; for oil-based products, use mineral spirits. The sprayer I used included a long cleaning wand that made it easy to reach small crevices. Let all parts dry completely before reassembling and storing the unit.
Proper cleaning extends the life of your sprayer and ensures it performs well on the next job.
Final Thoughts
Painting a wood fence with a sprayer is an efficient DIY solution that saves time and produces a professional-looking finish when done correctly. Key steps are thorough cleaning, protecting nearby surfaces, thinning paint to the right consistency, applying thin even coats, and meticulous cleanup. Once I tried a sprayer, I found it fast and satisfying—and I’ll use one for future outdoor projects.
More posts you may enjoy:
- 12 Drool-Worthy Screened-In Porch Decorating Ideas
- Our Brick House Exterior Makeover (White Trim & Black Shutters)
- Beautiful Lake House Decor Inspiration
- How to Organize a Messy Garage
- How to Paint Outlet Covers