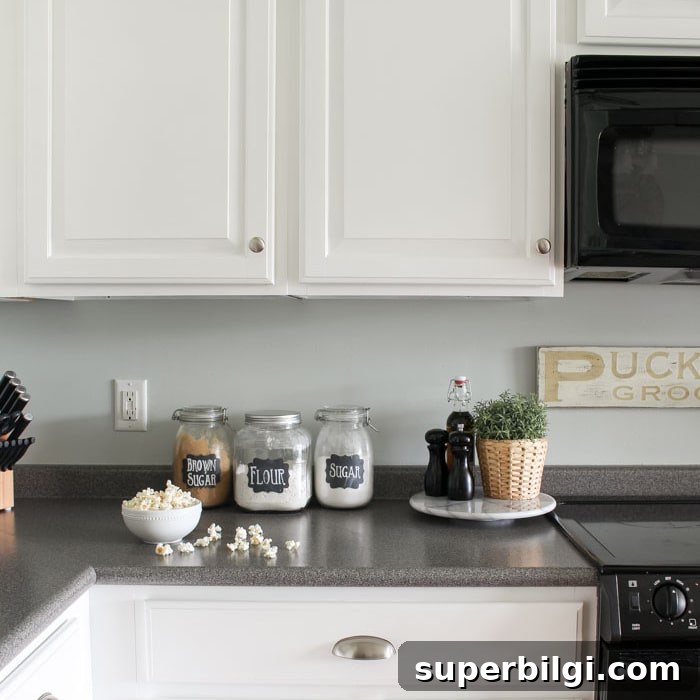
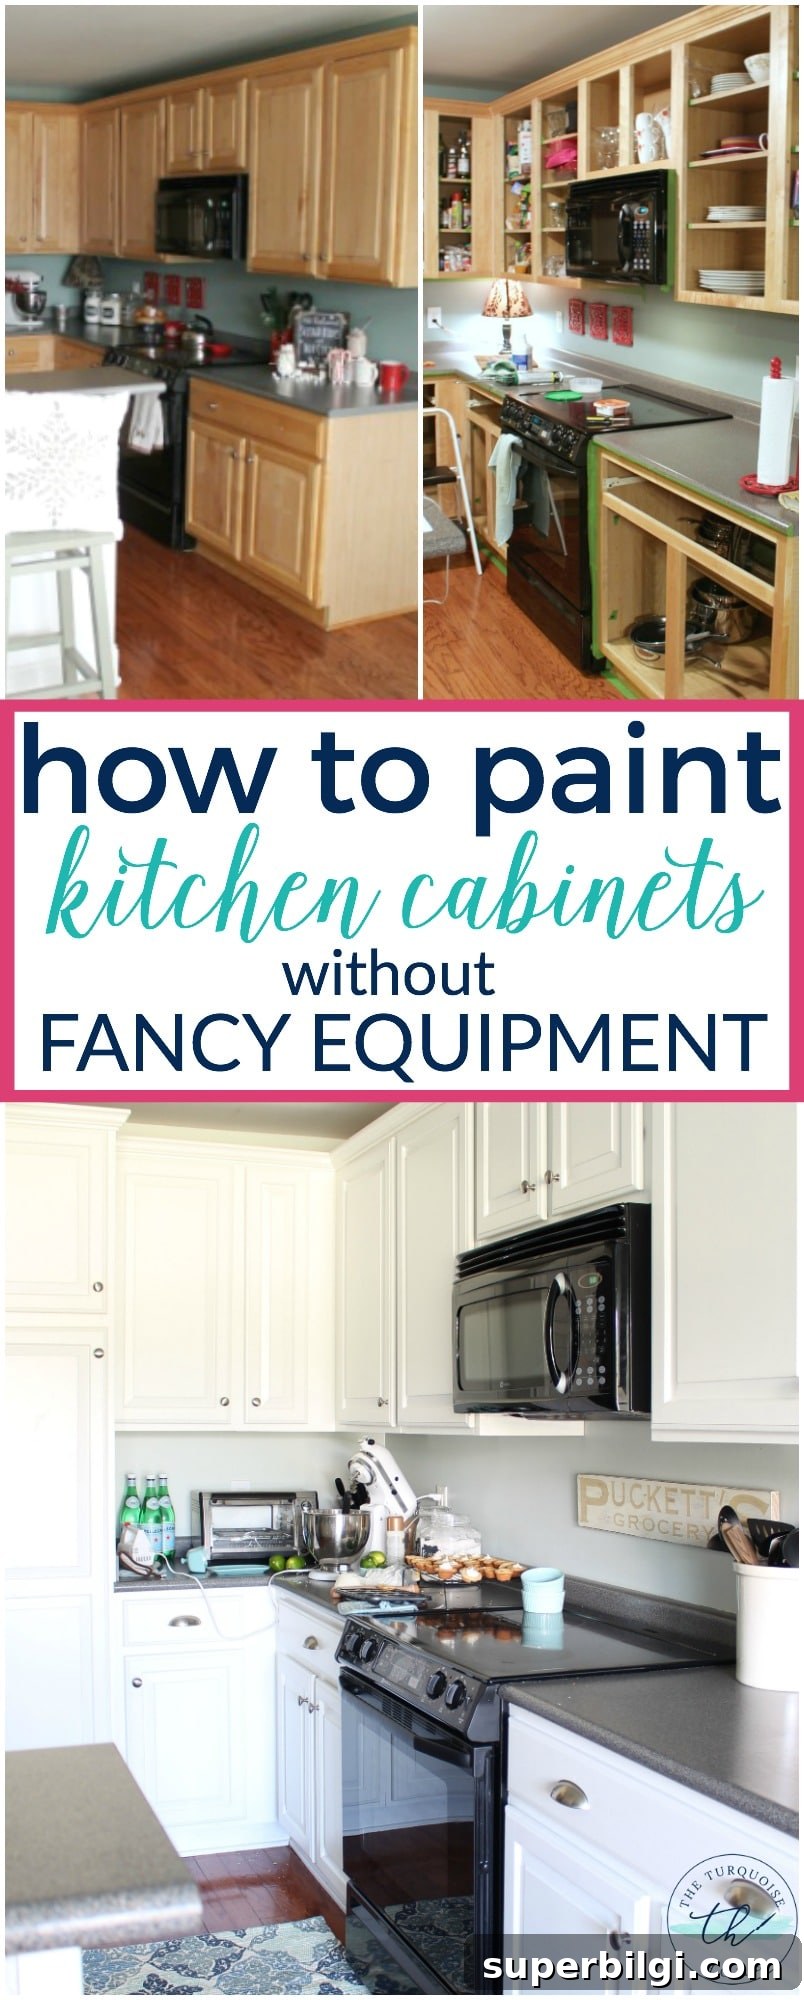
Painting kitchen cabinets without professional equipment is entirely achievable if you follow a clear, step-by-step DIY plan. These painted cabinets transformed my kitchen with a relatively small budget and some elbow grease. I’d do it again in a heartbeat—the results are that good.
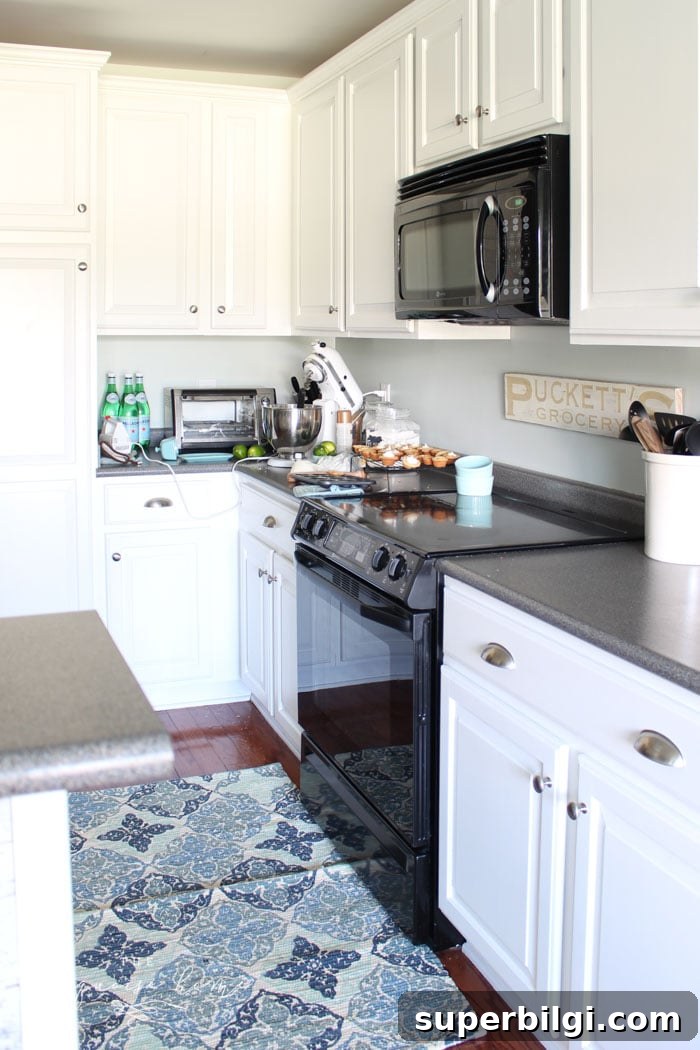
Before diving into this detailed DIY tutorial on how to paint kitchen cabinets and refresh an outdated kitchen, a quick warning: this project takes effort. There’s physical work, moments of frustration, and it usually takes longer than you expect. But when you stand back and look at the finished cabinets, all of that fades away—worth every minute.
Yes, it’s a commitment, and you may mutter a few choice words along the way, but the final result—clean, freshly painted cabinetry—brings a huge sense of accomplishment.
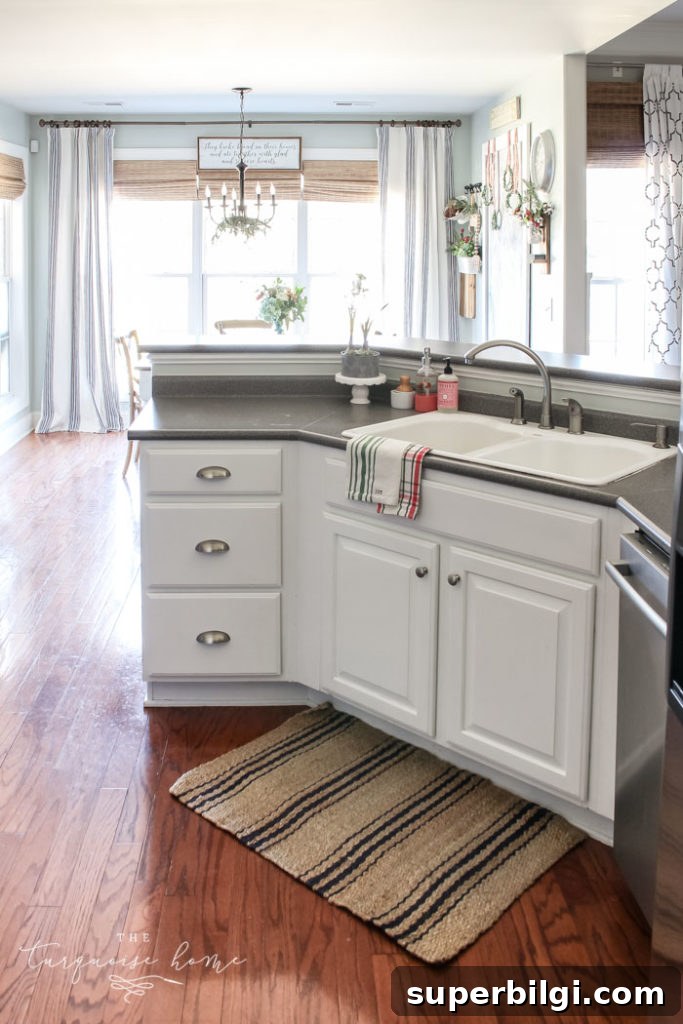
These before-and-after changes completely altered the look and feel of my kitchen. Every morning I walk in and feel like I reached my design goal. If you’re planning to tackle a similar update, here’s exactly how I did it—what worked, what I’d change, and practical tips to get a smooth, durable finish using only rollers and brushes.
How to Paint Kitchen Cabinets: Timeline
I didn’t paint the insides of my cabinets, so this timeline covers removing doors, prepping, painting doors and drawers, and painting the outside of the cabinet boxes. Working during nap times and evenings, it took me about four weeks. My mom helped for a day and my husband rehung the doors, but most of this was solo work. If you have little ones, you may want to budget extra time or hire help for a week to finish faster.
If you’re doing a small to medium kitchen and working around family life, plan on roughly 4–6 weeks. A weekend finish is possible for experienced DIYers or with full-time help, but for most of us, steady progress over several weeks is realistic.
How to Paint Kitchen Cabinets: Supplies
Gathering the right supplies up front saves time and frustration. Here’s what I used when painting cabinets with a roller and brush:
- Painter’s tape
- Degreaser
- Wood filler
- Sander or sandpaper (an electric finishing sander speeds this up)
- Foam roller and roller covers
- Liquid deglosser (optional for saving sanding time)
- High-quality primer
- Cabinet paint
- High-quality paint brushes (good brushes last and reduce brush strokes)
- Tack cloths
Best Paint for Kitchen Cabinets
Choosing the right paint is one of the most important decisions. Use a paint formulated for cabinets, trim, or doors—a semi-gloss or gloss finish is easier to clean and creates a tougher surface. Don’t skimp on paint quality; it affects durability and how well the finish resists chips and stains.
Two cabinet paints I’ve worked with are:
- A cabinet/trim paint that goes on very smooth and dries to a hard finish—ideal for minimizing brush marks when applied in thin coats.
- Benjamin Moore Advance, which levels nicely but dries faster. If you use a faster-drying product like Advance, consider adding a latex paint conditioner (such as Floetrol) to reduce brush marks and help the paint level out.
Final thought: both types can work well; adjust technique and additives according to the product you choose. For dark colors, have the primer tinted close to the final shade to reduce the number of finish coats needed.
How to Paint Kitchen Cabinets
Step 1: Gather Your Supplies
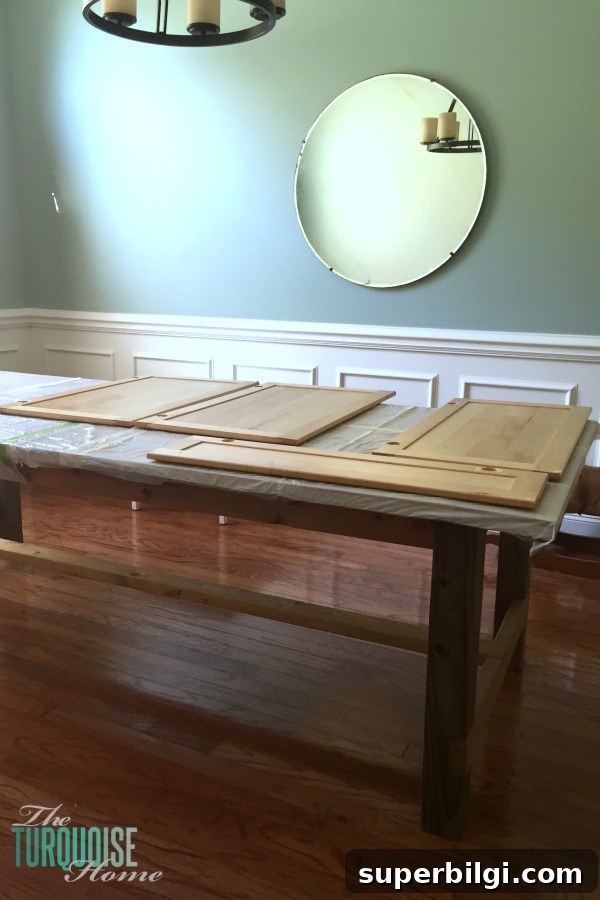
Pick your paint color and buy supplies: tape, sander or deglosser, drop cloths, degreaser, brushes, rollers, filler, primer and tack cloths. Clear a dedicated workspace—my garage was great for sanding and priming (it’s smelly), and my dining room table worked well for painting doors and drawers.
Step 2: Remove Doors and Hardware
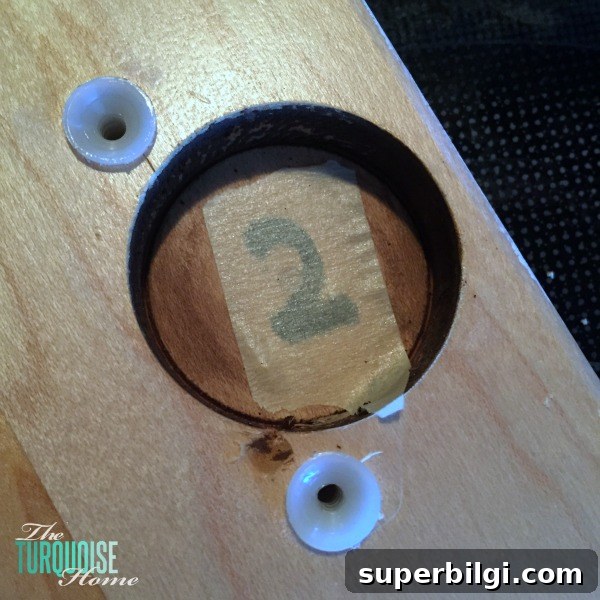
Removing doors and hardware is time-consuming—don’t do it alone if you can avoid it. As you remove each door, mark it so reinstallation is easy. I wrote the door number under the hinge and covered it with a piece of tape so the number stayed readable after painting. I also labeled the corresponding cabinet interior so everything went back to its original spot.
Put each door’s hardware in a separate bag and tape it inside the matching cabinet; that keeps screws and hinges organized while you work.
Step 3: Clean with a Degreaser
Thoroughly clean every surface to remove grease and food residue. I used a general natural cleaner for most areas and a stronger solution (or lemon essential oil for sticky spots). Grease under a new coat of paint shows quickly—don’t skip this.
Step 4: Fill and Re-drill Hardware Holes
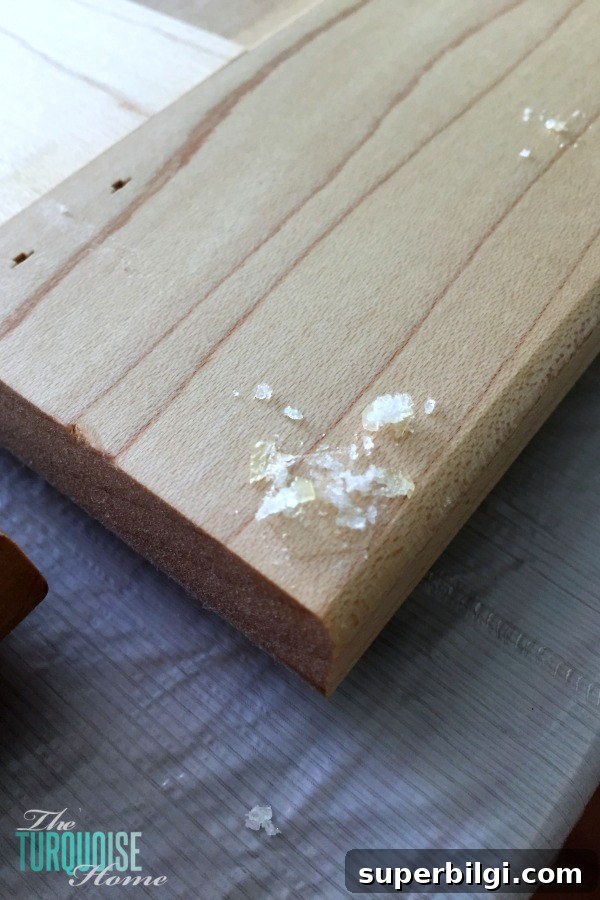
If you’re changing hardware, fill old holes with wood filler and sand smooth. When you choose new hardware later, you can drill new holes as needed.
Step 5: Patch, Caulk and Repair
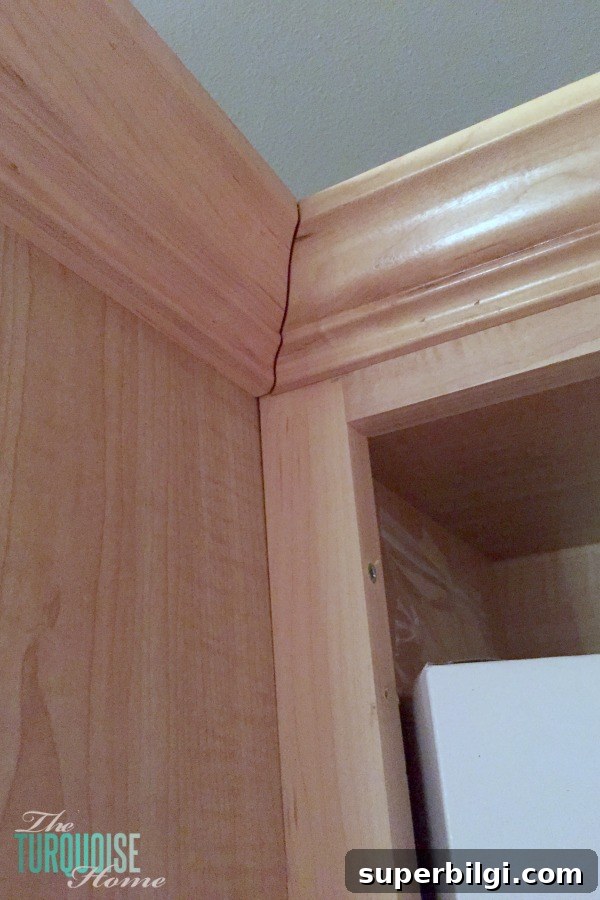
Fix any loose drawer fronts or cosmetic issues now. Use caulk in seams and fill holes in toe kicks. It’s much easier to address these problems before painting, and a white primer or paint will reveal places that need extra attention.
Step 6: Sand or Degloss
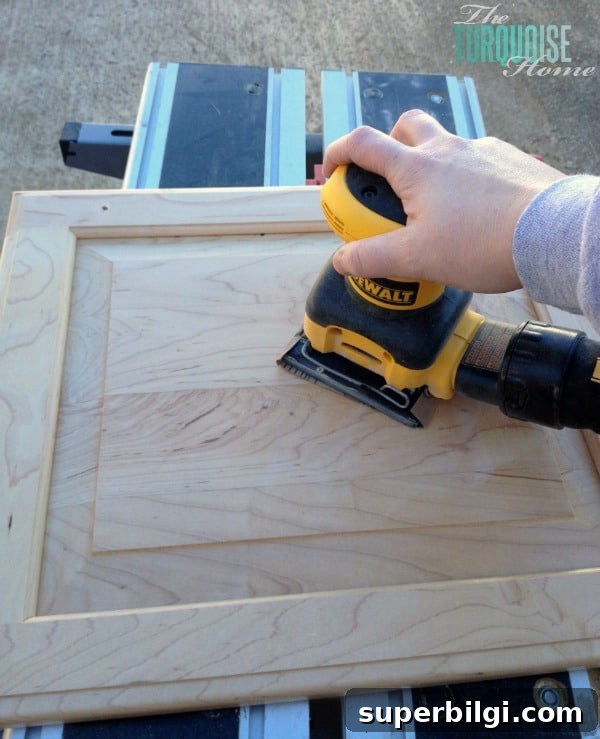
Sand the doors (front and back) to scuff the finish so primer can adhere. An electric finishing sander makes this far faster than sanding by hand—use medium-grit paper and change it often. Wipe with a tack cloth when done.
If you prefer not to sand cabinet boxes, a liquid deglosser can be used. It’s very effective but produces strong fumes and requires protective gloves and good ventilation. I used a deglosser on the boxes to avoid a dust mess, but I sanded the doors for best adhesion. Note: be careful with gloves and skin contact—some people experience reactions.
Step 7: Tape and Protect Surroundings
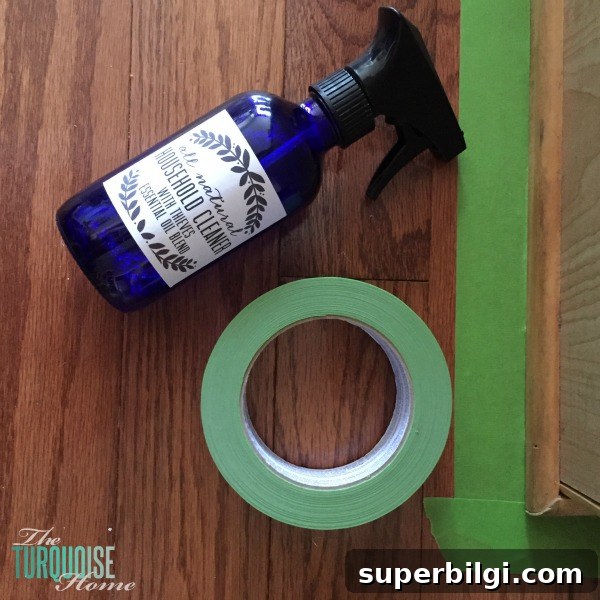
Use painter’s tape to protect floors and adjacent walls, and cover countertops and appliances. Proper taping minimizes clean-up and prevents accidental paint on surfaces you don’t want painted.
Step 8: Prime Everything
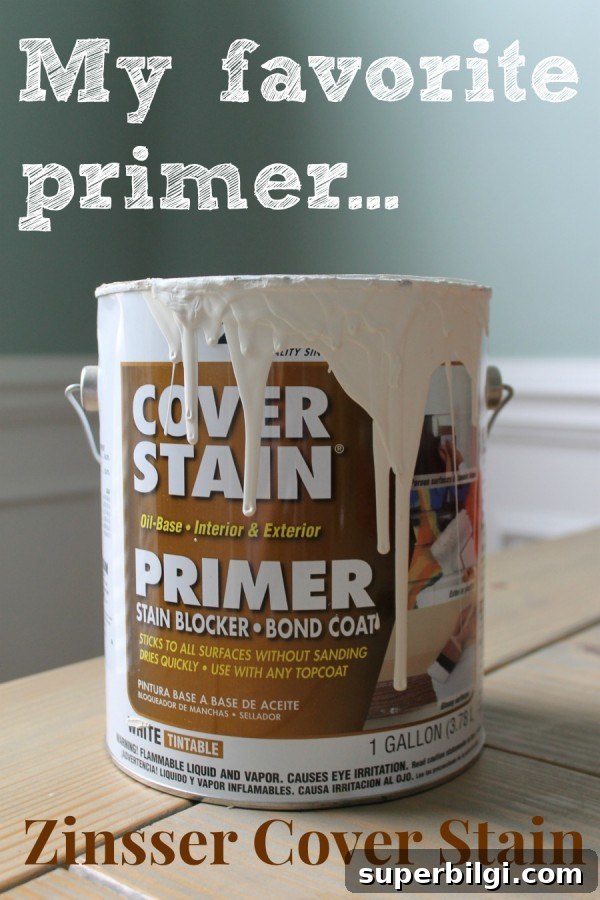
Prime all surfaces. Don’t rely on paint-and-primer-in-one for cabinetry—use a high-quality bonding primer for best adhesion and durability. For oil-based primers, a disposable brush and a foam roller work well. If your final color is dark, tint the primer close to the finish color to reduce the number of topcoats required.
Step 9: Sand Primer Drips Lightly
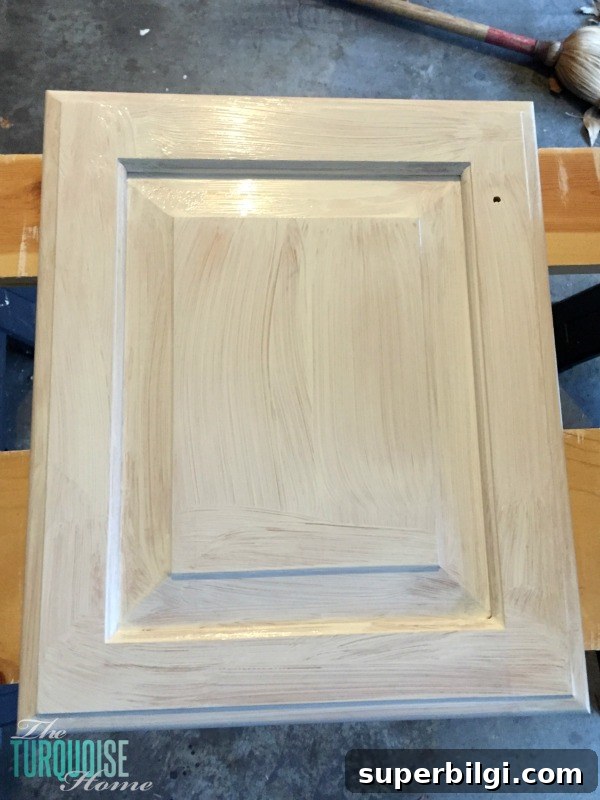
If you see any drips or rough spots in the primer, sand them gently with fine-grit paper. The goal is a smooth base—don’t sand through the primer.
Step 10: Paint
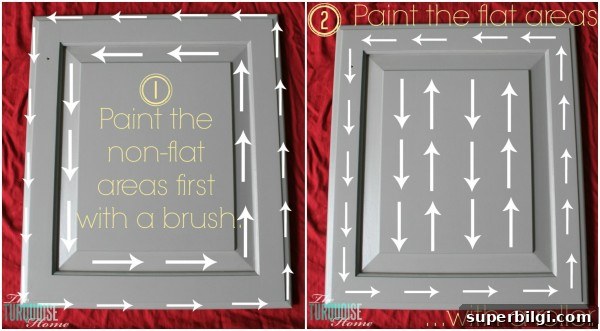
Now the fun begins. I paint the backs of doors first, applying all coats they’ll need, then flip them to paint fronts. On the front, brush any detailed or beveled sections first, then use a foam roller for the flat surfaces to minimize brush marks. Work in thin, even coats to avoid pooling in corners.
Step 11: Sand Between Coats if Needed
Follow your paint manufacturer’s guidance for recoat time. Lightly sand any minor imperfections between coats to keep the surface smooth. If there are no problem spots, you can skip sanding between coats.
Step 12: Repeat as Needed and Re-hang Doors
Most cabinet doors need two or three finish coats. Evaluate after two coats and add a third where necessary. Let everything dry thoroughly, then reattach hardware and hang the doors. Seeing the finished kitchen up close is a rewarding payoff after all the preparation.
Final tips: Label parts carefully when removing doors and hardware. Wear gloves and ventilate well when using deglossers and primers. Take your time prepping—proper cleaning, filling, and sanding make the finish last. If you use a fast-drying paint, add a paint conditioner to improve leveling and reduce brush marks.
More posts you might enjoy:
- Painted Kitchen Cabinets: 2 Years Later
- Budget-Friendly DIY Kitchen Cabinet Ideas
- How To Display Kitchen Cabinet Wreaths
- A Coastal Summer Living Room & Kitchen
- A Peachy Summer Kitchen