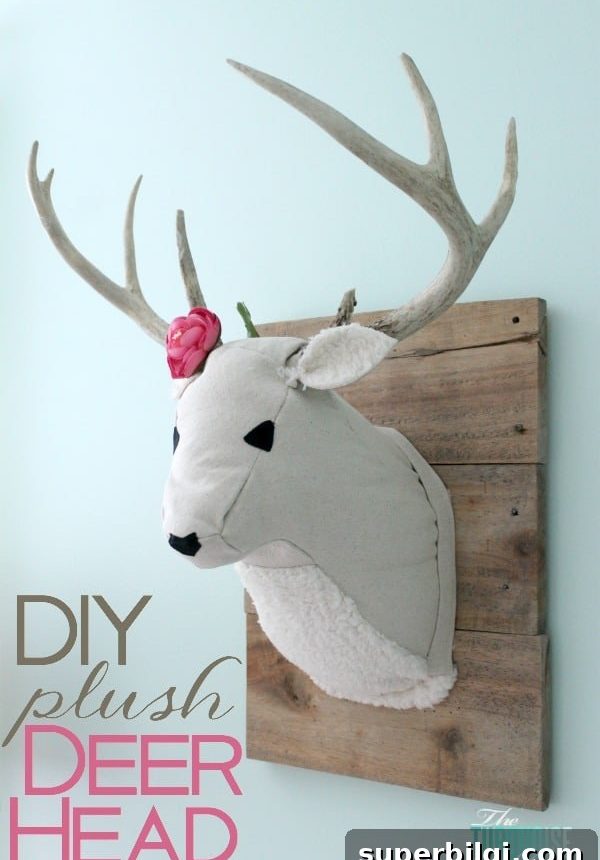
When I first imagined my little one’s woodland nursery, I immediately wanted a plush faux deer head to grace the wall. I looked at several ready-made options online, but many were sold out or far too expensive. Eventually I discovered a great DIY tutorial and decided to make one myself. The result is a handmade plush deer head that adds a warm, rustic touch to the room.
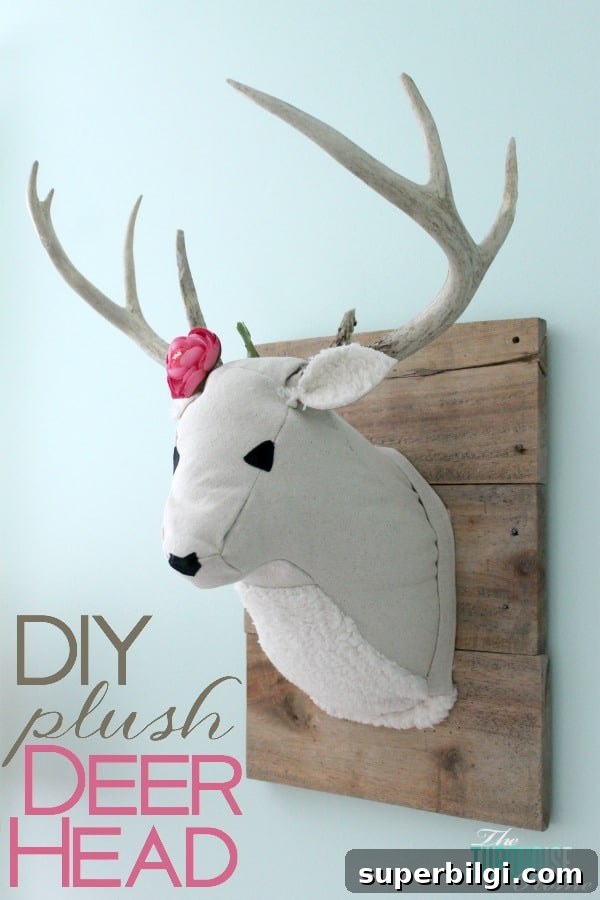
This project took patience and a few retries, but it was worth the effort. Some parts—like building the plaque and mounting the antlers—were straightforward. The most challenging portion was shaping and sewing the fabric pieces so they would look like a deer. That hands-on, imperfectly perfect finish is exactly what I wanted for the nursery.
Materials you’ll need:
1. A set of real deer antlers
2. Drill and screws
3. Wood for the plaque and stand (I used 1×4 reclaimed barn wood for the plaque, lattice trim to reinforce it, and scrap 1×2 and 1×3 pieces for the stand)
4. Wood glue
5. Brown fabric (I used drop cloth canvas)
6. Faux white fur fabric (found at a craft store)
7. Small amount of black fabric for facial details
8. Poly-fill stuffing
9. Staple gun
10. Needle and thread
11. Hot glue gun
12. Optional: wood stain for the plaque
13. Pattern/template for a deer head
Start with the antlers if you have them. My husband had a pair from a buck he harvested, and they were perfect for this project. If you don’t already own antlers, they can sometimes be sourced from taxidermy suppliers or craft shops.
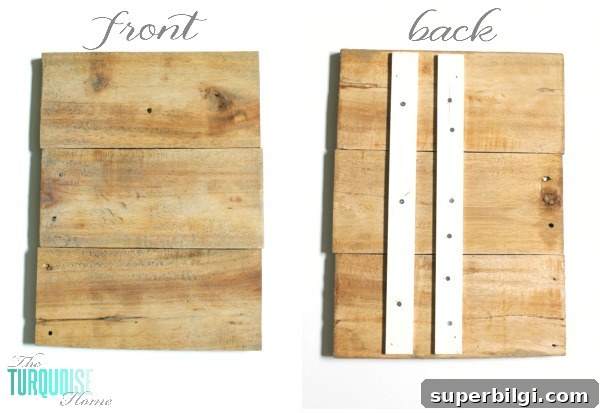
For the plaque I used reclaimed barn wood that had been saved for a special project. A weathered stain added an aged look that complements the woodland theme. I attached the board pieces with lattice trim and used only materials I already had on hand—no new lumber purchases required.
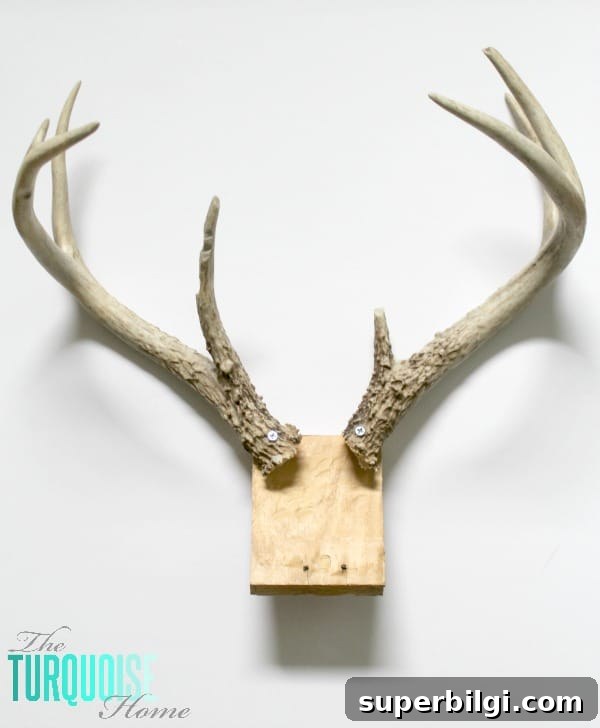
To mount the antlers I used a short block of wood secured to the plaque. Because antlers are very hard, drilling a pilot hole in the bone is essential before driving screws. That step was a little unpleasant due to the smell, but it produced a solid, secure attachment. I adjusted the direction of the antlers to create an anatomically accurate look that sits naturally on the plaque.
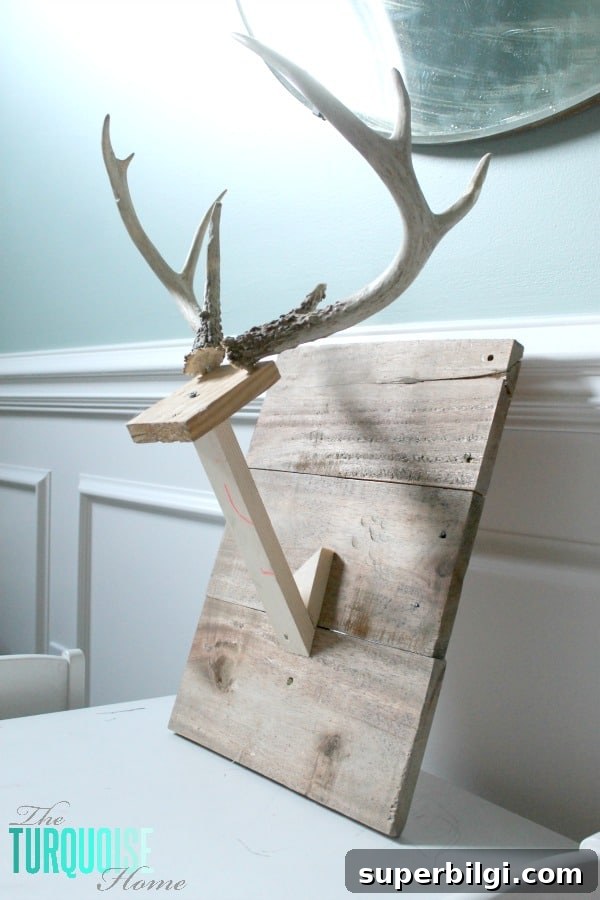
Next I built a simple angled stand from a 1×2 cut at a 45-degree angle and secured a support piece behind it. Generous wood glue and screws made for a sturdy base. I then attached the antler block to that stand and let the glue cure. I paused here for a bit, gathering courage to begin the fabric work.
Using a template, I cut the fabric pieces and started sewing. I recommend following the step-by-step sewing sequence in the pattern you choose, since those instructions provide the specific order and seam allowances you’ll need. I ended up sewing the head twice because either my stand measured differently than the template or the template pieces needed a bit more length to reach and wrap around the plaque. Extending the face and chest pieces gave enough material to secure everything to the wood with staples.
Choosing the right fabric mattered. My first fabric option was too thin and unraveled at the seams. I switched to drop cloth canvas, which held up better but still needed edge finishing to prevent fraying. There are simple tricks—like using fabric sealant, folding raw edges, or applying a narrow hem—that help stabilize canvas and burlap-style materials.
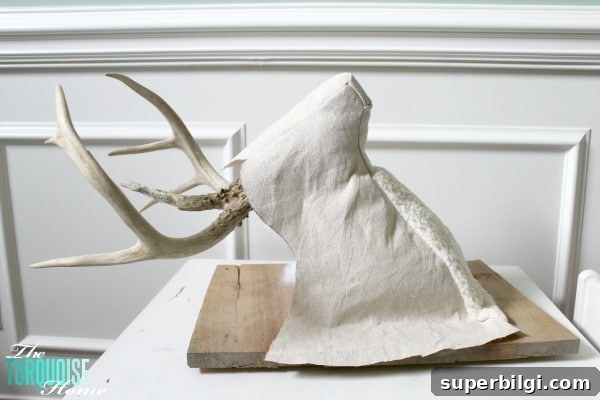
With the face sewn, I placed the stuffed head onto the stand and filled it with poly-fill. The amount of stuffing changes how full the head looks and affects the size of the back piece you’ll need. After stuffing, I stapled the side panels in place, then cut and attached a back panel to close the head. That panel will vary in shape and size depending on your stuffing and how the pieces align.
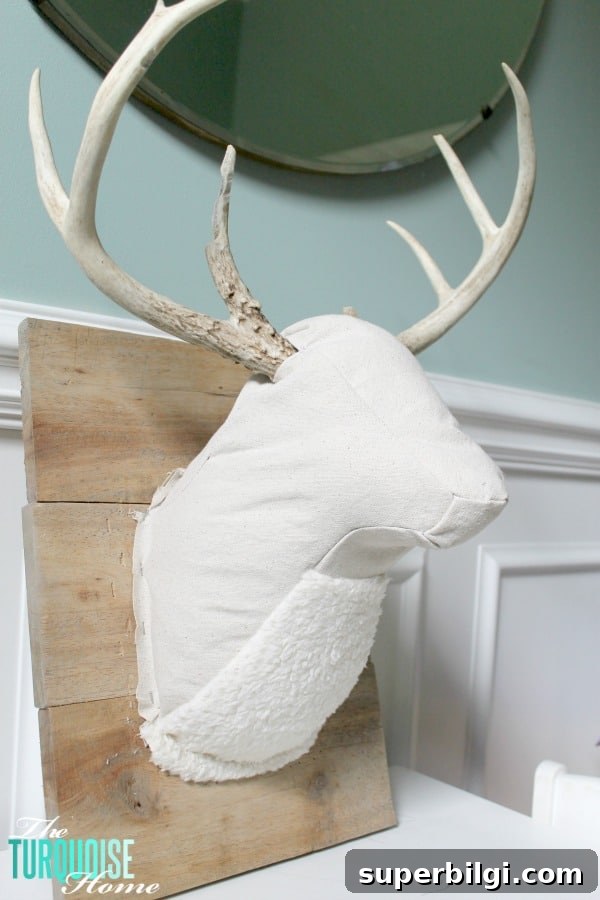
To finish, I covered the stapled edges with a long folded strip of fabric, folded and ironed into a neat binding, then glued it around the perimeter for a clean look. I cut small pieces for the nose and mouth, glued them into place, and attached the ears. I intended to sew the ears, but I was ready to finish, so a little hot glue did the trick.
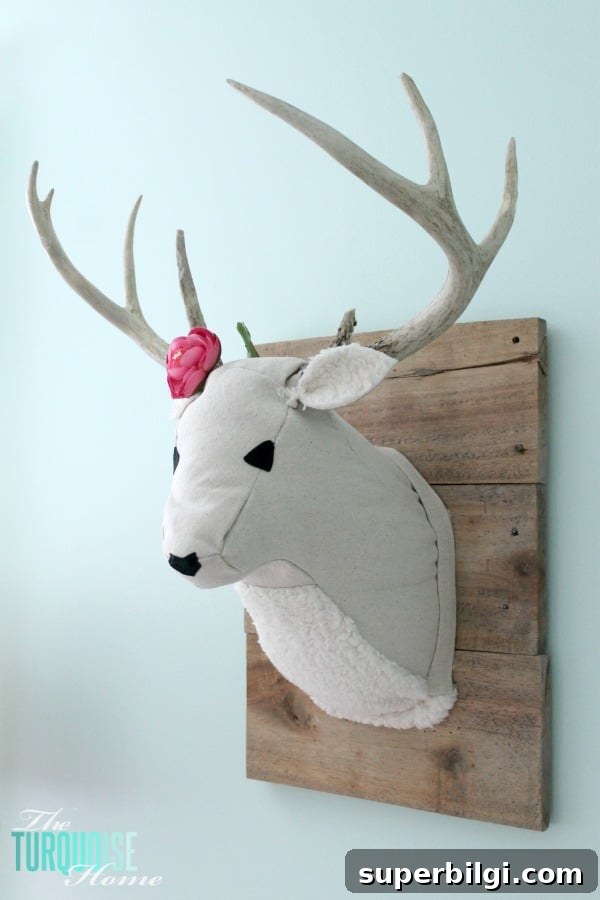
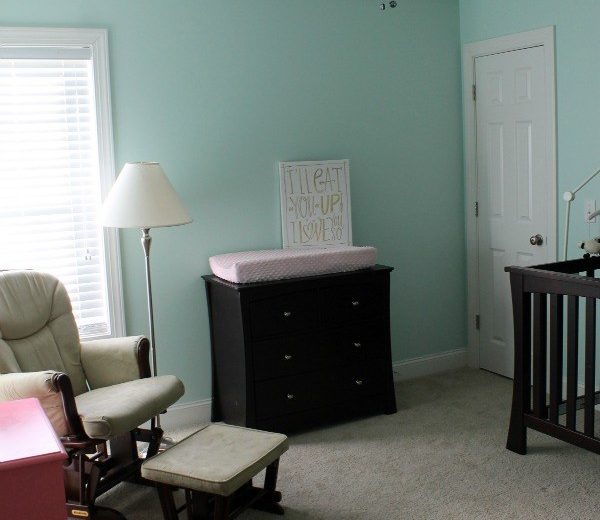
For a feminine touch you can add a small fabric flower or ribbon; for a more neutral look you can leave it plain. The finished deer head sits beautifully above the changing table, where it becomes a sweet focal point and a playful companion for diaper-time.
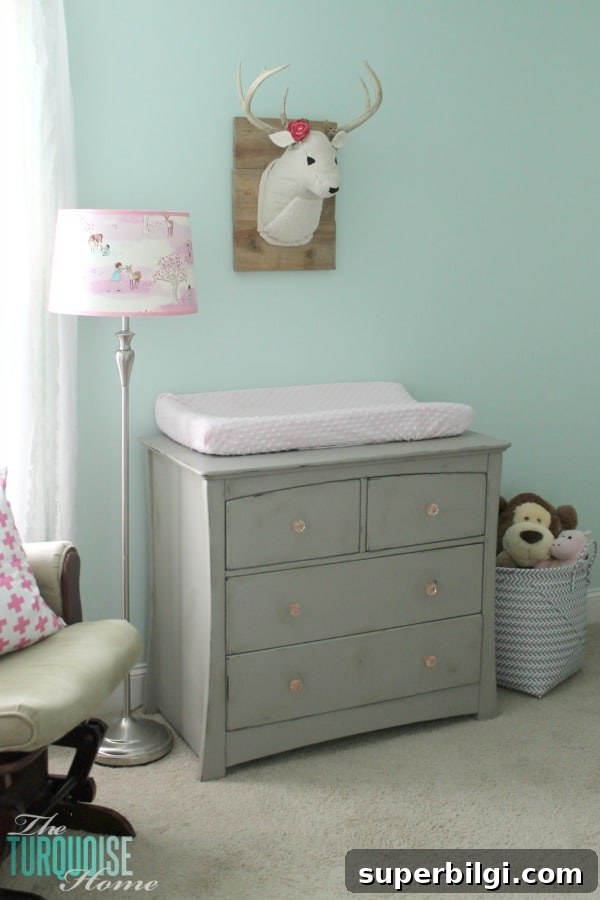
This corner of the nursery is nearly finished. I still plan to hang a few more pieces of art and complete one small DIY shelf, and then the room will be ready. The deer head isn’t perfect, but its handmade character is exactly what makes it special—those little flaws add warmth and personality.
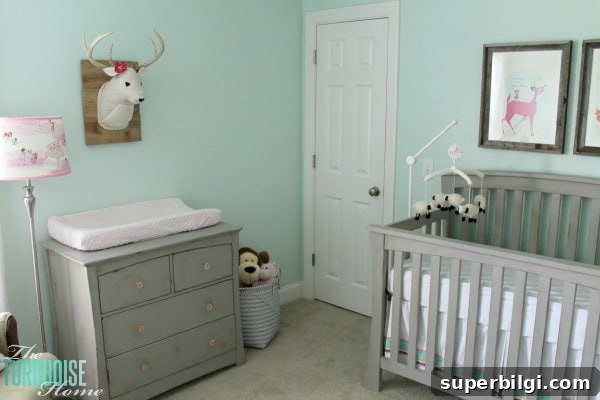
What do you think? I’m delighted with how it turned out and love the cozy, woodland vibe it brings to the nursery.
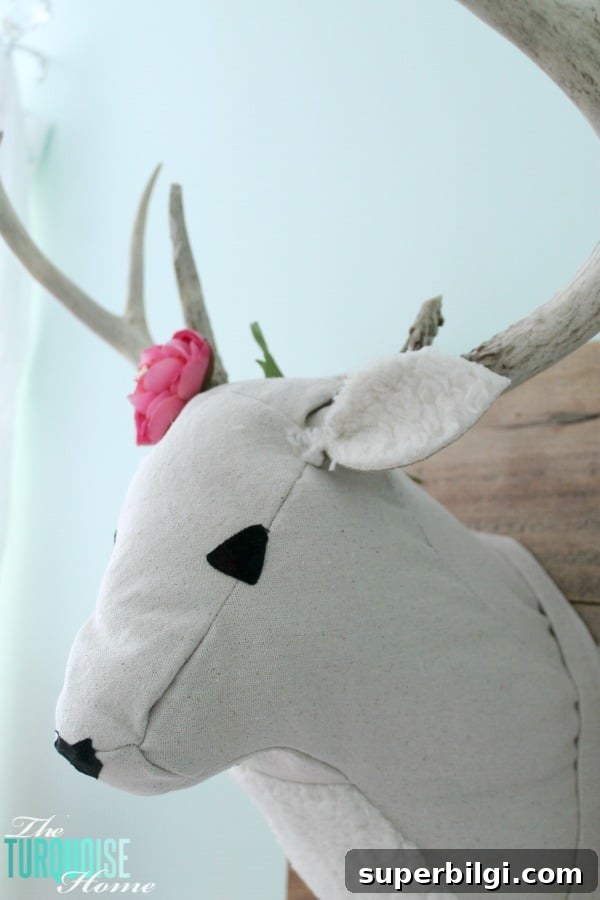
For a closer look at the hand-sewn details, here is a close-up showing the finished face and stitching. It’s not museum-perfect, but it’s full of handmade charm.
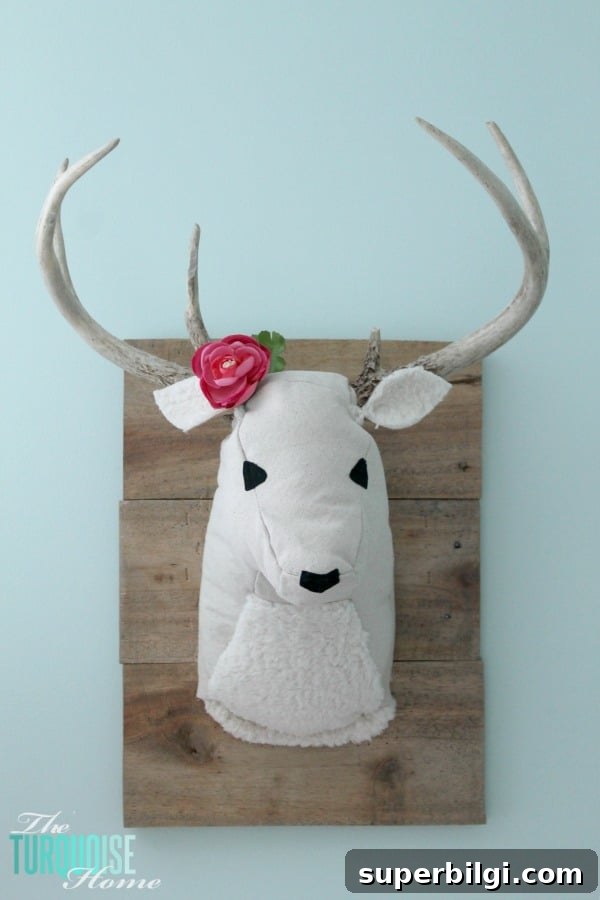
If you’re planning a woodland nursery or a rustic accent wall, a DIY plush deer head is a rewarding project. It’s a mix of woodworking, basic sewing, and a little patience, and the final piece adds a cozy, personalized touch to the room.
Related projects and inspiration:
- DIY Flower and Moss Letter Art
- DIY Bookshelf Ledges for the Nursery
- Benjamin Moore Lido Green — nursery progress