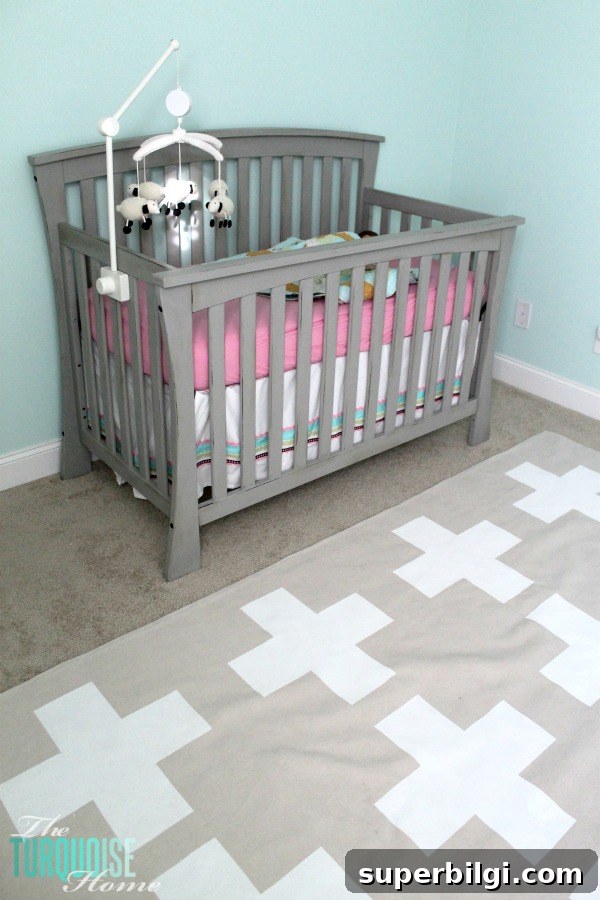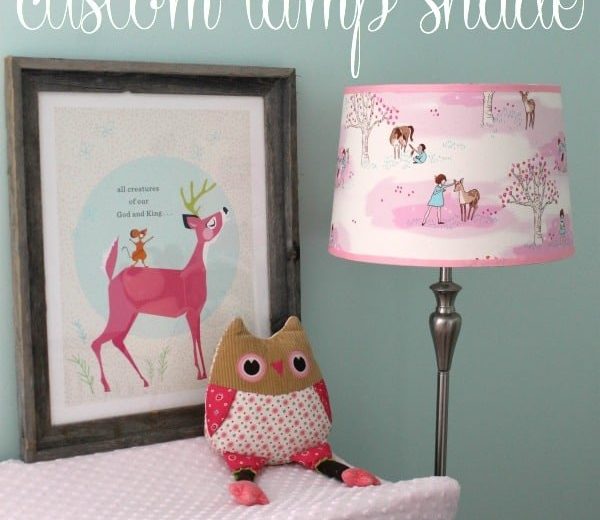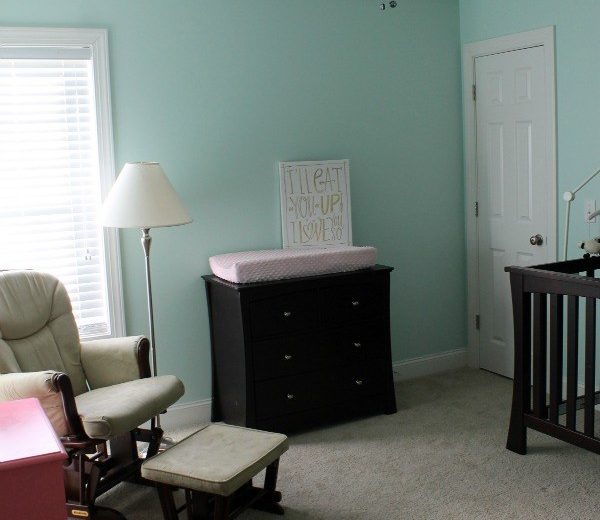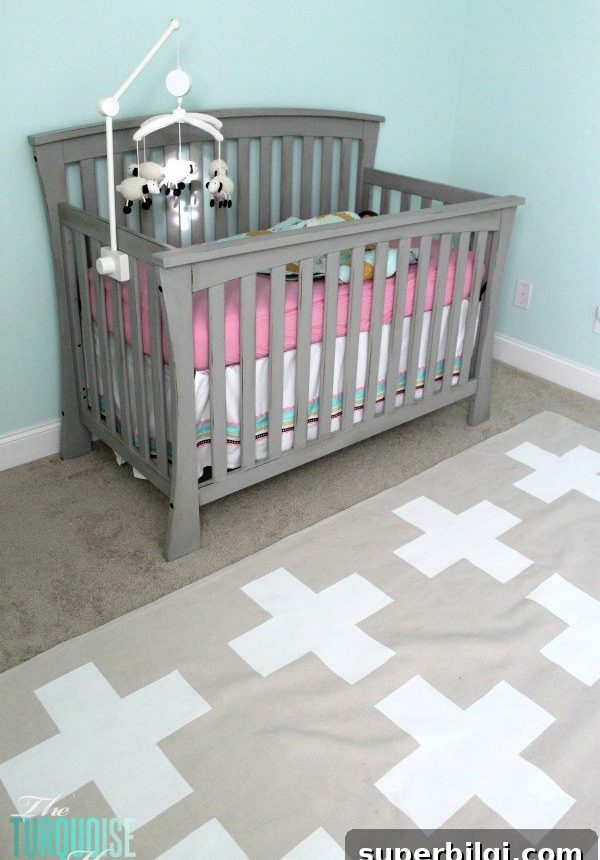
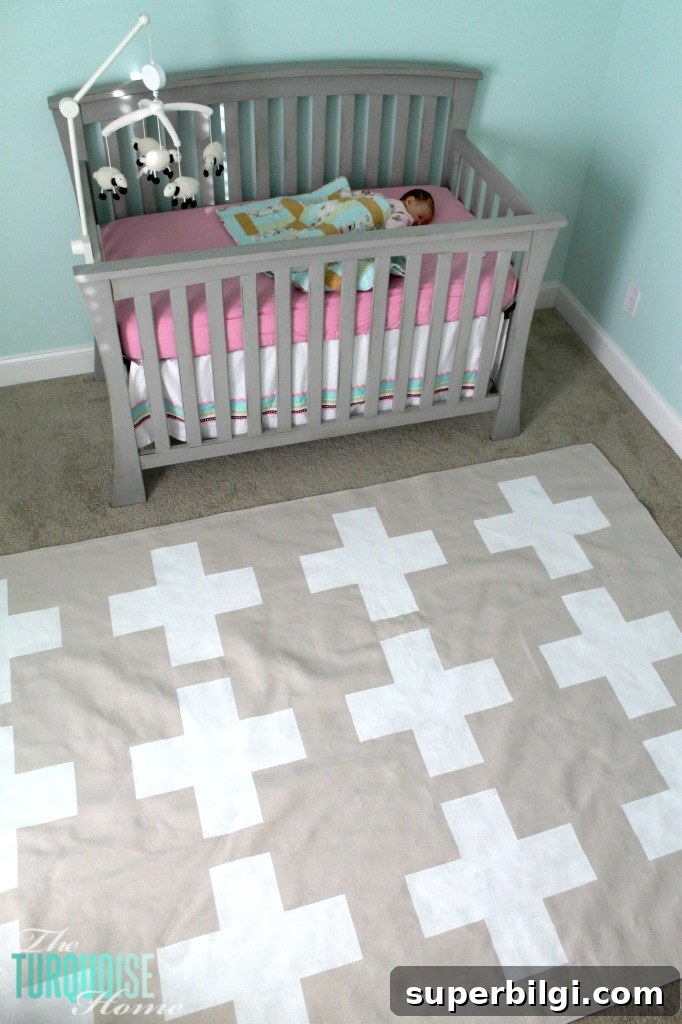
I finally completed another piece of Baby G’s nursery: a DIY painted drop cloth rug. Now that she’s sleeping in the room, I’m eager to finish the rest and reveal the completed space. Projects take much longer with a newborn, so I’m celebrating small wins and steady progress.
This time around is very different from when Miss A was born. Back then I had extended maternity leave and fewer commitments. Now I work from home, care for a preschooler and a newborn, and manage household life hour by hour. Some days simply keeping everyone safe, warm and fed feels like success—but when I do get a few hours, I prefer to make them count with practical, budget-conscious DIYs like this rug.
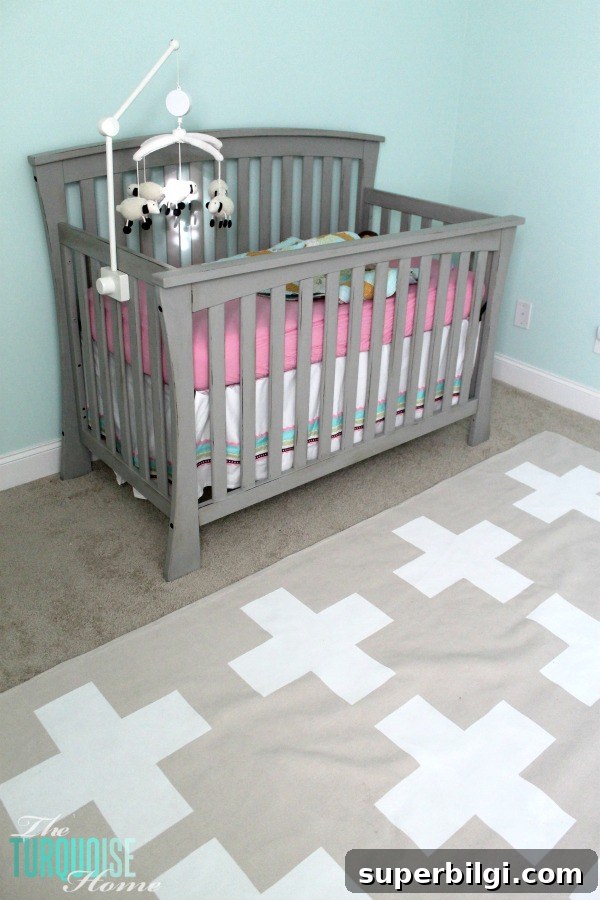
I loved the look of a Swiss cross rug for the nursery but didn’t want to spend much. A painted drop cloth creates a similar visual impact for a fraction of the cost. This is an unconventional floor covering—basically breaking a few decorating rules—but it’s an easy, stylish DIY that works well in a nursery.
What you’ll need:
– A canvas drop cloth (I used a 12 x 9 ft and folded it to make a 9 x 6 rug)
– Spray adhesive
– Paint (I used a neutral sample pint called Whisper Softly)
– A good brush or small roller
– Painter’s tape (I used Frog Tape)
Step 1 – Prep
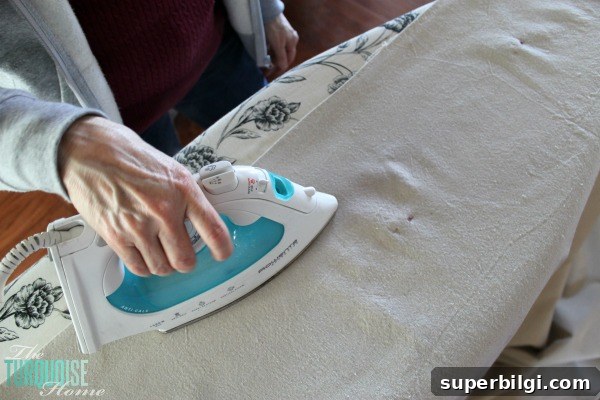
Wash and dry the drop cloth first to prevent future shrinkage. Then iron it thoroughly to remove creases—this makes aligning and taping much easier. I had help with the ironing, which saved time.
Step 2 – Fold it in half
Fold the drop cloth to the desired final size. I recommend a helper for this and for the next steps because drop cloth edges aren’t perfectly straight. Match corners and sides as best you can, pin the edges and iron the folded seam—this creates a crisp guide for later alignment.
Step 3 – Spray adhesive
Lay the folded drop cloth on a protective surface outside or in a well-ventilated garage. Spread a sheet or newspapers underneath to protect the floor. Open the folded cloth and spray adhesive onto one side—if possible, spray both sides for a stronger bond. Work carefully to avoid overspray on the surrounding area.
Step 4 – Join the layers
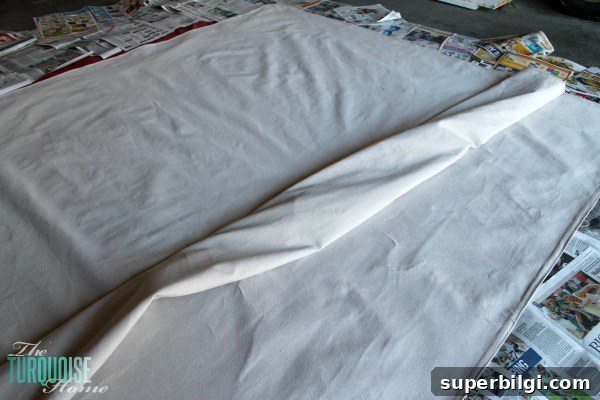
With two people, carefully lay the top layer over the bottom, starting in the middle and smoothing outward to remove air pockets and wrinkles. You may need to lift and reset sections to press out creases. This step is much easier with an assistant.
The spray adhesive holds the layers together while you work, but expect some shifting—so take your time smoothing and aligning.
Step 5 – Plan your design
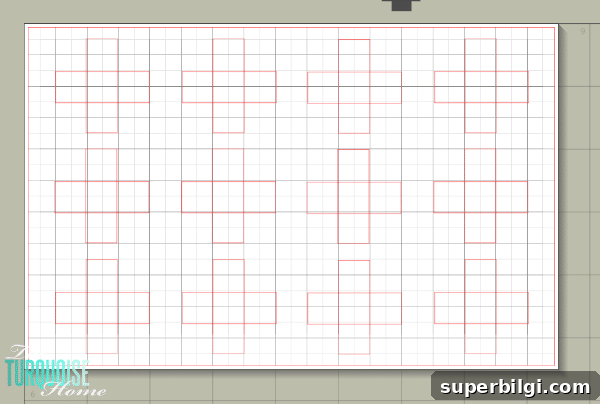
Sketch a layout before taping. I used design software to map spacing so the crosses would be even and centered. Careful planning reduces wasted tape and repainting later.
Step 6 – Tape off your design
Use painter’s tape and a straightedge to mark your pattern. Double-check that your straightedge is actually straight before relying on it. Taping is the most time-consuming part; expect to reposition tape a few times until spacing feels right.
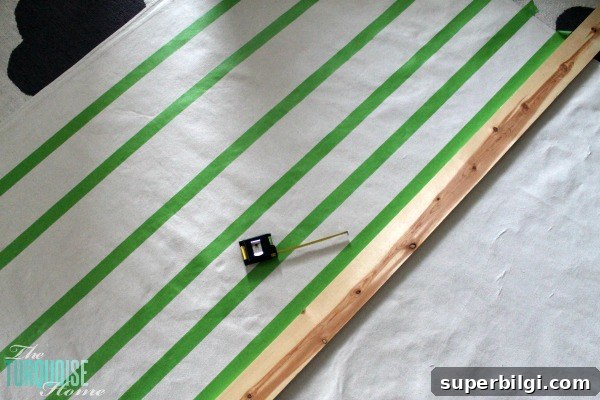
Working on top of another rug or padded surface makes taping and painting more comfortable—your knees will thank you.
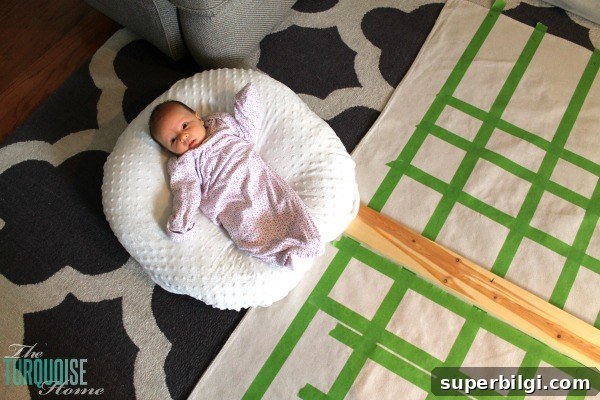
Step 7 – Trim excess tape
Once all lines are taped, use a box cutter to trim away tape you don’t need. Cut carefully so you slice only through the tape and not the drop cloth fabric.
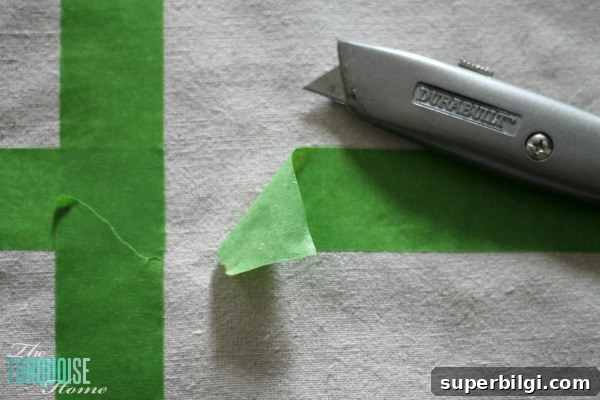
Now the design is clear and ready for paint.
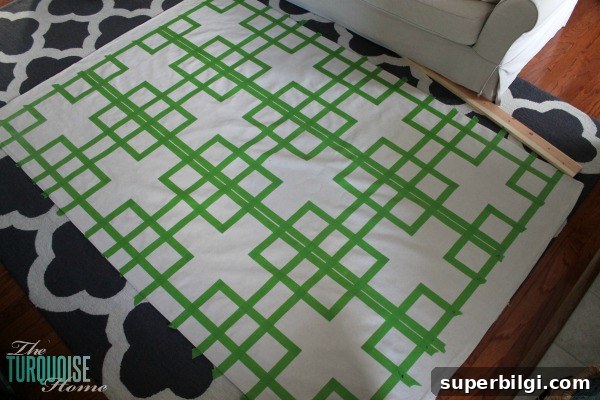
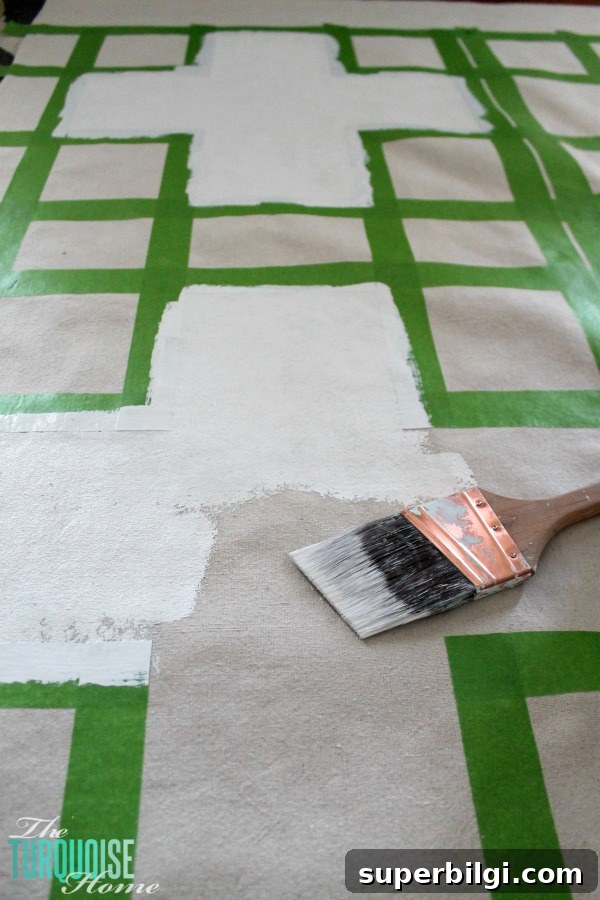
Step 8 – Paint
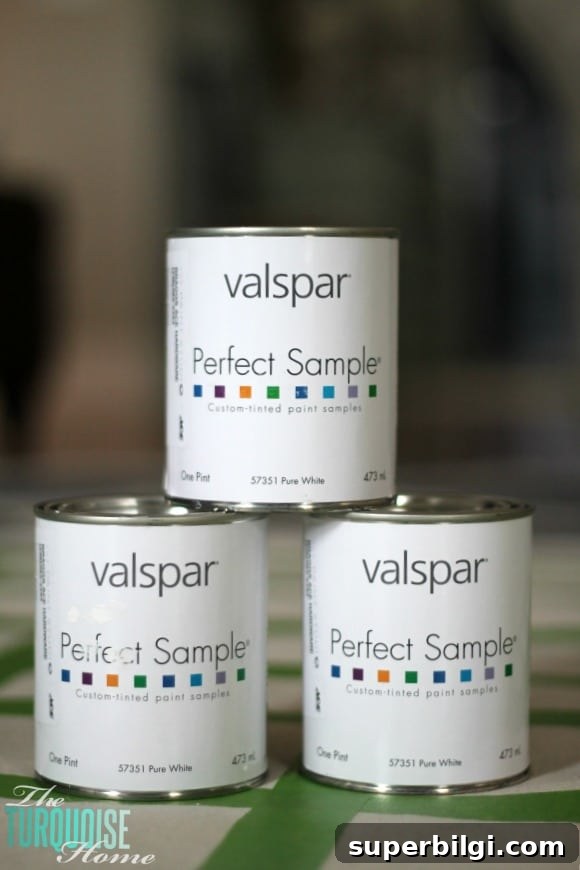
I used a neutral sample pint that reads white with subtle green-gray undertones—a soft option for a nursery. When painting fabric, press tape edges firmly and brush or roll away from the tape to avoid pushing paint under the edges. This technique keeps lines crisp. The project used the full pint of paint.

After the paint dried, remove the tape carefully to reveal the pattern. The finished canvas rug looks strong and graphic, and it makes a big design statement in the nursery.
A few finishing notes: painted areas can feel stiff. You can soften them by lightly sanding with an orbital sander or by mixing fabric medium into the paint next time—fabric medium reduces stiffness and improves flexibility. I also plan to stitch the rug edges for added durability; the spray adhesive holds well but stitching will prevent separation over time.
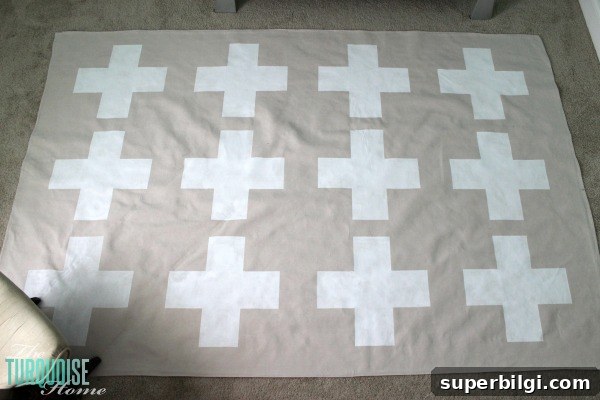
The rug is large, so photographing the entire piece was a challenge, but I’m really pleased with how it turned out. It complements the nursery and ties the room together without a big budget.
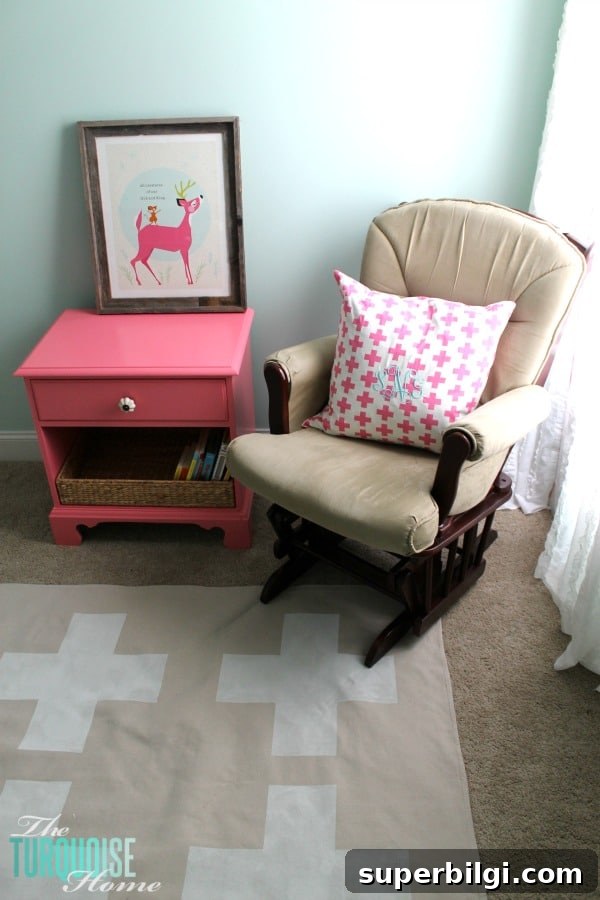
Would you try a painted drop cloth rug? If so, choose a simple geometric pattern for an easy, modern look—or personalize it with colors that match your decor. I have just a few more nursery projects to finish before the final reveal, and I can’t wait to see everything together.