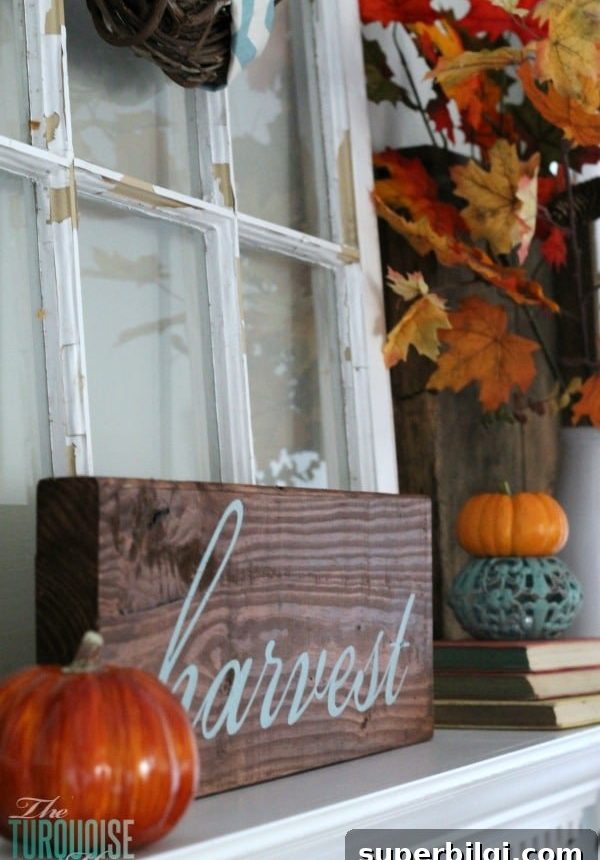
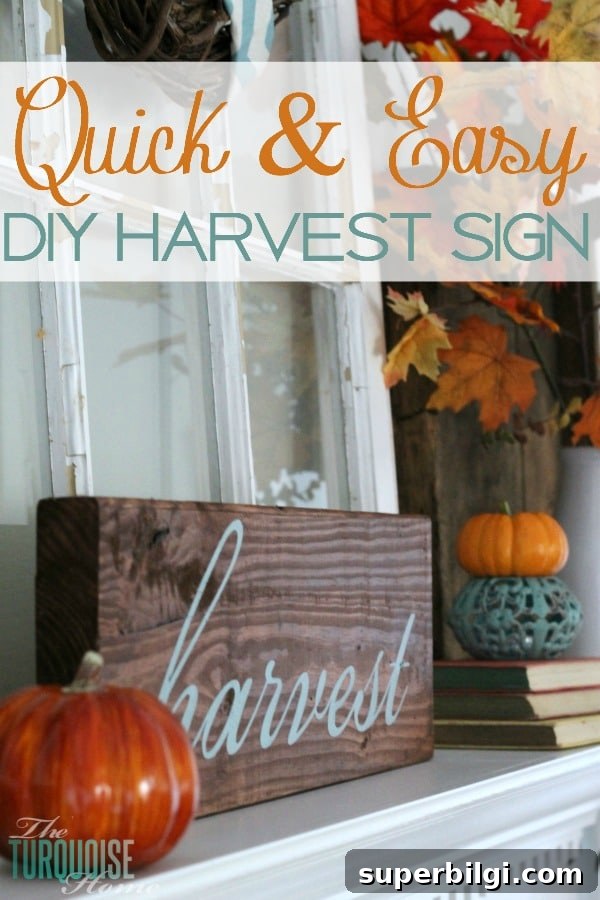
My DIY “Harvest” sign took less than two hours from start to finish. It was fast and simple, thanks to a little luck and a few tools and supplies I already had on hand.
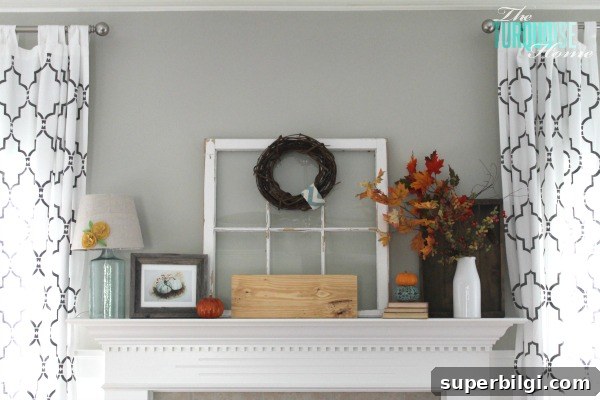
I wanted a focal piece to anchor my mantel (I documented the mantel project separately), so I searched my stash of scrap wood and found a board that fit the space perfectly. Using materials I already had made this a no-cost project—exactly the kind of quick, satisfying craft I love.
Why this project is so quick
I had roughly an hour and a half before I needed to pick my daughter up from preschool, so speed mattered. Because I used a simple stain cloth and pre-cut contact paper for a stencil, the whole process moved quickly: stain, wait for it to set, apply a stencil, paint, and peel. If you gather everything before you start, this can definitely be finished in an afternoon—or a preschool window like mine.
This post contains affiliate links for your convenience.
Materials I used
- Scrap wooden board (saved from a previous project)
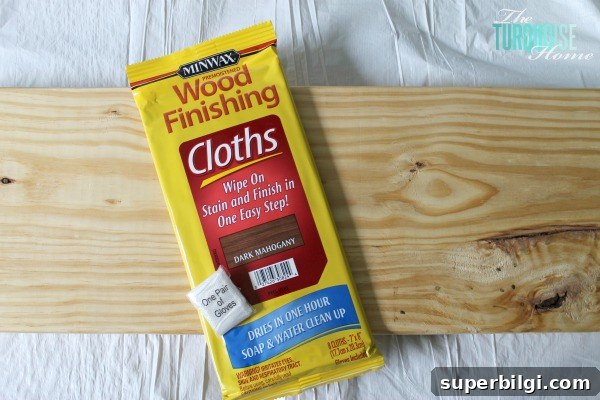
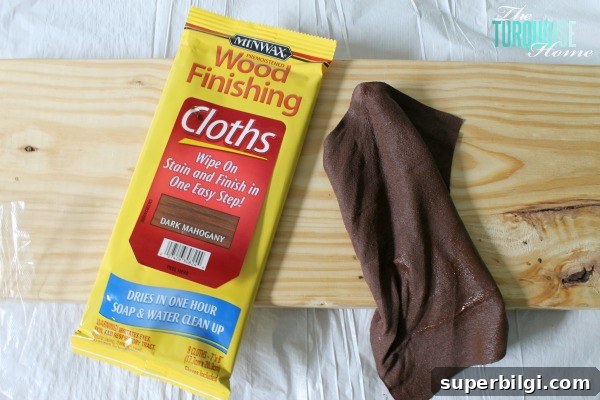
- Minwax stain cloths in dark mahogany (single-use wipes)
- Disposable gloves (one pair came with the wipes)
- Contact paper for a stencil (cut with Silhouette Studio)
- Mod Podge (applied first to seal the stencil edges)
- Benjamin Moore Stratton Blue (for the painted lettering)
- Silhouette software and cutting machine (for precise lettering)
I especially liked the Minwax stain cloths because they have very little odor and clean up with water, so I didn’t need mineral spirits. The pack even included one pair of plastic gloves, which was a nice bonus.
Step-by-step process
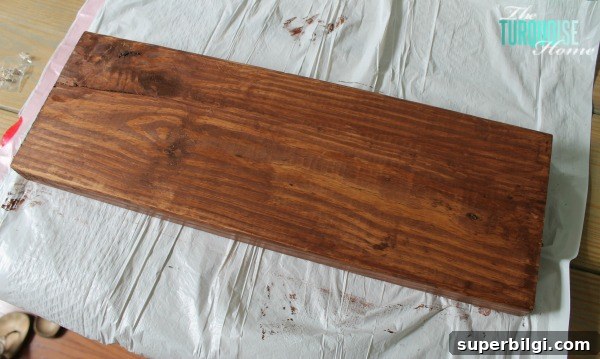
1. Prepare the board: I selected a scrap board that fit the mantel space and wiped it clean. I used a single Minwax stain cloth and followed the directions on the package—apply, let soak briefly, then wipe off excess. The wipe made the application straightforward and fast.
2. Let the stain dry: The stain needed about thirty minutes to dry to the touch. While it dried, I prepared my stencil.
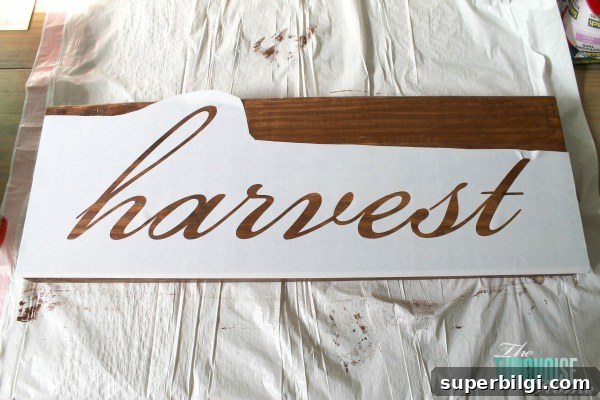
3. Cut a stencil from contact paper: In Silhouette Studio I typed the word “harvest” using the Bickham Script Pro font and cut it from contact paper. Contact paper makes excellent temporary stencils for lettering because it adheres well to wood and peels away cleanly.
4. Seal stencil edges with Mod Podge: Once the stain was dry, I applied the contact-paper stencil to the board and painted a thin layer of Mod Podge over the letters. This step helps prevent paint from bleeding under the stencil and gives a crisper edge to the lettering.
5. Paint the lettering: After the Mod Podge dried, I painted the lettering with Stratton Blue (a Benjamin Moore color I used elsewhere in my home). I applied one coat and then peeled the stencil off while the paint was still slightly wet so the edges stayed clean and the paint didn’t crack or lift.
Final result and tips
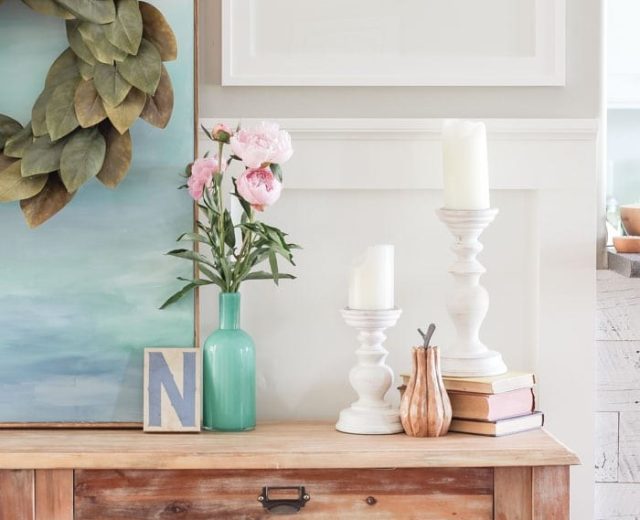
The finished sign became the centerpiece of my turquoise-and-orange fall mantel. I love that it cost me nothing since I used leftover supplies, and it tied the whole vignette together. A few practical tips if you try this:
- Work in a well-ventilated area even if the stain has low odor.
- Allow the stain to dry fully according to the product directions before applying a stencil.
- Use Mod Podge under stencils to prevent paint bleed, especially with script fonts.
- Remove stencils while paint is slightly wet for the cleanest edges.
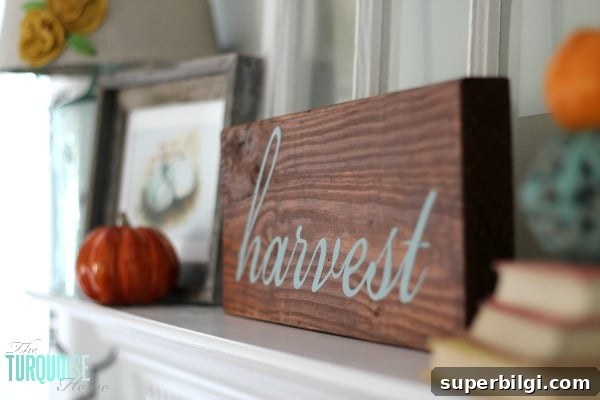
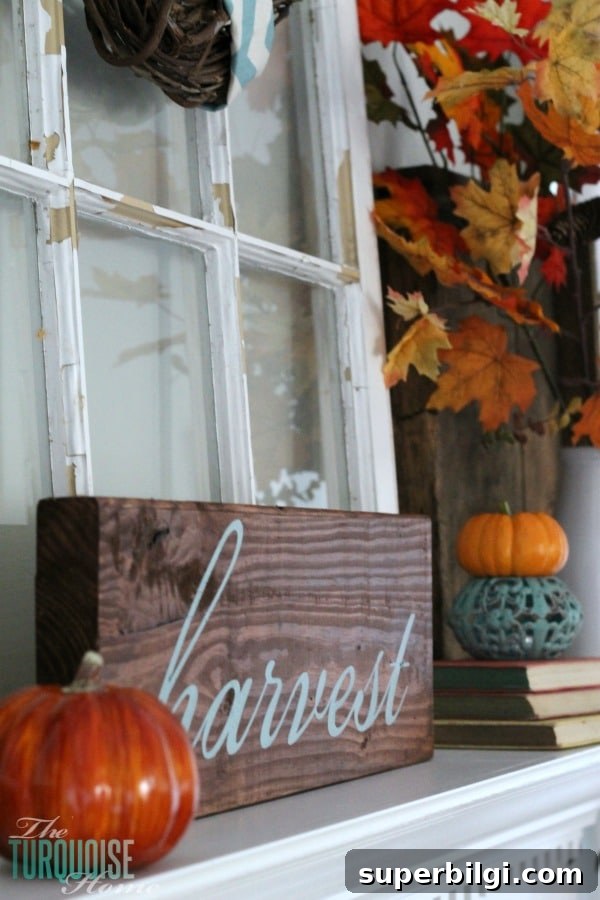
This quick project shows how a few leftover supplies and a short window of time can create a polished, seasonal piece for your home. It’s an easy DIY you can finish in an afternoon, and it looks right at home on a layered mantel.
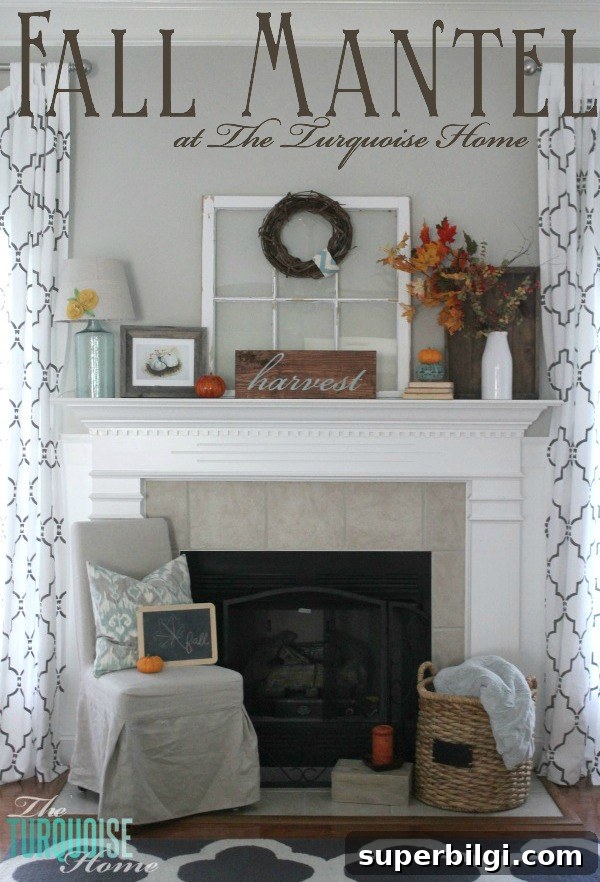
Turquoise & Orange Fall Mantel
More posts you may enjoy:
- A Farmgirl Flowers Fall Tablescape
- How to Make a Large Wooden Sign
- DIY Frame for a Frame TV