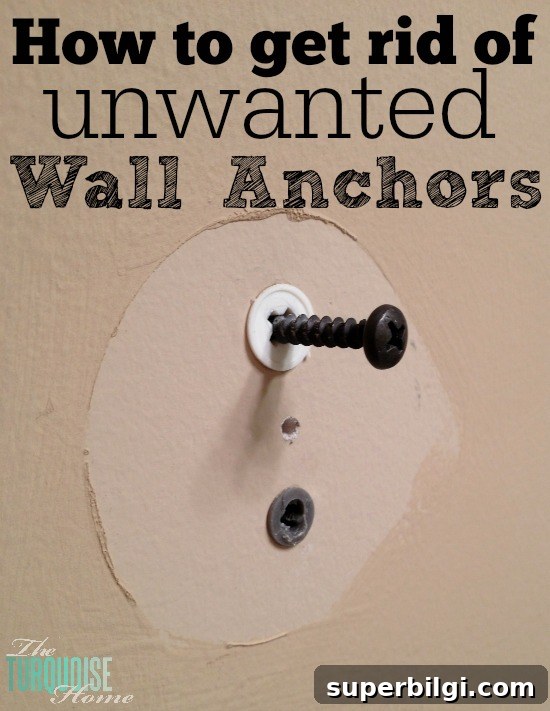
Come find out how to remove drywall anchors easily, without tearing up the drywall. It is much easier than you think!
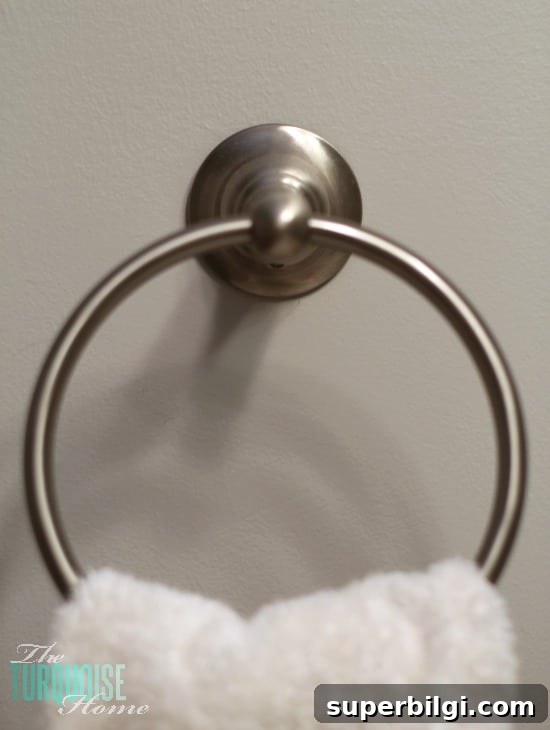
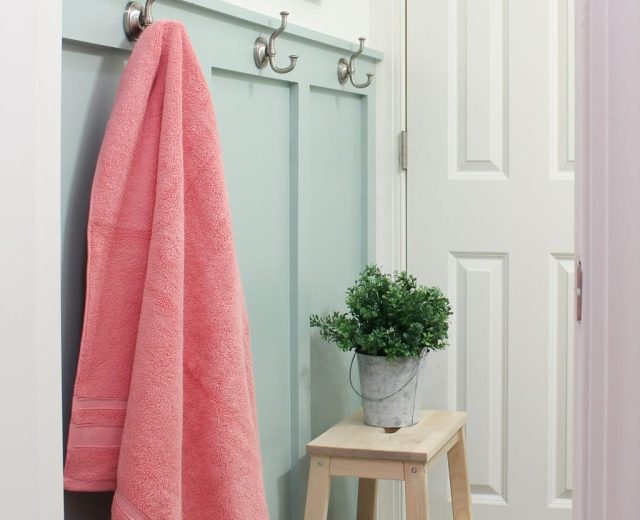
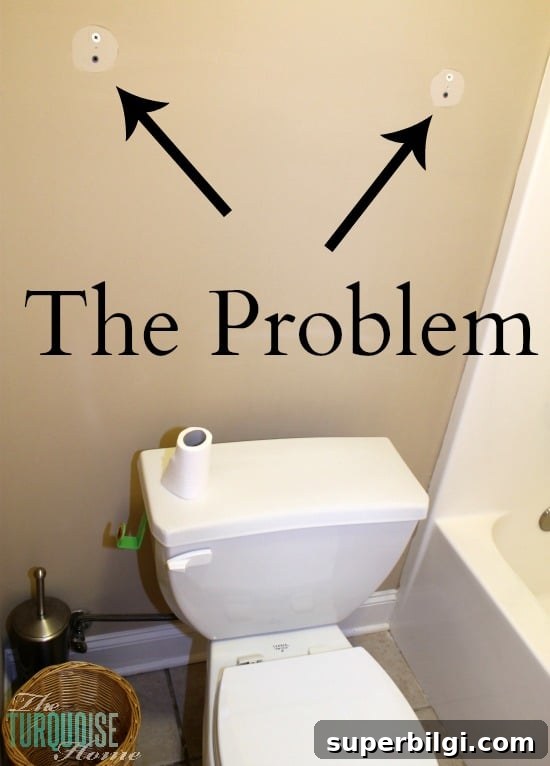
I wanted to share a quick tip I learned recently. When I replaced all the hardware during a bathroom refresh, I discovered five unwanted wall anchors left behind by the previous owner. They were everywhere — towel bars, toilet paper holder, and towel racks — none attached to studs, so every screw had been driven into an anchor to keep it secure.
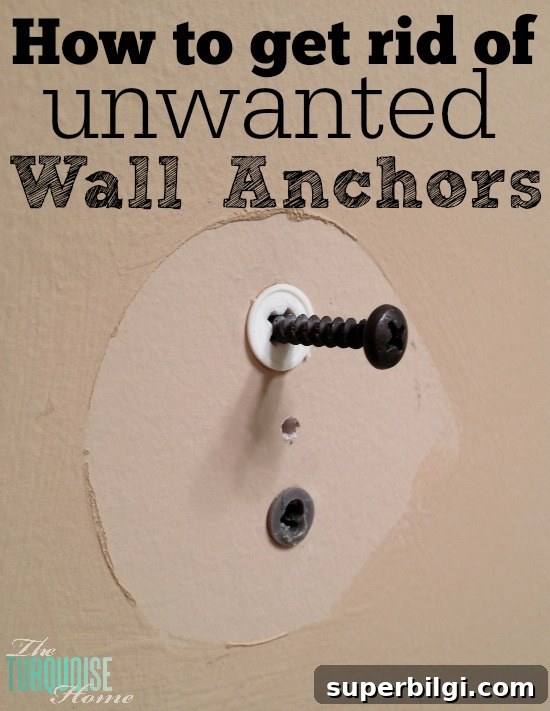
Anchors are great when you want fixtures to stay put, but not so great when you want to change or relocate the hardware. I initially assumed I would have to carefully pry or pull each anchor out, or that removing them would leave big, ugly holes in the wall. After a few days of puzzling over the best approach, I discovered a very simple and effective method.

Want to Save This?
Enter your email below and I’ll send it directly to your inbox!
Tip: copy or bookmark this page so you can come back to the step-by-step instructions when you need them.
At first I thought some of my new hardware might fit over the old anchors, but the sizes didn’t match in many spots and in some places I wanted the new hardware a bit higher or lower. I needed a clean wall so I could patch and repaint without visible reminders of the old anchors.
How to Remove Drywall Anchors
After testing a few approaches, I found a quick, low-damage solution: drive the anchor in slightly and then patch the small hole. Here’s the method I used and the tips I learned along the way.
1. Identify the anchor type. Some anchors have a Phillips-head screw and can be removed simply by unscrewing the screw; others are plastic expansion anchors or metal anchors that won’t back out easily. If the anchor has a removable screw head and it turns out the body can come out with it, unscrew gently and pull the anchor free. If not, proceed to the next steps.
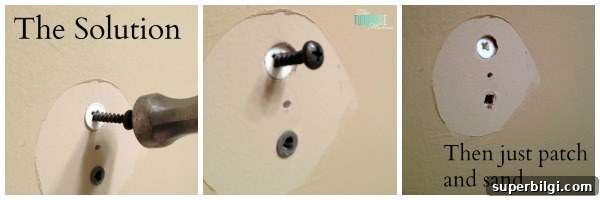
2. Partially insert a screw. Thread a screw partway into the anchor so it has something solid to strike against. You don’t need to drive it all the way in — just enough so the screw holds steady.
3. Tap gently with a hammer. Using a light tap, gently drive the screw (and the anchor) slightly inward so the anchor is pushed into the drywall cavity. Be careful not to hammer too hard; a few gentle taps are enough. Hitting too hard can dent and tear the drywall around the anchor, creating a larger repair job.
4. Remove the screw. Once the anchor sits just below the surface, remove the screw. The anchor will be hidden inside the wall cavity and no longer interfere with new hardware placement.
5. Patch the hole. Use drywall patching compound (spackling or joint compound) to fill the small indentation. Apply with a putty knife, smooth it, let it dry completely, then sand smooth. Depending on the size of the hole, you may need a second thin coat. Finish by priming and painting to match the wall.
The result was cleaner than I expected — you can’t tell where the old anchors were once I finished patching and painting. I was relieved I didn’t have to spend time and energy pulling each anchor out individually.
Helpful tips and reminders:
- Test one anchor first to confirm the method works for that specific type before doing them all.
- If an anchor can be unscrewed, remove it that way to avoid pushing anything into the cavity.
- Tap lightly. Small, controlled taps reduce the chance of cracking or crushing the drywall surface.
- Fill and sand carefully to achieve a smooth finish. A little patience with drying and sanding yields the best, least-visible result.
- If you plan to reinstall hardware in the same spot, consider a larger anchor set into a solid-block or a screw into a stud for added strength.
This method saved me time and worry and kept the wall repairs small and straightforward. If you ever face the same situation, try this simple technique: partially screw in, tap gently, remove the screw, then patch and paint. Tuck this into your DIY toolbox — you’ll likely only need it a couple of times in life, but it’s a great thing to remember.
UPDATE: A wall anchor with a Phillips-head screw can often be unscrewed instead of being hammered in. However, the method described above works well for anchors that won’t back out cleanly.
More Posts You Will Love:
- Ideal Cabinet Knob Placement {Tips And Tricks}
- The 3 Easiest House Plants + Indoor Plant Care Tips
- How High to Hang Pictures {Top Tips for the Best Placement}