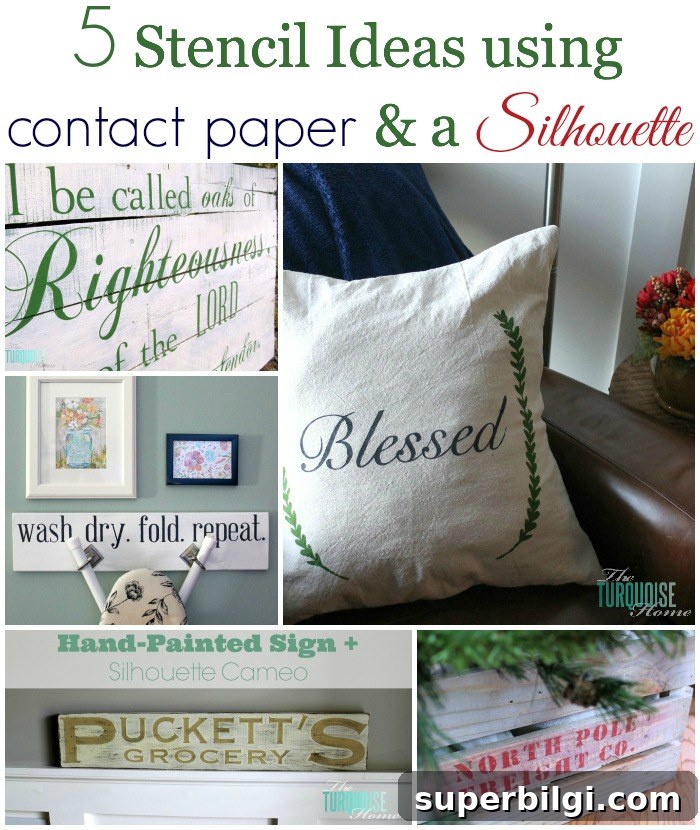
Shelf liner—also called contact paper—isn’t just for lining shelves. It’s an inexpensive, easy-to-use material that makes excellent temporary stencils when cut with a Silhouette Cameo. If you enjoy painting signs, stenciled pillows, crates or small home decor projects, using adhesive shelf liner as a stencil material can save time and money while delivering crisp results.
I use my Silhouette Cameo regularly for cutting stencils. The machine makes precise cuts quickly, and paired with shelf liner you can create reusable or single-use stencils for a wide variety of surfaces. Below I share five project ideas and five practical tips to get clean, sharp stenciled edges every time.
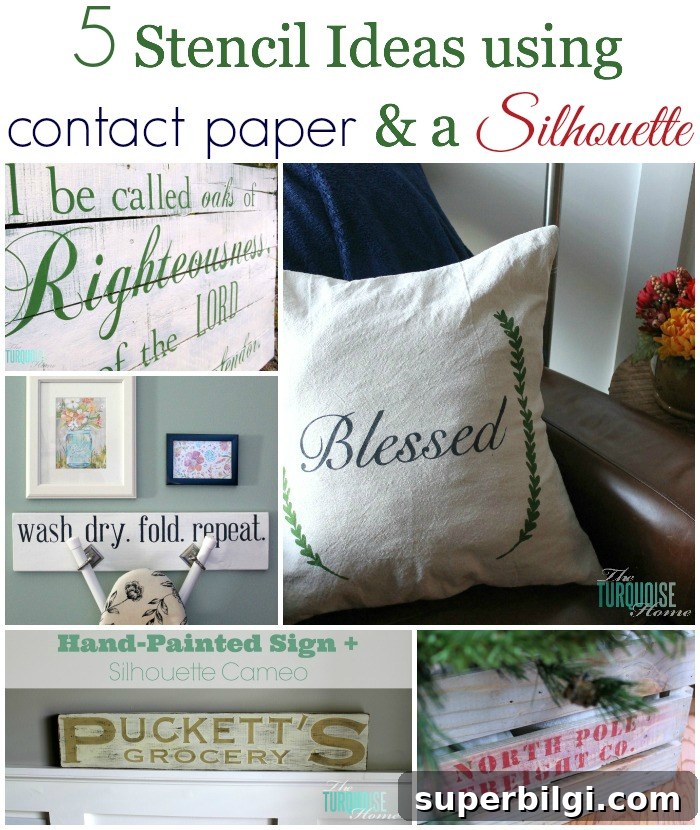
5 Stencil Ideas with Contact Paper and a Silhouette
These projects are simple starting points that work especially well with contact paper stencils:
- Pallet signs and wooden plaques — great for rustic wall art and personalized name signs.
- Ironing board covers and fabric accents — use soft paints and heat-set if needed for longevity.
- Decorative pillows — stencil drop cloth or canvas fabric for farmhouse-style pillows.
- Crates and storage boxes — add lettering or graphics to unfinished wood or painted surfaces.
- Small home decor pieces — mason jar lids, picture frames, and other accents that benefit from precise shapes and lettering.
I started experimenting with shelf liner after trying double-sided adhesive for one sign, and I quickly switched because contact paper is cheaper and easier to handle. Once you get comfortable with the cutting and weeding process, the possibilities are endless.
5 Tips for using Adhesive Shelf Liner and a Silhouette
These practical tips will help you produce consistent, clean stencils from adhesive shelf liner using your Silhouette machine:
1. Adjust your cut settings. Use settings that cut through the top adhesive layer while leaving the backing intact. This lets you peel and place the stencil cleanly. Be sure to deselect any option for using a cutting mat if you plan to feed the paper directly.
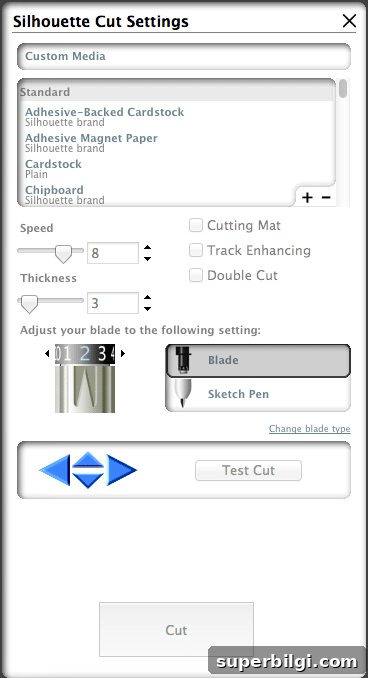
2. Skip the cutting mat. Feed the contact paper straight into the Cameo without a mat. This is faster, reduces waste, and often gives clean, even cuts for long lengths of shelf liner.
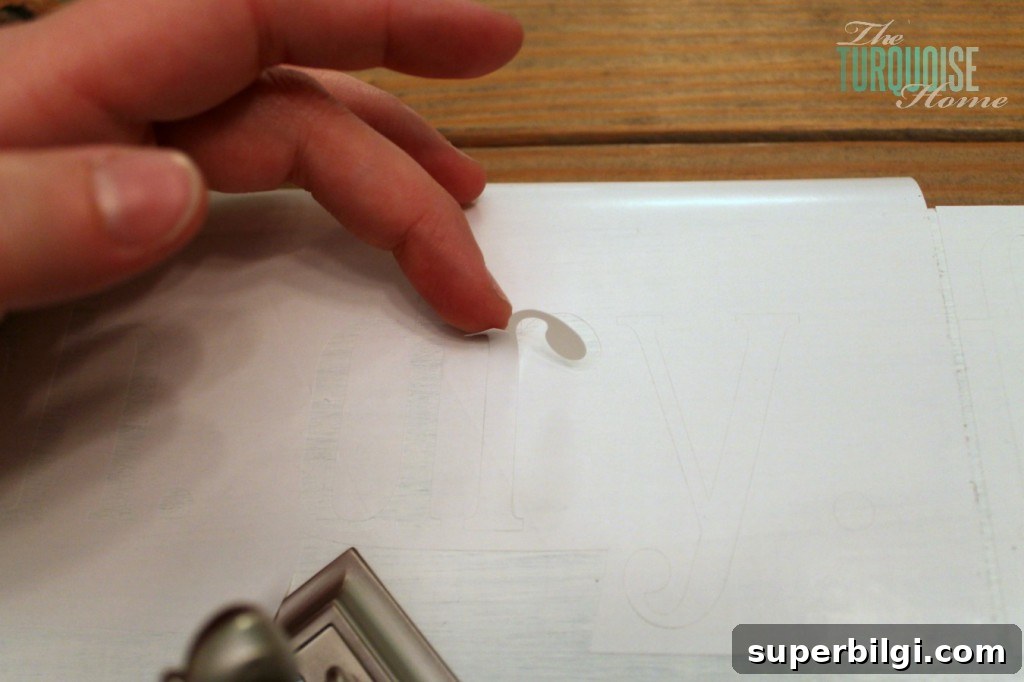
3. Keep the backing whole until placement. When you peel the backing from the cut sheet, try to keep it in one piece so the adhesive stencil remains aligned. That way you can apply the whole design at once and avoid manual spacing for individual letters or elements. If you prefer, use transfer paper to lift and position intricate designs more easily.
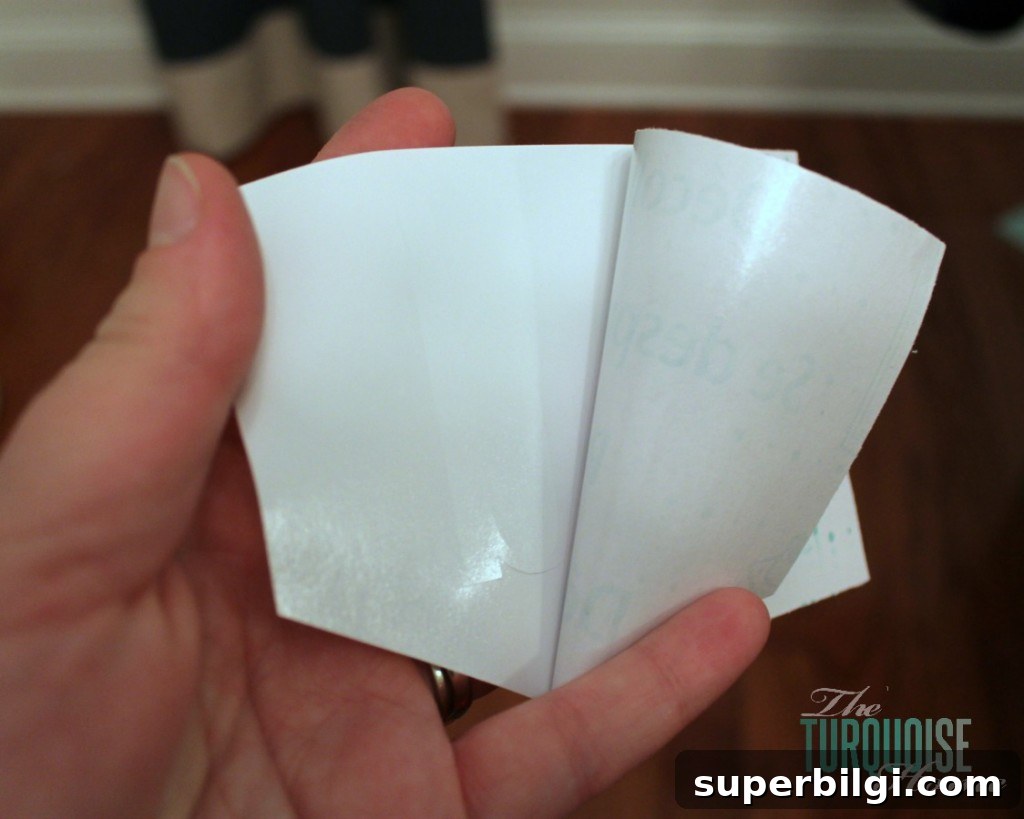
4. Weed carefully. “Weeding” is the term for removing the unwanted parts of the adhesive after cutting. Use a weeding tool or hook designed for vinyl to pull out interior bits around letters and shapes. Take your time—clean weeding leads to cleaner painted edges.
5. Seal edges with Mod Podge for crisp lines. Before painting, apply a thin layer of Mod Podge or other clear sealer around the cut edges of the stencil. This helps seal any tiny gaps where paint might bleed under the adhesive. Mod Podge dries clear and creates a barrier so your painted edges stay sharp.
Extra tips: use low-tack adhesive when stenciling delicate surfaces to avoid pulling finish off, test paint on a scrap first, and consider layering colors by applying and removing smaller stencils sequentially. For detailed designs, transfer paper or application tape can speed placement and reduce alignment errors.
If you’re new to the Silhouette Cameo, look for starter bundles that include tools and mats to help you begin. Once you’ve practiced a few cuts and stencils, you’ll find contact paper a fast, affordable way to create professional-looking stenciled projects.
More Posts You Will Love:
- DIY Stenciled Burlap Art + Free Silhouette Stencil Files
- Sunshine and Summertime: a DIY Stenciled Drop Cloth Throw Pillow
- Mason Jar Lid Pumpkin Craft
- How to Make a Felt Garland + Valentine’s Day Chalkboard