
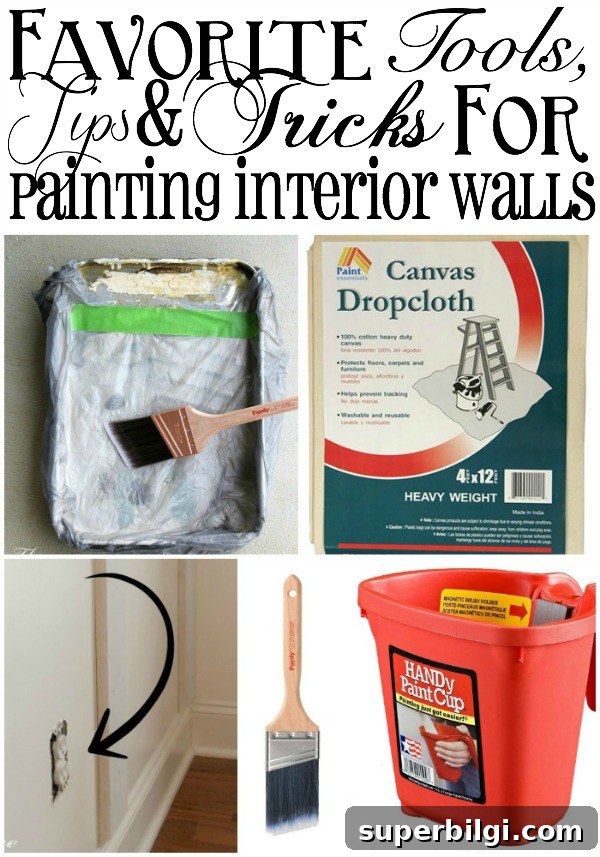
The foundation of any room makeover is the paint on the walls. It’s a simple DIY project that delivers dramatic results. With a few practical tips, the right tools, and a little planning, you can get professional-looking results at home.
I enjoy painting. It’s affordable, fast, and one of the most effective ways to change the look and feel of a room. Over the years I’ve painted furniture and cabinets, but the focus here is interior walls — the single easiest way to transform a space without a big budget.
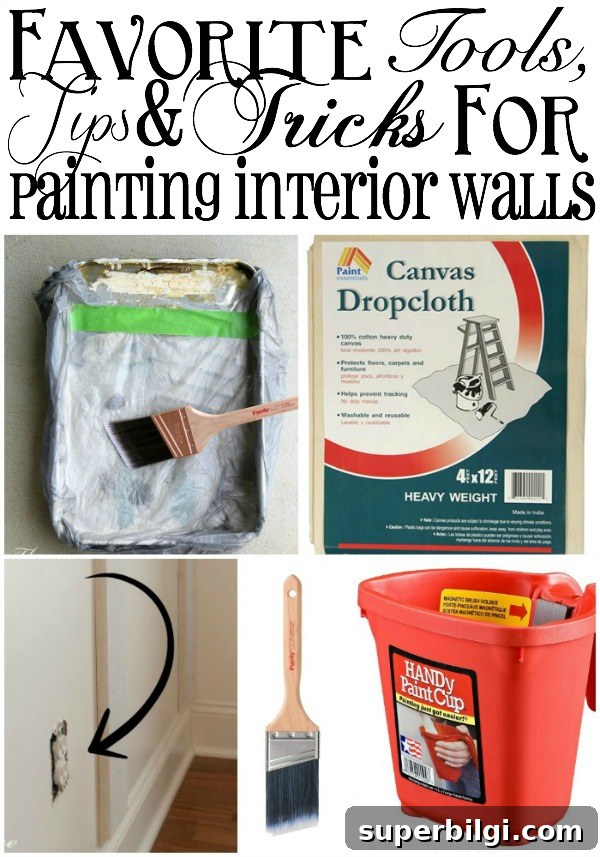
I prefer doing my own paint jobs to hiring a pro; I often get better, more careful results that match my vision. Below you’ll find a collection of reliable, practical tips I use every time I paint a room. These cover preparation, tools, and techniques that save time and improve the finish.
Favorite Tips for Painting the Interior of the Home
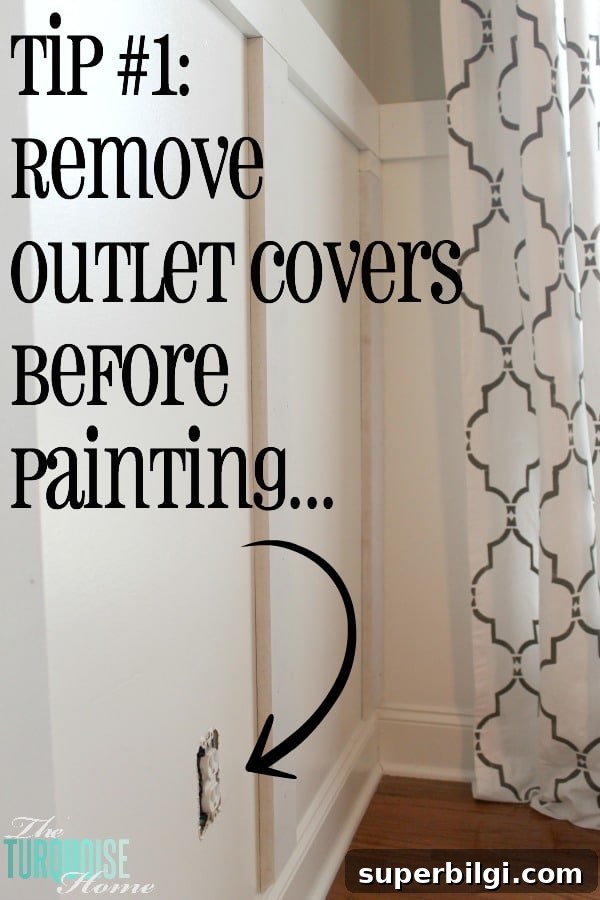
- Remove outlet and switch covers first: Take every cover plate off before you start. It’s a small step that makes a big difference — no accidental paint on covers, and the finished edges around outlets look crisp. While you have them off, wash the covers to remove years of dust and grime so they look new when reinstalled.
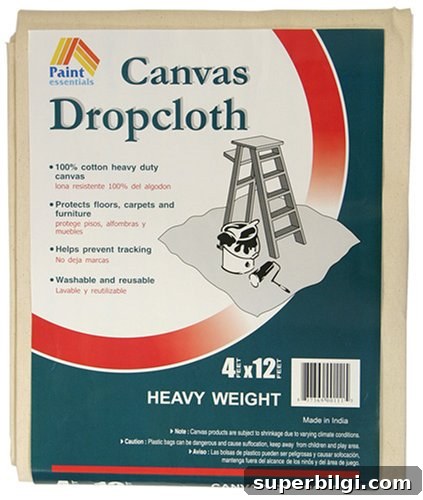
- Protect floors and furniture with drop cloths: Use canvas or heavy-duty drop cloths to cover hardwood, carpet, and furniture. They keep paint off surfaces and reduce cleanup time. If you don’t spill paint, the cloths still protect surfaces from dust and drips.
- Tape baseboards if you need the extra protection: If you’re new to cutting in, use painter’s tape along the baseboard tops to prevent roller splatter. Many experienced painters skip tape and freehand the line, but tape helps guarantee a clean edge when you’re learning.
- Trim first, then roll: Cut in the trim, corners, and edges before you roll the main wall areas. Trimming first makes it easier to blend the rolled paint with the cut-in edges and reduces the need for touch-ups.
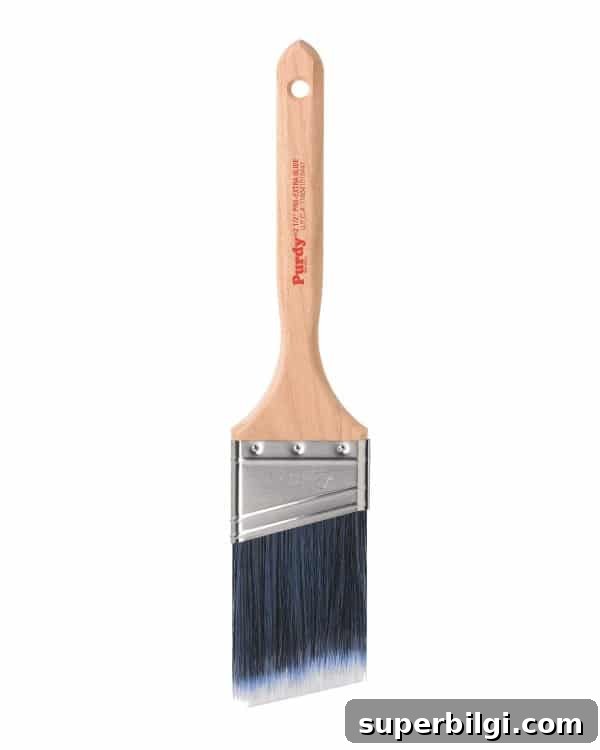
- Choose a high-quality brush for trim work: A good angled brush makes cutting in much easier and provides a smoother edge. Investing in a quality brush will pay off because it performs better and lasts longer with proper care.
- Wear dedicated painting clothes: Use old shirts and pants you don’t mind getting paint on. Comfortable, inexpensive clothes let you work freely without worrying about spills.
- Use a tray with a liner: A paint tray liner makes cleanup quick and prevents tray buildup. If you don’t have a liner, a heavy grocery bag taped into an old metal tray works in a pinch.
- Store small amounts of paint in a sealed container: For leftover paint, pour it into a small, airtight container with a pour spout for easy future touch-ups. Label the container with the room, paint color, and date for reference.
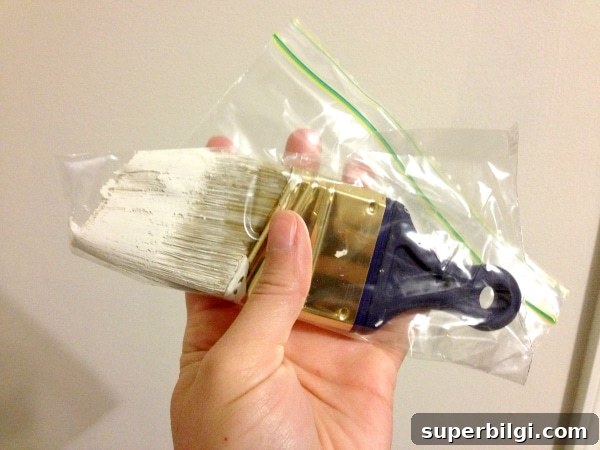
- Keep brushes and rollers from drying on short breaks: If you pause for 10–15 minutes, wrap your brush or roller in plastic or a trash bag and tape it closed. For longer pauses up to a day, refrigerate the wrapped tools; for multi-day gaps, clean them thoroughly before storing.
- Roll using varied angles: Don’t roll only straight up and down. Use overlapping strokes at multiple angles so the roller nap blends the paint and avoids roller marks. Finish each section with a light, shared “lay-off” stroke to smooth the surface.
- Work in manageable sections and maintain a wet edge: Paint a small area at a time so you can blend new paint into the wet edge of the previous section, which helps eliminate lap marks.
Preparation and patience pay off. Proper cleaning, good tools, and thoughtful technique make a big visual impact and reduce the time you spend on corrections. Take time to prep, trim carefully, and roll smartly — you’ll be amazed how quickly a fresh coat transforms a room.
Which tip will you try first? Do you have other painting shortcuts that always work for you?
MORE POSTS YOU WILL LOVE:
- Paint a Room in 5 Easy Steps
- Organized Paint Storage (with free printable labels)
- How to Paint Kitchen Cabinets without Fancy Equipment
- How to Paint Outlet Covers