
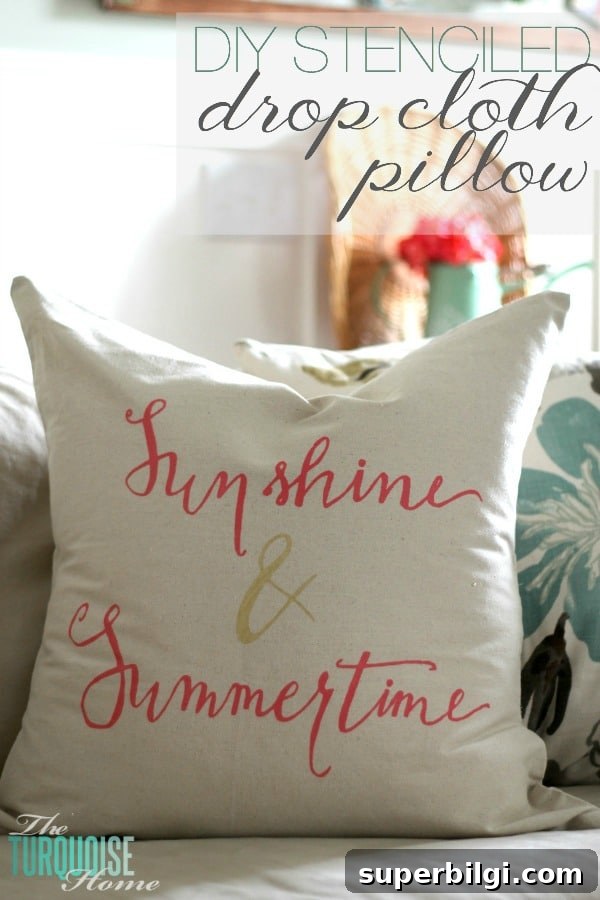
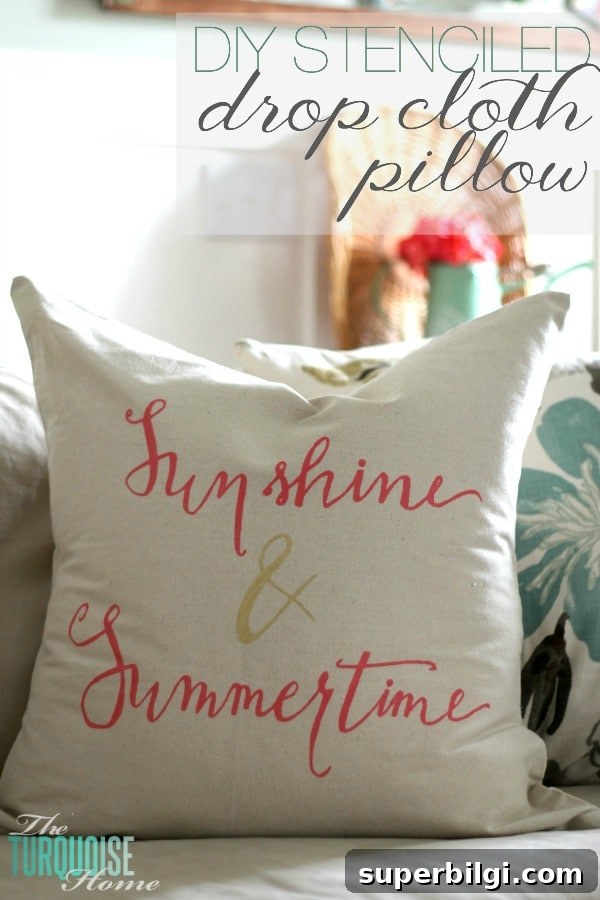
Learn how to create a charming DIY drop cloth pillow, stenciled with my original hand-lettered phrase: “sunshine & summertime.”
A few weeks ago I rushed home after church, fed my family, and headed back out to spend the afternoon in a room full of strangers. It was an event I had been looking forward to for months, and despite my usual reluctance to make small talk with new people, I was excited to learn something new.
I sat near the front so I could clearly see the board, a little nervous but eager to try. The room was set up with long tables, lovely floral arrangements, and supplies neatly arranged—pens, pencils, erasers, sharpeners, and folders. The atmosphere was relaxed and welcoming.
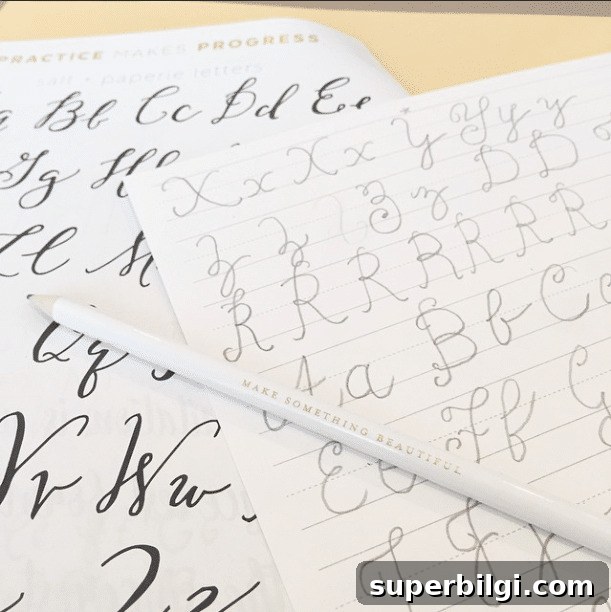
By the end of the session I discovered how much I enjoy hand lettering. I’d always doodled words and names as a child, but learning technique and structure made everything click. The process felt calming and oddly addictive—something I’m happy to practice again and again.
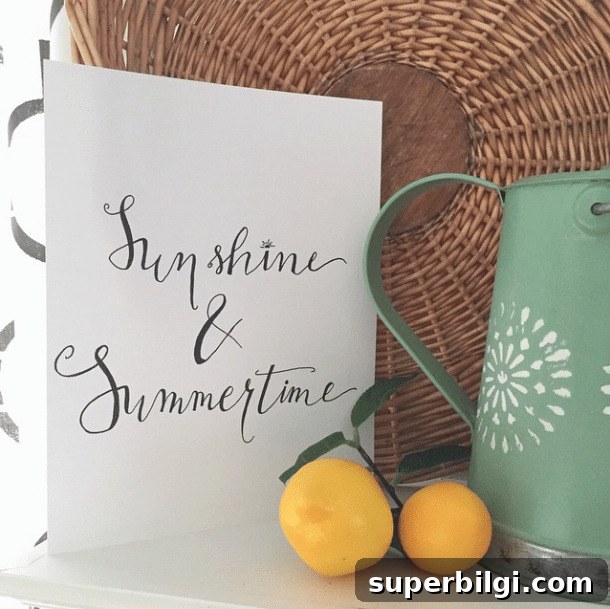
I practiced a summery phrase during a quiet afternoon at home while the baby napped. Rather than frame the lettering, I decided to incorporate it into my summer decor by stenciling it onto a drop cloth pillow—one of my favorite, budget-friendly ways to refresh a sofa or chair.
A DIY Stenciled Drop Cloth Pillow Tutorial
If you’ve stenciled a drop cloth pillow before, you’ll recognize many of these steps. This version walks you through creating your own stencil from hand lettering and transferring it to fabric for a custom, seasonal pillow.
This post contains affiliate links for convenience.
Supplies for Making a DIY Drop Cloth Pillow with Stencil
- Drop cloth (available at most home improvement stores)
- Needle, thread, and a sewing machine
- Stencil material (contact paper or stencil vinyl)
- Fabric paint and a foam brush
- Silhouette Cameo (optional, for cutting stencils)
- Pix Scan Mat (optional, for scanning and creating cut files)
1. Create Your Stencil
You can use a premade stencil or make your own from your hand-lettered artwork. I scanned my lettering using a Pix Scan mat and converted it into a cut file for my Silhouette machine. If you don’t have a cutting machine, trace your design onto stencil material and cut it by hand with a craft knife.
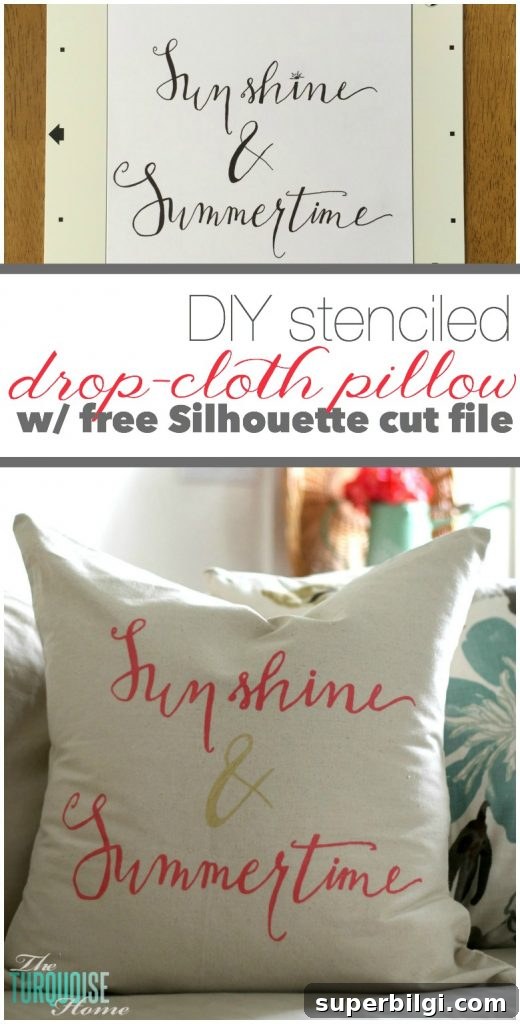
If you use a cutting machine, export a clean cut file and test the cut on scrap material to ensure crisp edges.
2. Cut the Stencil
When cutting contact paper on a Silhouette, start with conservative settings and adjust as needed. My recommended starting settings are: blade 3, speed 8, thickness 3. Always do a test cut first.
3. Construct the Pillow
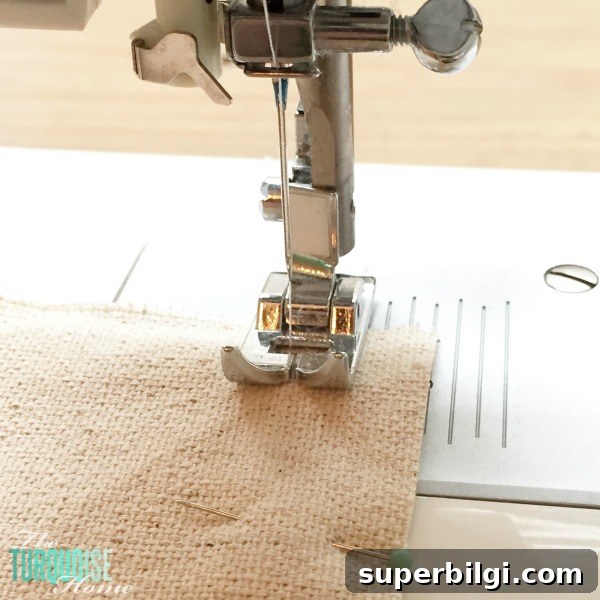
I followed a simple envelope-style pillow method using drop cloth fabric. Cut three pieces: one 26″ x 26″ (front) and two back pieces sized 20″ x 26″ and 16″ x 26″ to create an overlap for the envelope closure. I used a 26″ pillow form and prefer the cover slightly smaller so the finished pillow looks full.
4. Stitch the Pillow Together
Layer the fabric pieces with right sides together and sew around the edges, leaving an opening for turning if your construction requires it. Press seams flat for a tidy finish.
5. Apply the Stencil to the Pillow
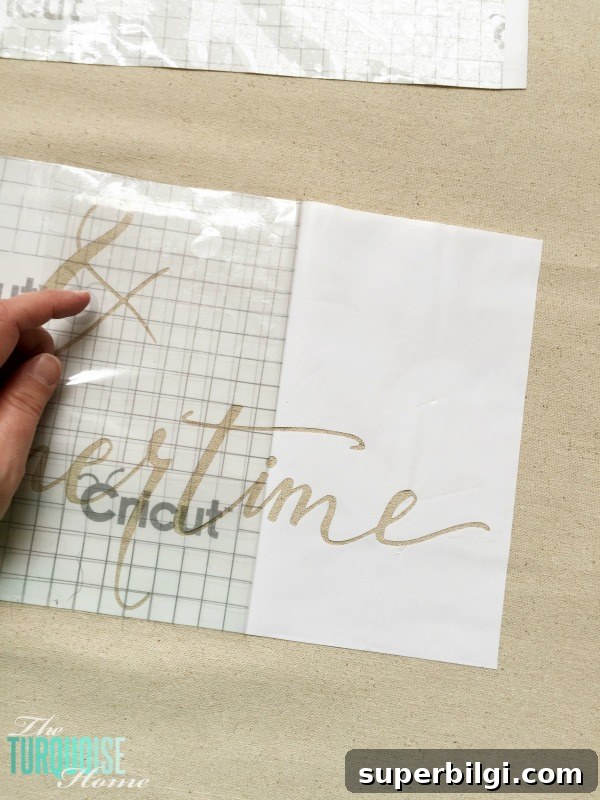
Use transfer tape to move the cut stencil from its backing onto the pillow front. Smooth the stencil to avoid bubbles or gaps so paint won’t bleed under the edges.
6. Paint the Design
Important: Place plastic or protective paper between the pillow layers to prevent paint from seeping through. Use a foam brush and a dry-brushing technique—dab most of the paint off before applying and use short, vertical strokes. Multiple light layers yield a cleaner result than one heavy coat. I used pink and gold paint for a soft, summery look.
7. Reveal Your Finished Pillow
Allow the paint to dry completely, then carefully remove the stencil to reveal your hand-lettered design. Give the fabric a final press if needed and insert the pillow form.
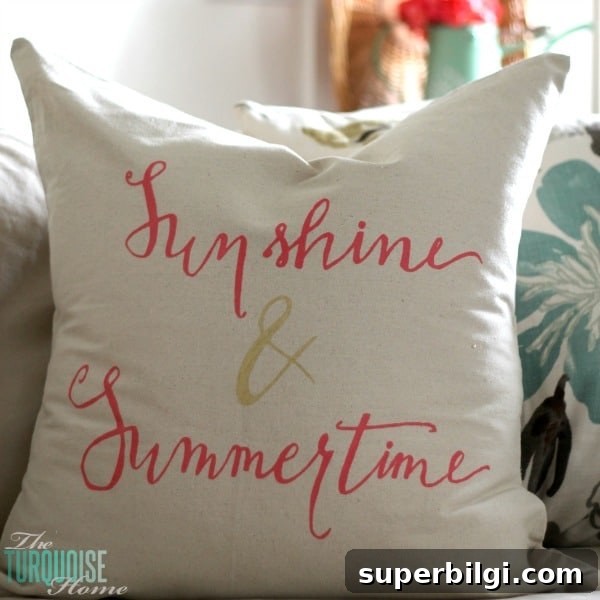
The finished pillow adds a cheerful, personal touch to summer decor and pairs well with garden and lemonade-themed mantels or other seasonal displays. This is an inexpensive, high-impact project that’s easy to customize with different phrases, colors, and lettering styles.
I’m already planning a few more drop cloth pillow designs—different sayings, color combinations, and stencil shapes—to share soon. Stenciled pillows are a simple way to refresh a room without spending a lot of time or money.
More posts you might enjoy:
- Cute Summer Dresses
- How to Choose and Style Sofa Pillows
- How High to Mount a TV: Guidelines & Tips
- How High to Hang Pictures: Top Tips for Best Placement
- The Best Summer Decorating Ideas