
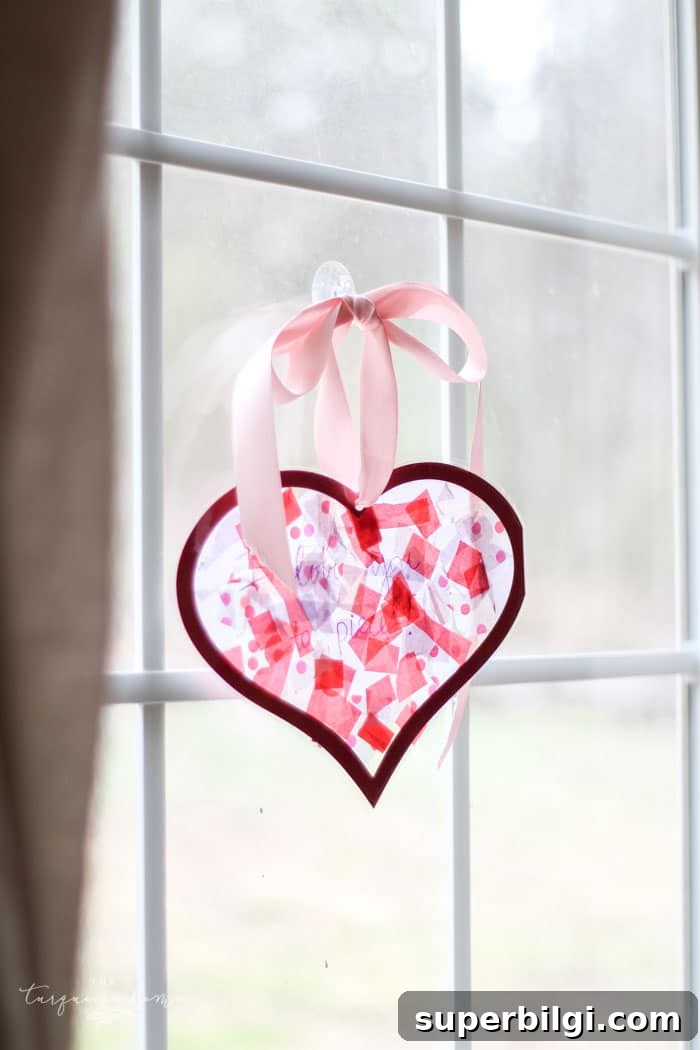
This tissue paper stained glass craft is simple, cute, and perfect for Valentine’s Day.
As a mom of two little girls and a classroom volunteer, I’m always looking for easy, kid-friendly crafts. This tissue paper “stained glass” heart is one of our favorites — it’s quick to prepare, forgiving for small hands, and brightens any window. Whether you’re making these at home, in a kindergarten class, or for a holiday party, the supplies are inexpensive and the results are lovely.
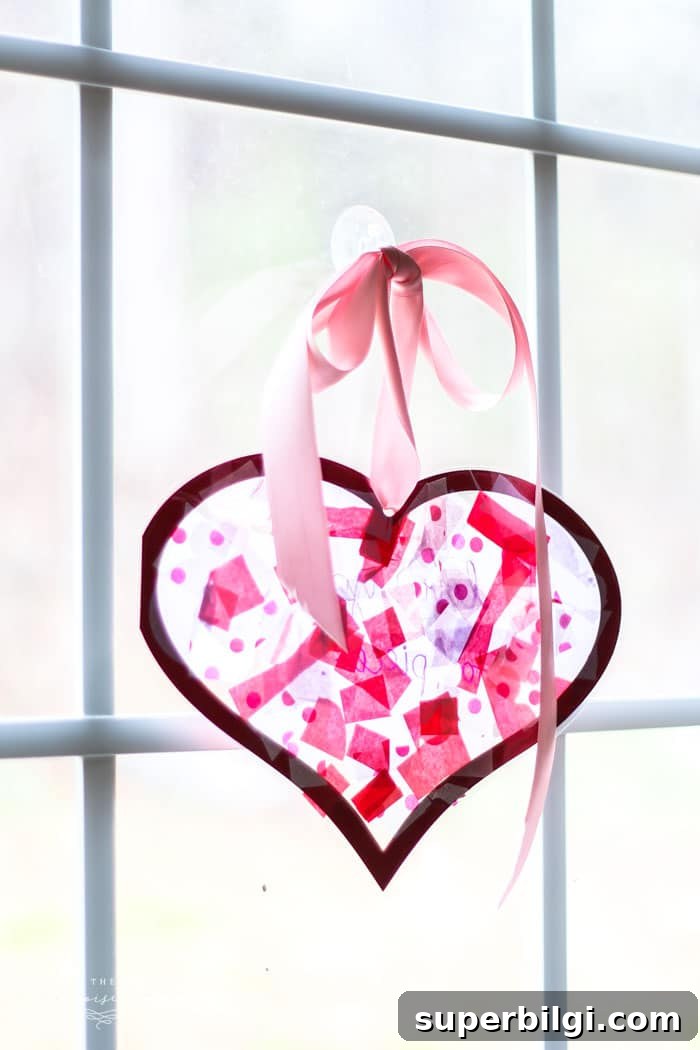
These make great keepsakes or classroom decorations, and kids love choosing colors and arranging the tissue pieces. Below you’ll find a clear materials list, step-by-step instructions, and a few helpful tips to customize and simplify the project.
What You’ll Need for a Tissue Paper Stained Glass Craft
- Tissue paper in assorted colors (or one color palette for a themed look)
- Single-sided laminating sheets or a laminator — if you use laminating sheets, plan on two sheets per heart
- A cutter like a Silhouette, or a printed template and scissors to cut heart outlines
- A heart outline template or file (printable templates work well for cutting by hand)
- Scissors (use child-safe scissors for younger children)
- Hole punch
- String, ribbon, or suction hook for hanging
How to Make a Tissue Paper Stained Glass Craft
1. Prepare the heart shapes. Cut one heart outline for each finished suncatcher you plan to make. You can use a cutter, trace a template onto cardstock, or draw freehand. Cardstock templates help keep a consistent shape if you’re making many.
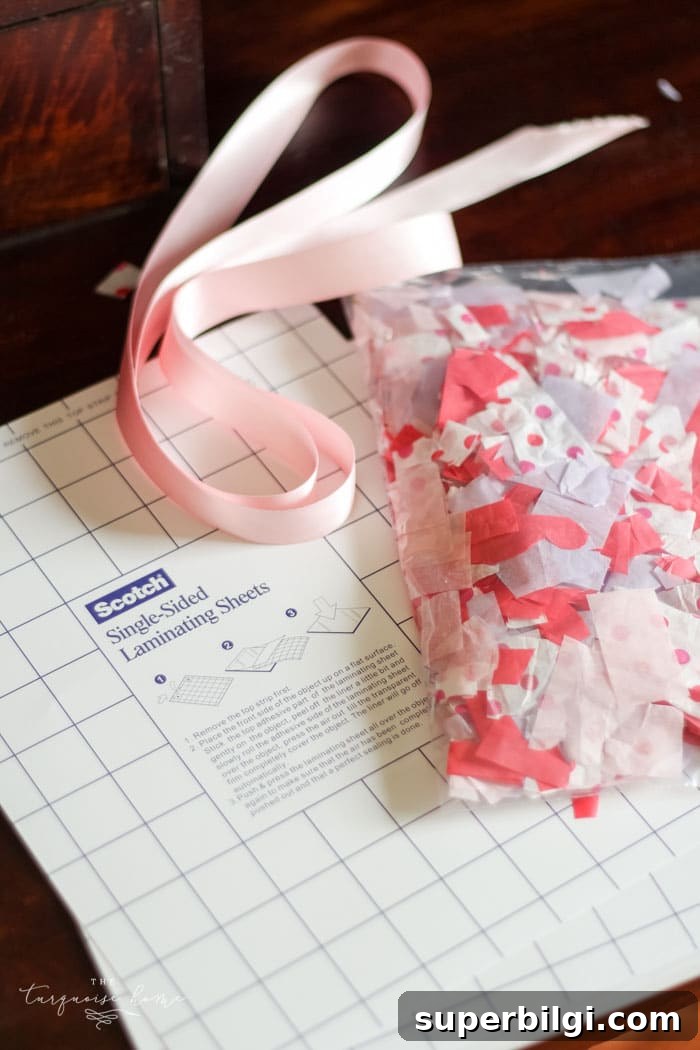
2. Cut the tissue paper. Trim the tissue into small squares or irregular pieces. Smaller bits help create a more mosaic-like look, while larger pieces give a softer, stained-glass effect. Let children choose colors and sizes — part of the fun is the creative mix.
3. Place the first laminating sheet. Peel the backing off one single-sided laminating sheet and lay it sticky-side up. Position the heart outline on the sticky surface so the inside area will hold the tissue pieces.
4. Arrange the tissue pieces. Scatter the tissue paper pieces inside the heart outline. The laminating sheet’s adhesive will hold them in place. Don’t worry about pieces going outside the outline — that can be trimmed later and kids often enjoy the freedom to be a bit messy.
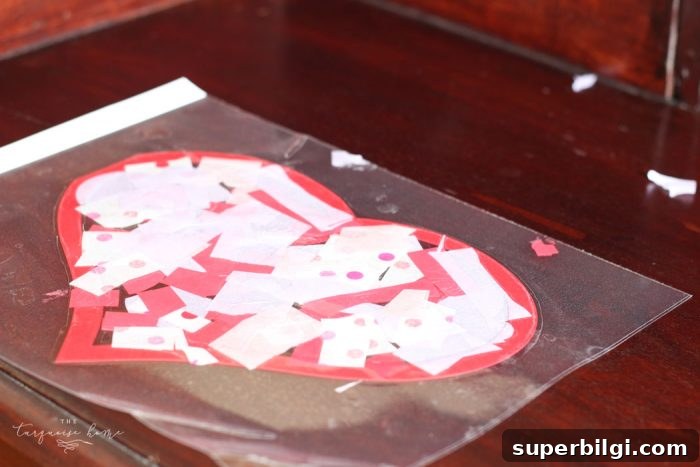
5. Seal with a second laminating sheet. Carefully place the second laminating sheet over the first, lining up the edges to seal the tissue pieces between them. Smooth out any air bubbles with your hand or a flat tool.
6. Trim the heart. Cut around the heart shape, leaving a narrow border of laminated material beyond your cut line. This seam helps keep the two sheets sealed and prevents edges from peeling up over time.
7. Punch a hole and hang. Use a hole punch near the top of the heart, thread ribbon or string through, and hang it in a sunny window. A suction hook or a small piece of clear tape will hold it in place. These hearts look beautiful grouped together at varying heights.
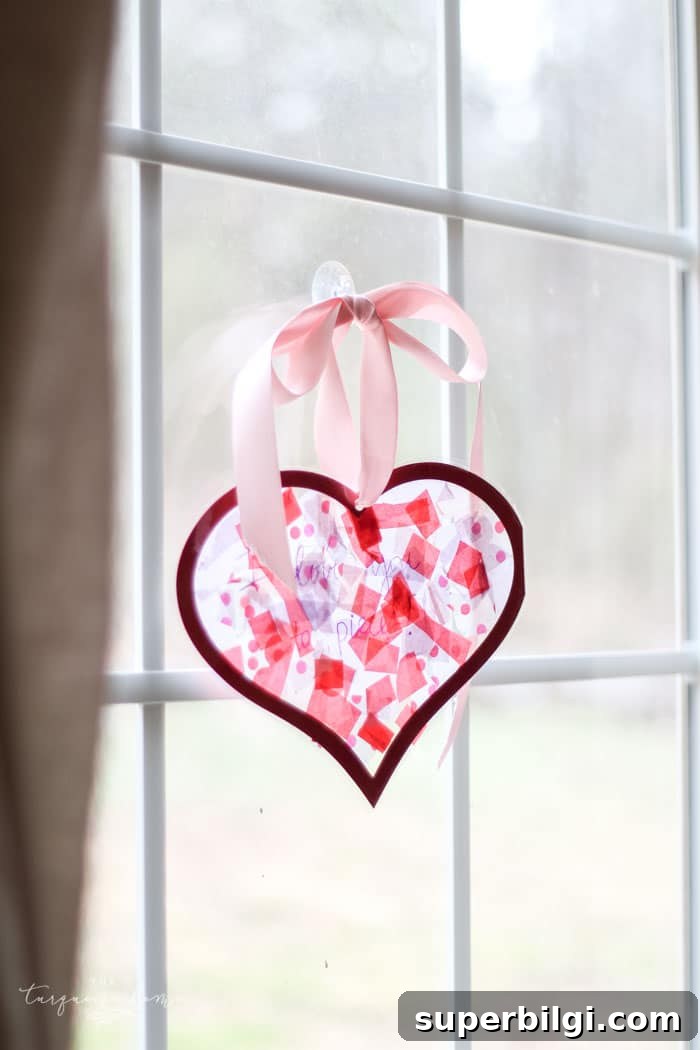
Optional: Add a playful message on the laminated border such as “I Love You to Pieces” or write the name of the child who made it for a personal touch.
Variations, Tips, and Safety Notes
- Alternative materials: If you don’t have laminating sheets, clear contact paper (two layers) will also work. Place tissue between two sheets of contact paper and seal the edges well.
- Shape ideas: Try stars, circles, butterflies, or letters for seasonal displays or classroom projects.
- Age and supervision: This craft is great for preschool and elementary-aged kids with adult supervision for cutting and punching holes. Use child-safe scissors for younger crafters.
- Classroom prep: Pre-cut the hearts and thin strips of ribbon to save time during group activities. Offer a tray of tissue scraps so students can easily choose colors.
- Cleanup and storage: Keep a small bin for leftover tissue scraps and use a damp cloth to wipe laminating residue from surfaces. Finished hearts store flat in a folder or display on a window for weeks.
- Design tip: Encourage layering different colors for depth. A few overlapping pieces create a stained-glass effect as sunlight filters through.
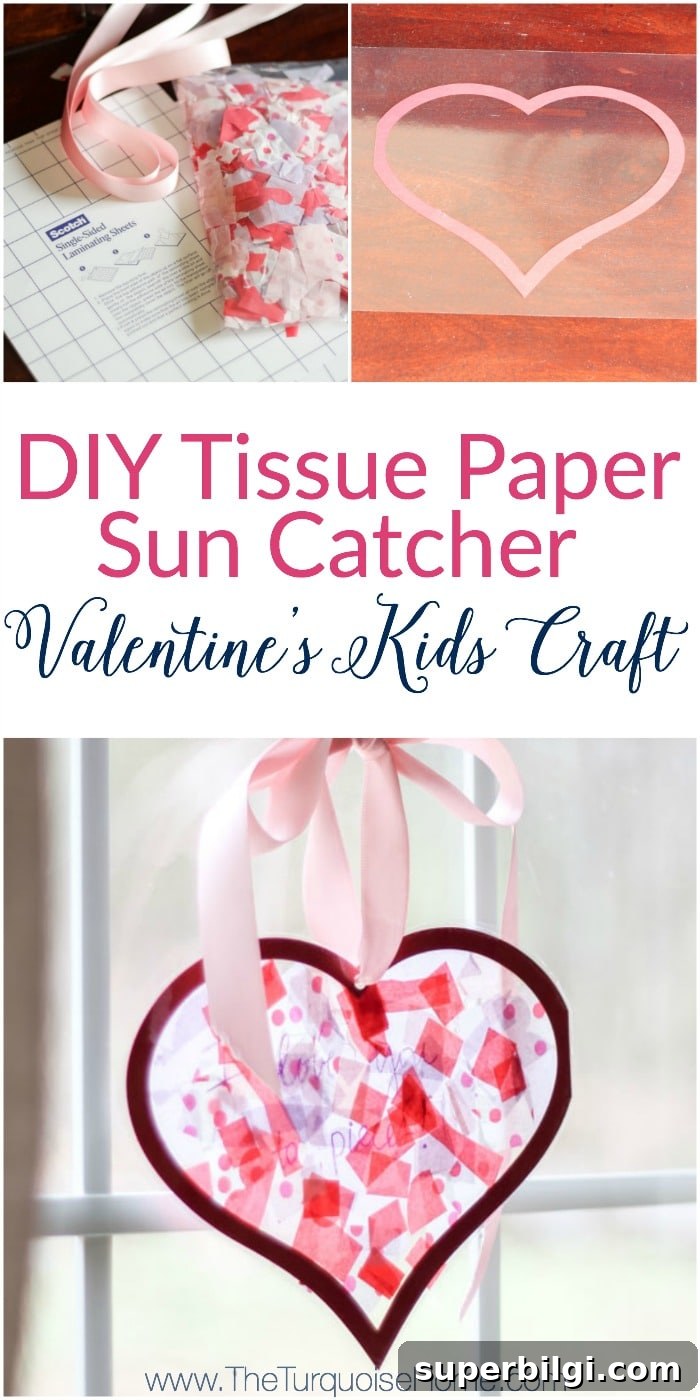
Does your school host a Valentine’s Day party? These tissue paper suncatchers are quick to make in batches and look festive when grouped together. They’re colorful, affordable, and bring a lot of joy to both makers and recipients. Have fun crafting with your kids!