
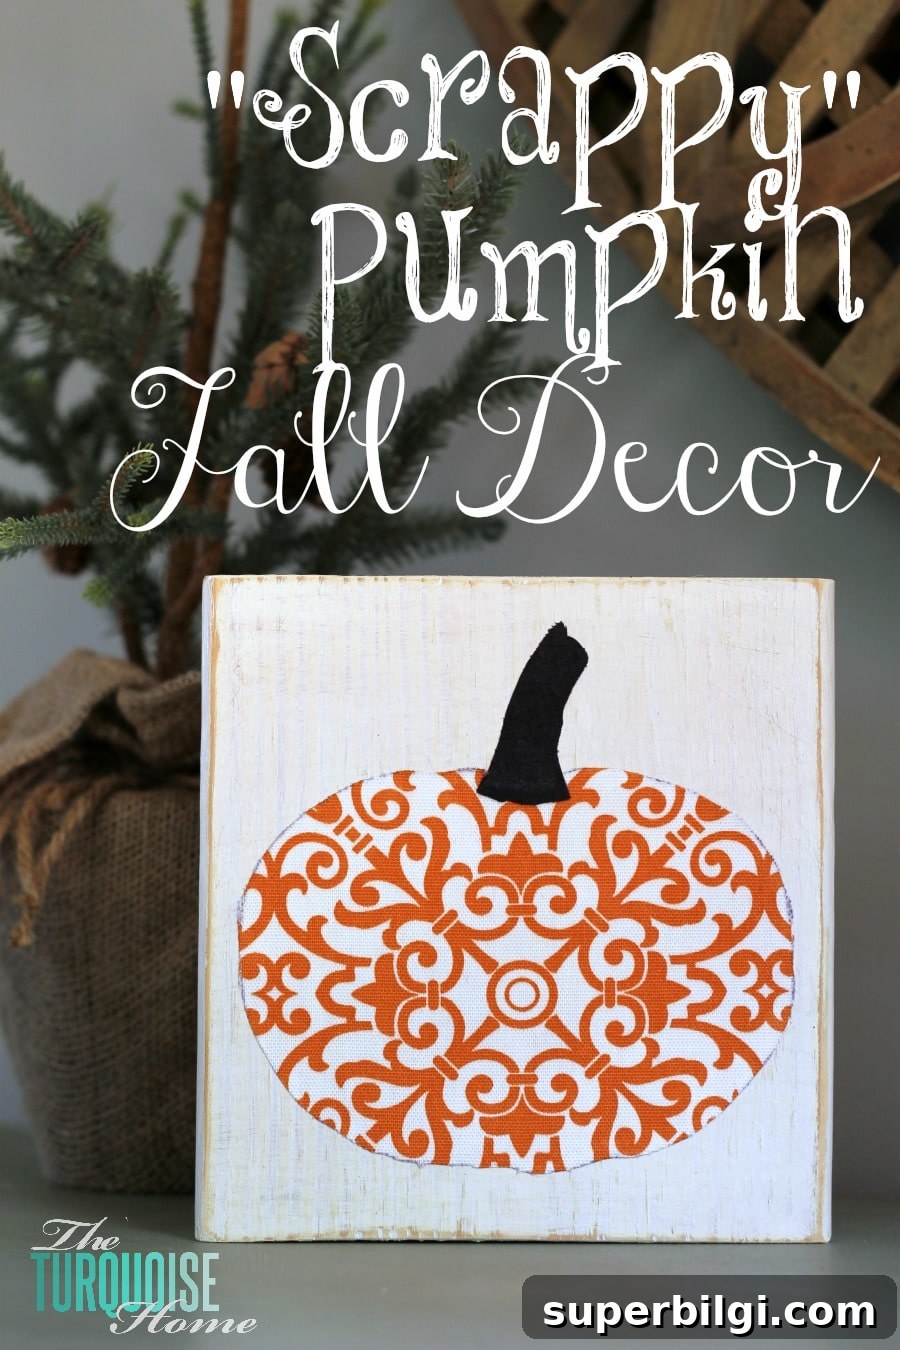
Use scraps of wood and fabric to create this charming “scrappy” DIY pumpkin decoration.
I love turning old, forgotten materials into something useful and cute for the home. That’s the heart of DIY: transforming what’s plain or overlooked into decor with personality. For this project I used only things I already had on hand—scraps of wood and leftover fabric—to make a simple pumpkin accent that fits perfectly with fall decor.
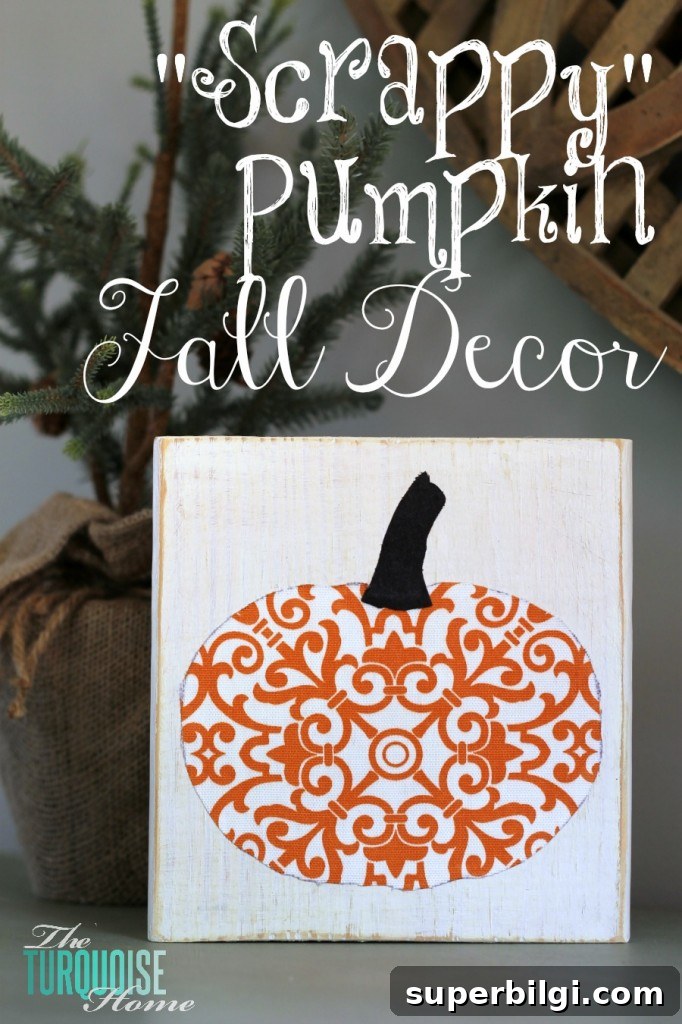
Pulling this little pumpkin together put me in the mood to swap out summer pieces and start arranging a cozy mantel. It’s a quick, satisfying craft that looks handmade and personal without costing anything new.

Want to Save This?
Enter your email below and I’ll send the instructions straight to your inbox.
This post contains affiliate links for your convenience. See my full disclosure policy.
What you’ll need to make Scrappy Pumpkin:
- Wood scraps — a small block of wood that you can cut to the pumpkin’s size.
- Fabric or paper with a fall feel (or any pattern you like).
- A printed pumpkin outline to use as a template.
- Paint for the wood background.
- Mod Podge or another decoupage adhesive and sealer.
- A saw to trim the wood to size (optional, depending on the scrap you have).
- Sandpaper for smoothing edges (optional).
How to Make a Scrappy DIY Pumpkin Decor
This project came together in about an hour, not counting paint drying time. Below are the steps I followed to make a rustic, fabric-covered pumpkin mounted on a small wood block.
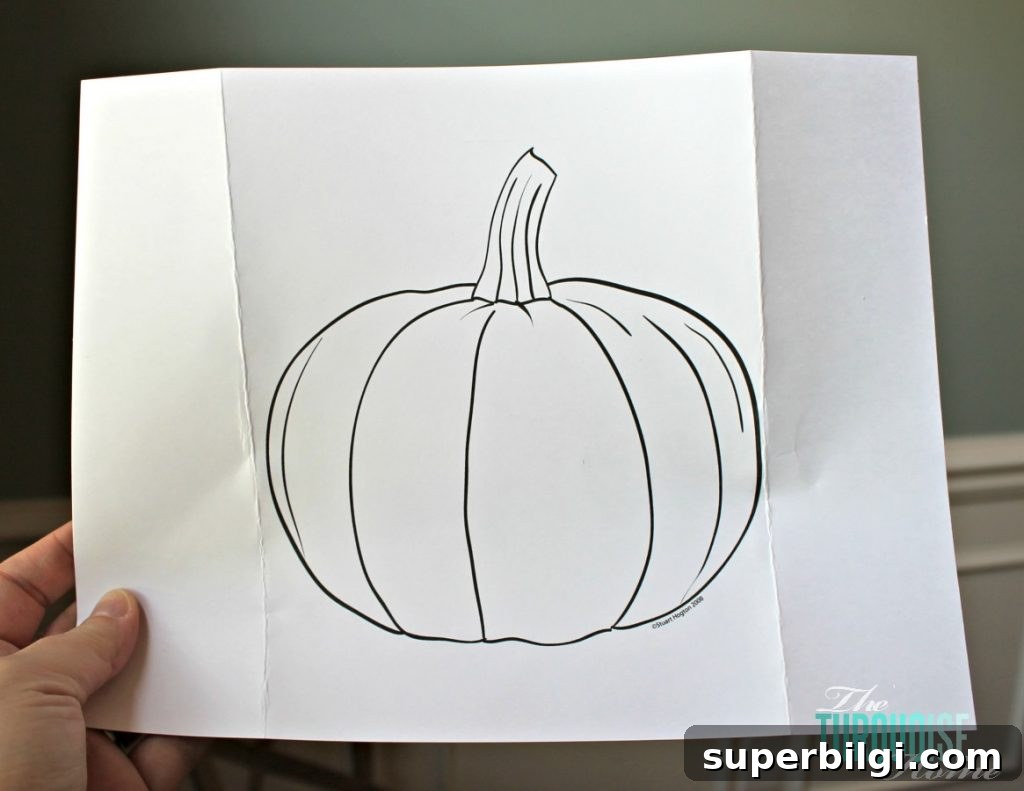
1. Find a pumpkin shape and print it
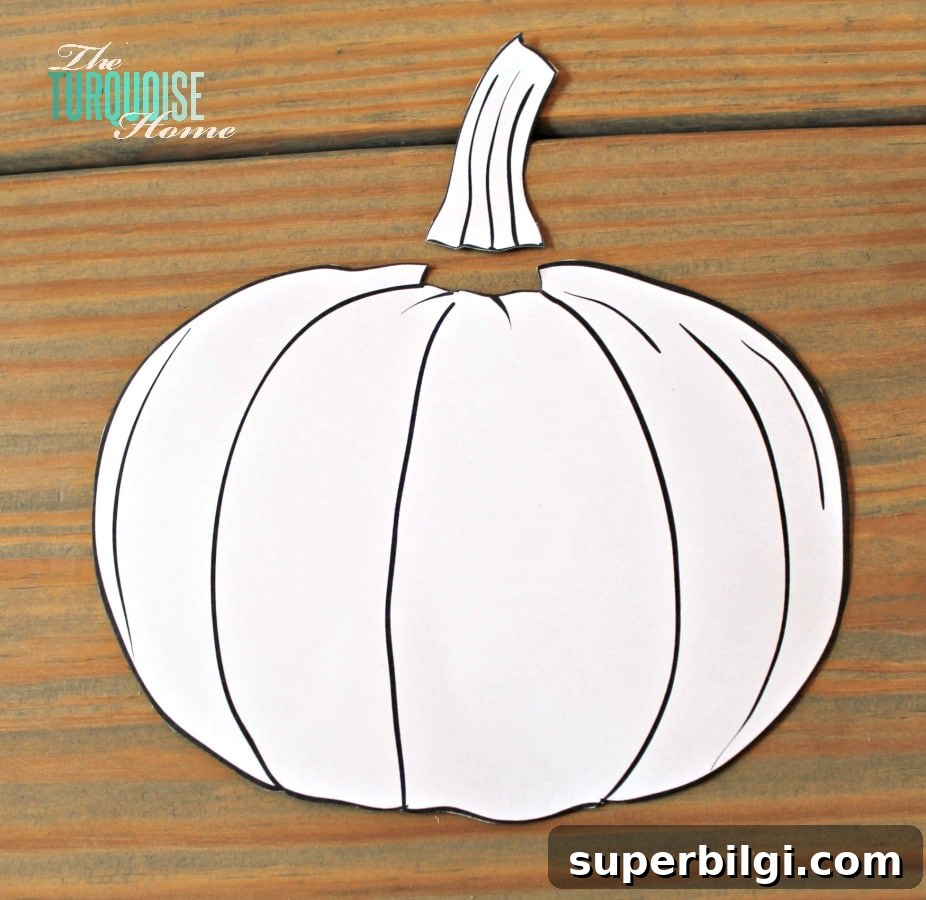
Choose a pumpkin outline you like and print it at the size you want to use. Any simple pumpkin silhouette will work — the shape only needs to fit the piece of wood you plan to use. This printable becomes your cutting template for both the wood and the fabric.
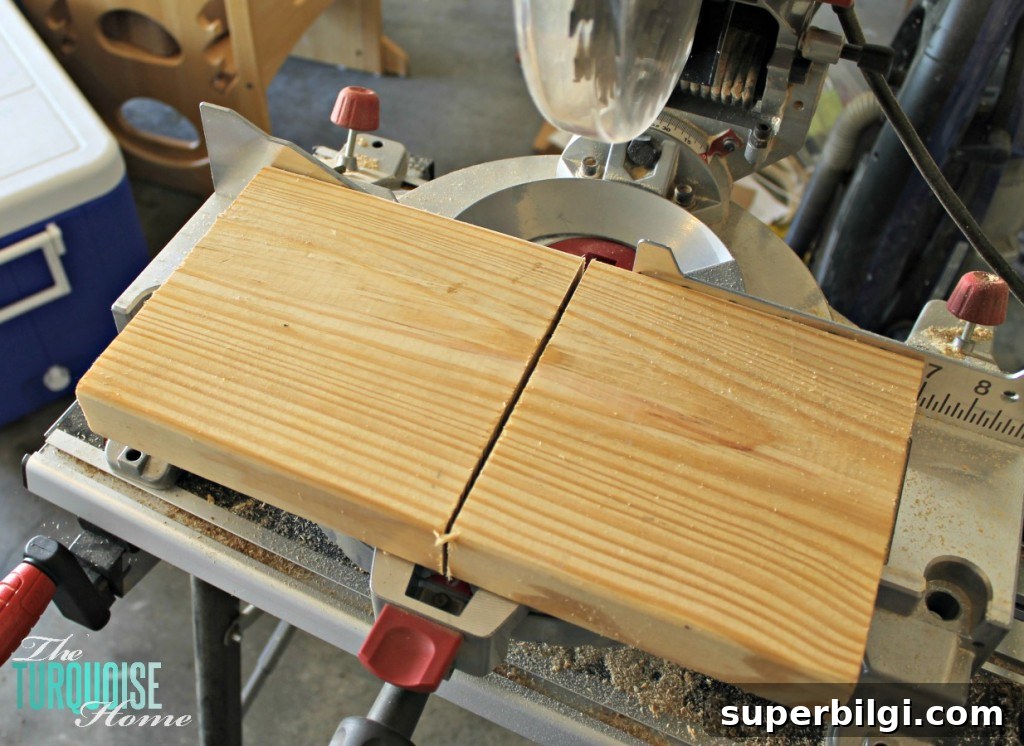
2. Cut a block of wood to match the pumpkin
Position your printed template over a scrap of wood and trim the wood so the pumpkin will fit comfortably. I used a miter saw to shorten my board, but you can use whatever cutting tool you already have. Make sure the block is tall enough to stand on its own if you intend to display it upright.
3. Sand the rough edges of the block
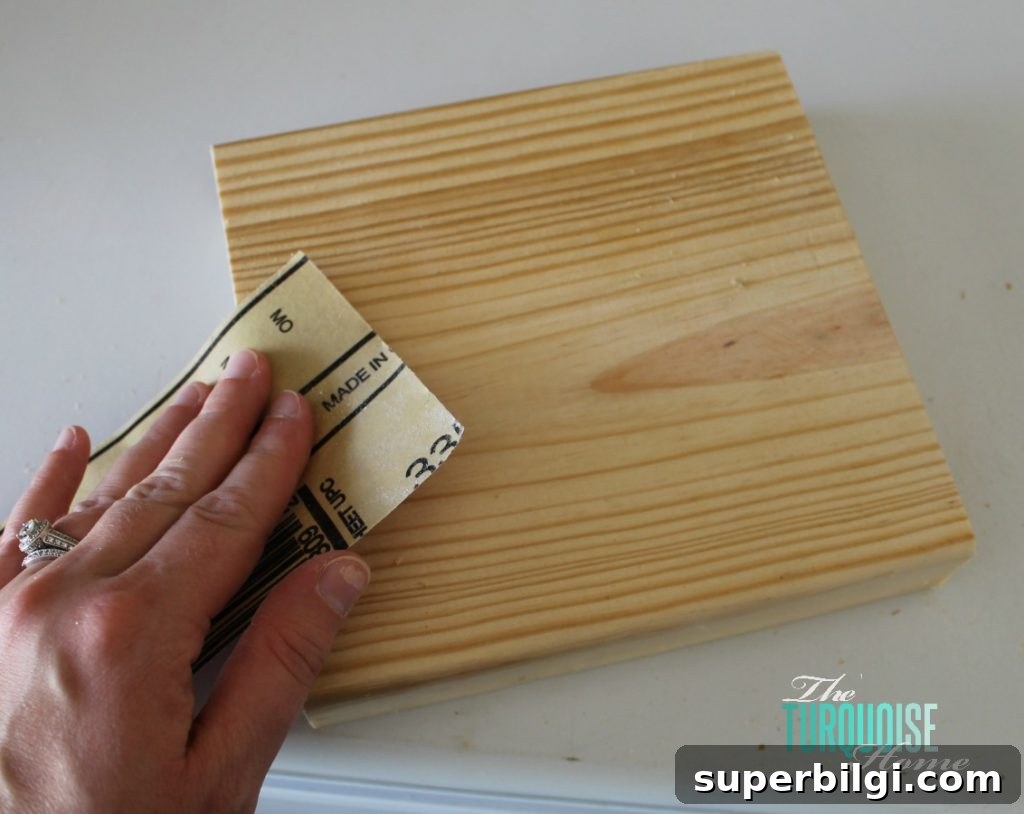
Sand the corners and any rough spots so the surface is smooth and the final piece looks clean. This step helps the paint adhere and gives a nicer finish to the edges.
4. Paint the block
Paint the front of the board in a neutral color; I used an antique white leftover from another project. If the piece will be freestanding, paint the back as well for a finished look. For a wall-hung version you can skip painting the reverse side.
5. Sand the edges for a rustic look (optional)
Once the paint is dry, lightly sand the edges and corners to distress the finish slightly. This gives the board a soft, vintage feel that complements the fabric pumpkin.
6. Cut the fabric using the pumpkin template
While the paint dried, I used the printed pumpkin to trace the shape on the back of my fabric and cut it out. I also cut a separate small piece for the stem so it could be a contrasting fabric. If your fabric is wrinkled, press it first for a smooth application.
7. Adhere the fabric pumpkin to the wood
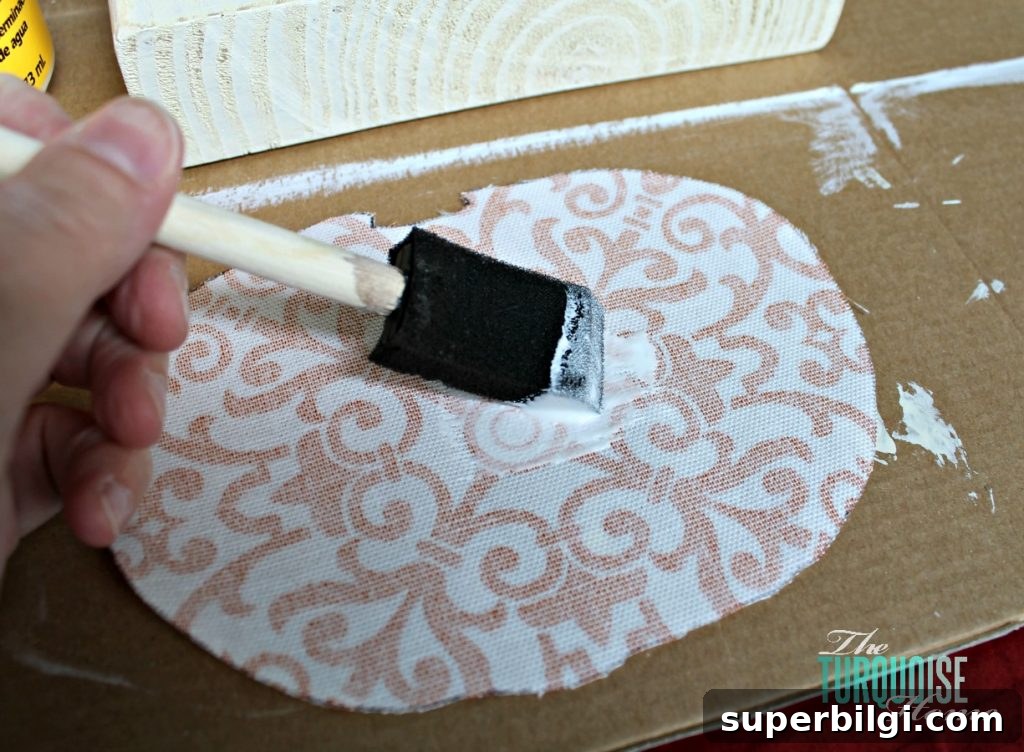
Brush a layer of decoupage medium over the painted board, set the fabric pumpkin in place, then coat the top with more decoupage to seal the fabric and create a bonded finish. Mod Podge or a similar product works well to secure and protect the fabric.
And that’s it — a simple, thrifty pumpkin made from scraps. It’s small, cute, and perfect for a mantel, shelf, or tabletop display.
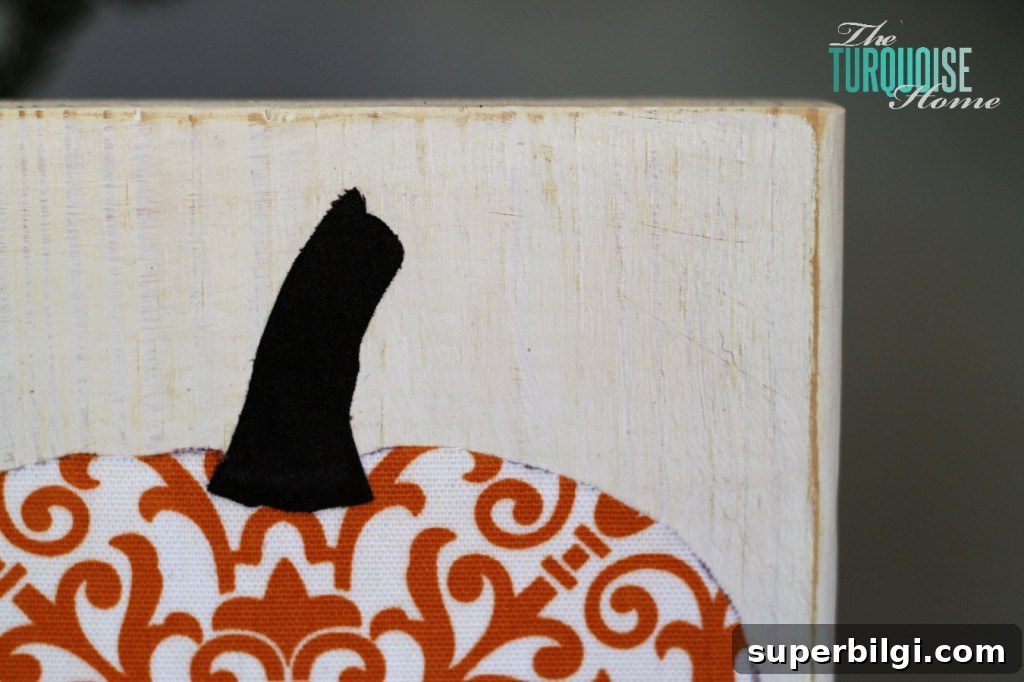
I wasn’t sure what to call this little piece — plaque, fabric board, or simply a crafty pumpkin — but the name isn’t important. What matters is that it rescued fabric I already had and turned it into fresh decor. I might make a few more to sell at a yard sale so the fabric can keep earning its keep.
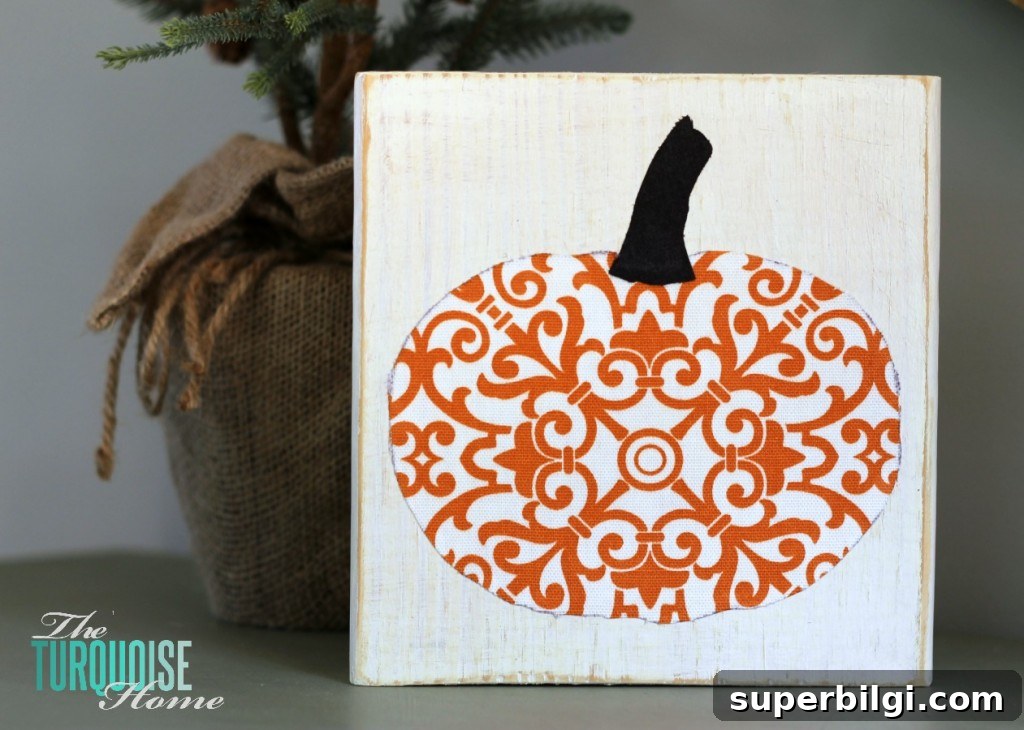
If you enjoyed this quick project, I hope it inspires you to look through your own stash of scraps and give them new life. Have a wonderful day!
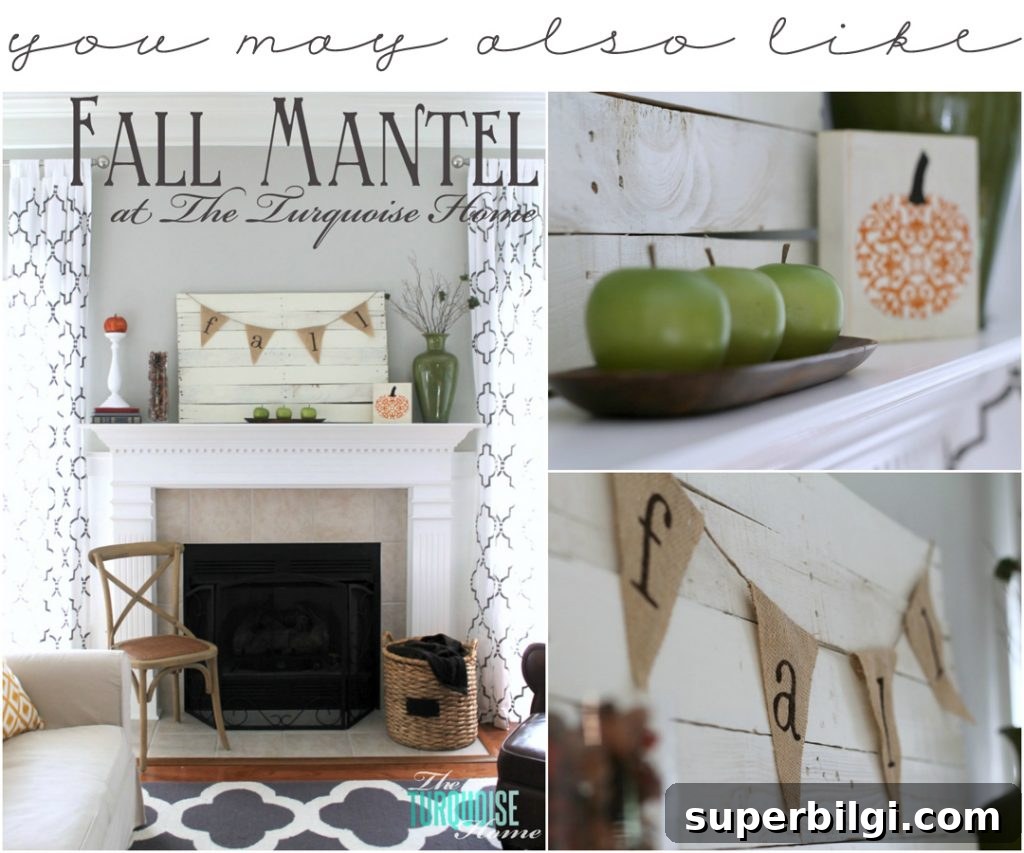
Fall Mantel Reveal
More posts you may enjoy:
- DIY Chinoiserie Pumpkins {with video tutorial}
- The Best Realistic Fake Pumpkins
- 25 Amazing DIY Fall Wreaths
- Fall Kitchen Decorating Ideas