
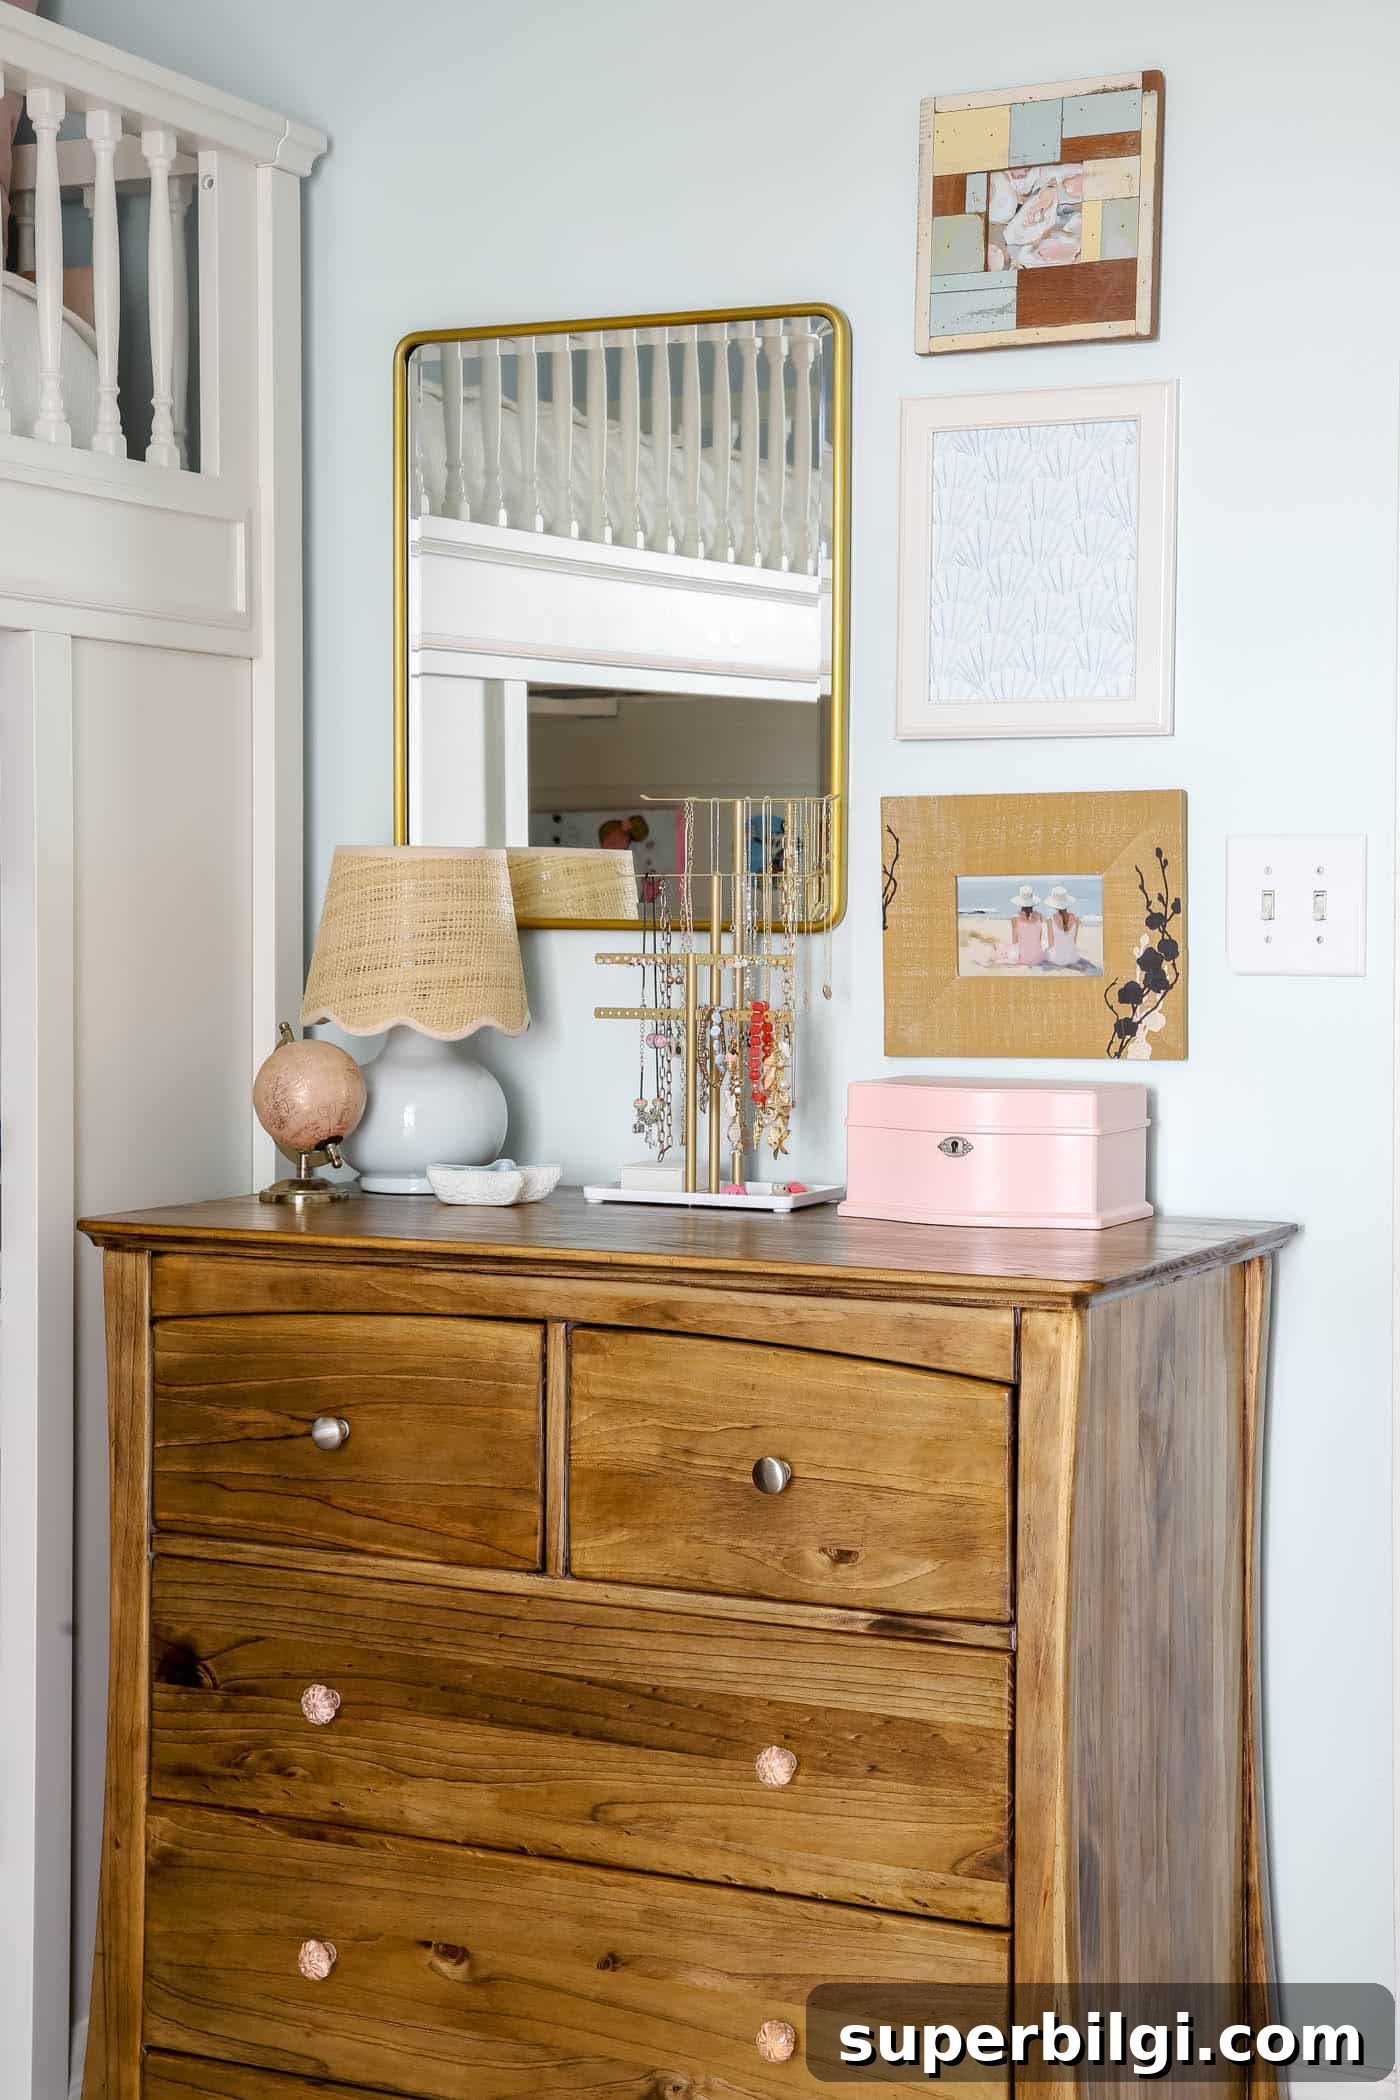
Have you ever spotted a beautiful old dresser at a thrift shop or inherited a table that just needs a little love? Refinishing wood furniture is one of the easiest and most budget-friendly ways to give tired, dated pieces a brand-new life. The best part: you don’t need to be a professional to do it.
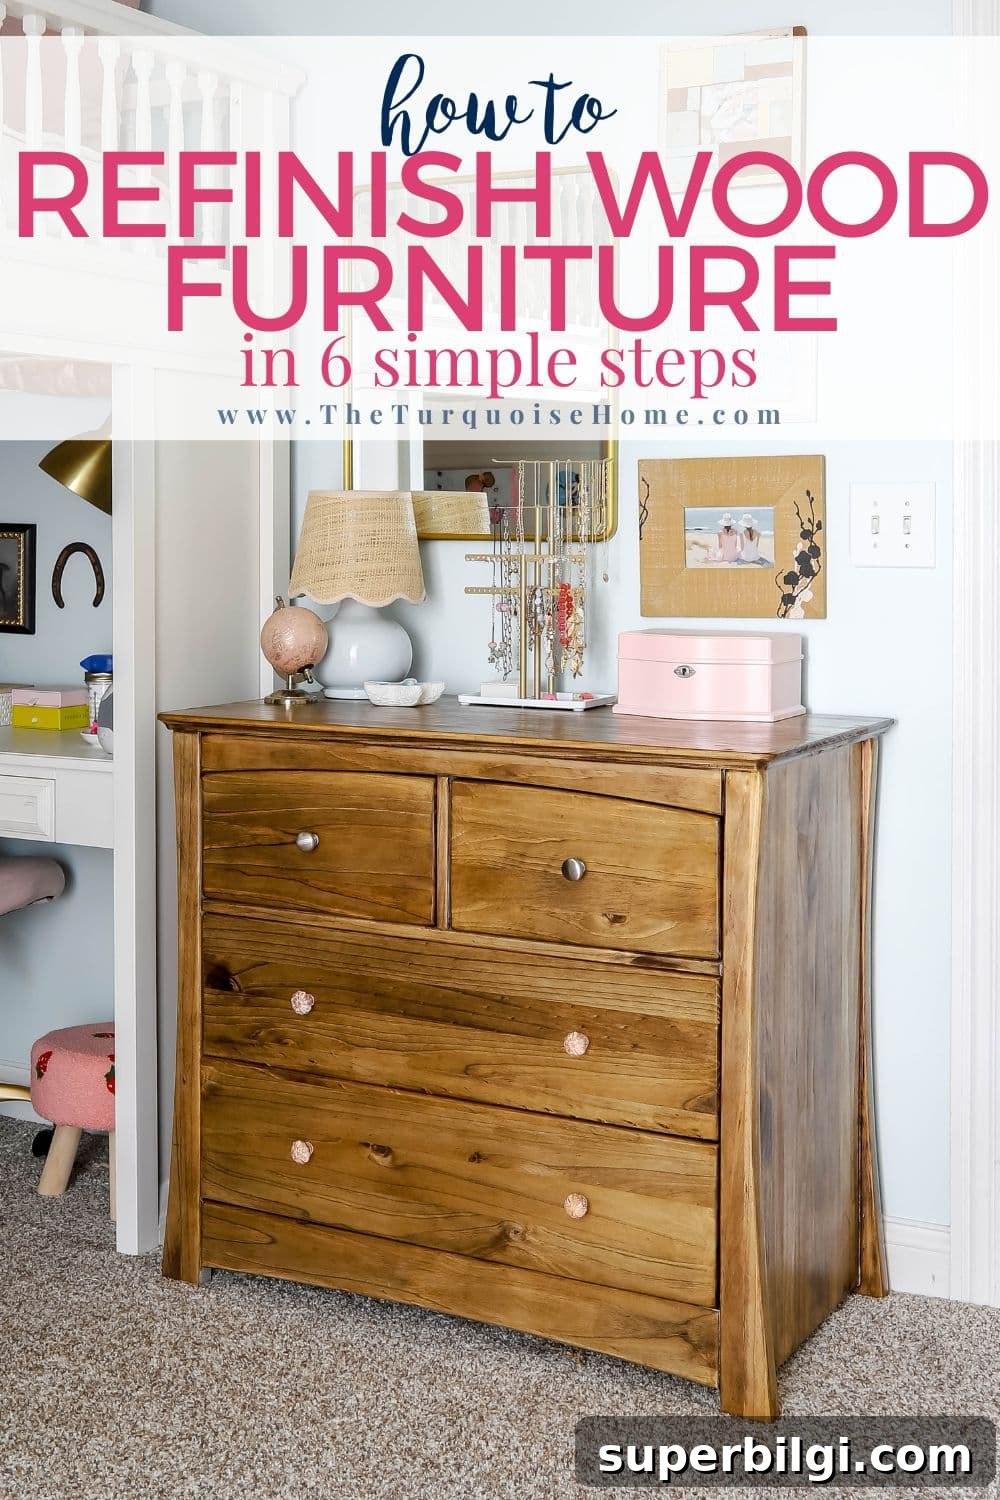
This guide will walk you step-by-step through how to refinish wood furniture so you can approach your next project with confidence. With a little time, elbow grease, and common supplies, you’ll be amazed at the transformation.
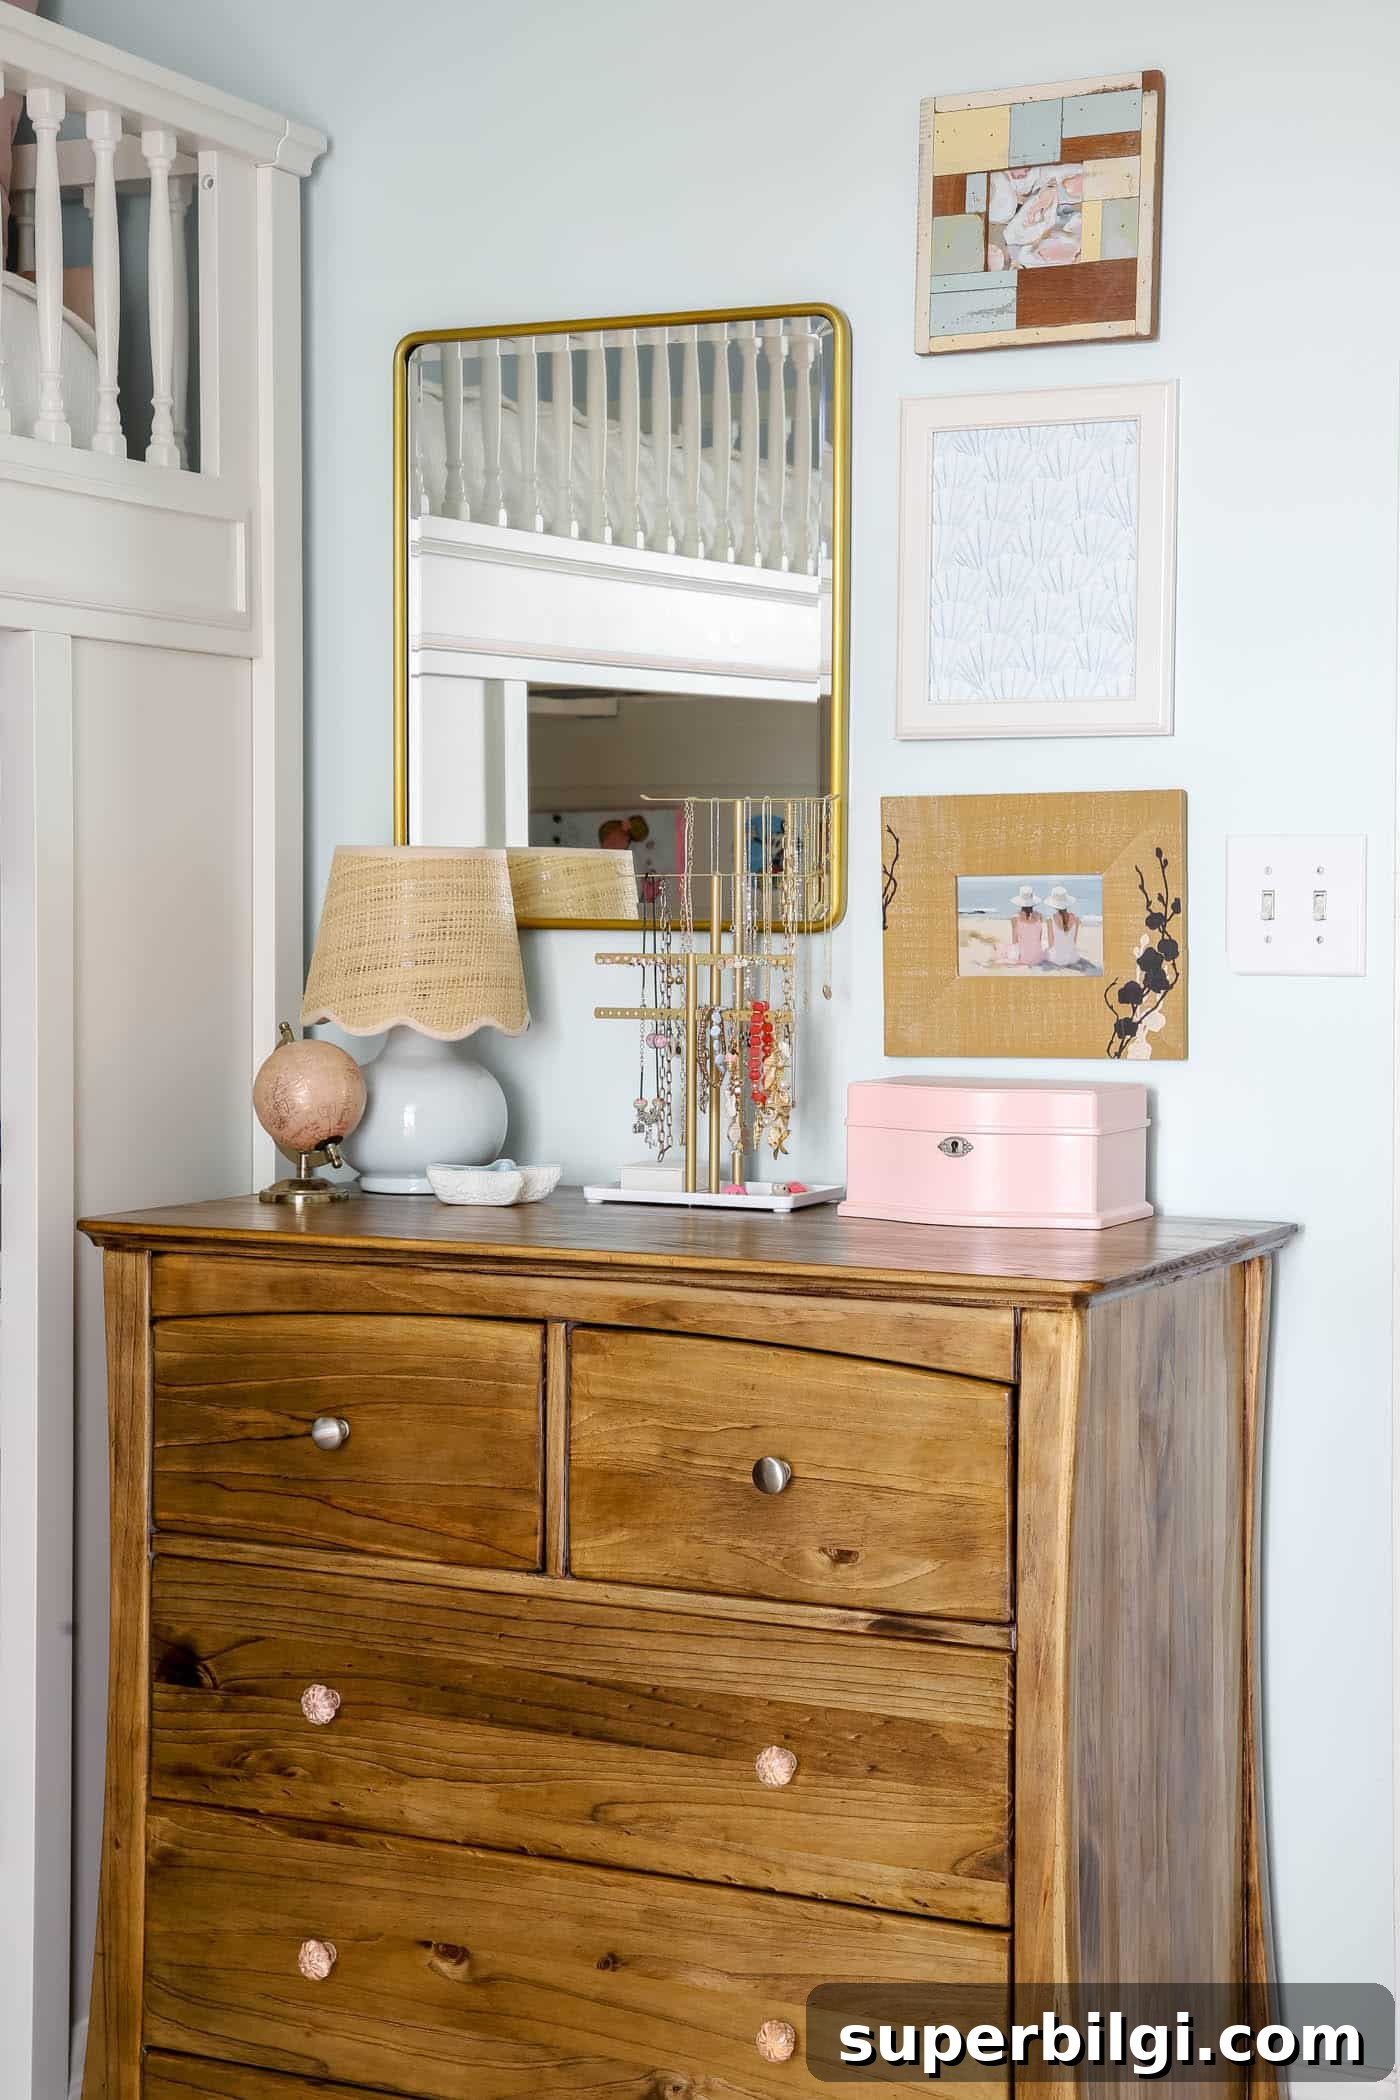
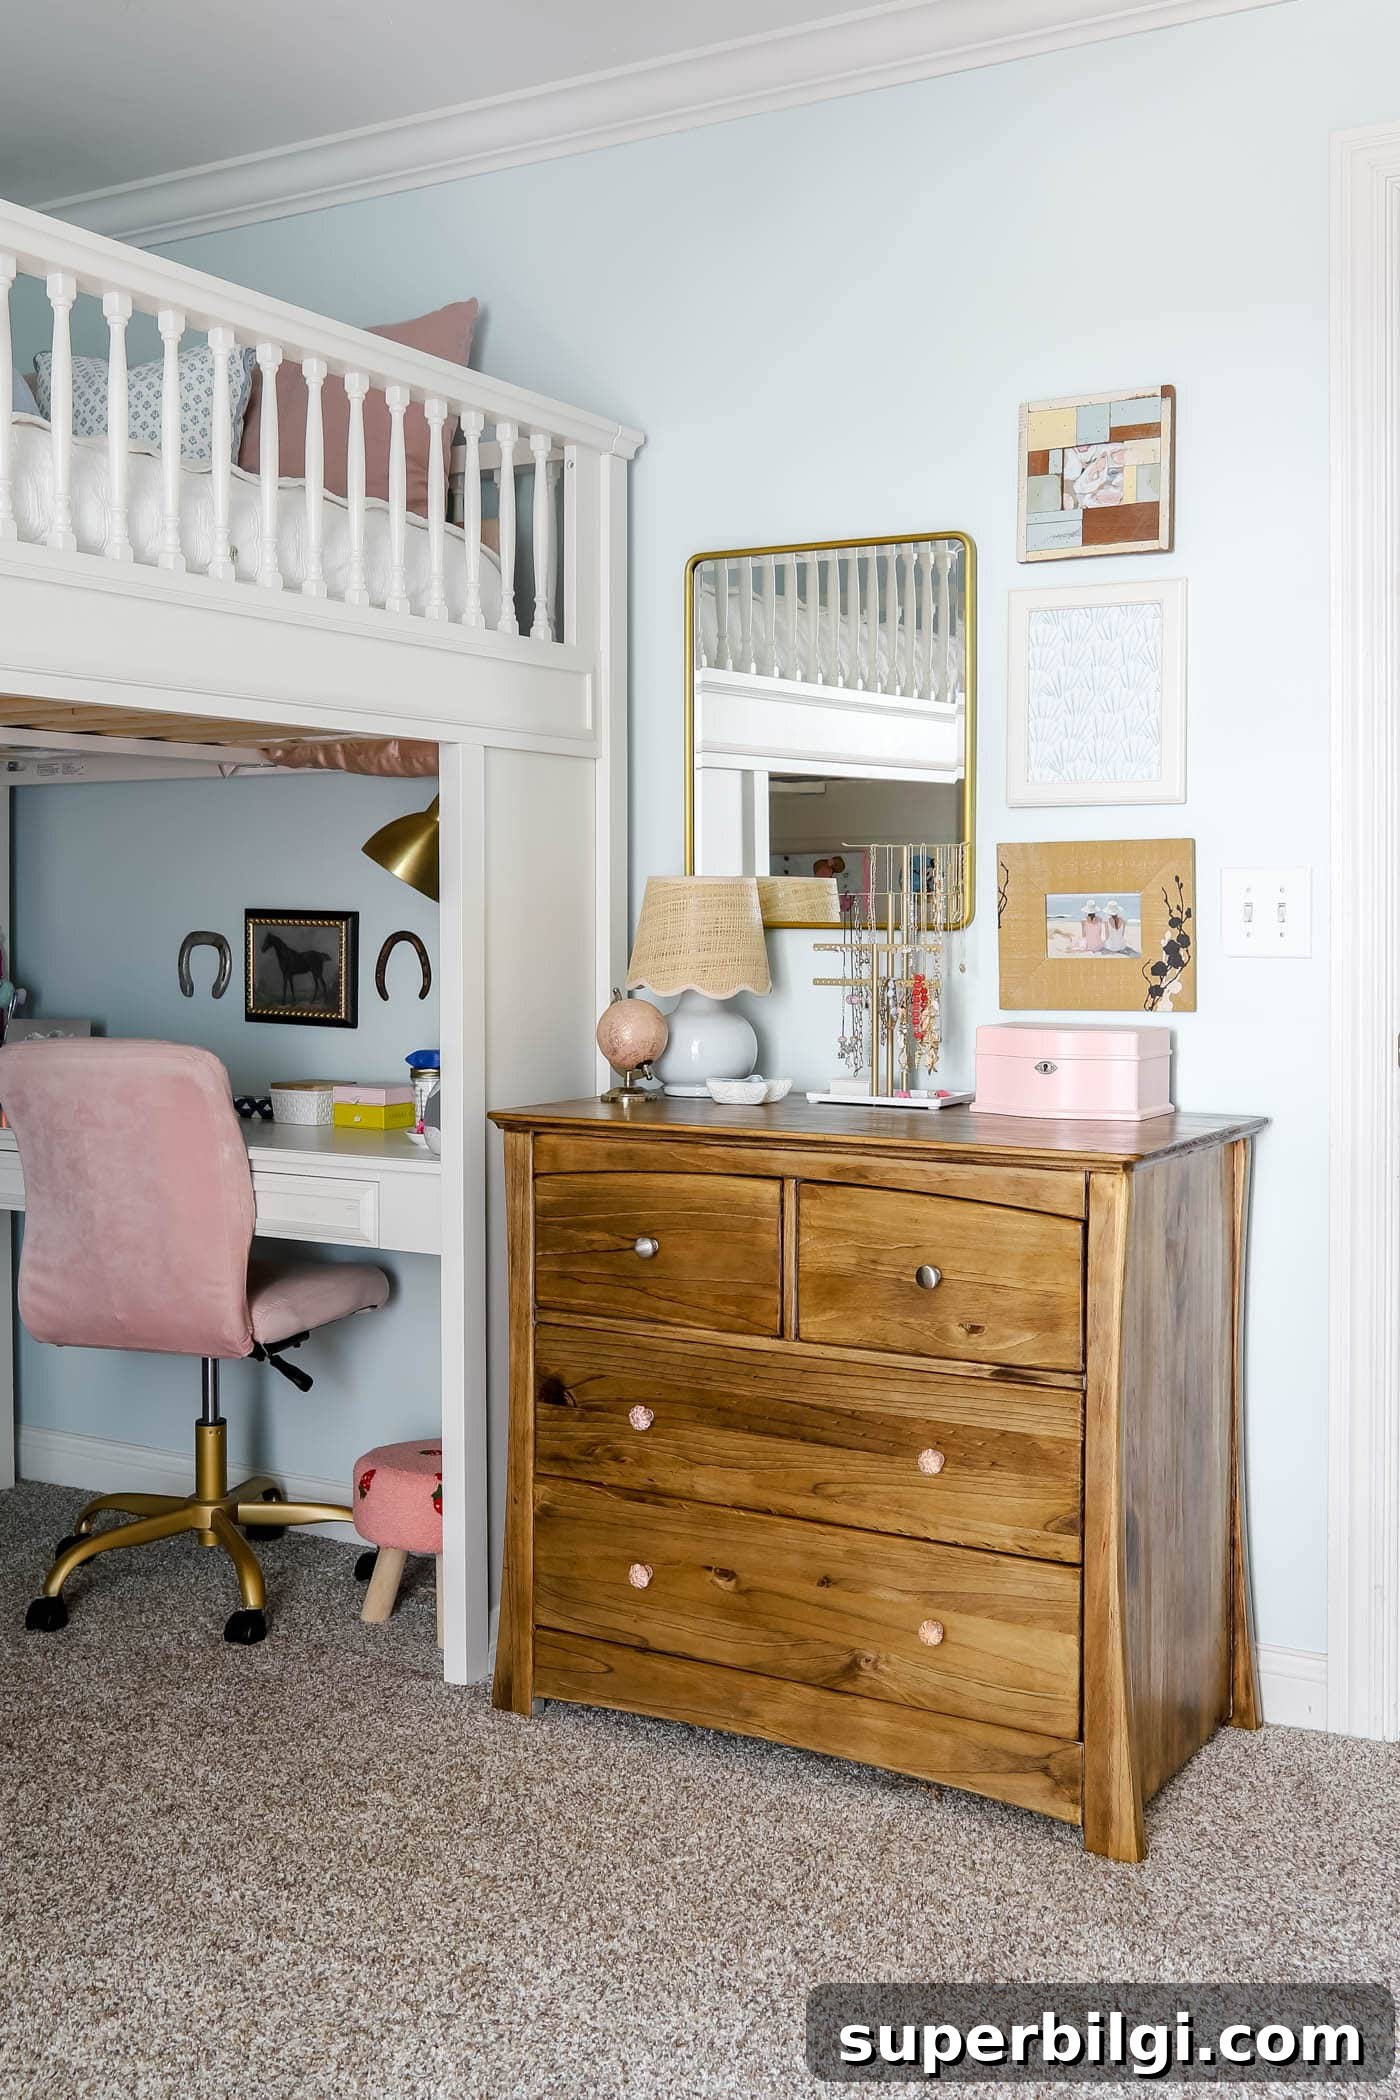
I’m currently updating my younger daughter’s bedroom and needed a small dresser that fit a particular space. An old changing table I had stored in the garage had good structure, so I decided to refinish it to match the new beach-themed decor.
Here’s what the desk and nightstand looked like before:

I wanted a budget-friendly solution that improved the look and created a dedicated spot for her jewelry and little treasures.
This post contains affiliate links for your convenience. See my full disclosure policy.
Why Refinish Instead of Replace?
Refinishing wood furniture is kinder to your wallet, better for the environment, and often preserves sentimental value. Solid wood pieces can last for generations; sometimes a refresh is all they need to reveal their natural beauty. Plus, completing a DIY refinish gives a real sense of pride and satisfaction.
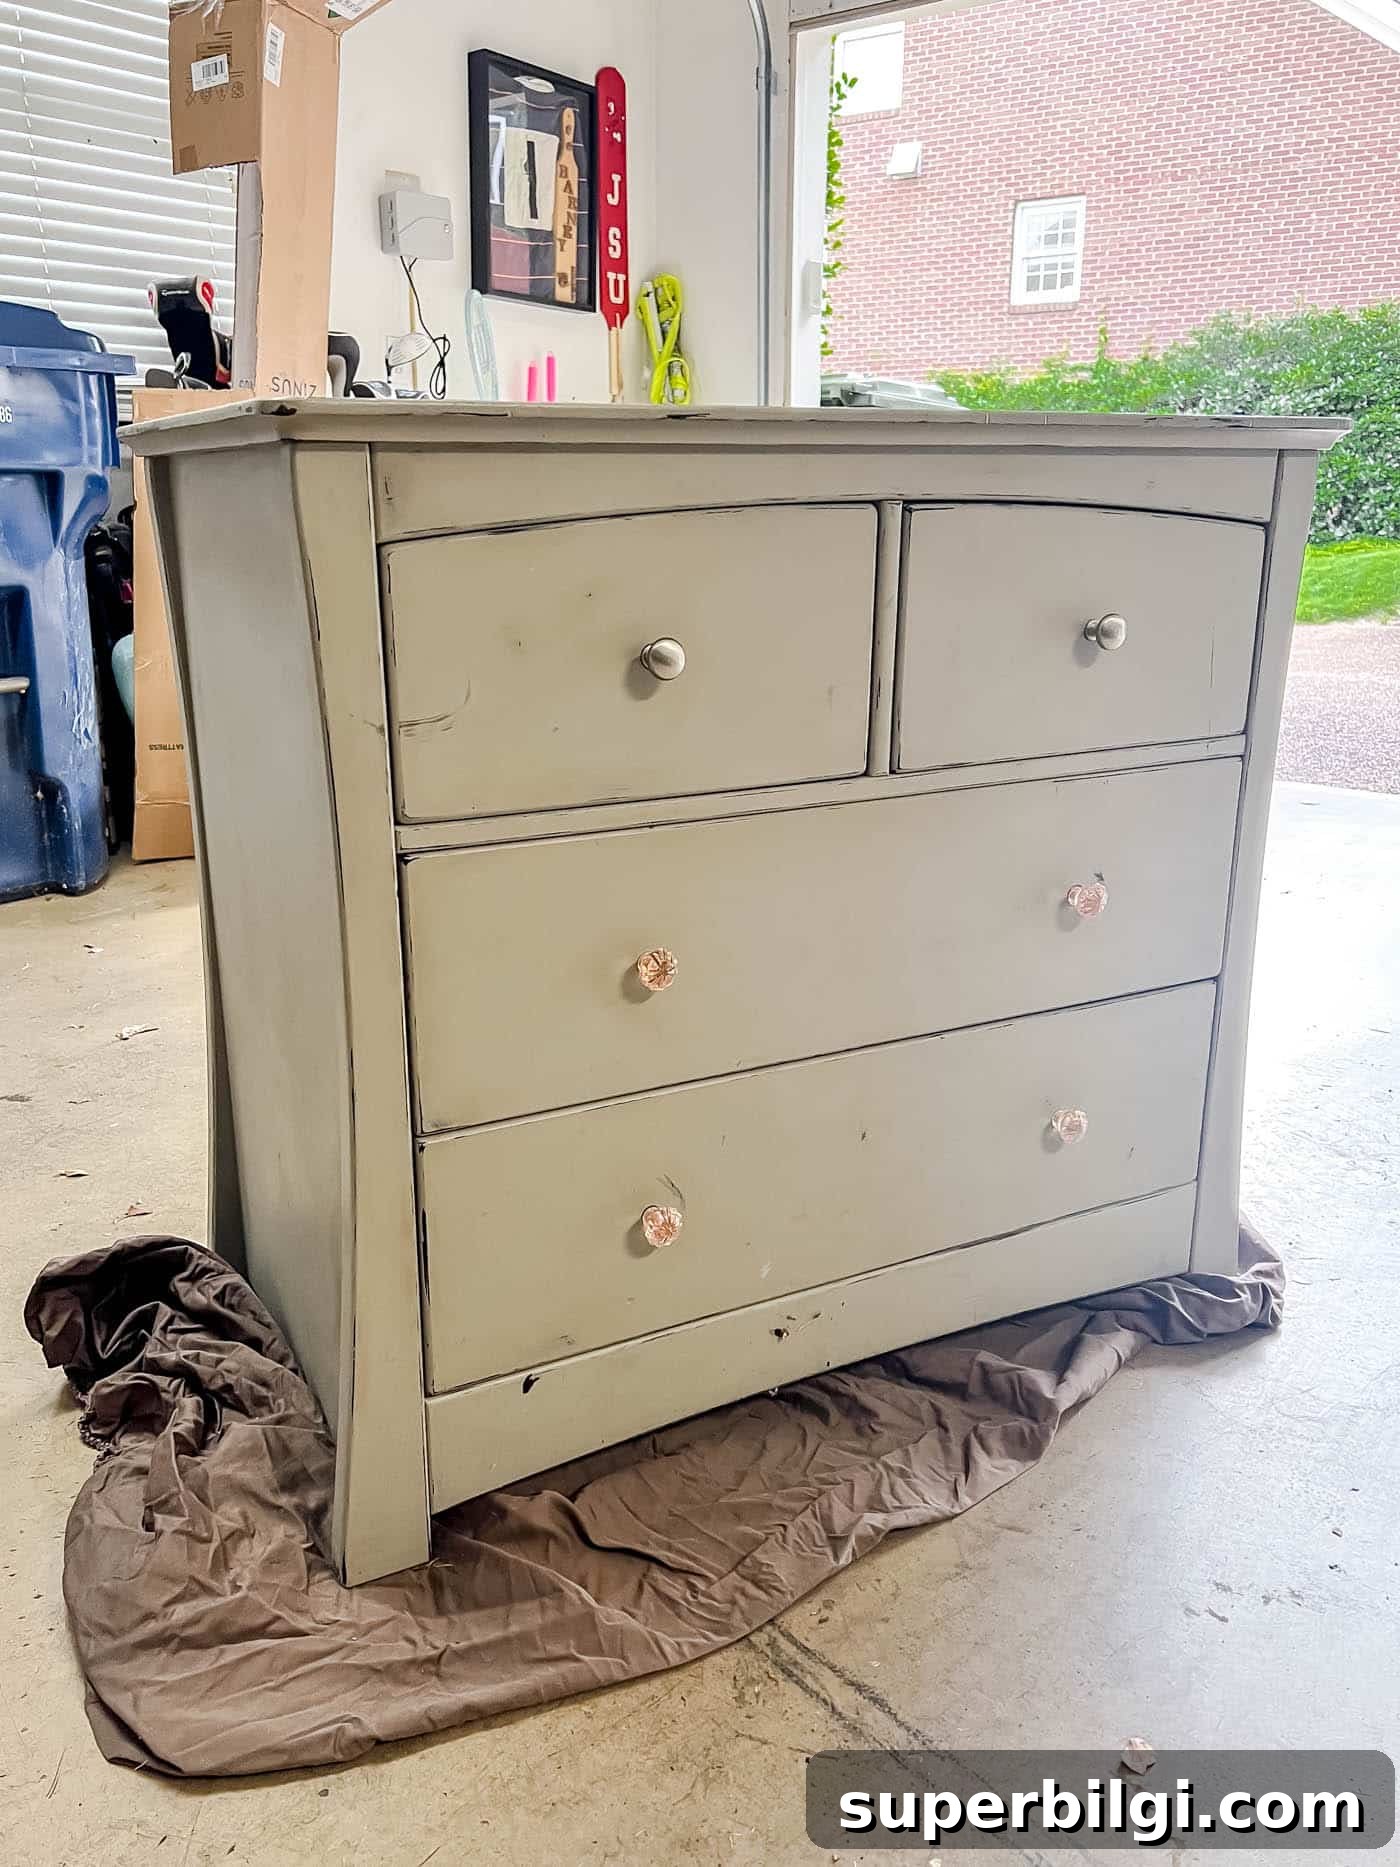
The dresser I chose once served as a changing table. After moving it out of the nursery, it sat in the garage for a while. Because it’s solid wood and the size matched a small nook in my daughter’s room, refinishing it was the logical choice.

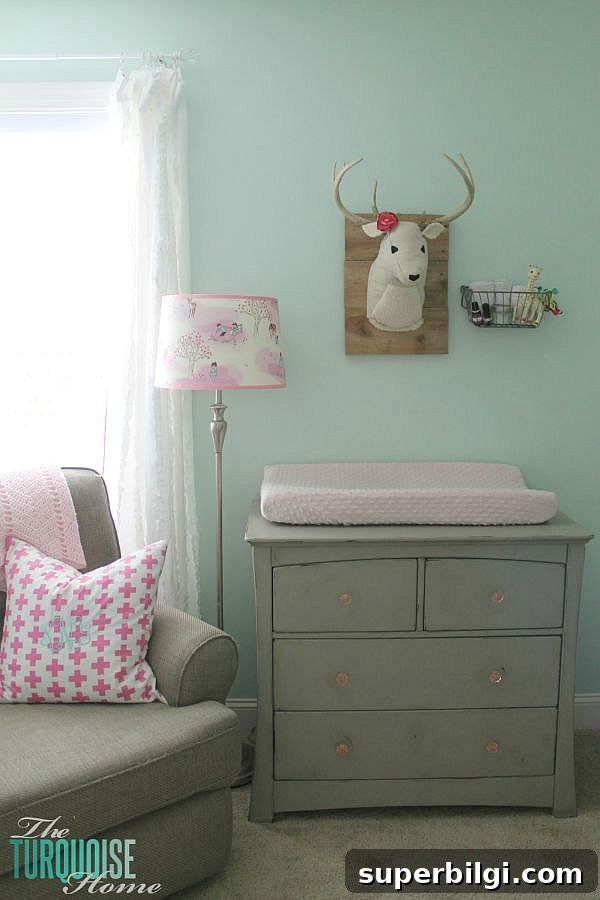
Because it fit the space and was structurally sound, refinishing this piece gave me the exact solution I needed—storage out of sight with a pretty surface for jewelry and decor.
Supplies You’ll Need
Gather your supplies before you begin so you don’t have to interrupt the project midstream. Here’s a basic list:
- Drop cloth or tarp
- Screwdriver to remove hardware
- Paint stripping gel (such as a citrus-based stripper)
- Sandpaper in coarse, medium, and fine grits
- Orbital or sheet sander or sanding block
- Wood cleaner or mild soap and water
- Safety gear: gloves, respirator mask, safety glasses
- Wood conditioner (optional, for an even stain)
- Wood stain or paint
- Paint brushes, rags, or foam applicators
- Polyurethane or finishing wax to seal the surface
How to Refinish Furniture to Stain or Paint
This process is aimed at restoring and re-staining a piece, but you can adapt it if you prefer to paint. For paint, you may be able to skip aggressive stripping and simply sand and prime before painting.
1. Choose Your Piece & Prep Your Space
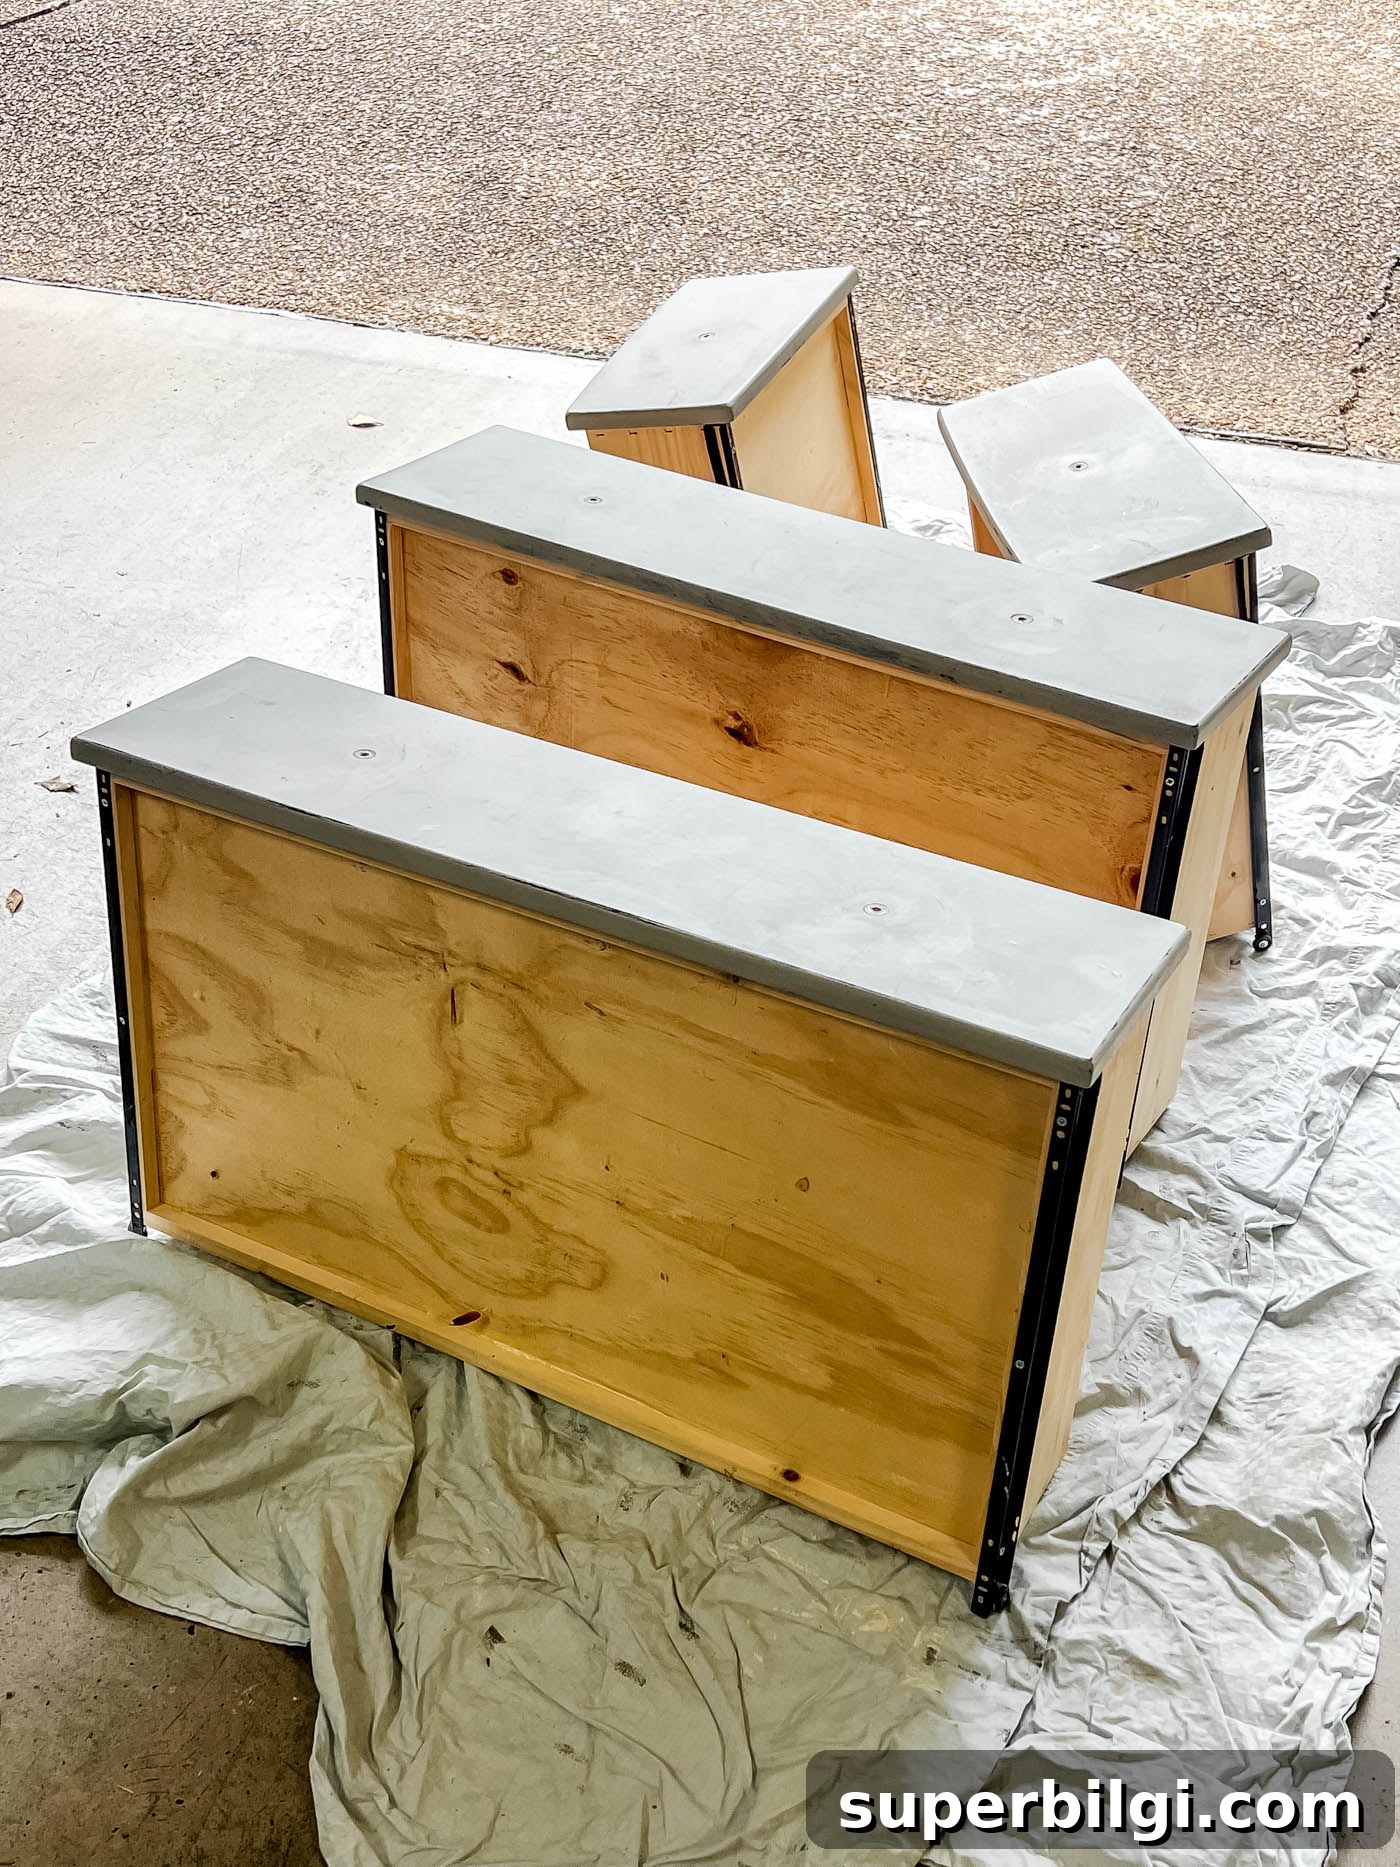
Select a sturdy piece with solid construction. Work in a well-ventilated area such as a garage or outdoors and lay down a drop cloth to protect the floor. Remove drawers and hardware, and store screws and knobs in a labeled bag.
2. Clean Thoroughly
Even if furniture looks clean, grease and old polish can build up. Wipe the piece with a wood cleaner or mild soap and water, then allow it to dry completely. If you plan to strip and sand, a light clean can be sufficient, but do not skip this step when painting.
3. Strip the Old Paint
Apply a gel paint stripper following the product instructions. Avoid letting the stripper dry on the surface—if needed, cover the treated areas with plastic wrap to keep the gel moist and working longer. Use a plastic or metal scraper to remove softened paint or varnish.
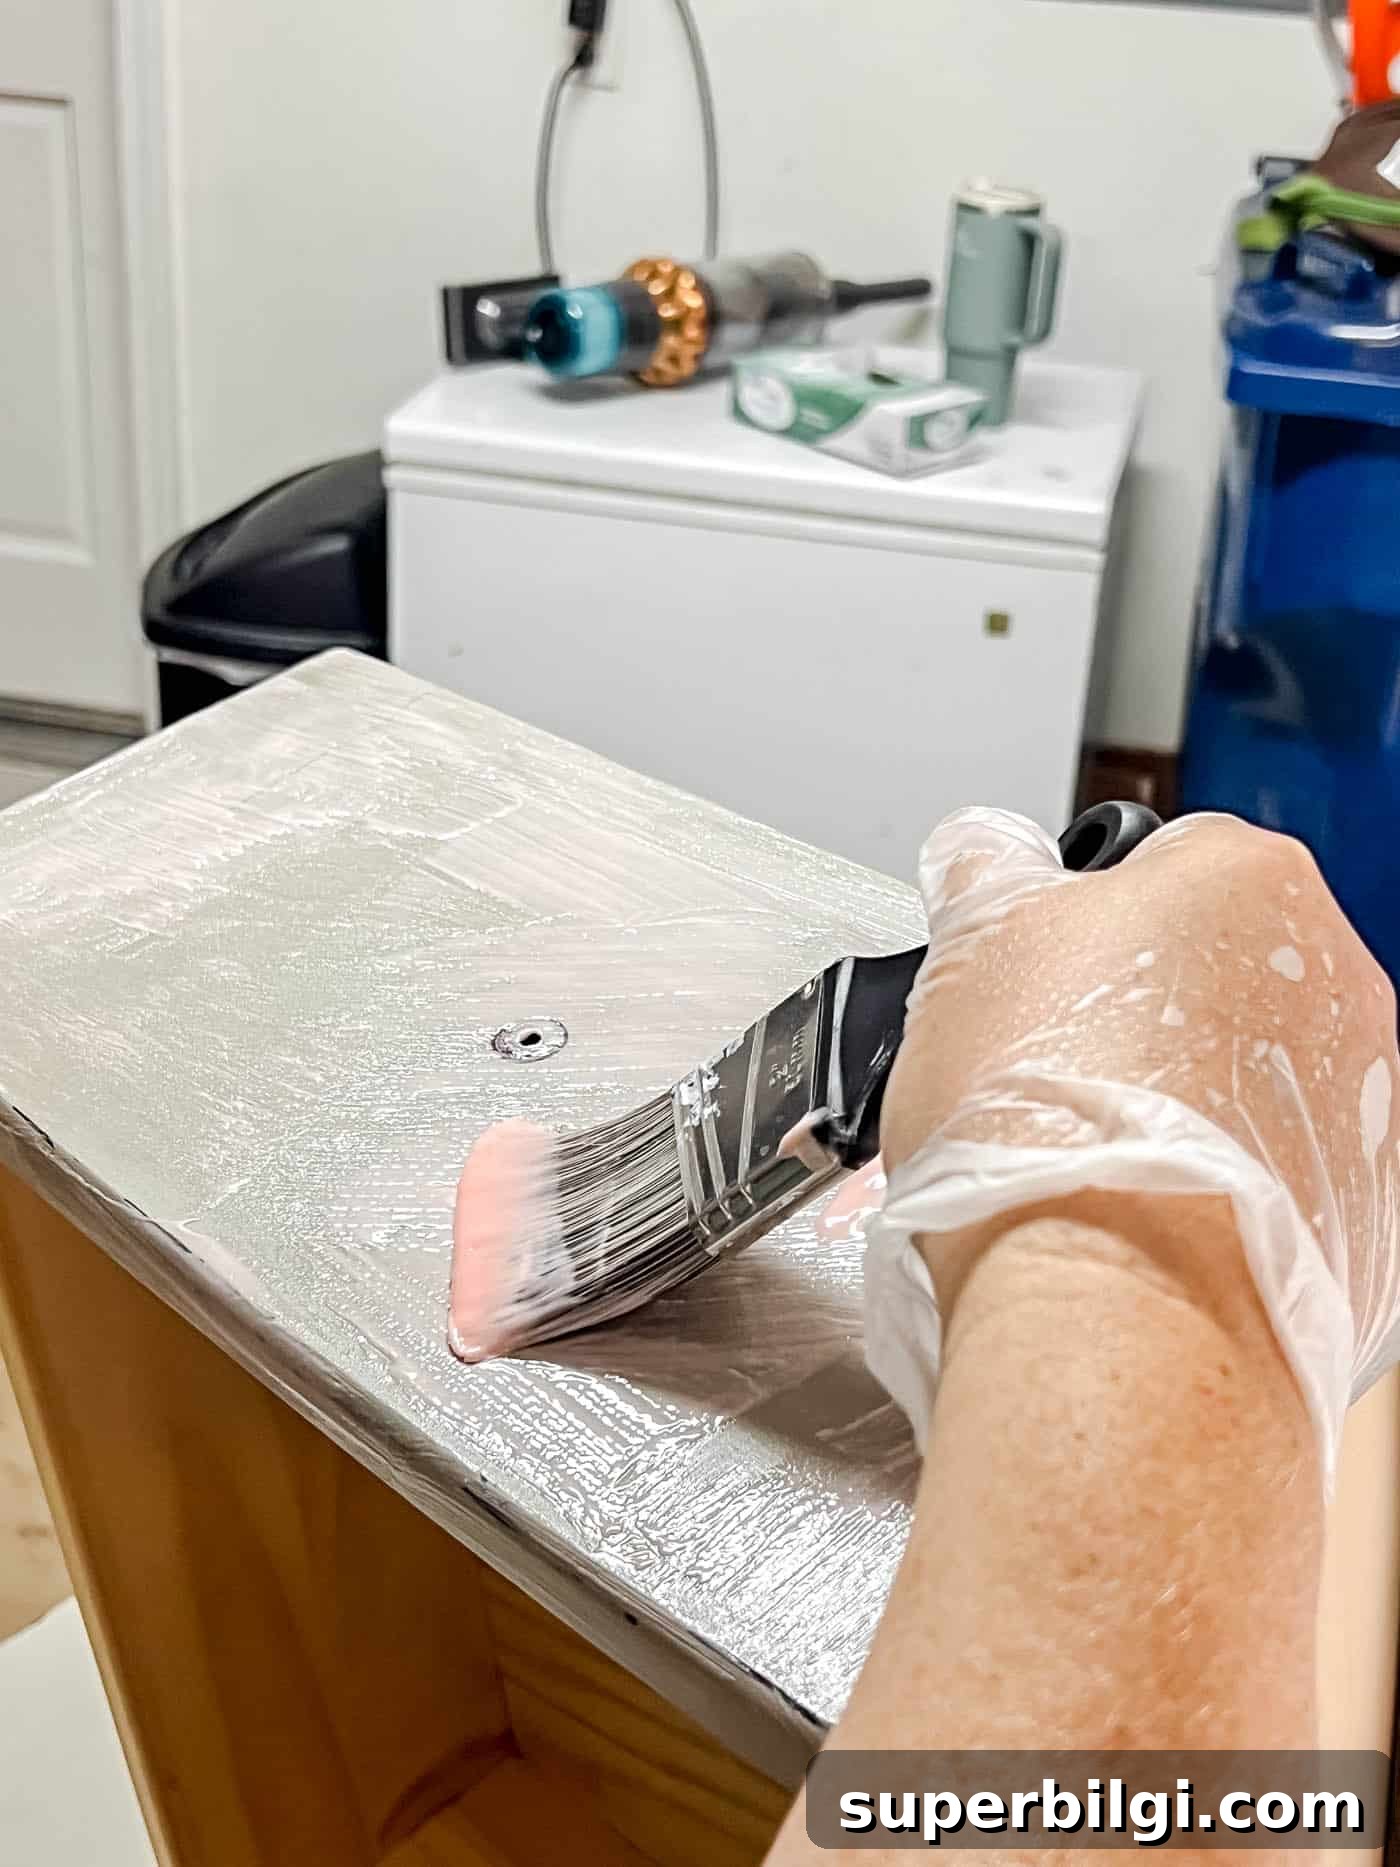
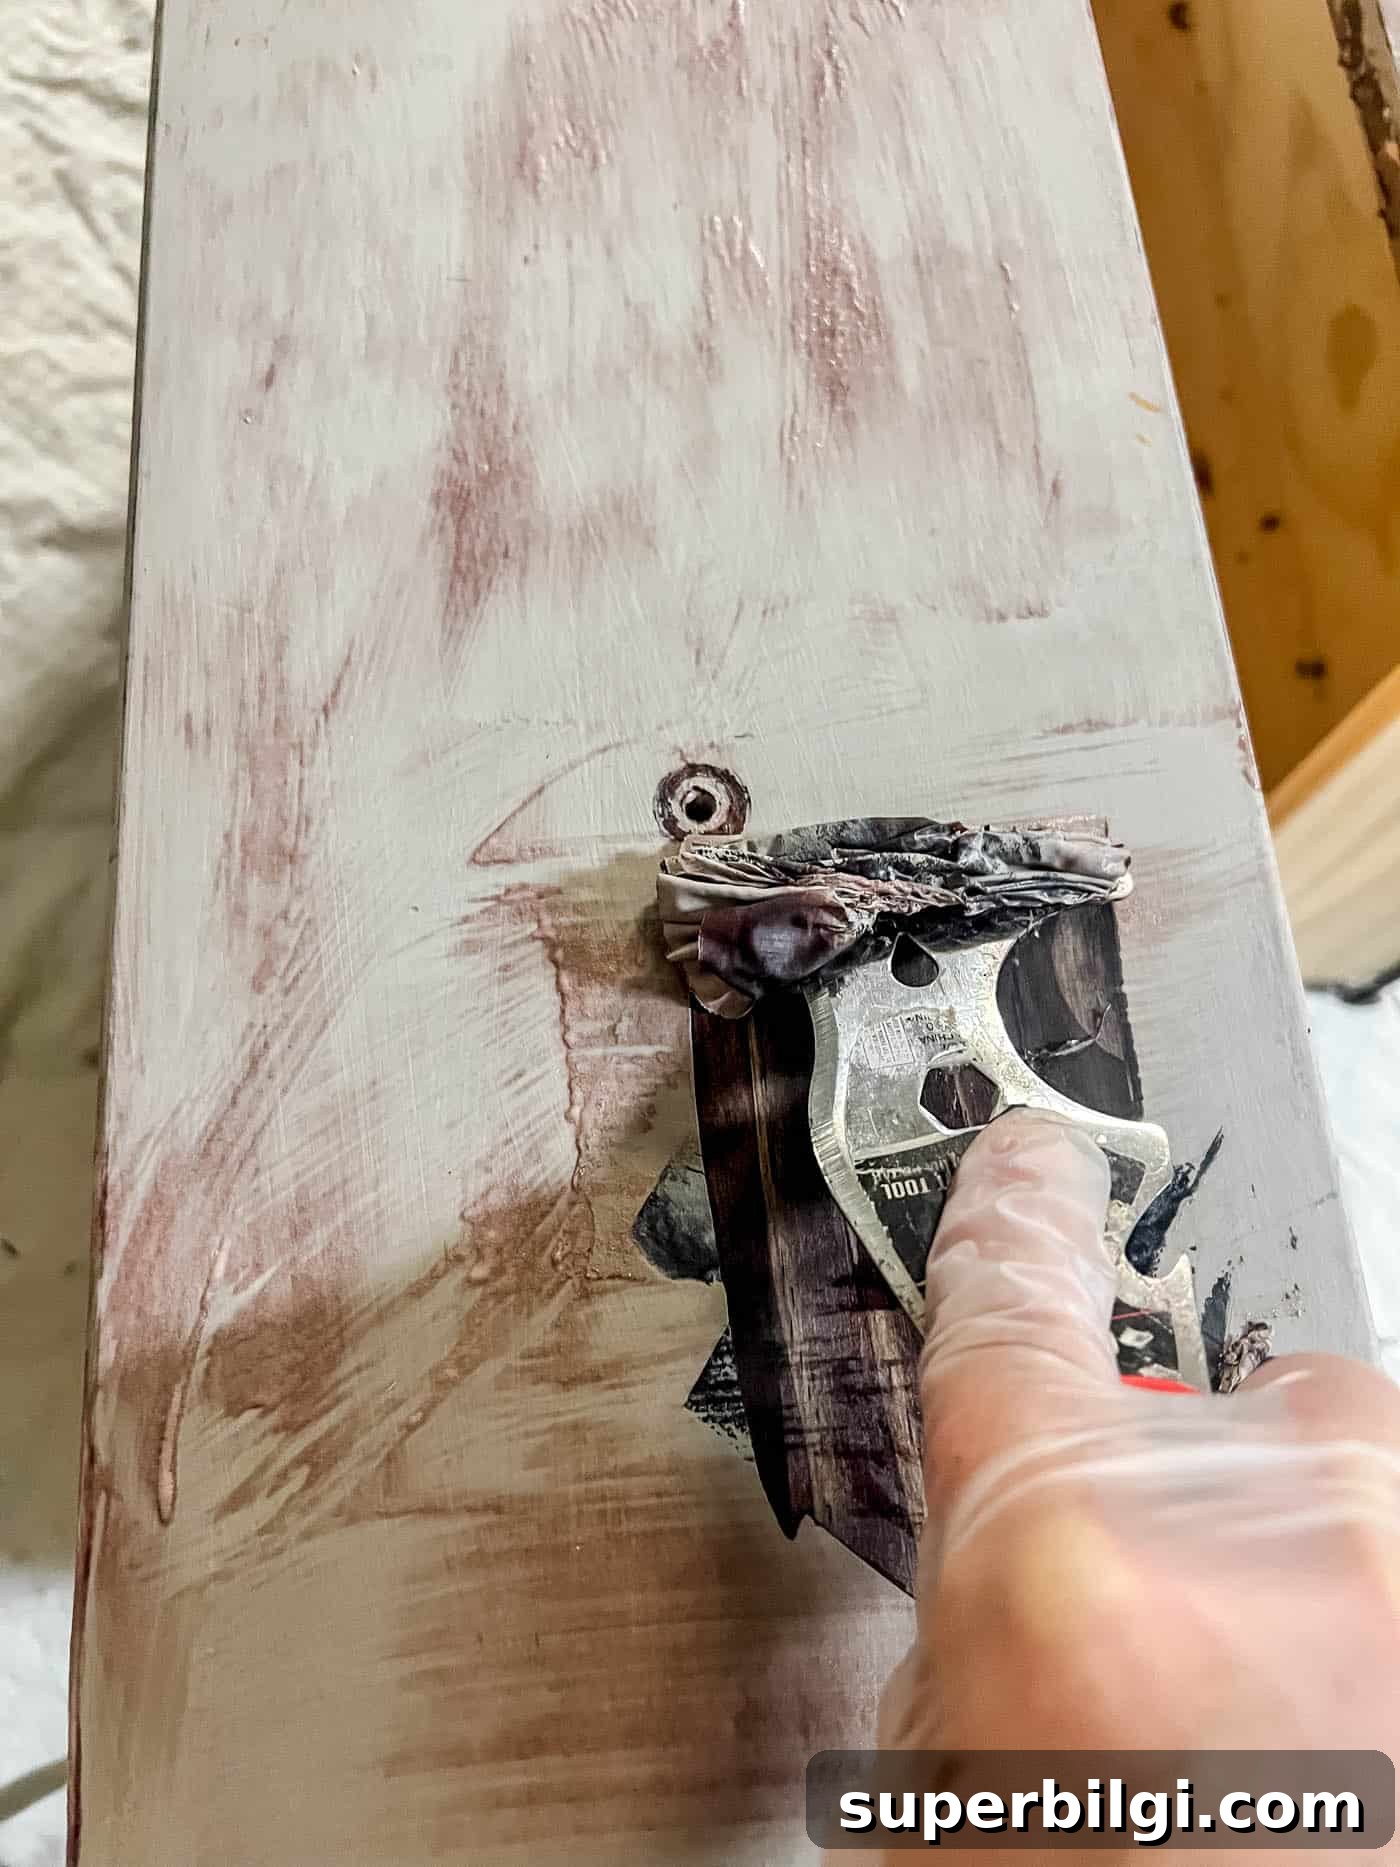
Tip: If you notice holes, cracks, or dings, fill them with wood filler after stripping and before sanding.
4. Sand the Surface
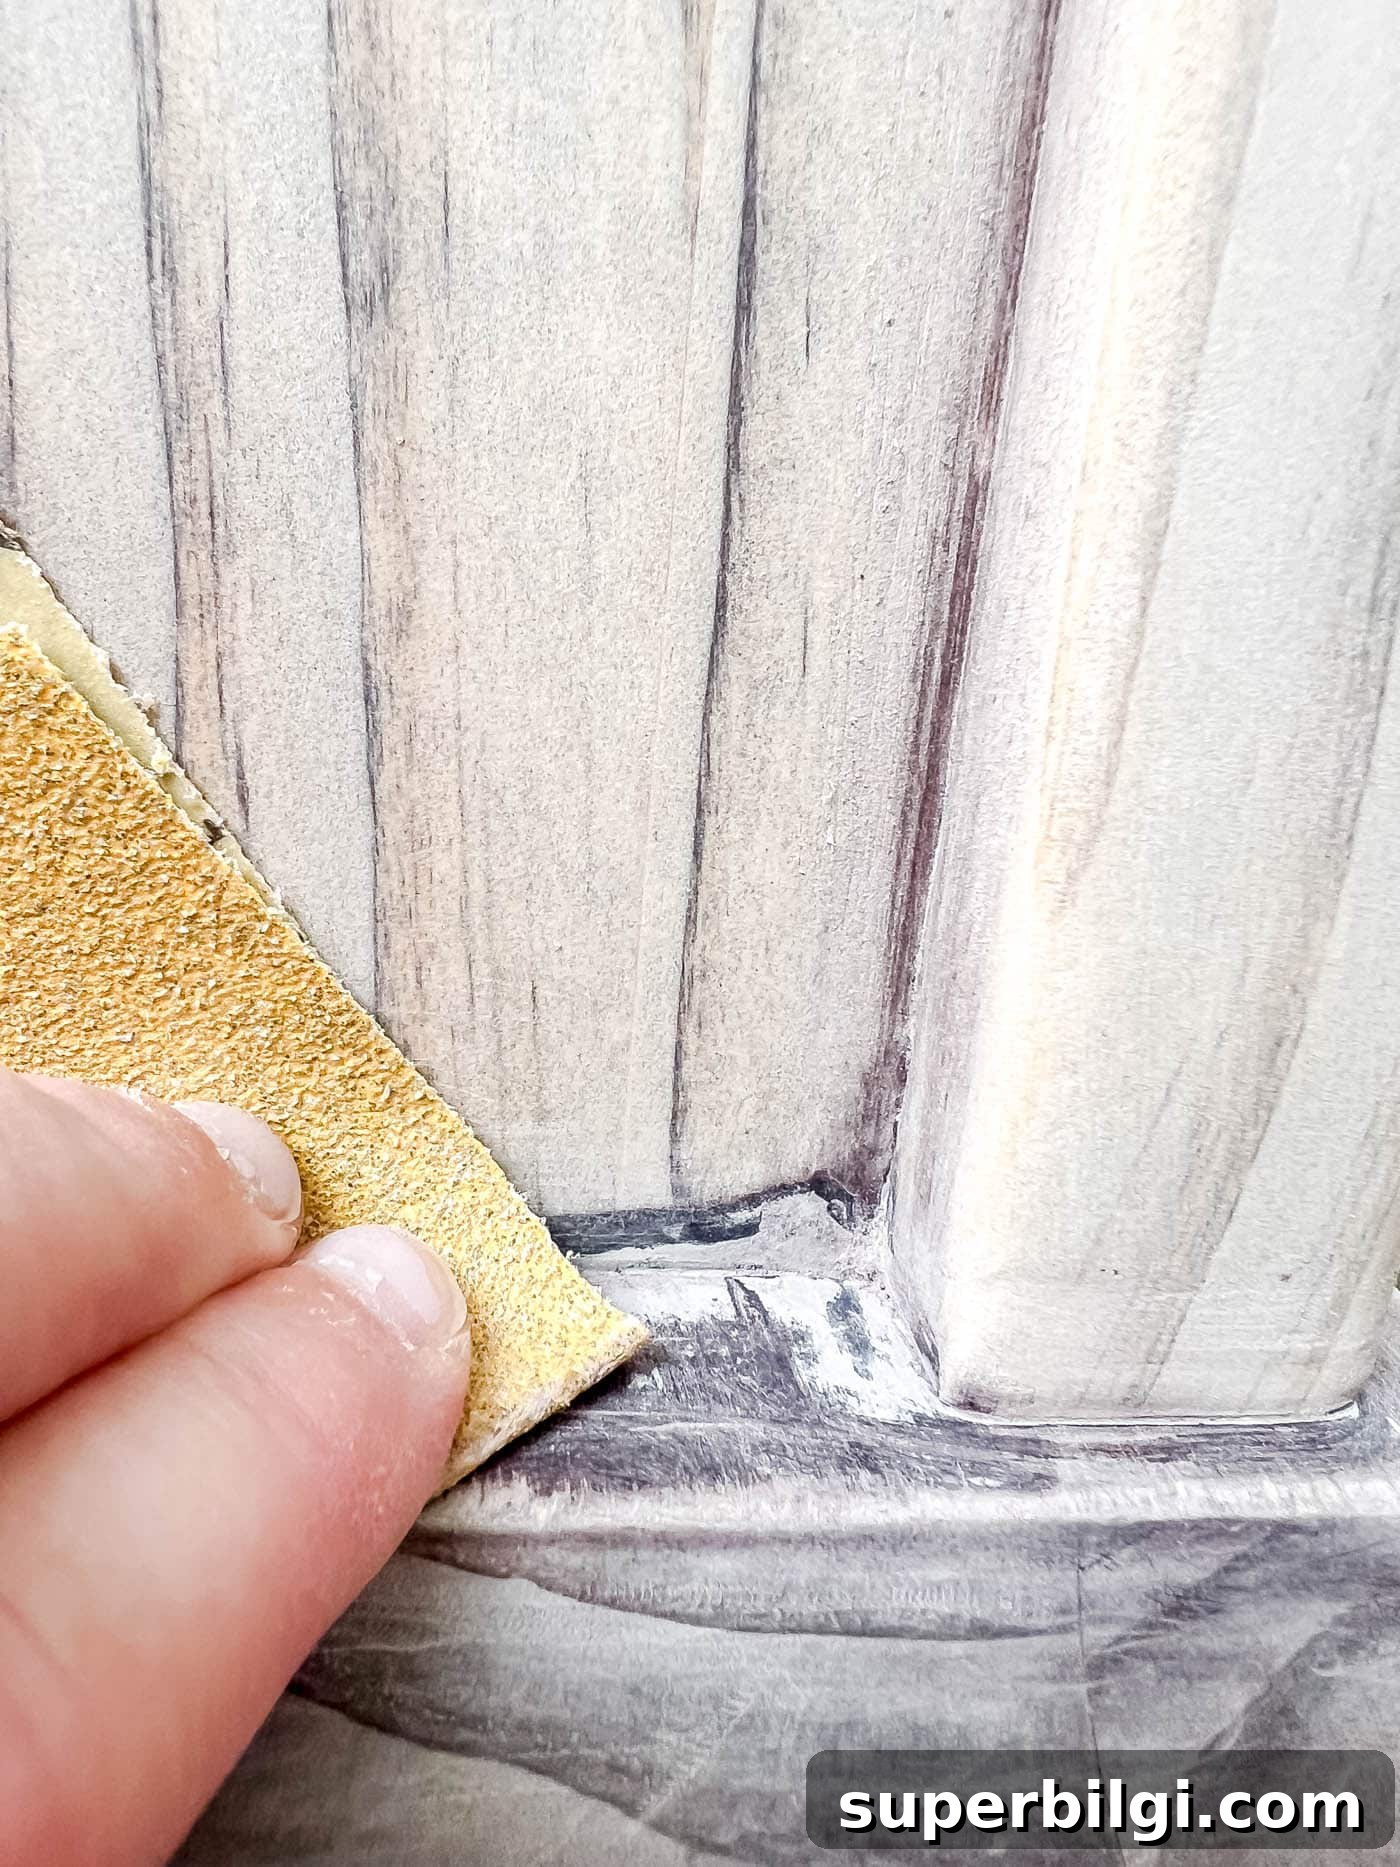
Sanding is essential for a smooth, professional-looking finish. Start with coarse grit to remove leftover finish, then move to medium and finish with fine grit for smoothness. Always sand with the grain to avoid scratches.
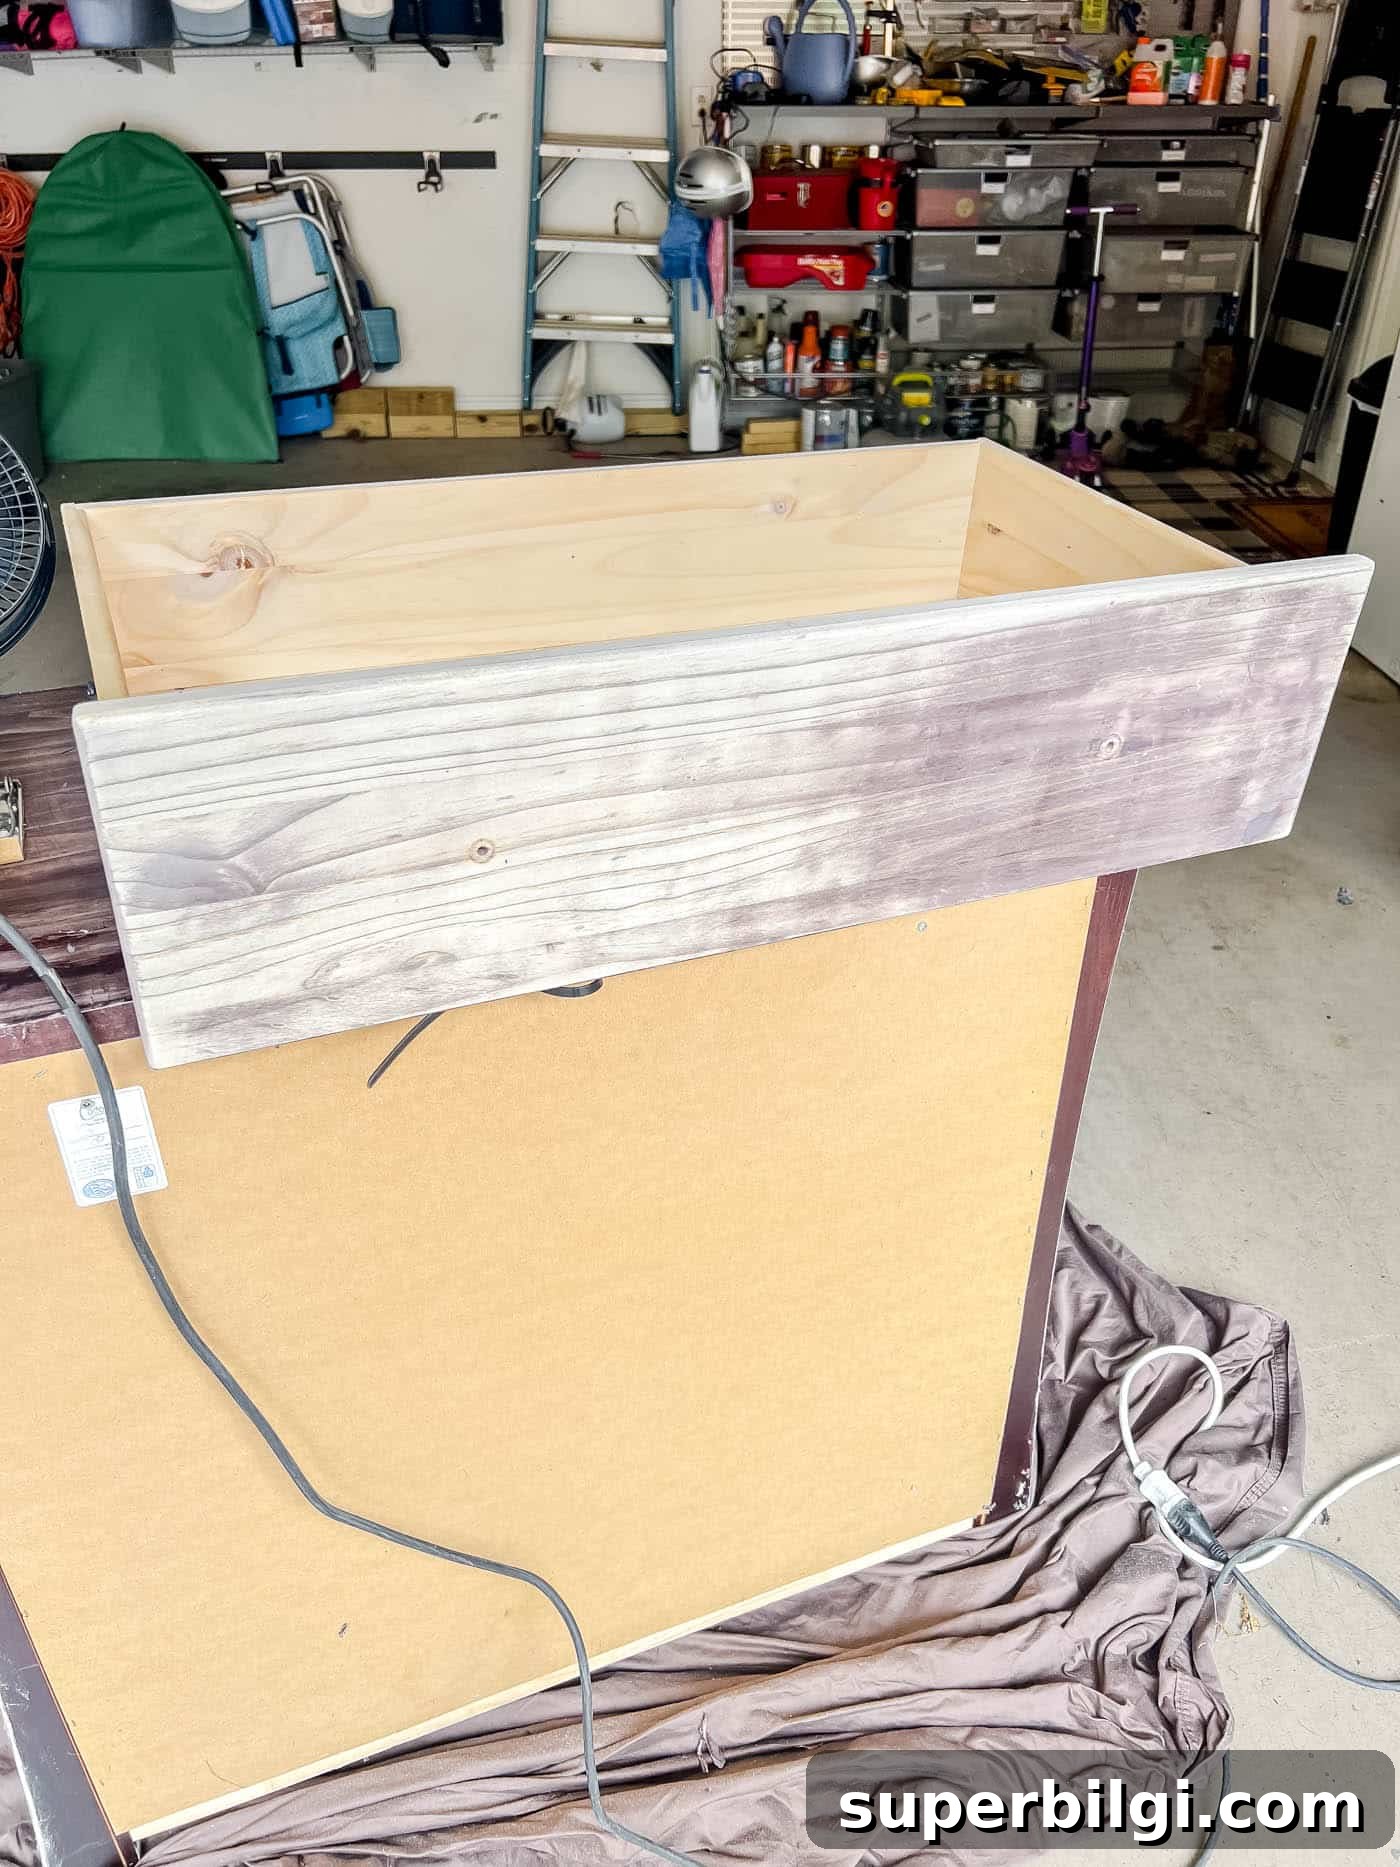
I often use 80 grit to start, then 180, and finish with 220—use what works for your piece. If using a power sander, a sheet sander can be gentler and better at sanding with the grain than some orbital sanders, which can leave swirl marks.
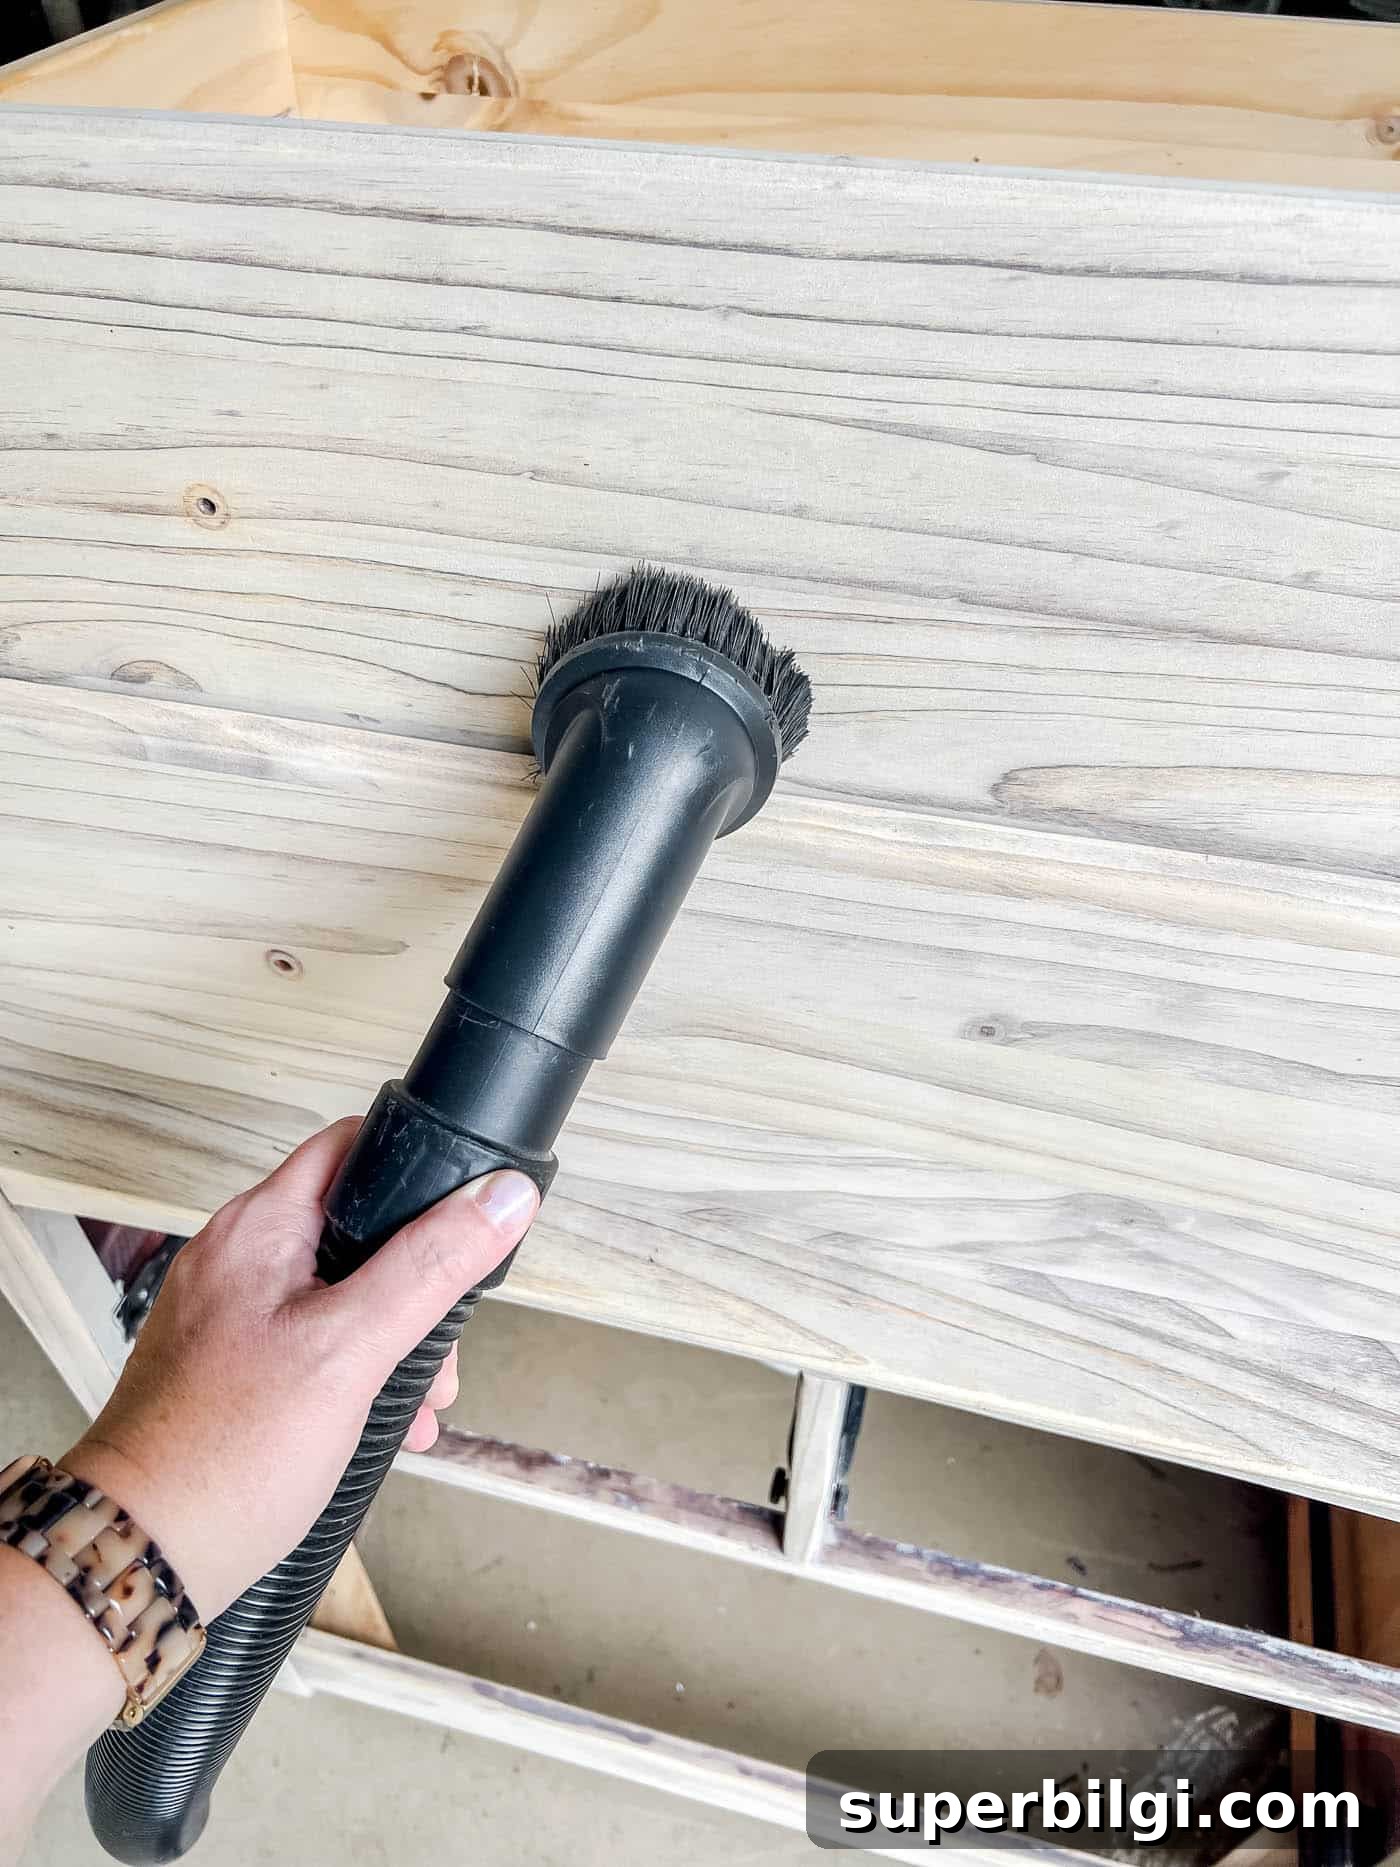
Vacuum the sanding dust and wipe the piece with a damp cloth or tack cloth before staining or painting.
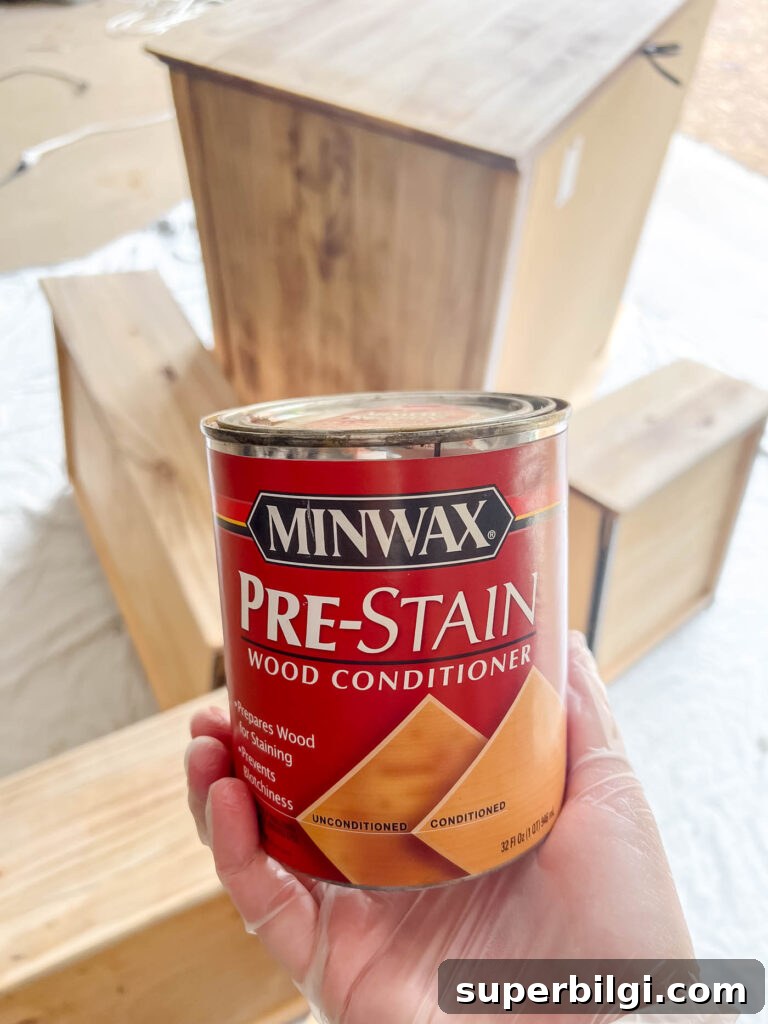
Optional: Apply a pre-stain wood conditioner on bare wood for a more even stain application.
5. Apply Stain or Paint
Decide whether you want to highlight the wood’s grain with stain or change the look with paint.
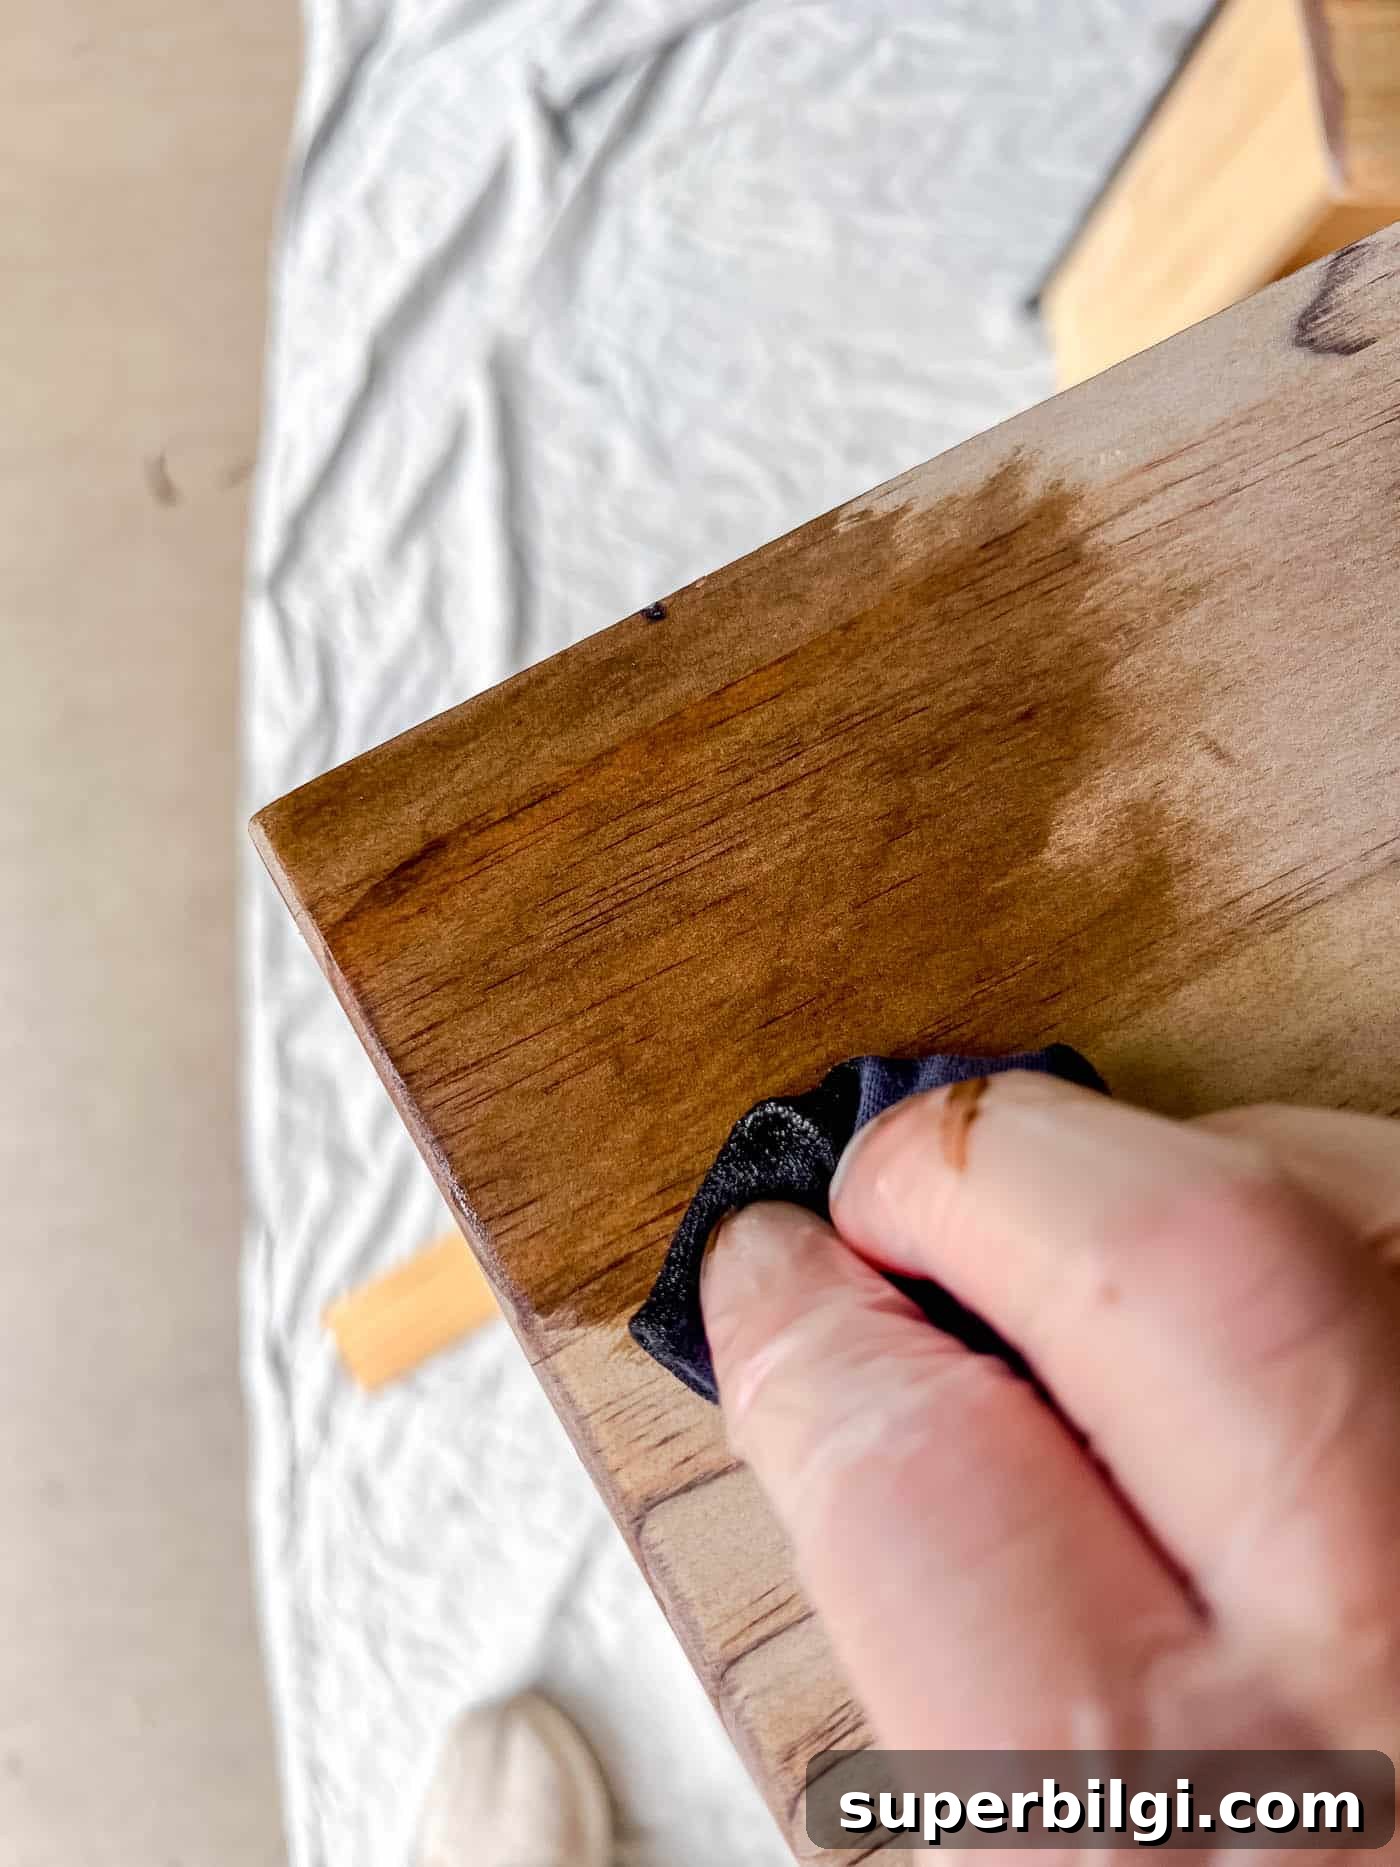
- For stain: Apply with a rag or foam applicator, wipe off the excess, and layer coats until you reach the desired depth.
- For paint: Use a quality brush or sprayer for even coverage. Light sanding between coats can improve adhesion and finish.
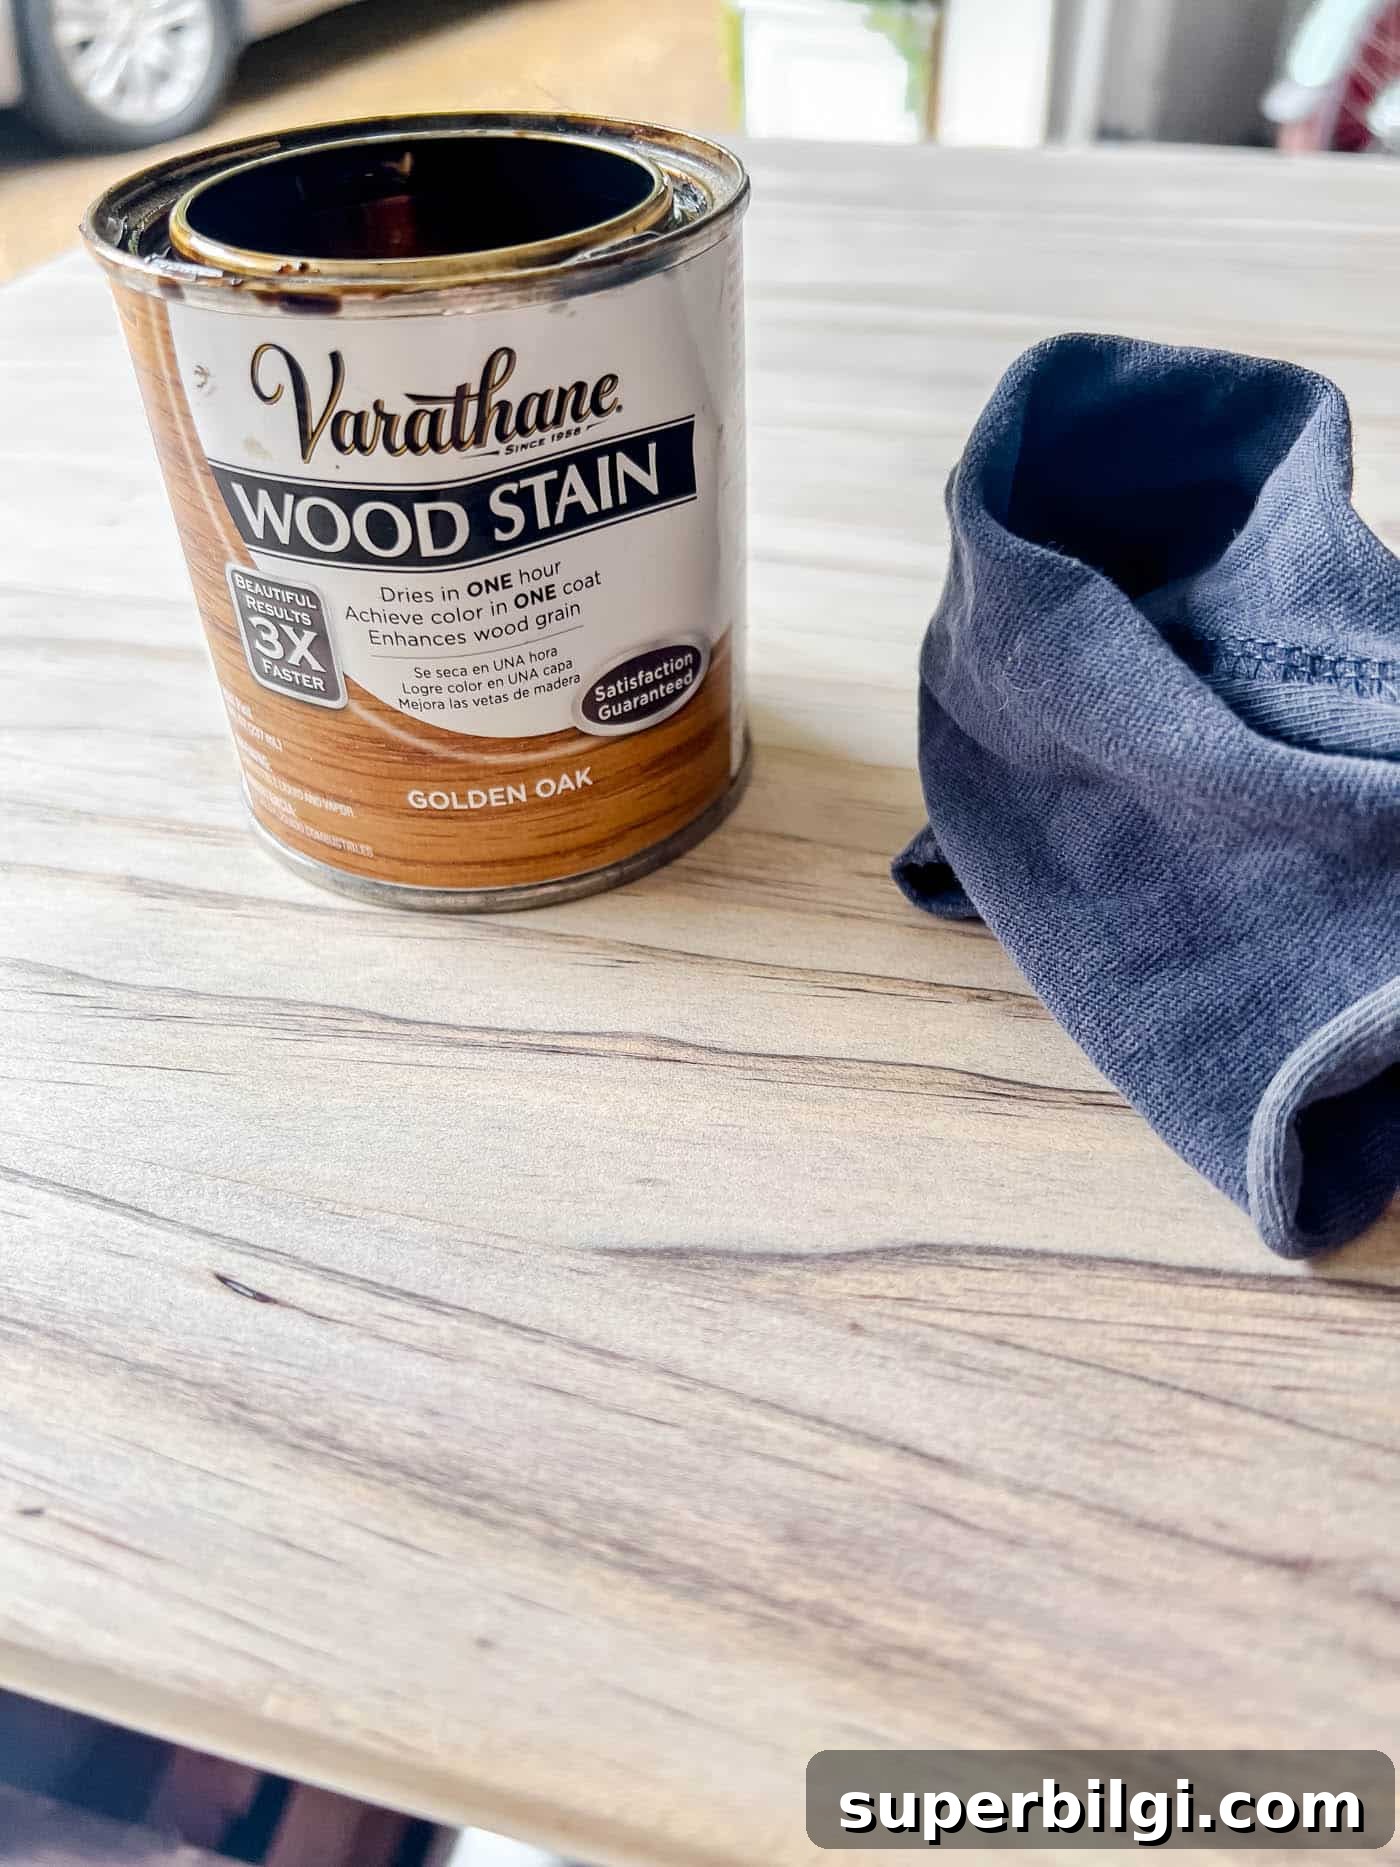
Allow each coat to dry fully and follow product instructions for best results. When staining, use disposable rags or brushes and dispose of them safely, as oil-based products may be flammable.
6. Seal the Finish
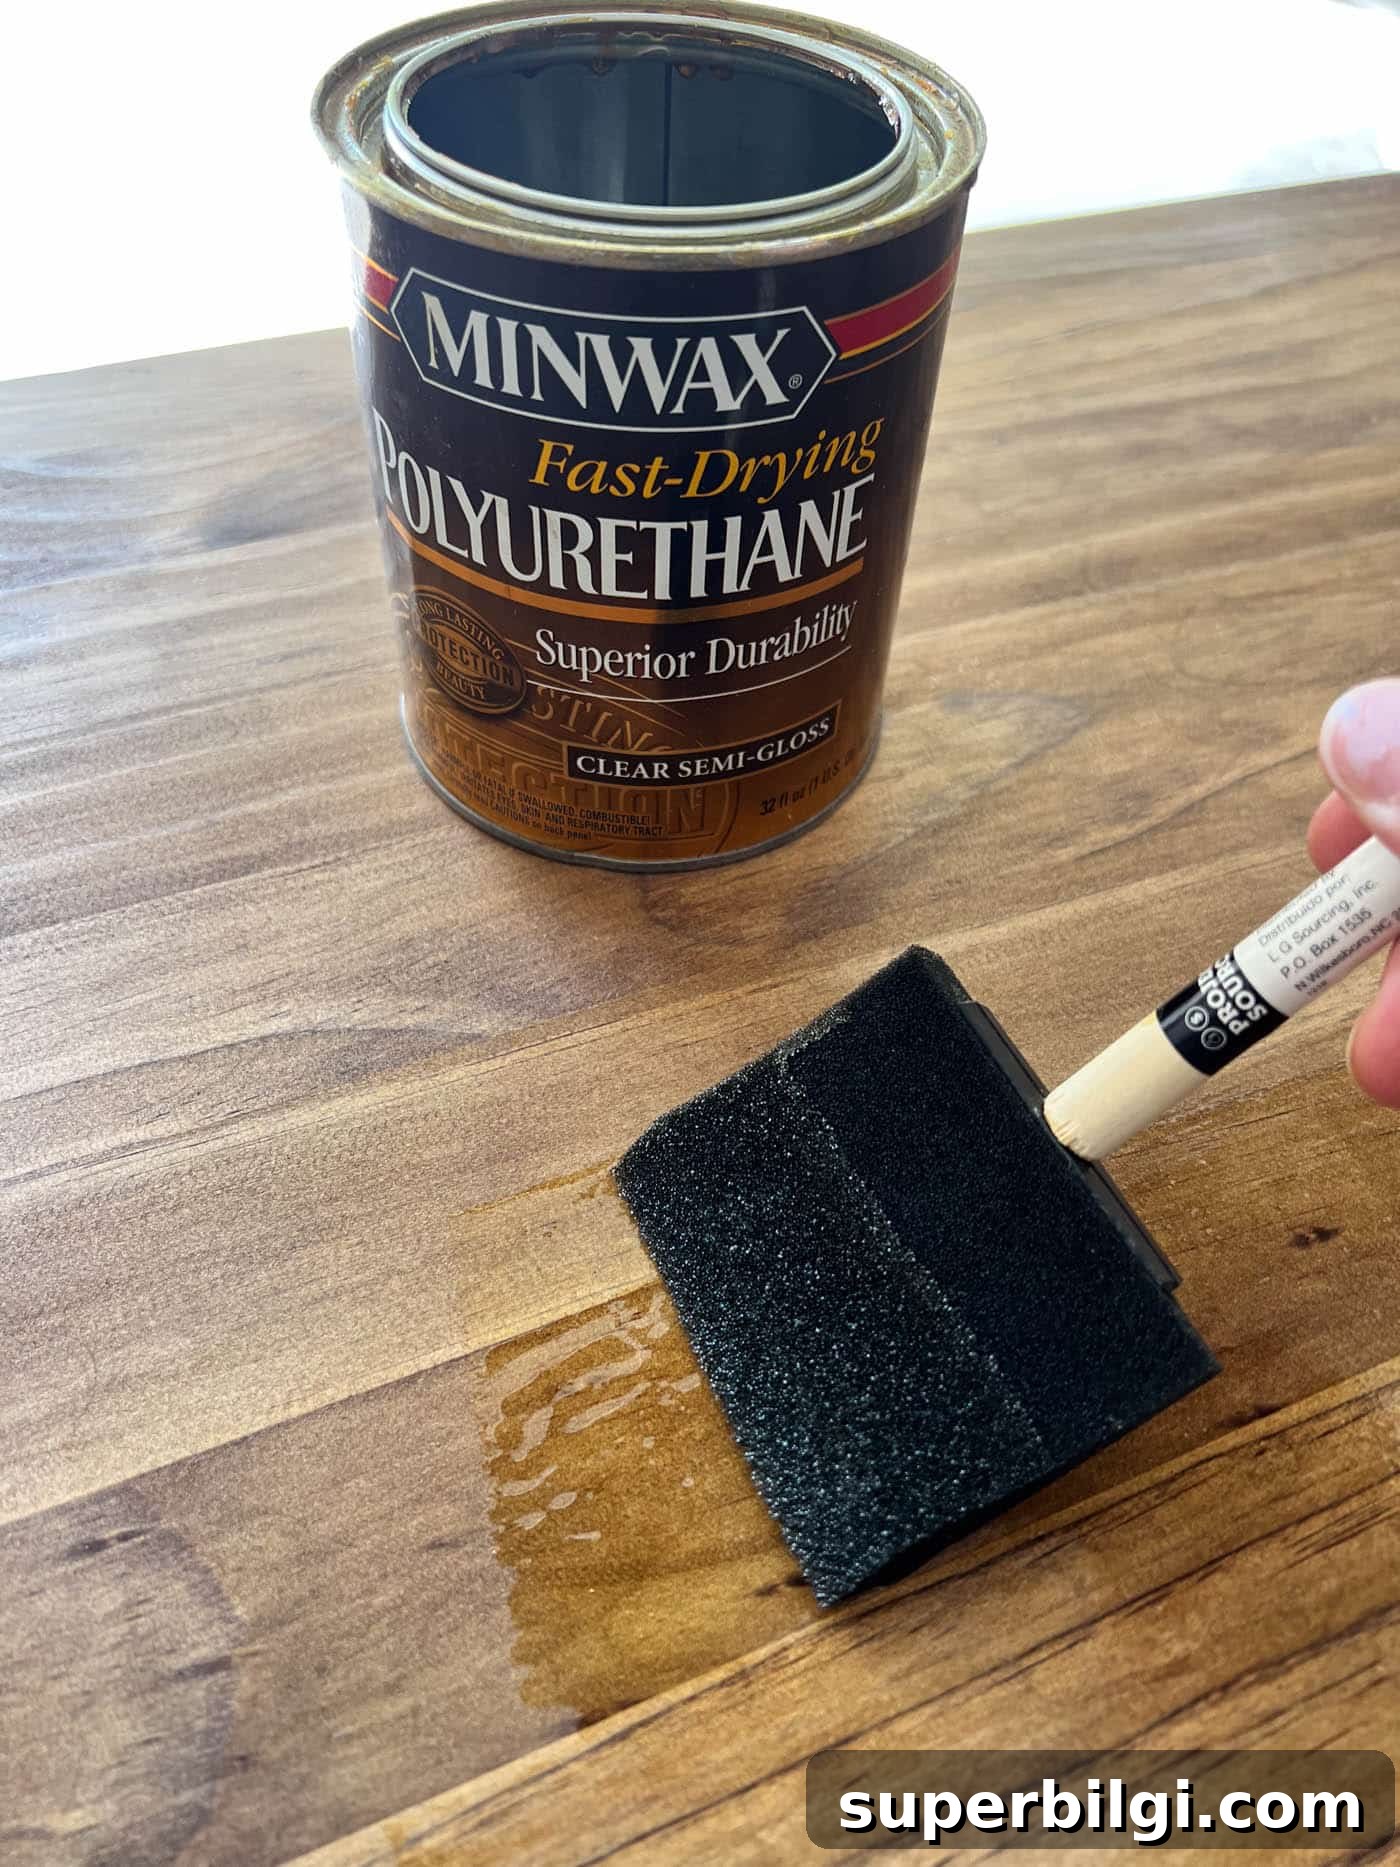
Protect your work with a clear topcoat. Polyurethane is durable and ideal for dressers and tables; furniture wax produces a softer, more natural look. Apply thin, even coats and allow proper curing time between layers.
7. Reassemble & Style
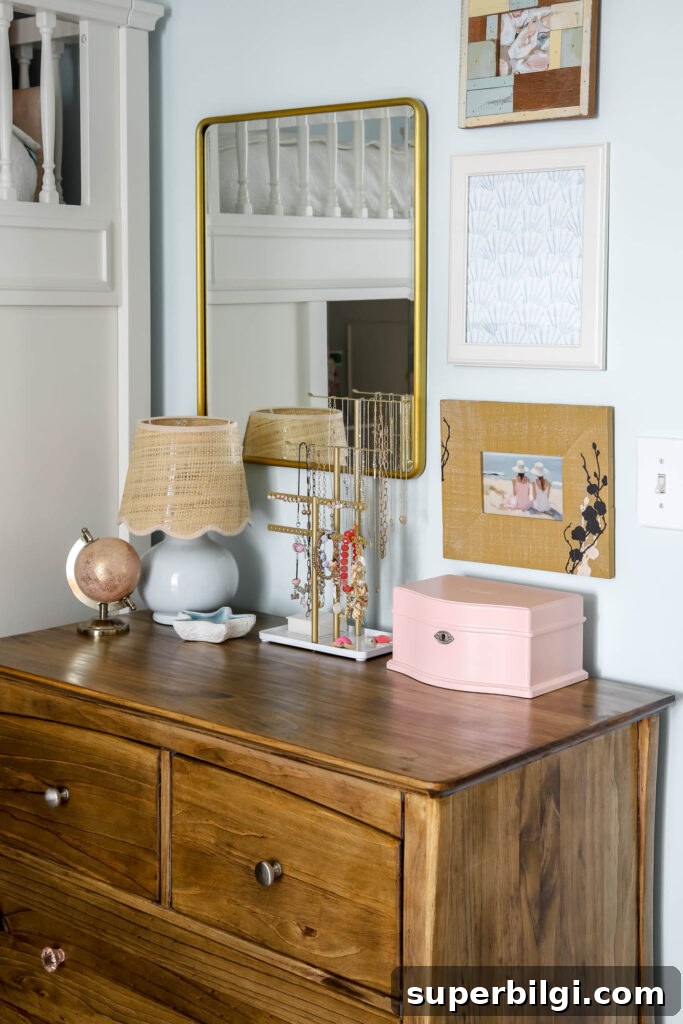
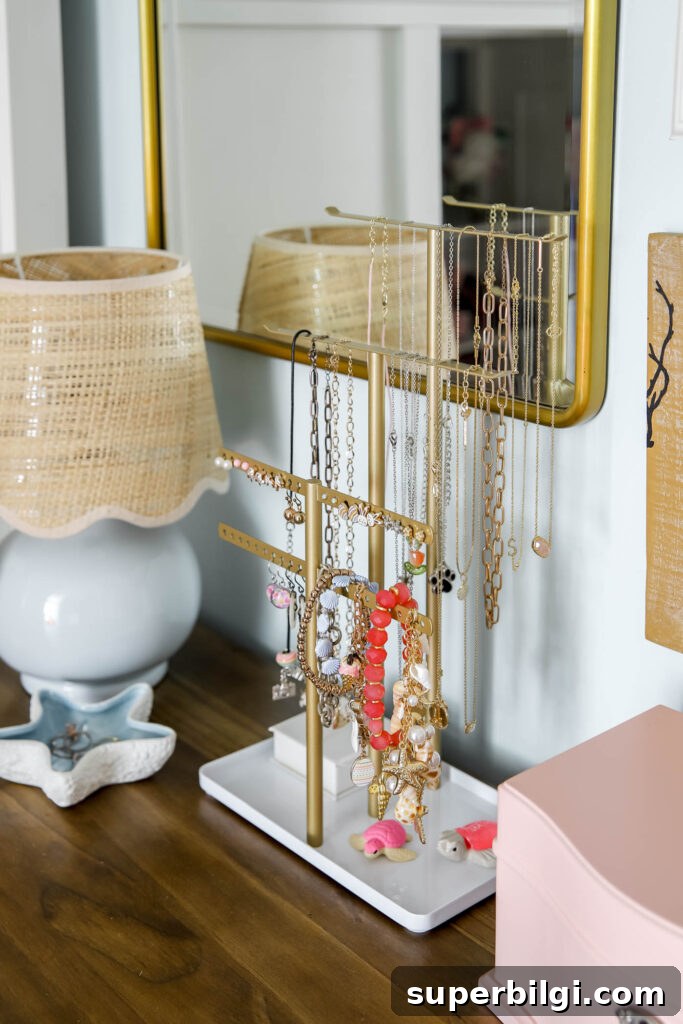
Once everything is dry, reattach existing hardware or update knobs and pulls to refresh the look. Slide drawers back in and style the top with decor or a jewelry organizer for a functional, pretty finish.
Common Mistakes to Avoid
- Skipping sanding: Sanding is essential for adhesion and a lasting finish—always sand with the grain.
- Applying thick coats: Thin, even layers of stain, paint, and sealer dry better and look more professional.
- Rushing drying times: Allow proper drying and curing between steps, especially in hot or humid conditions.
Final Thoughts
Learning how to refinish wood furniture is a rewarding skill. Whether you’re restoring a family heirloom or transforming a thrift-store find, refinishing is cost-effective, eco-friendly, and enjoyable. Salvaging a piece instead of replacing it often yields a unique, personalized result that becomes a favorite in your home.
If you’ve tried refinishing before, consider what piece you’d like to update next. Small projects like side tables or nightstands are great first attempts, while larger pieces can be tackled as your confidence grows.
More posts you will love:
- How to Use Annie Sloan Chalk Paint® {beginner tutorial}
- First Steps to a Big Girl Room
- White & Blush Girls’ Bedroom Mood Board
- Traditional Dining Room Reveal
- Living Room Makeover Final Reveal