
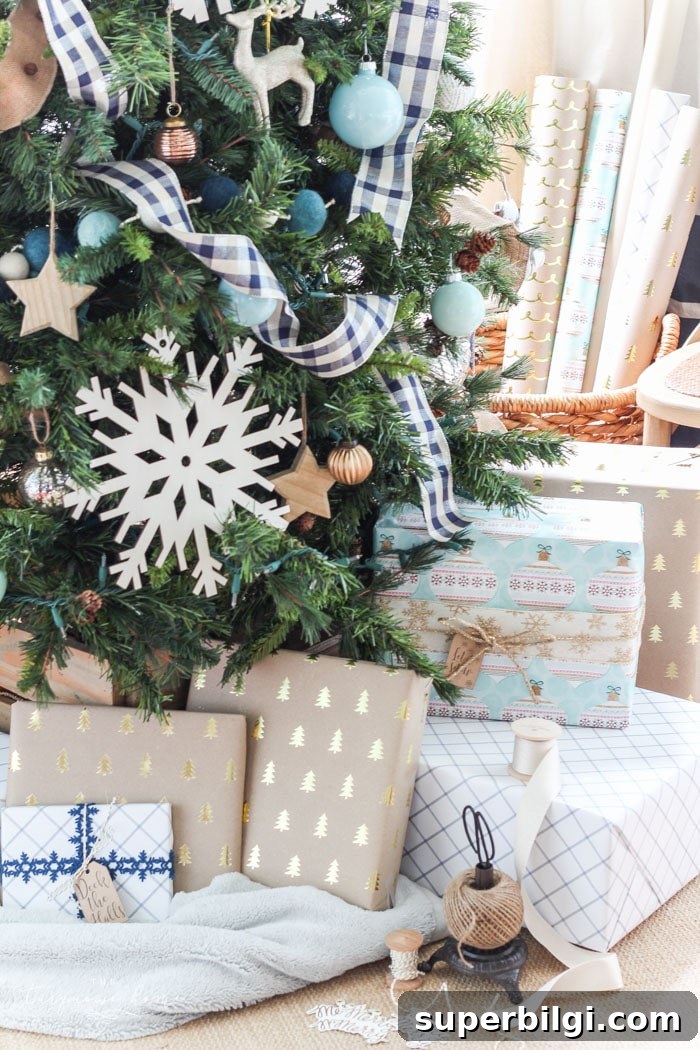
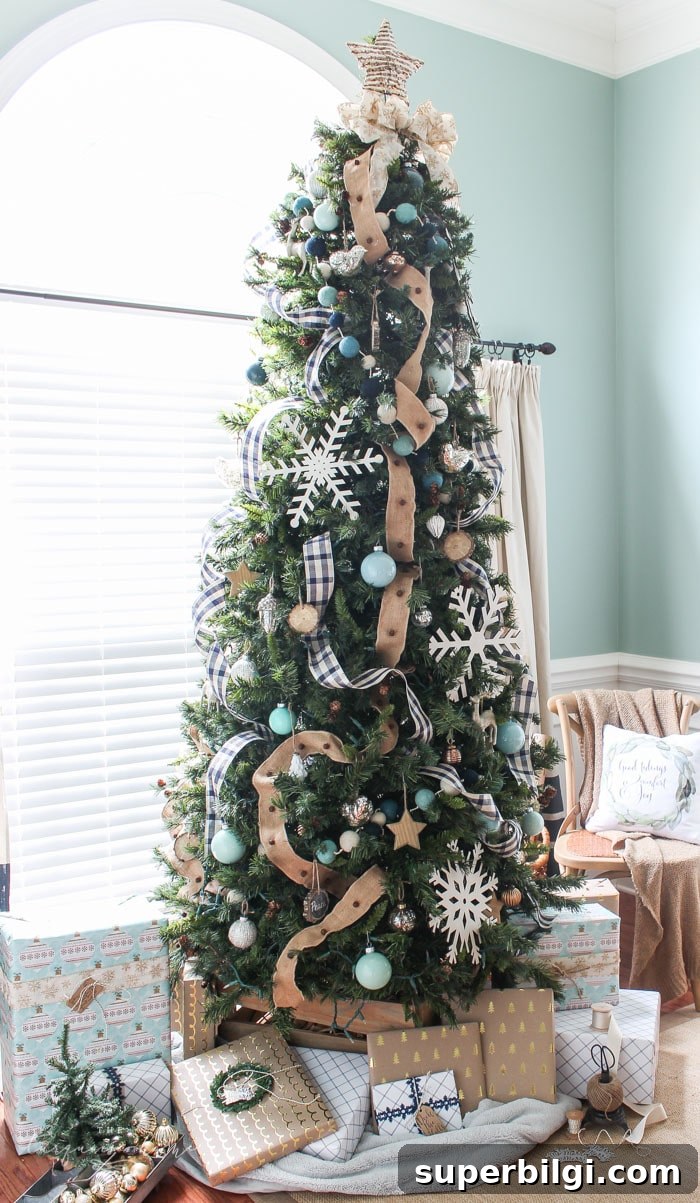
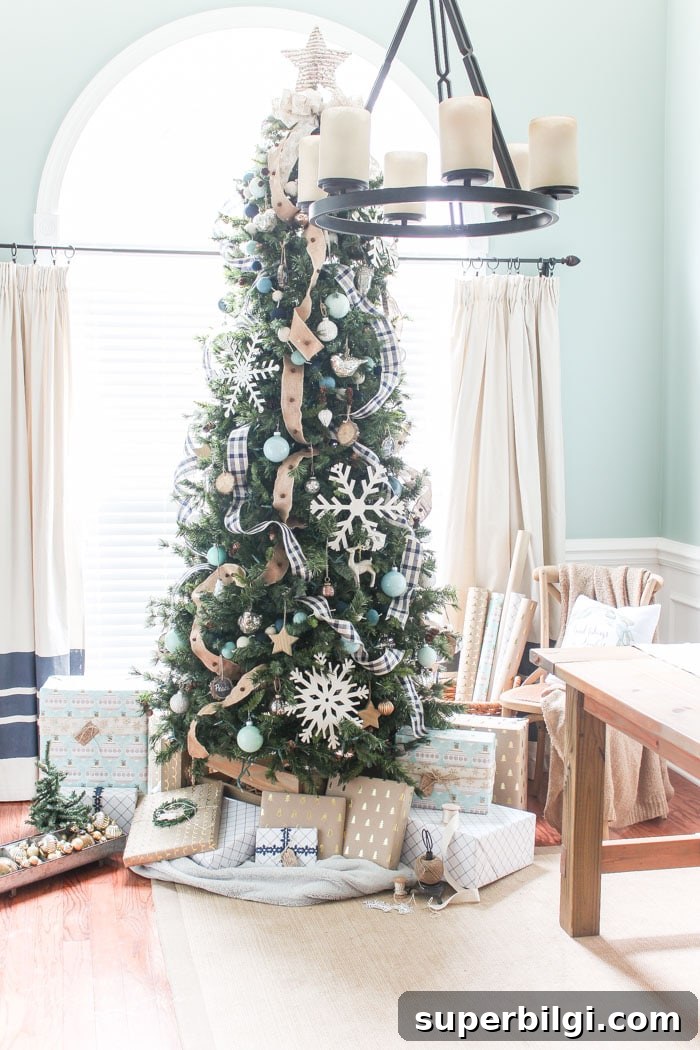
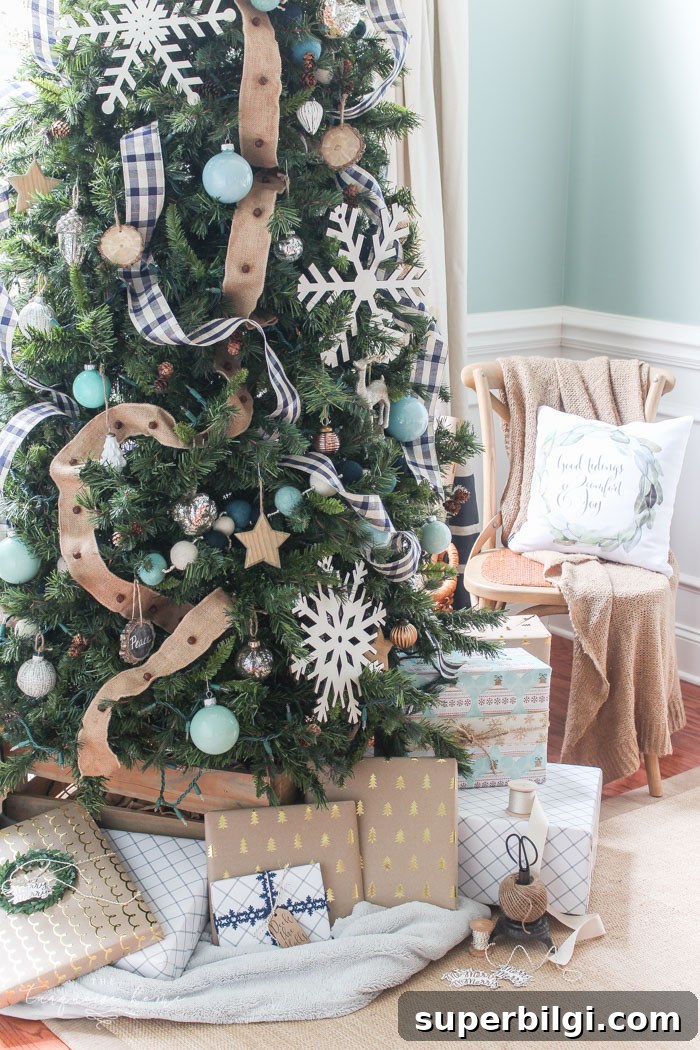
I absolutely love decorating the 12-foot Christmas tree that stands in my front window. Each year I try to change things up slightly, and this season I went with a navy buffalo check ribbon and a mix of turquoise and blue glass ornaments. Using many of the ornaments I already had, I gave the tree a fresh look with a few inexpensive updates that made a big difference.
A quick peek behind the scenes of a blogger’s life: it often takes me a long time to decide exactly how I want to style certain spaces. Some areas—like the large tree in my front window and my mantel—can feel a bit intimidating. I like bold, coordinated looks in those spots, which sometimes makes the planning feel overwhelming. Still, I take my time because the result is worth it.
I’ve been working on this particular tree for about two and a half months and finally added the last touches just yesterday. It feels great to be finished—now we get to enjoy it for the week leading up to Christmas. I promise it’s worth the effort, but don’t let that intimidate you if you prefer something simpler.
Want to Save This?

If you like this look, pin the images or bookmark the page so you can come back to the ideas and color palette later.
One important takeaway: you don’t need to create a completely new, elaborate tree every year. I recommend building a collection of ornaments and pieces you truly love and adding to them gradually. Most of the decorations on this tree—glittery deer, mercury glass birds, mercury glass balls, DIY wood slice chalkboards, paper-mâché ornaments, antique ornaments, and wooden stars—are items I bought or made over the last six years. They form the foundation I return to each season.
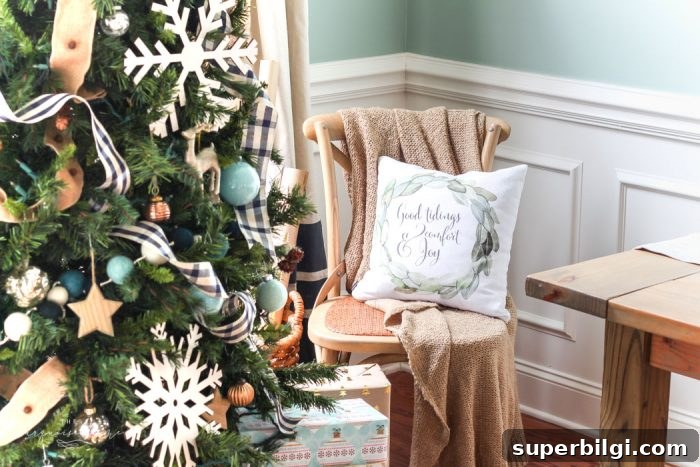
To refresh the look without replacing everything, I used about 20 feet of navy buffalo check ribbon and layered it with a burlap-and-jingle-bell ribbon I’ve had for a few years. Swapping ribbon is an easy way to change the tree’s personality each season.
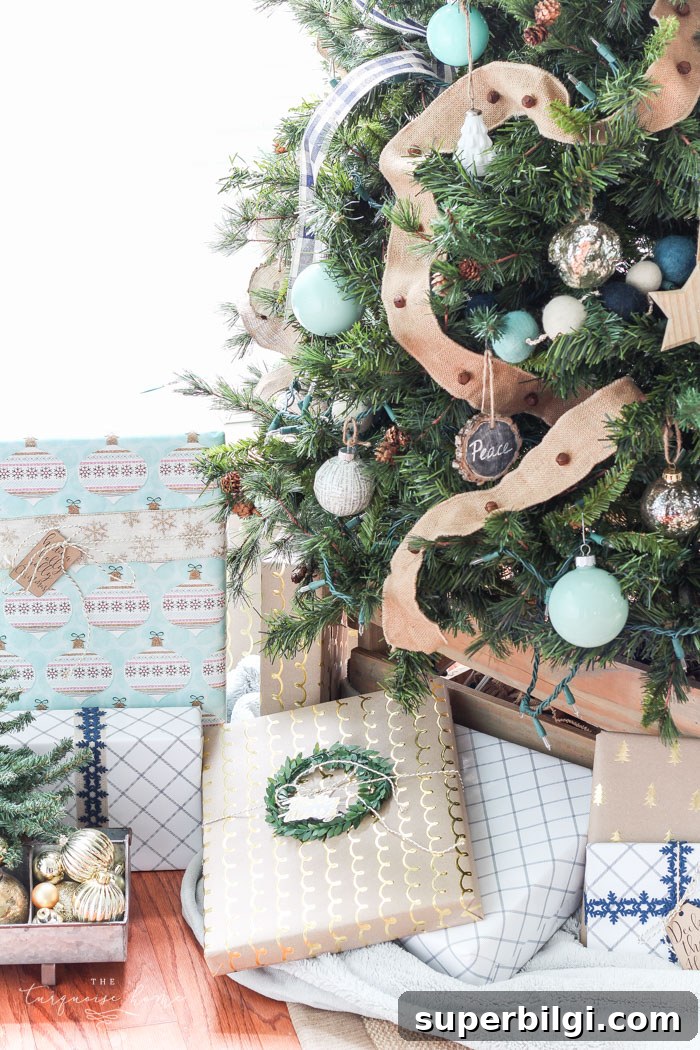
One of my favorite budget-friendly updates this year was making simple glass ornaments. Using clear craft ornaments, I poured in different shades of turquoise and blue paint, swirled each ornament so the paint covered the inside, then let them dry for a few days before sealing and hanging them. The technique is quick and inexpensive, and it produced a lovely range of coordinating ornaments that tied the whole tree together.
I also added three strands of a blue felt pom-pom garland I found at Target. It’s not essential, but the texture and color were such a fun finishing detail that I couldn’t resist.
RELATED: Chalkboard Wood-Slice Ornaments
That’s pretty much all the new additions this year. A few simple changes—ribbon, a handful of DIY ornaments, and a new garland—made the tree feel fresh and different from last year’s version.
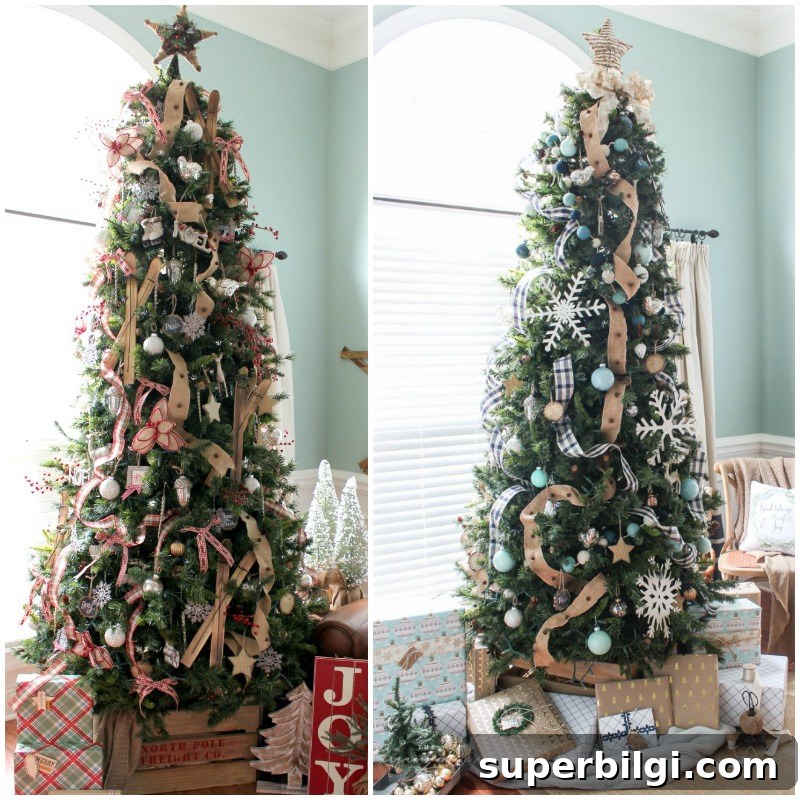
RELATED: A Country Plaid and Burlap Christmas Tree
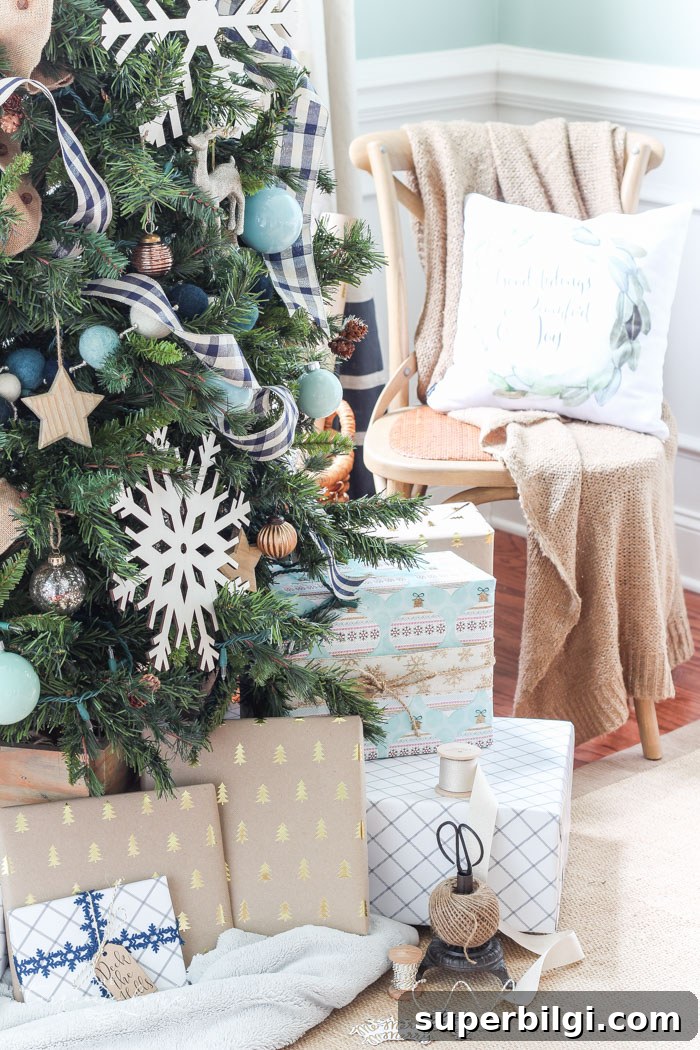
I also rethought my wrapping paper this year. Instead of traditional reds and greens, I chose a palette of blues, browns, and metallics that coordinate with the tree. I picked a navy plaid paper that I loved and mixed in kraft-and-gold papers and a turquoise glitter paper for the kids’ gifts. Full disclosure: the glitter paper is beautiful, but it left quite a glitter trail—so be prepared for sparkles on your floor and table!
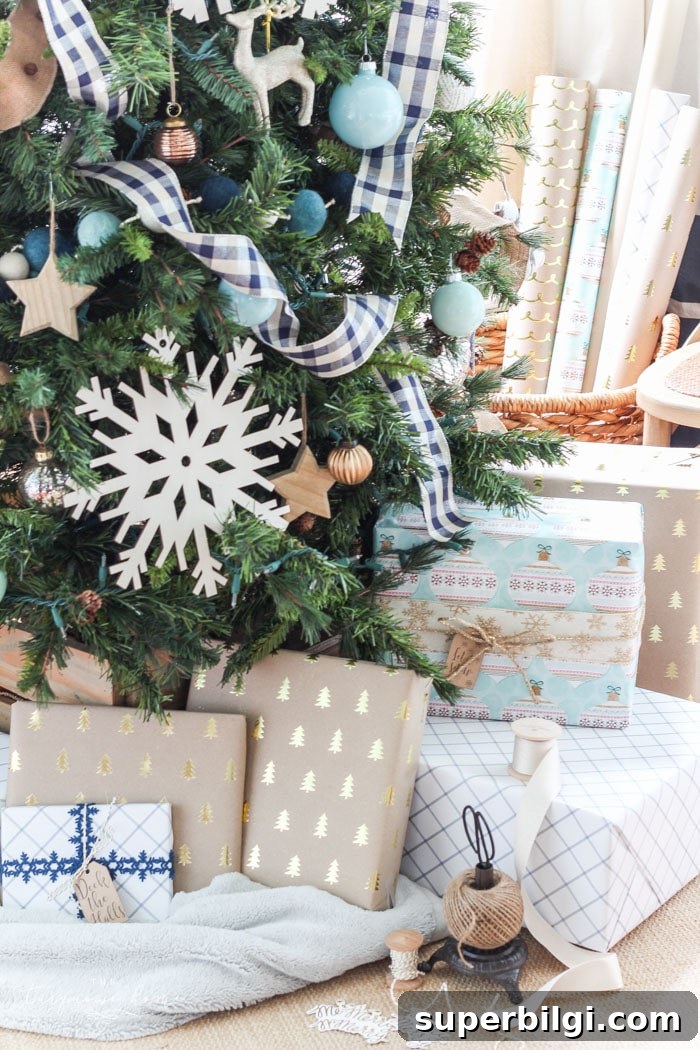
When wrapping, I like to use a wide ribbon to dress the package and tie on tags with smaller twine. If you need gift tag ideas, I have a favorite roundup of free printable gift tags that pair nicely with this kind of wrapping.
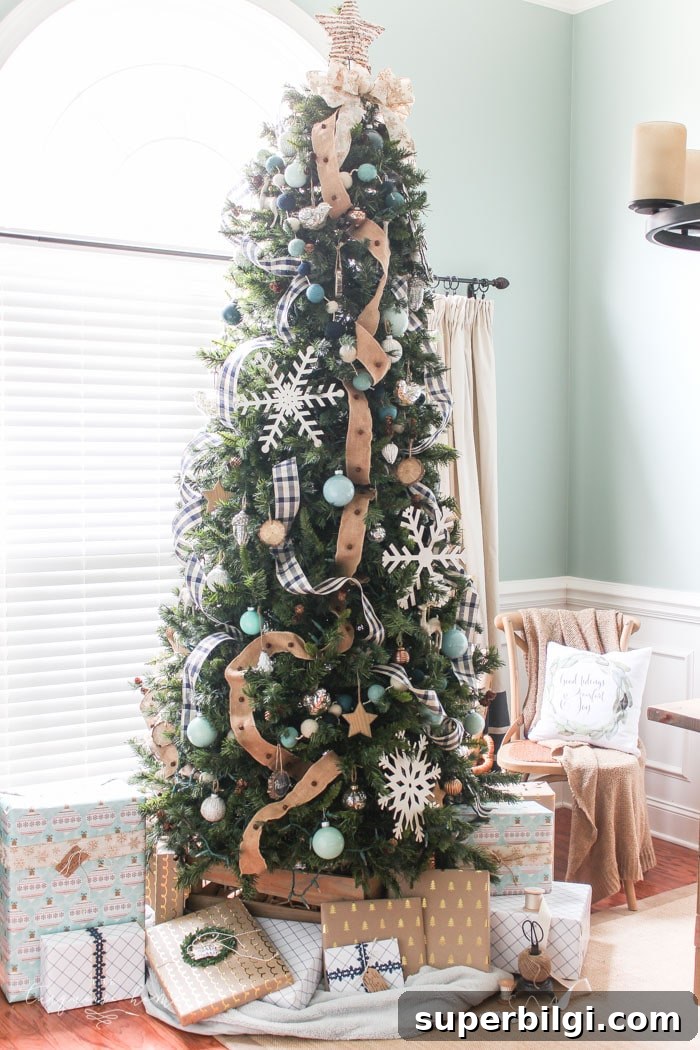
I’m happy to report that shopping is finished and wrapping is nearly done—time to bake and enjoy the holidays with my kids over the next couple of weeks. Do you change your tree decor every year, or do you stick with the same ornaments? Do you enjoy wrapping gifts?
More Posts You Will Love:
- Affordable Winter Jeans and Sweaters
- Christmas Bedroom Decor Ideas & Inspiration
- Cozy and Festive Winter Fashion
- DIY Winter Wreath with Bells (step-by-step tutorial)
- The BEST Holiday Planner Printable Binder