
Hello, New Year! It’s that season when many of us focus on organizing, decluttering, and refreshing our homes. Whether you’re tackling one closet or overhauling multiple rooms, a little planning and the right storage solutions can make a huge difference. If you want a structured approach, consider joining a short organization challenge to jump-start the process.
Over the past few months I’ve been quietly working on several organizing projects. Between seasonal posts and preparing for baby, I’ve also been busy decluttering and installing storage systems to make our home more functional.
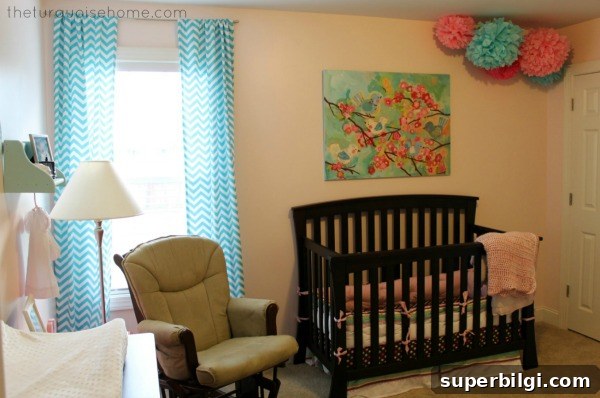
One major change was converting a former “junk room” filled with decor and random items into a nursery, which meant I needed to relocate many of my home decor and craft supplies. I created additional storage in a guest bedroom closet while also rethinking the storage in my daughter’s room. Many closets in our house came with just a single wire shelf, so we were wasting valuable vertical space.
Since moving in, I’ve wanted a better closet system for Miss A. Her room has two wall closets that were poorly organized—clothes and toys mixed together with odd items shoved onto the top shelf. The lack of thoughtful storage made it harder to keep things tidy and accessible for a young child.
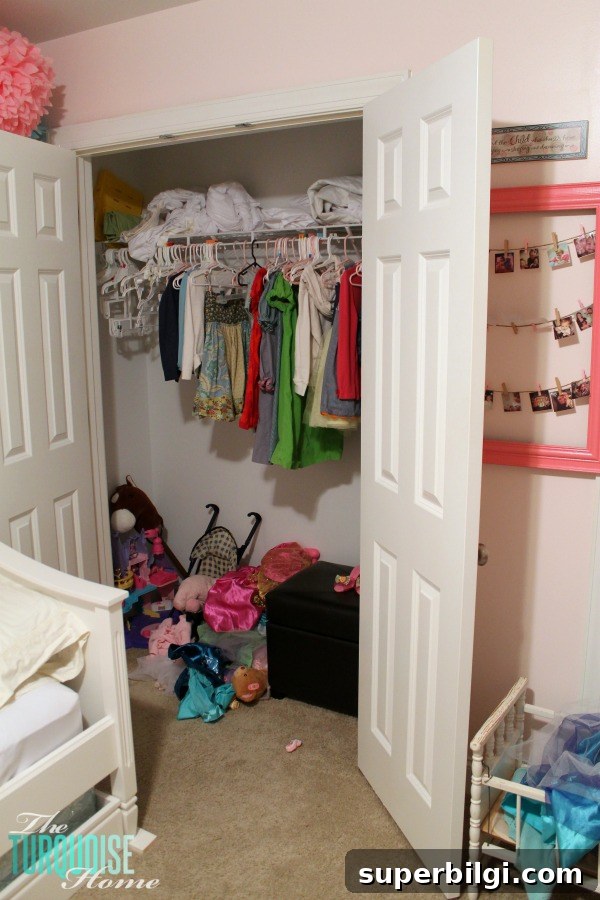
I photographed the open closet to show the “before” state so you can see why a system made sense—no shame, just real life and a bit of hanger chaos. You’ll also notice the crib is gone and a big-girl bed is in place; I’m still sourcing bedding before I reveal the finished room.
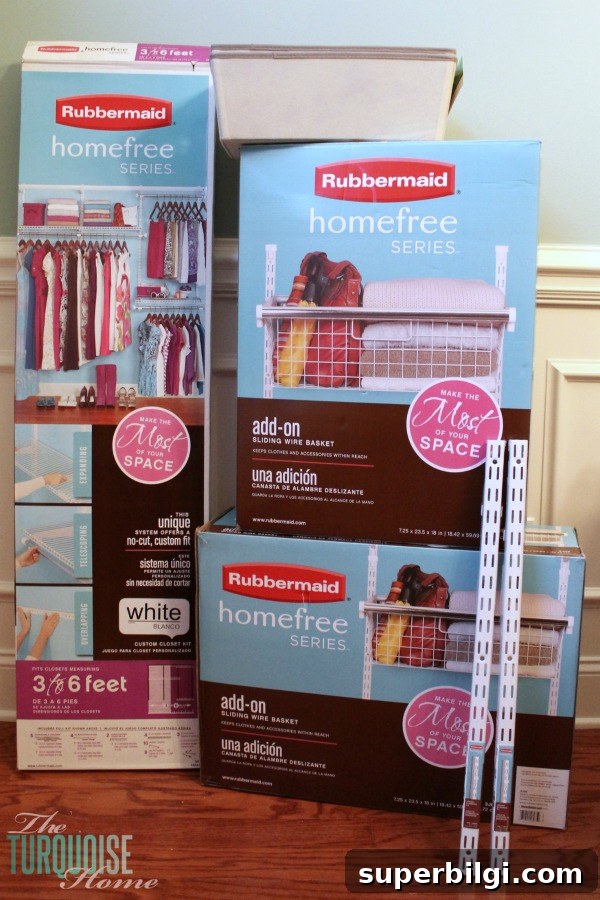
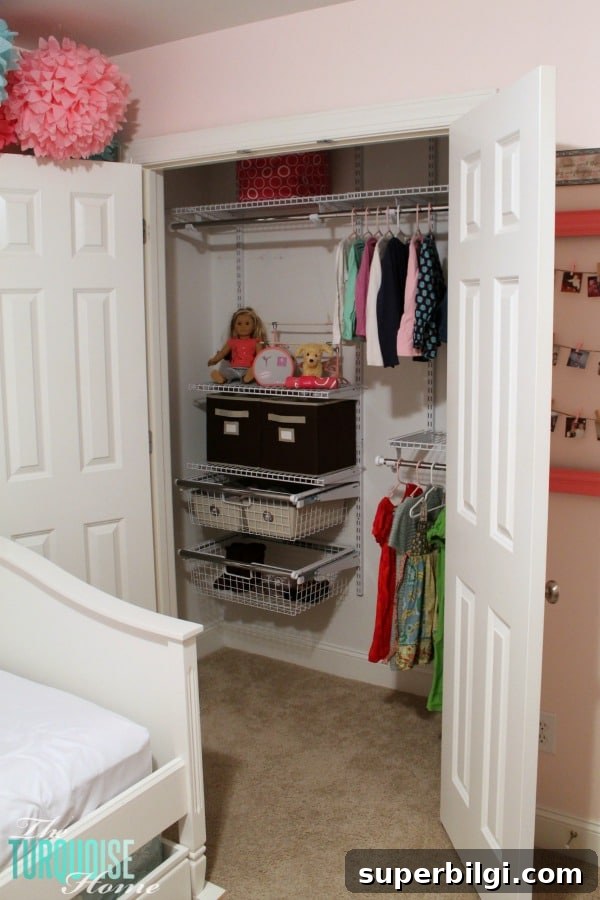
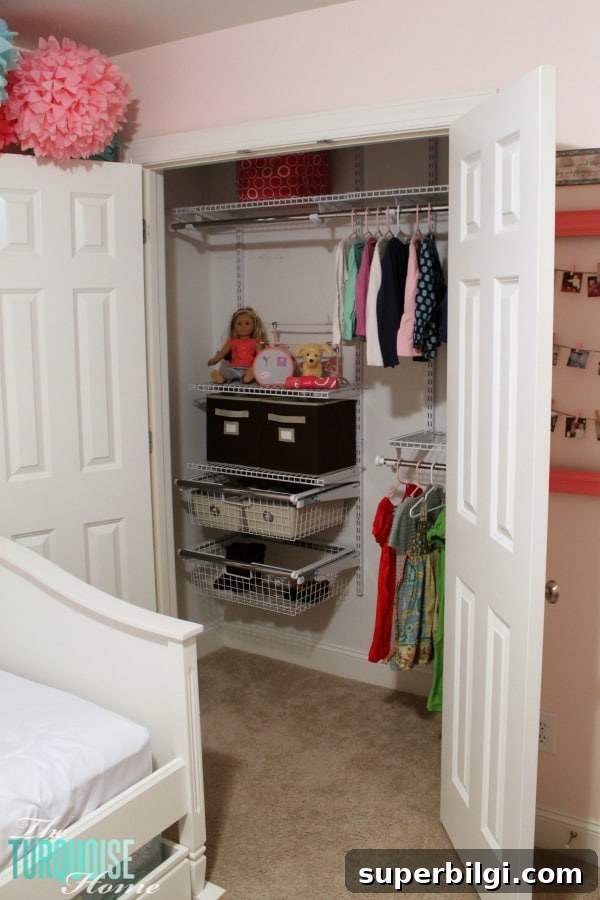
Over the holidays I picked up a Rubbermaid HomeFree Closet System at Lowe’s for one of Miss A’s closets. I decided to dedicate one closet to clothing to free up dresser space, and the other closet will be for toys—some toys are also moving to the dining room, which I’m planning to convert into a playroom.
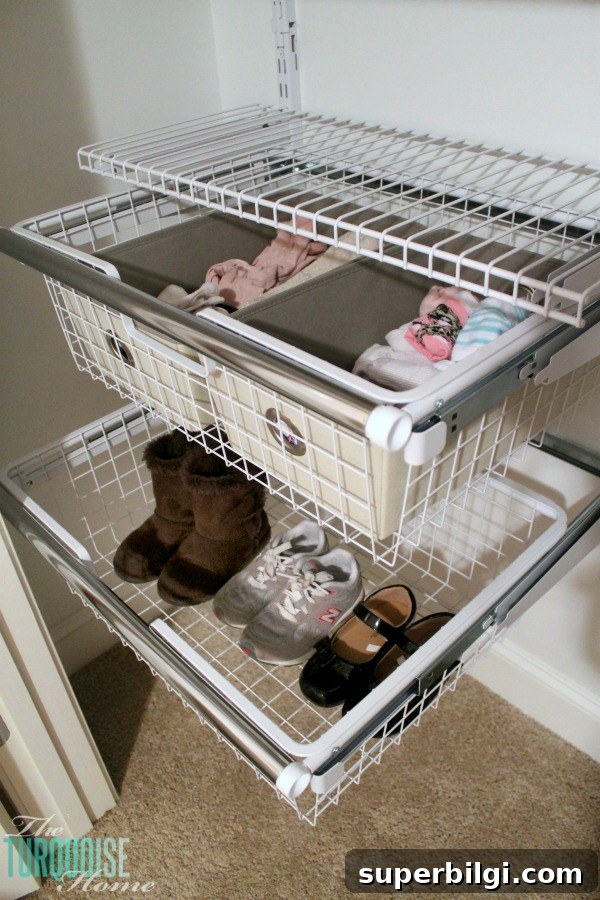
To make the setup child-friendly, I added two drawers and two upright extension rails so the drawers sit low enough for Miss A to reach. Having accessible drawers and lower hanging space helps her practice dressing independently, which has been a big win for our mornings.
Installing the new system began with emptying the closet and removing the old wire shelf. If you’ve never removed a wire shelf anchored directly to drywall, look up the proper removal method before you start—doing it right prevents large holes and excessive patching work.
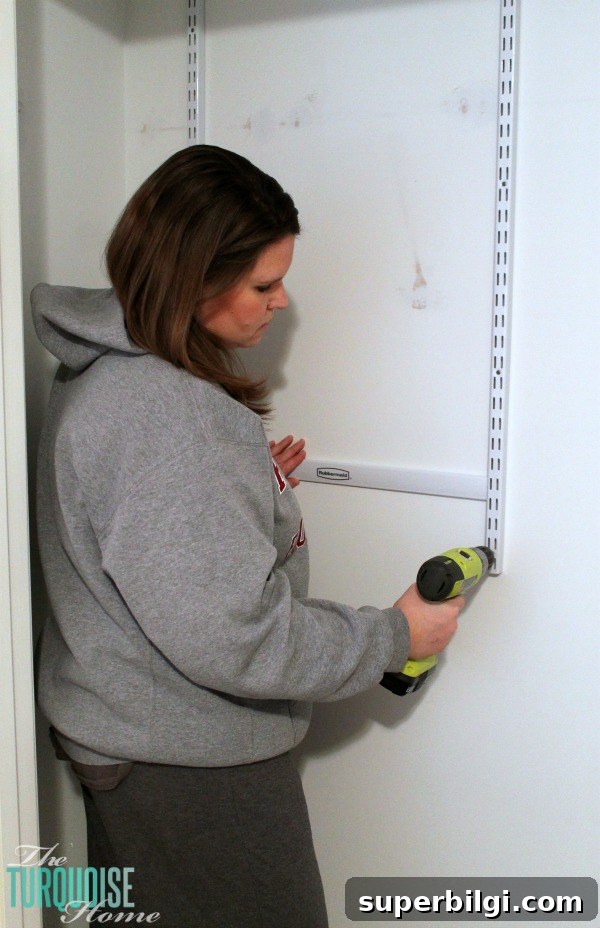
I liked that the HomeFree system adjusts to different closet sizes, so there was no cutting required. The telescoping rods and expandable shelves mount to a track system, allowing the layout to be reconfigured as needs change. This flexibility is perfect for a child’s room that will evolve over time.
Because my closet is six feet wide, I chose the 3-to-6-foot system. Rubbermaid also offers 4-to-8 and 6-to-10-foot options. I debated the larger organizer but the 3-to-6-foot kit provided ample shelves and rods for the space without unnecessary extras.
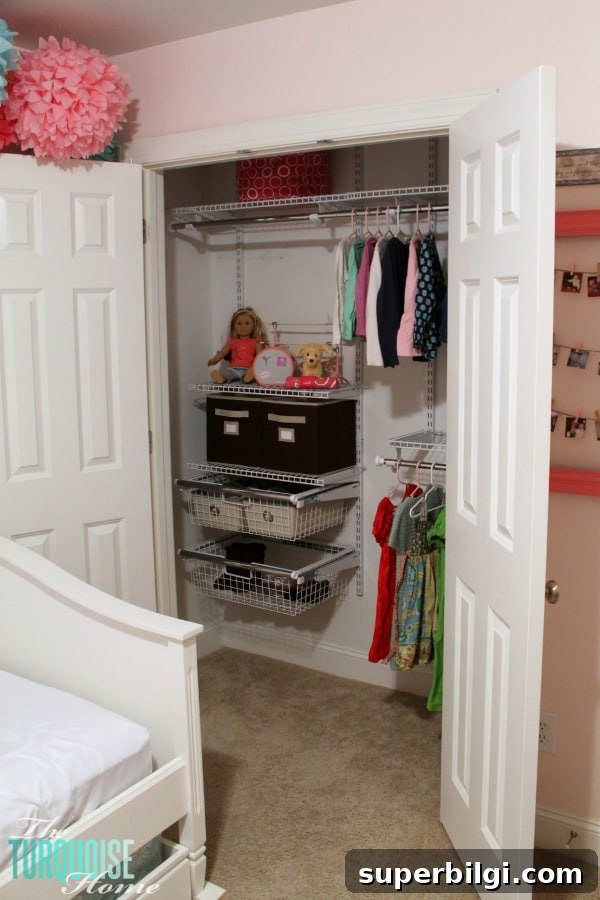
Assembly was straightforward. Mounting the top rail and vertical supports took the most time, but after those were secured, adding shelves, rods, baskets and drawers went quickly. The system is intuitive and works well for DIY homeowners looking for a durable, flexible closet organizer.
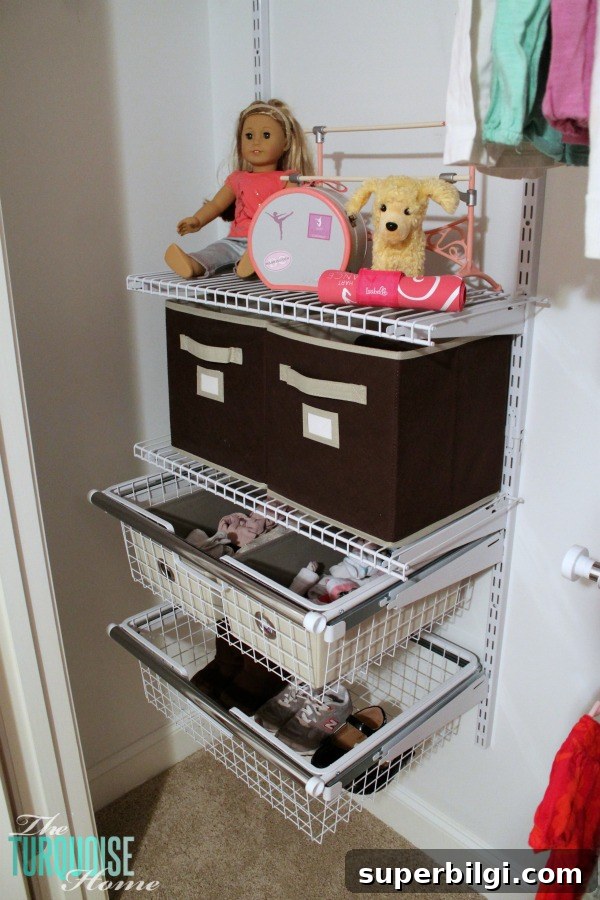
Now Miss A can easily reach her socks, underwear, tights and shoes, and I can hang a week’s worth of outfits on the lower rod for her to choose from. She declared her new closet “perfect” and enjoys picking her clothes, which brings a little more independence and less morning stress—exactly what we needed with a new baby on the way.
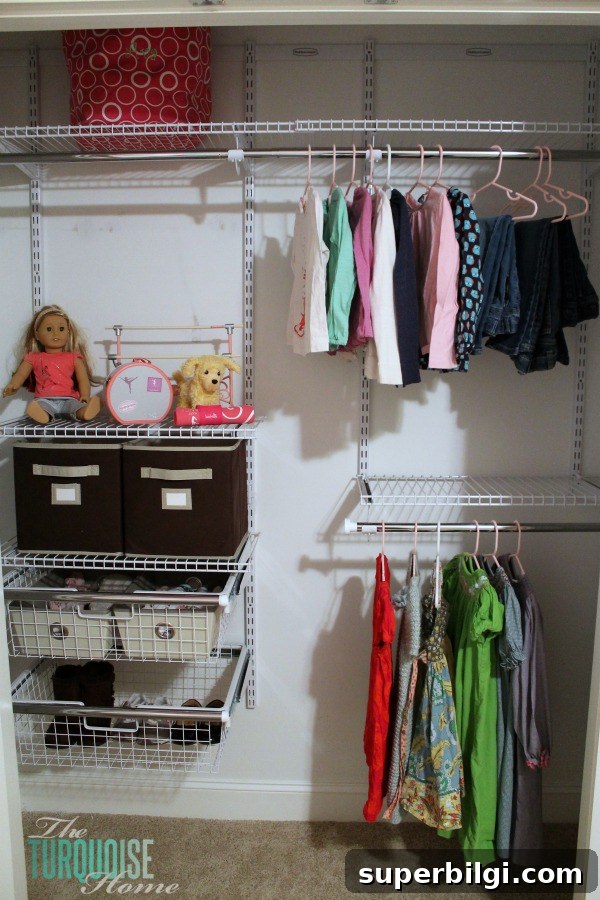
Beyond the personal benefits, the closet system dramatically improves organization, eliminates wasted vertical space, and reduces clutter. There’s still ample storage on the top shelf and plenty of hanging space, so we can continue to adapt the layout as her needs change.
More Posts You Will Love:
- DIY Closet Shelves {beginner tutorial}
- How to Organize a Linen Closet
- A Quick Storage Closet Makeover