
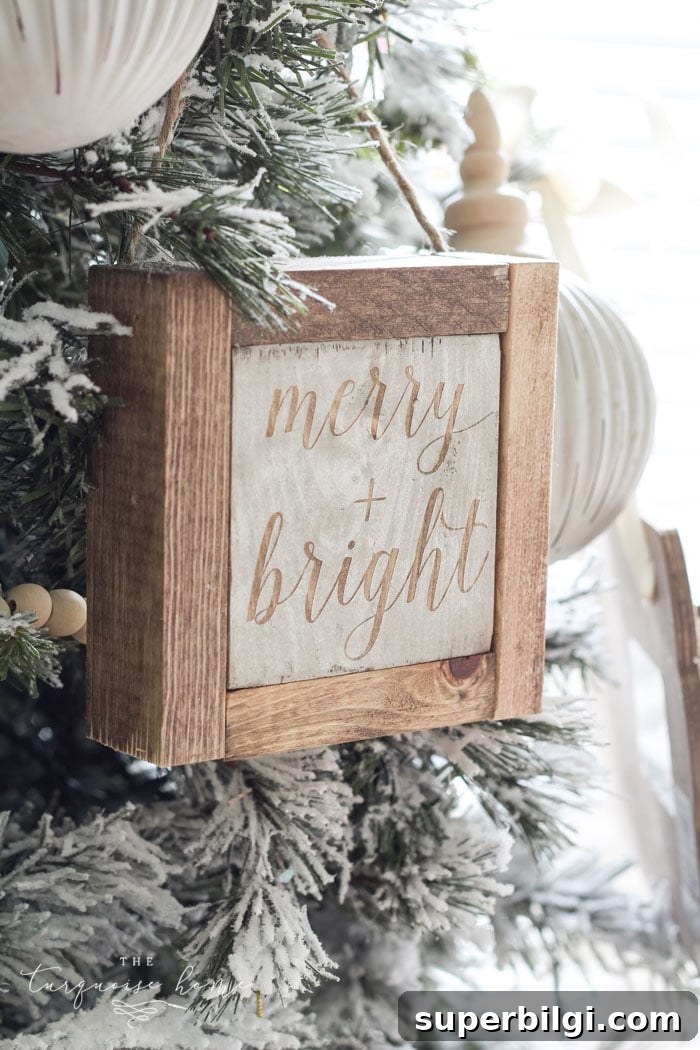
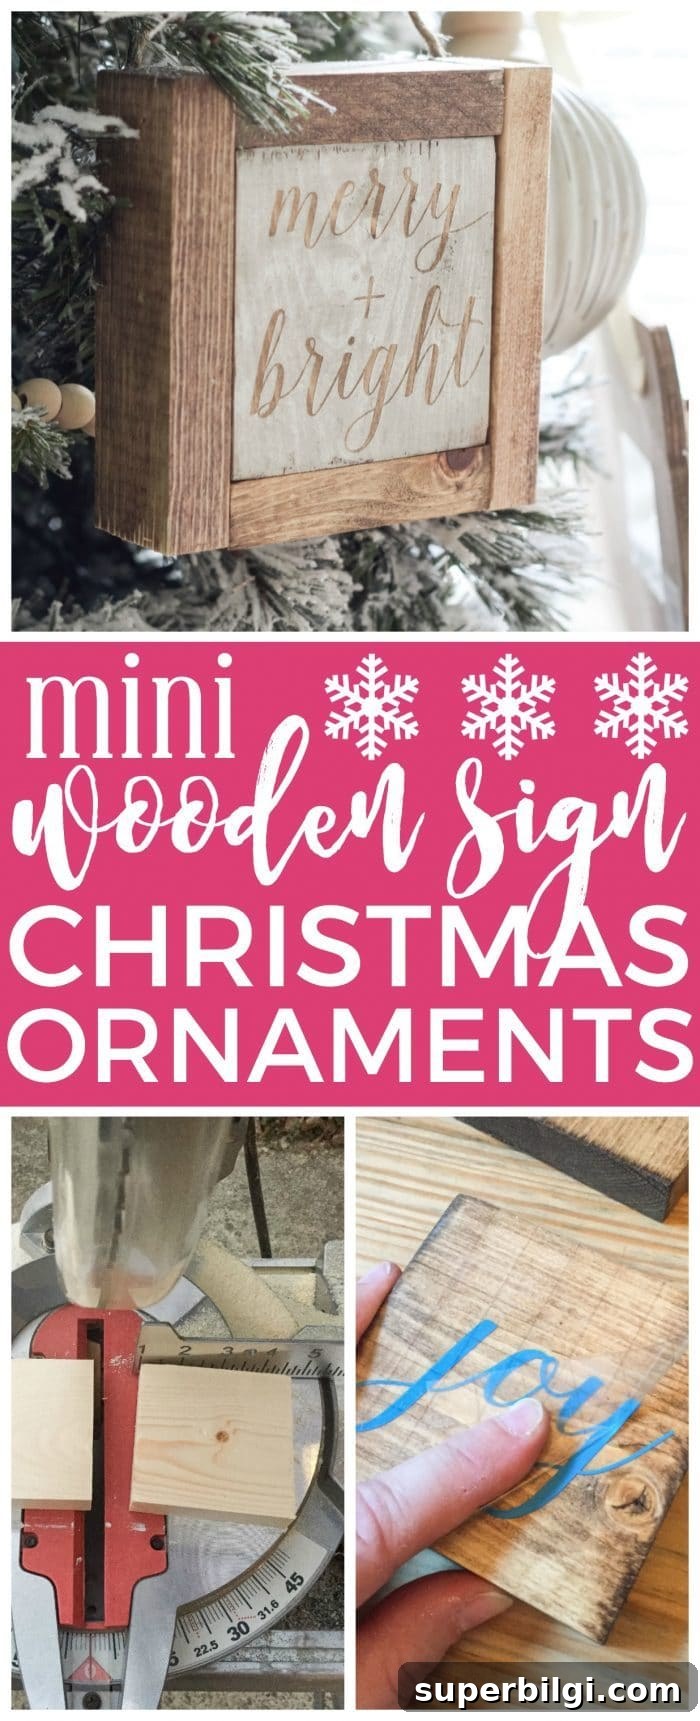
Wooden Christmas signs are among my favorite holiday projects, so I thought—why not make a tiny wooden sign ornament? These mini signs deliver a charming rustic, farmhouse look for very little cost and are simple to craft at home.
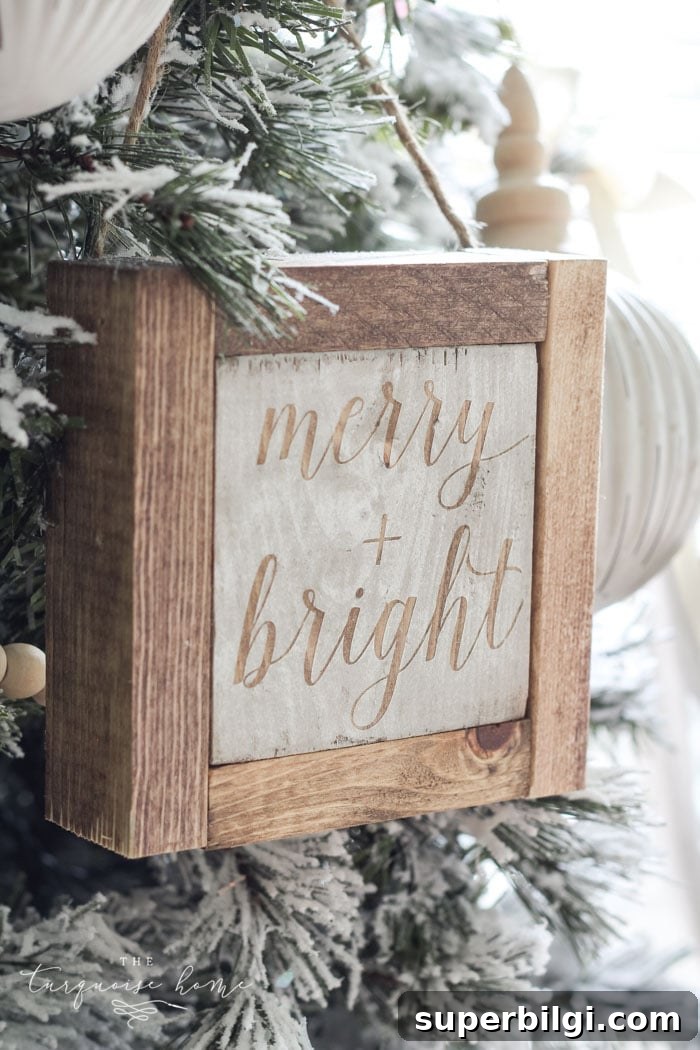
If you follow my projects, you know I love making wooden signs. While I haven’t built a huge number of them, the ones I have are some of my favorite DIYs—both on full-size boards and on canvas. I prefer making pieces myself: it saves money and lets me customize the size, color, and style exactly how I want.
Miniaturizing larger sign techniques is easy and yields delightful little ornaments that look great on a tree, in gift packaging, or hung on a doorknob. I used scraps and supplies I already had, so many of these ornaments cost almost nothing to make.
RELATED: How to Make a Large Wooden Sign
I spotted similar mini signs at a holiday market and knew I could recreate them at home. The process is straightforward: cut small squares for the faces, add a thin frame, stencil a festive phrase, and attach a hanger. Below are the supplies, tools, and step-by-step instructions that I used.

Supplies You’ll Need for Mini Wooden Christmas Sign Ornaments
- 1″ x 4″ x 6′ board – cut into 3.5″ x 3.5″ squares (or as many as you want to make)
- 2 – 1″ x 2″ x 8′ boards – cut into two 3.5″ pieces and two 5″ pieces per ornament for the sides; each 8′ board makes several signs
- Sandpaper (medium and fine grits)
- 1 1/4 inch brad nails
- Wood stain (your preferred color)
- Stencils or stencil material—you can make custom-sized stencils with a craft cutter or buy them to fit 3.5″ squares
Tools used:
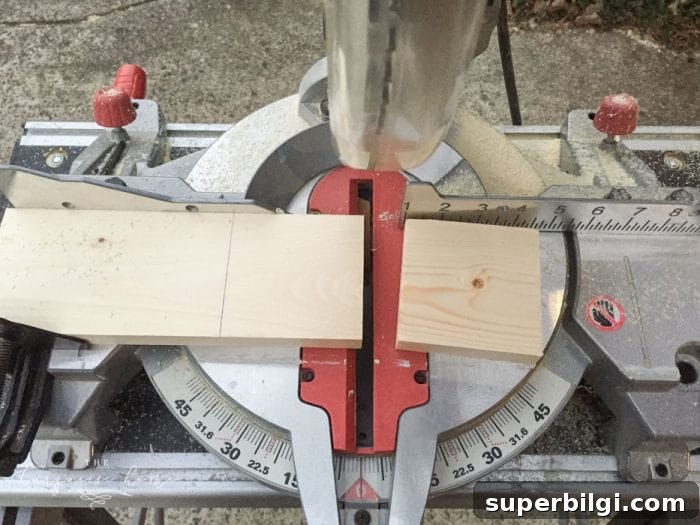
- Miter saw (or hand saw) for clean, accurate cuts
- Nail gun or brad nailer for quick assembly
- Sander or sanding block to smooth edges
How to Make Mini Wooden Christmas Sign Ornaments
Step 1. Cut the boards to size.
Start by cutting the 1 x 4 board into 3.5″ squares—the actual width of a 1 x 4 is typically 3.5 inches, so this produces a perfect square face. Cut the 1 x 2 boards into side pieces that wrap around the square face. For each ornament you’ll need two shorter pieces and two longer pieces to form a thin frame.
Step 2. Sand and stain the pieces.
Lightly sand all cut edges and faces to remove splinters and roughness. Choose a stain that complements your home decor—I mixed a weathered gray tone with a walnut color to get a warm, aged finish. Apply stain evenly and wipe off excess; allow pieces to dry completely before moving on.
Step 3. Create stencils for your phrases.
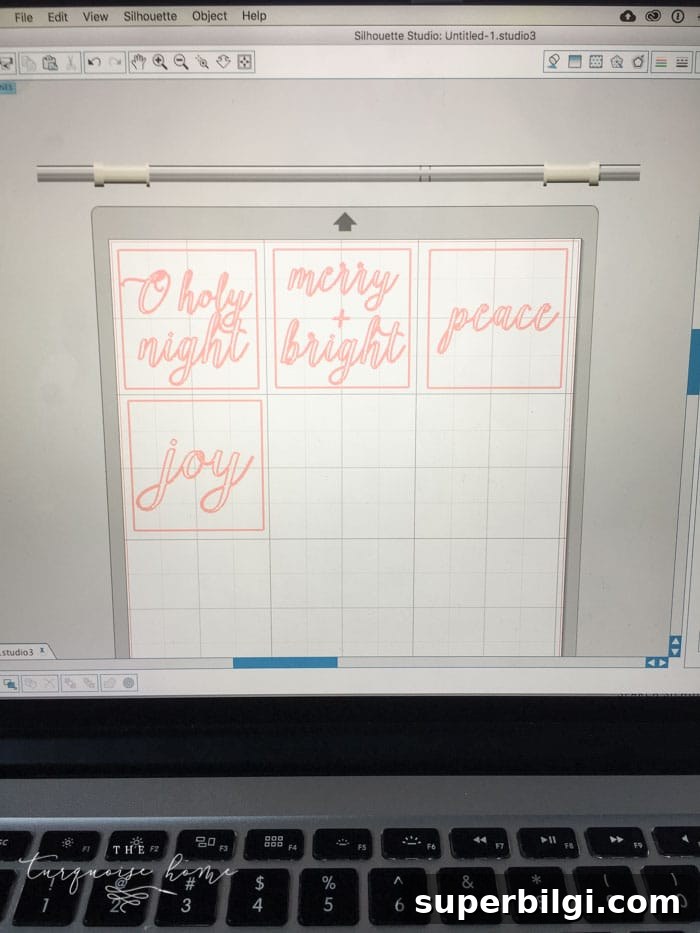
While the stain dries, cut stencils from contact paper or stencil film using a craft cutter or by hand. Choose short, classic phrases like “Merry,” “Joy,” or “Noel,” or use tiny graphics such as holly or a tree. Keep the wording large and centered so it reads well on the small surface.
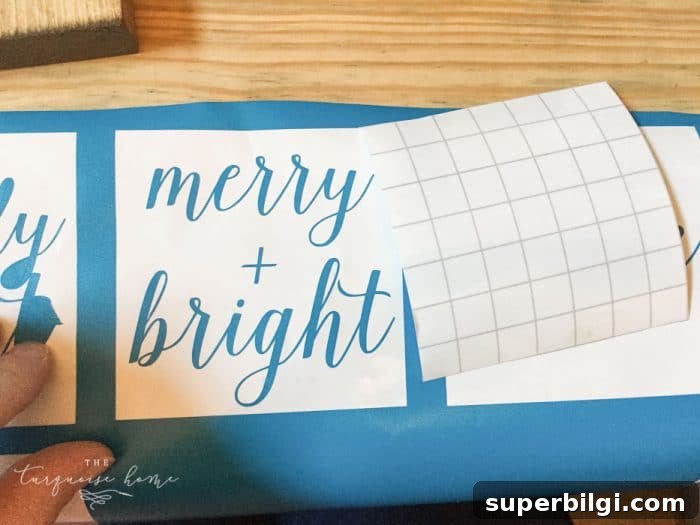
Step 4. Apply the stencil and paint.
Position the stencil carefully on the stained square and use a small sponge or stippling brush to apply chalk paint or acrylic. Dab gently to avoid paint bleeding under the stencil. Use two light coats rather than a single heavy coat for a crisp result, allowing paint to dry between coats.
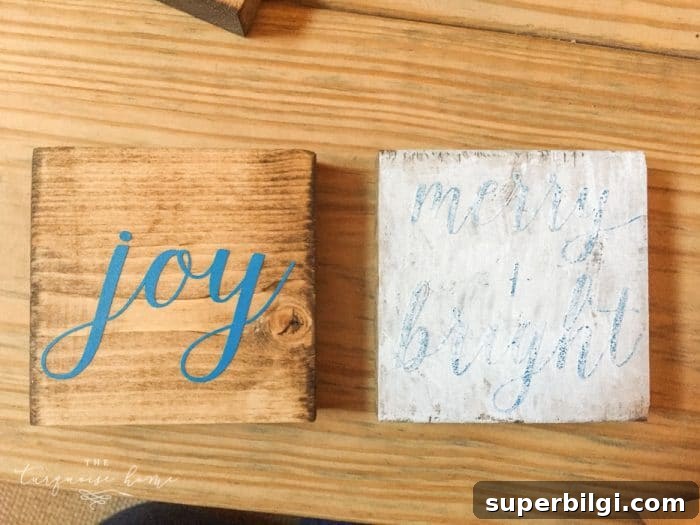
Step 5. Remove the stencil and touch up.
Carefully peel the stencil while the paint is dry to the touch to avoid smudging. If needed, use a fine brush to clean up edges or fill in small gaps. A light sanding over the painted area can also give a worn, rustic look if that’s the finish you want.
Step 6. Assemble the frame around the square.
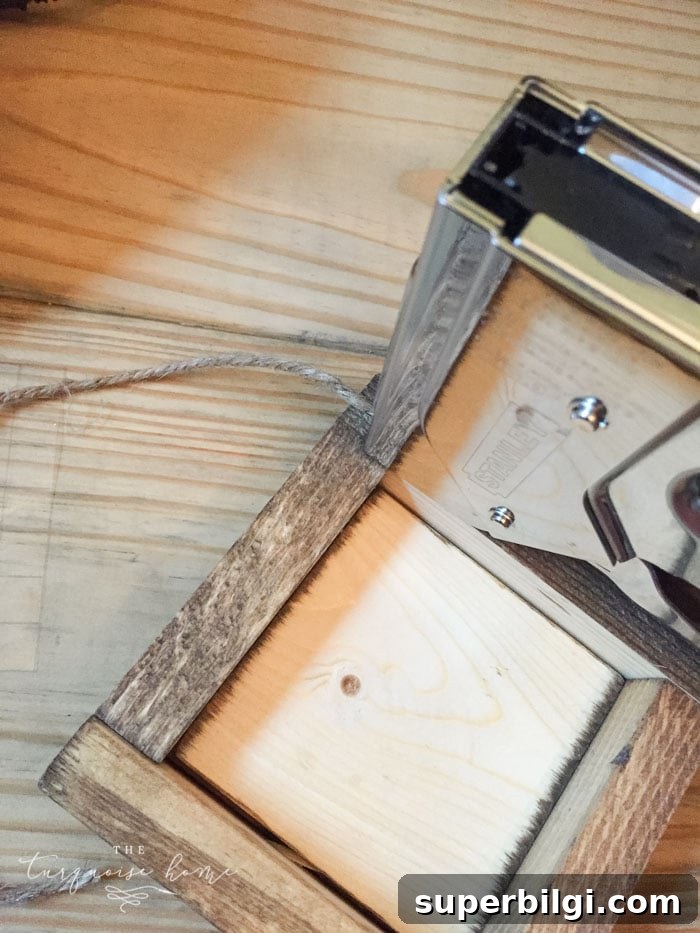
Arrange the 1 x 2 side pieces around the square face and secure them with 1 1/4 inch brad nails. Rotate the side pieces on their edges when attaching if you prefer a thicker-looking ornament rather than a flat frame. Make sure each corner is square and the nails are flush.
Step 7. Attach the hanger.
Staple or glue a small loop of twine, thin ribbon, or jute to the back of the ornament so it hangs nicely on the tree. Trim excess twine and tuck the staple or knot so it’s hidden behind the piece.
The finished ornaments are compact, charming, and customizable. They make thoughtful stocking stuffers, gift tags, or a coordinated set for your own tree. You can vary fonts, stains, and embellishments—add a small snowflake, a dab of glitter, or a painted border—to create different looks from the same basic template.
More projects you might enjoy:
- String Art Christmas DIY Stocking Holders
- DIY Twig Christmas Tree Ornament
- 25 Amazing DIY Christmas Gifts