
I had hoped to finish nailing all the MDF boards to the walls over the weekend, but like most home projects, things moved more slowly than I expected. Progress is steady, though: I’ve completed several important steps that will make the final installation much cleaner and more durable.
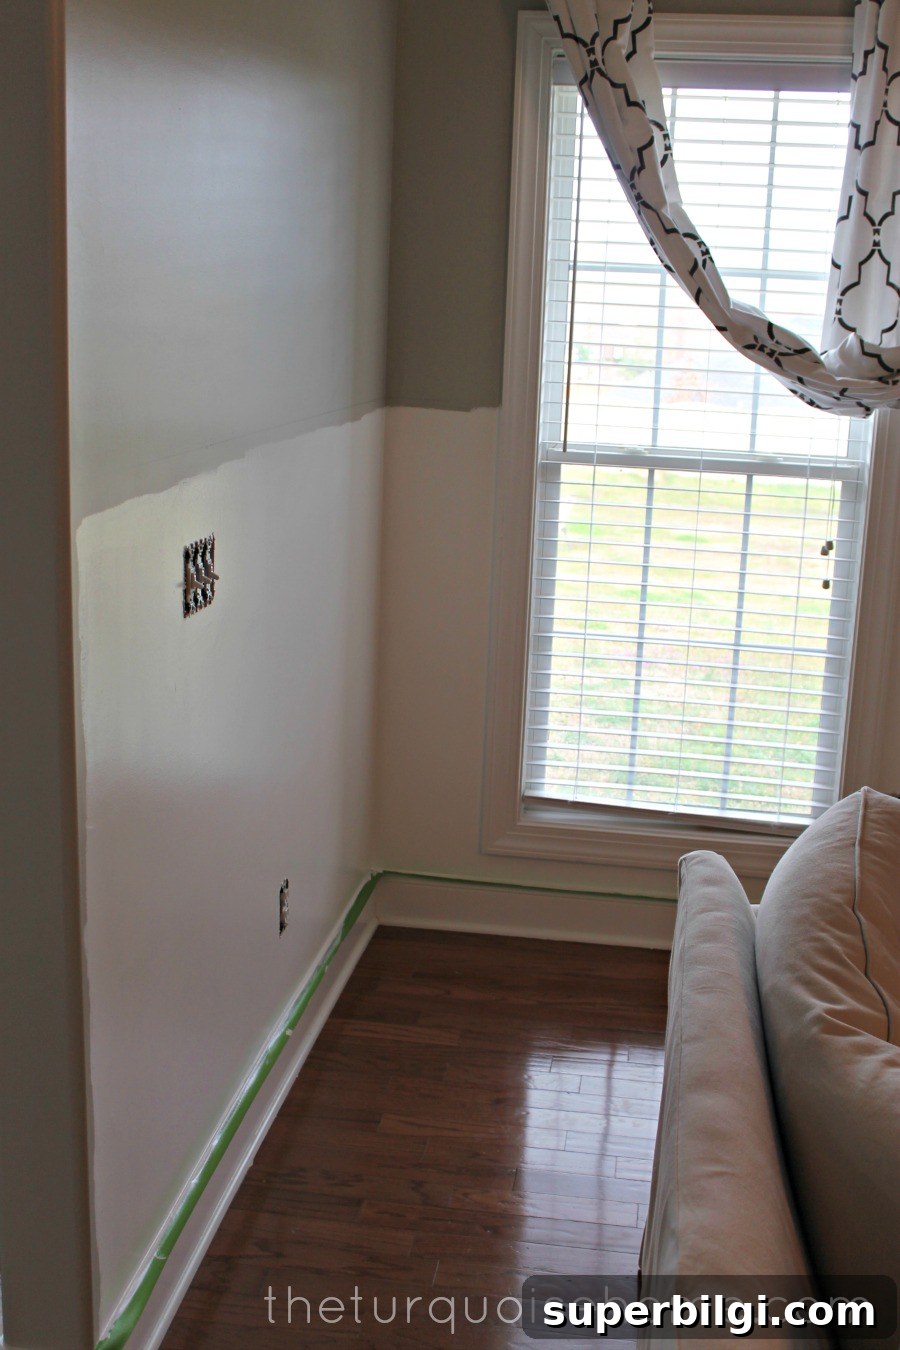
I applied two coats of white paint to the lower portions of the walls. The first can of white I brought home was far too bright—an almost neon white that didn’t pair well with the rest of the room—so I returned it to Lowe’s. I had the paint color-matched to Benjamin Moore’s Simply White, and the change made a big difference. The matched shade is much softer and more flattering in the room; it reads as a clean, warm white rather than an icy, clinical tone.
I’ve also begun priming and painting the MDF boards outside. Painting the boards before install is worth the effort: it’s easier to get full, even coverage on a flat surface, and it reduces the number of touch-ups needed once the boards are on the wall. That said, it requires space. I quickly realized I don’t have a lot of room to lay out dozens of boards, so I’m working in shifts—paint a batch, let it dry, move them aside, and paint the next batch. Late last night I started nailing some of the painted boards to the wall; I’ll share photos of that once they’re all in place.
My plan is to apply one coat of primer and one full coat of paint to each board before hanging. After installation I’ll caulk the seams and fill the nail holes with wood filler, then sand and apply a final coat of paint where needed. This approach minimizes mess and ensures crisp edges where the boards meet the wall. It’s a little more time up front, but it pays off in a cleaner, more professional-looking finish.
At the moment I’m just relieved that the beige is gone and the gray reads like gray instead of looking too blue. Choosing the right undertone for wall colors is always tricky—light can change how a color performs—but the adjustments I made are already improving the room’s overall balance.
This week will be light on work because I have house guests coming and it’s my birthday. There’s a small celebration planned for Wednesday, so I’ll likely only get a few hours here and there to chip away at the project. When you’re doing a DIY renovation with young children and limited solo time, progress tends to come in small, manageable chunks rather than giant leaps.
A big thank-you to my husband for taking Miss A most of the weekend so I could work—he took her for a long bike ride, to the park, and kept her busy outdoors while I painted. Having help with childcare made a huge difference and allowed me to be more productive than I would have been otherwise.
If you’re planning a similar project—board and batten, wainscoting, or painted paneling—here are a few practical tips that I’m following: prime and paint boards before installing when possible; choose a paint color sample and view it at different times of day before fully committing; organize your workspace so boards can dry flat without stacking; and plan for extra time to caulk, fill, and touch up once boards are hung. These small steps keep the finish looking polished and reduce the stress of last-minute fixes.
More Posts You Will Love:
- How to Install Board and Batten
- Christmas Decorating in the Living Room
- Revere Pewter {The Best Home Decor Paint Colors}