
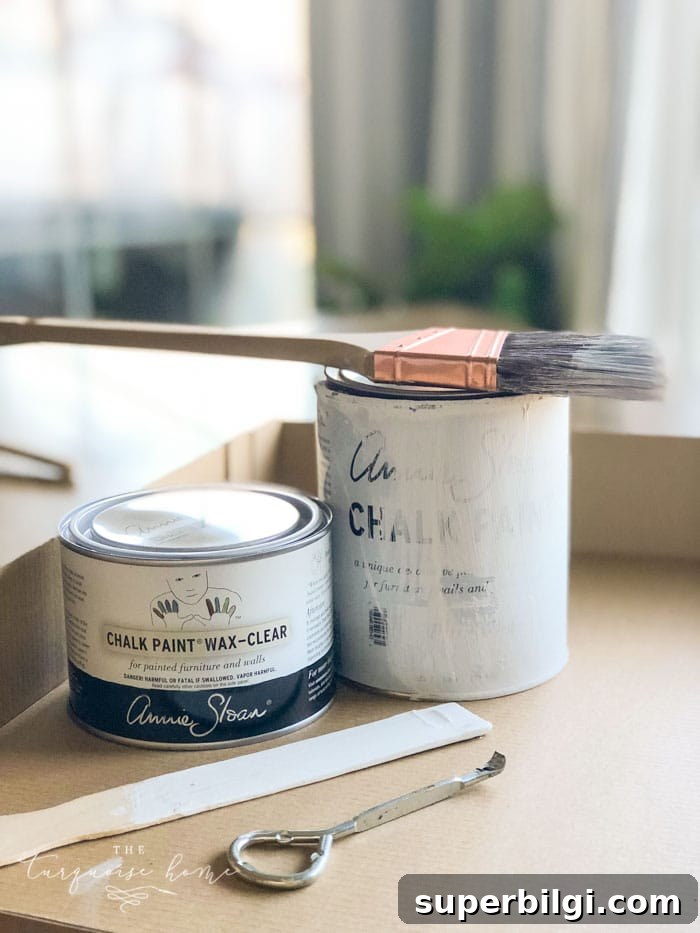
Annie Sloan Chalk Paint® is one of the simplest and fastest ways to update an older or outdated piece of furniture. The biggest advantage is you rarely need primer, and once the surface is clean and prepped you can start painting immediately—perfect for quick transformations.
I’ve used many chalk-style paints over the years and while several brands work well, Annie Sloan Chalk Paint® is one of my favorites for fast projects. I return to it for small, impactful makeovers because it embraces an imperfect, lived-in look and skips the lengthy priming process that traditional painting requires.
This post contains affiliate links for convenience.
First: thoughts on working with Chalk Paint®
- If you’ve never used Chalk Paint® before, start small. Choose a simple, inexpensive item so you can learn the material without pressure. A successful first project builds confidence for larger pieces.
- Chalk paint suits distressed or vintage looks. This paint is forgiving and tends to chip slightly with wear, which enhances a shabby-chic finish. If you want smooth, ultra-durable coverage, consider a high-build mineral paint instead.
- Choose your brush for the finish you want. Natural bristle brushes give a more textured, brushy finish, while high-quality synthetic brushes (like Purdy) create a cleaner look if you plan to sand and distress afterward.
- Chalk paint is thick. Work from a smaller container rather than painting out of the can to avoid thickening as it sits open. If needed, thin slightly with a teaspoon of water and stir—only a little goes a long way.
- It dries fast. You can expect 20–30 minutes for surface dry; however, always wait until the paint feels completely dry before distressing or waxing.
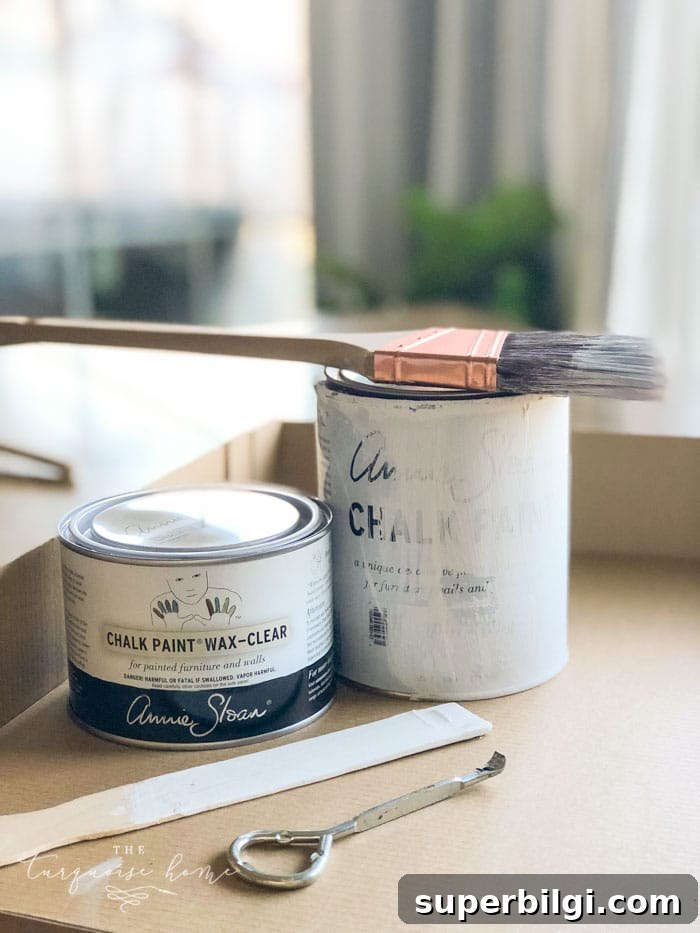
Supplies You’ll Need
- Drop cloth. Protect floors and nearby surfaces.
- Painter’s tape. Use tape to protect areas you don’t want painted.
- Brushes. A natural bristle brush for textured finishes or a high-quality synthetic brush for smoother coverage.
- Annie Sloan Chalk Paint®. Choose your color and amount based on the size of your piece.
- Cleaning supplies. A damp rag and mild cleaner to remove grease and grime before painting.
- Lint-free cloths. Old cotton t-shirts or dedicated lint-free rags for waxing and buffing.
- Fine-grit sandpaper. Typically 180 grit for light distressing.
- Wood putty (optional). For filling holes or replacing hardware holes; test paint over putty first to check for color differences.
Steps to Use Annie Sloan Chalk Paint®
1. Choose your project piece
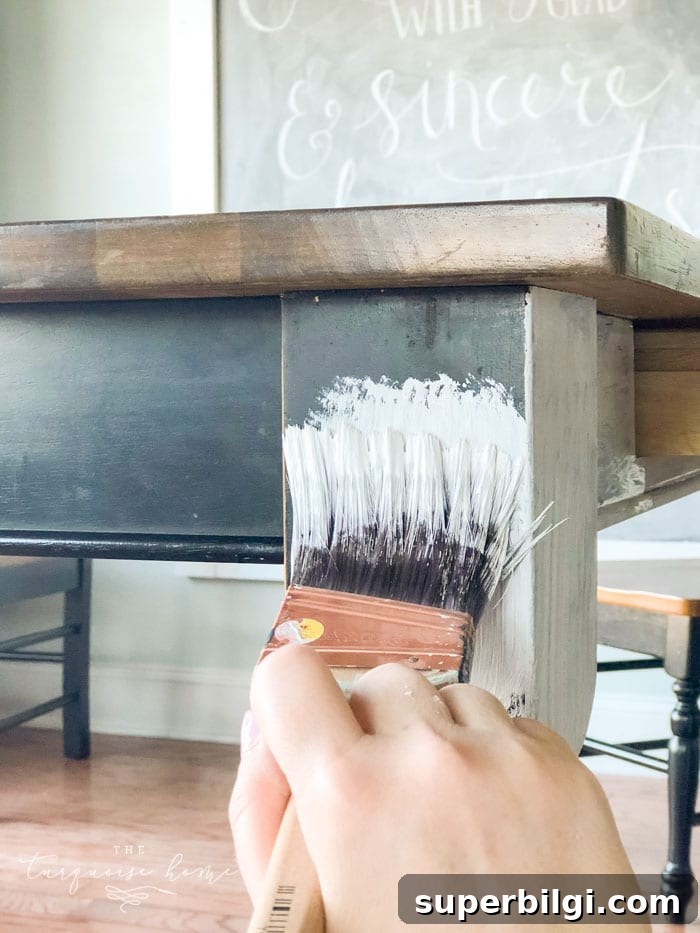
For your first attempt, pick something small and replaceable so you can practice without worry. Once you’ve completed one piece, you’ll better understand how the paint behaves and can tackle larger furniture with confidence. In this tutorial I painted the base of a kitchen table as part of an eat-in kitchen refresh.
2. Gather your supplies
Refer to the supply list above and set everything within reach before you begin. Good organization makes the process more enjoyable and prevents mistakes.
3. Remove hardware and fill holes if needed
Remove knobs, pulls, and other hardware when possible. If hardware is fixed or decorative elements must remain, protect them with painter’s tape. If you are changing hardware or repairing old holes, use wood putty and sand the area smooth once it’s dry.
4. Prep the surface
Chalk paint usually doesn’t require priming, but the surface must be clean. Remove dust, grease, and food residue—especially on kitchen furniture—using a warm soapy rag, followed by a clean damp cloth to remove any soap residue. Tape off areas you don’t want painted.
5. Apply the first coat
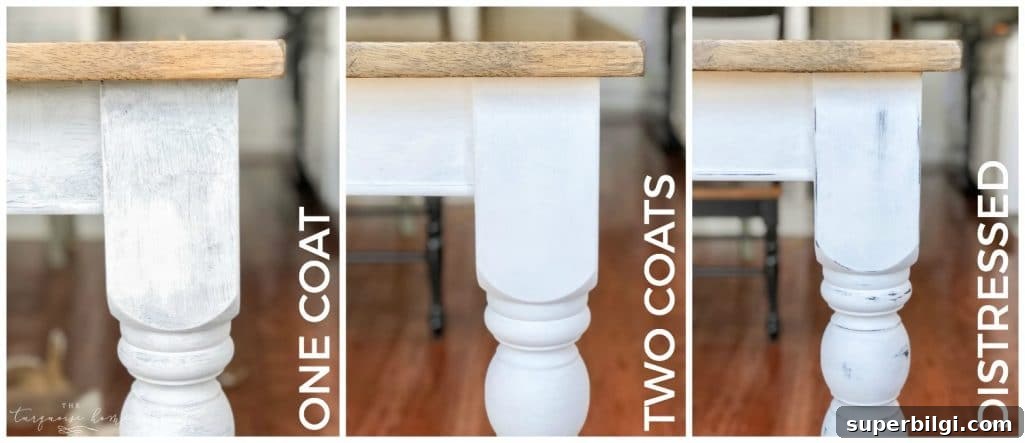
This is the fun part. For a smoother finish, brush with the grain using a quality synthetic brush and apply light, even strokes. For a more textured, painterly effect, use a natural bristle brush and apply a single heavier coat. Chalk paint typically dries to the touch in 20–30 minutes, so you can return quickly for the next coat.
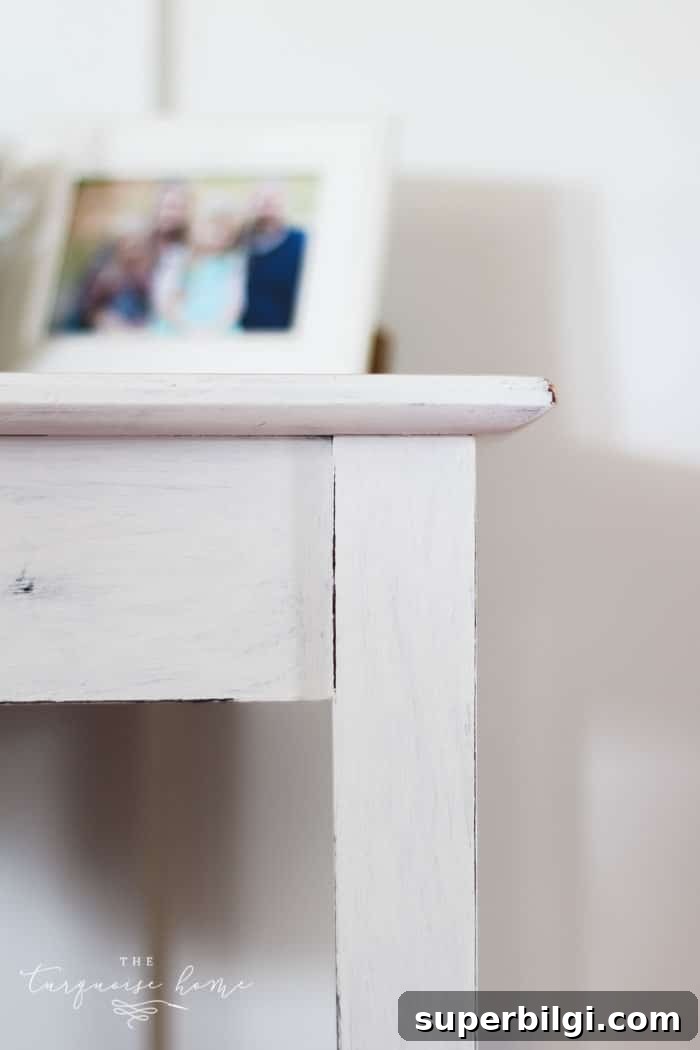
6. Apply the second coat
Most projects will need a second coat for full, even coverage. Apply the second coat the same way as the first. If you see pronounced brush strokes, wait until the paint has set slightly and smooth them with a light touch or a light sanding between coats. If the paint has thickened, thin a small amount in a separate container with a tiny bit of water.
7. Clean your brushes
Wash brushes in warm, soapy water immediately after use. Rinse well and avoid letting water sit at the base of the bristles. Lay brushes flat or hang them to dry. Proper care will extend the life of quality brushes for many years.
8. Distress the piece
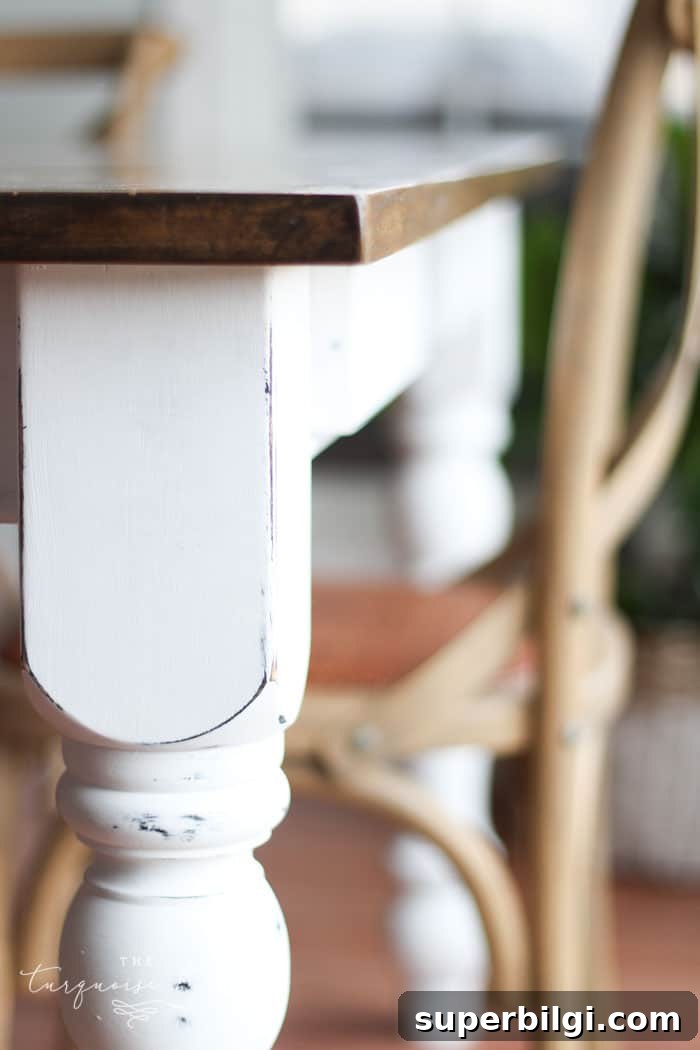
Chalk paint is ideal when you want a lightly distressed finish. Use fine-grit sandpaper for small, controlled distressing at edges and corners where natural wear would occur. A damp cloth can soften areas for lighter distressing. Although some manufacturers suggest distressing after waxing, I find it easier to distress before sealing so the wax locks in your worn areas and prevents unsealed patches.
9. Seal your project with wax
Clear sealing wax is my go-to for most projects because it protects the finish while maintaining a natural look. Apply a thin, even layer of wax with a wax brush or a lint-free cloth, then wipe off excess. If you prefer a darker, antiqued effect, a small amount of dark wax can be applied for contrast, but it takes practice to control.
10. Buff the finish
Allow wax to cure—typically about 24 hours—then buff the surface with a clean, soft cloth to achieve a subtle sheen. Buffing smooths the wax and creates a long-lasting finish.
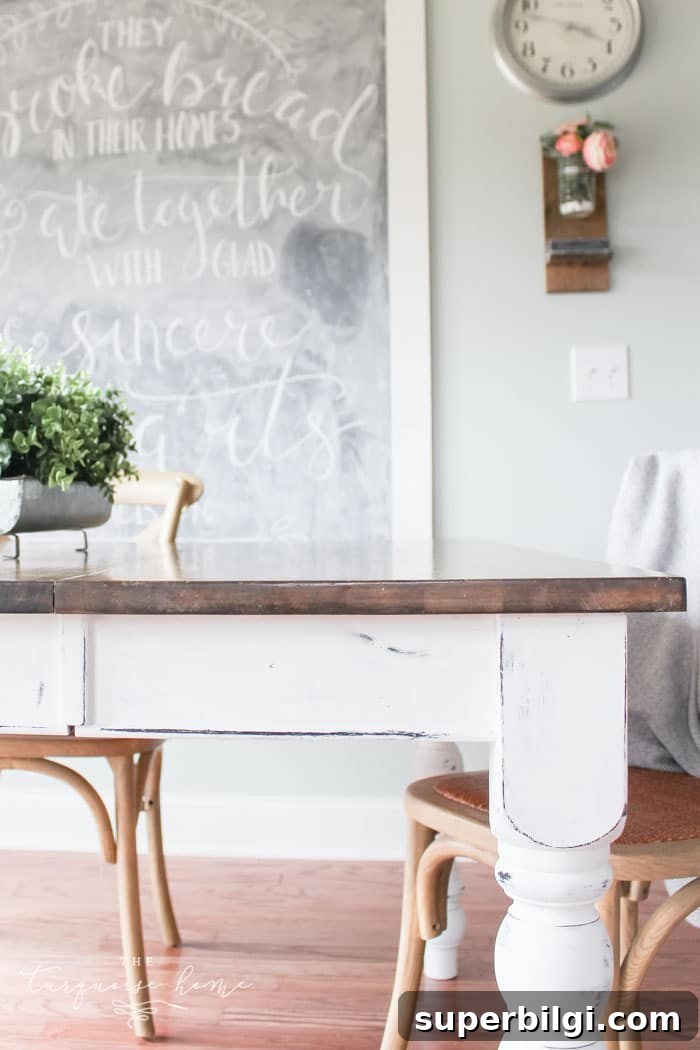
Once you’re finished, step back and enjoy your refreshed piece. The transformation is often dramatic and rewarding—even on small projects like table legs or side tables.
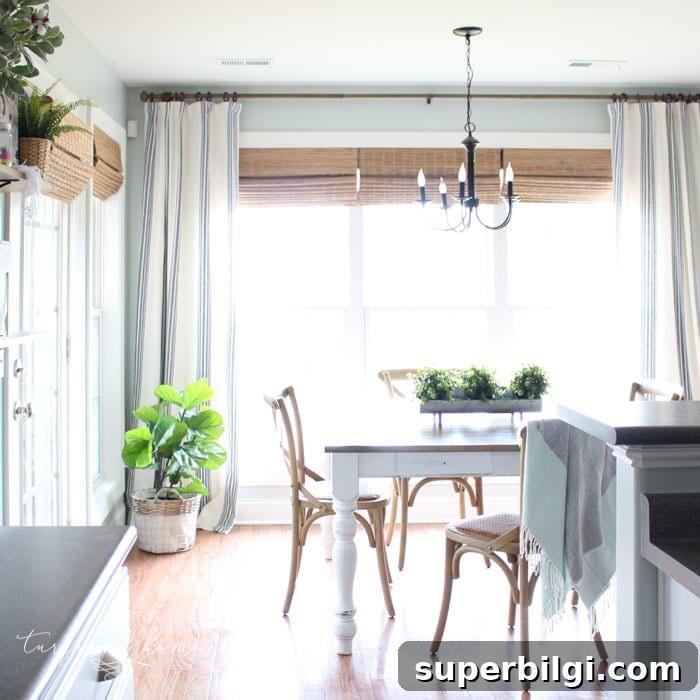
I’m sharing a sneak peek of our eat-in kitchen refresh—this painted table base is part of that update, and I’m loving how it’s coming together.
Final tips: Work in a well-ventilated area, test paint over putty or repairs before finishing a whole piece, and remember that chalk paint is forgiving—sanding, distressing, and waxing can usually correct minor imperfections. If you have questions or want to share your Chalk Paint® experience, leave a comment below and tell us what worked for you.
More resources you may enjoy:
- Sherwin-Williams Extra White (SW 7006) — color reference and uses
- Benjamin Moore Stonington Gray — a popular neutral paint color
- Seven essential home furnishings every room needs
- DIY gray wash on wood technique
- Colorful kitchen island ideas
Thanks for reading—happy painting!