
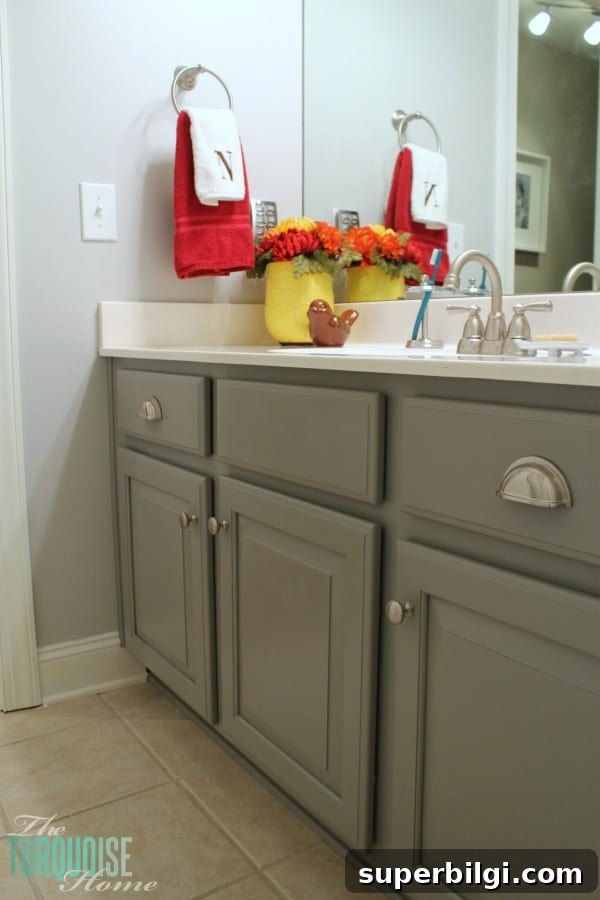
Learning how to paint cabinets doesn’t have to be overwhelming. Follow these clear steps and you’ll have painted cabinets you love.
When I first showed my guest bathroom makeover, I promised to share the full process for painting the vanity cabinets. Here’s the Average DIY Guide to Painting Cabinets—straightforward, practical, and doable without professional tools.
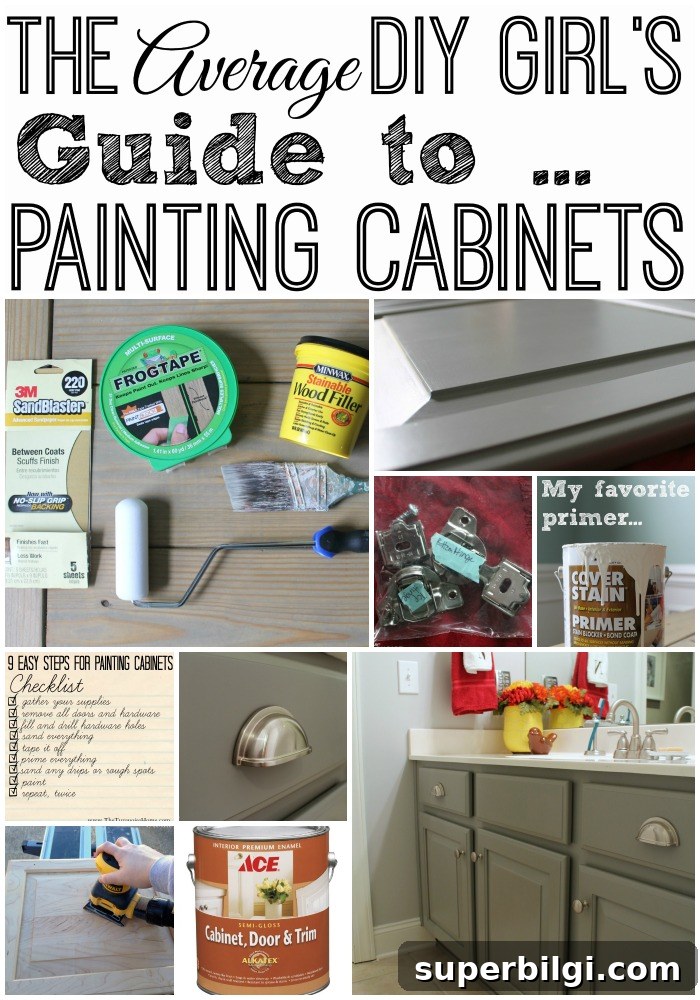
I’d been meaning to paint the honey-oak cabinets in this house since our first walk-through. I worried about drips, visible brush marks, and ending up with a finish worse than the original wood. But advances in cabinet paints—especially those with excellent self-leveling properties—make this project much more forgiving. It’s still a commitment, but with the right products and a little patience you can get professional-looking results.
For my projects I now use Benjamin Moore’s Advanced paint line in satin or semi-gloss for cabinets and trim. For this post I started small with the guest/kid bathroom cabinets to test the process and build confidence.
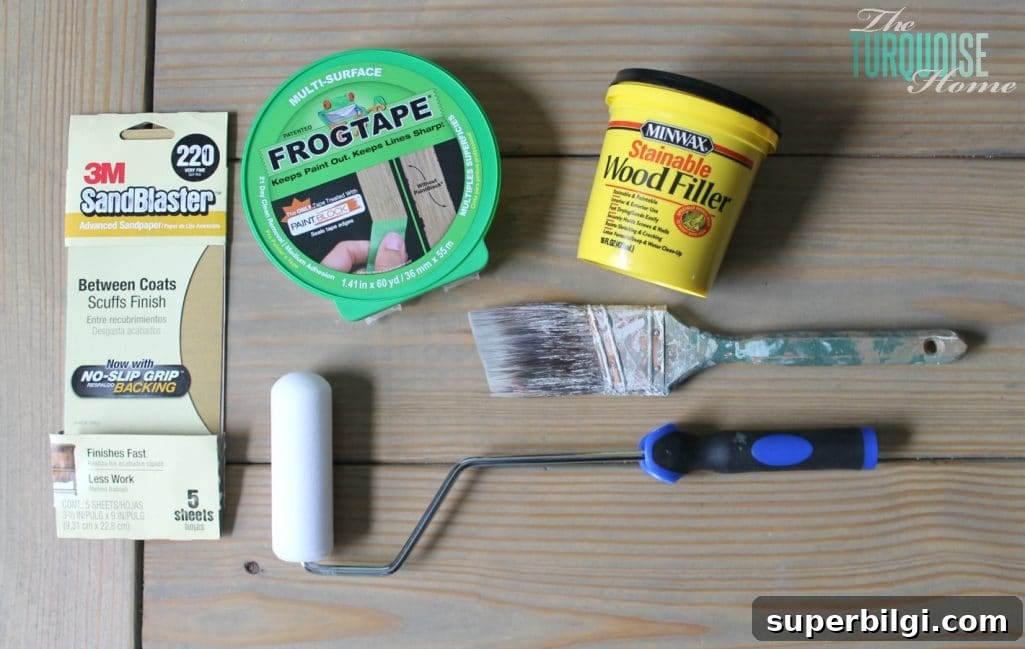
Tools Needed for DIY Cabinet Painting
- Painter’s tape
- Sandpaper and a finishing sander (220-grit for light scuffing; 120-grit if you need to remove old finish)
- Quality paintbrush — a good brush will last and give better cut-in results
- High-density foam roller for smooth, even coverage on flat surfaces
- Cabinet paint — a waterborne alkyd like Benjamin Moore Advanced in satin or semi-gloss gives excellent leveling
Below are the practical steps I used to achieve a smooth, durable finish.
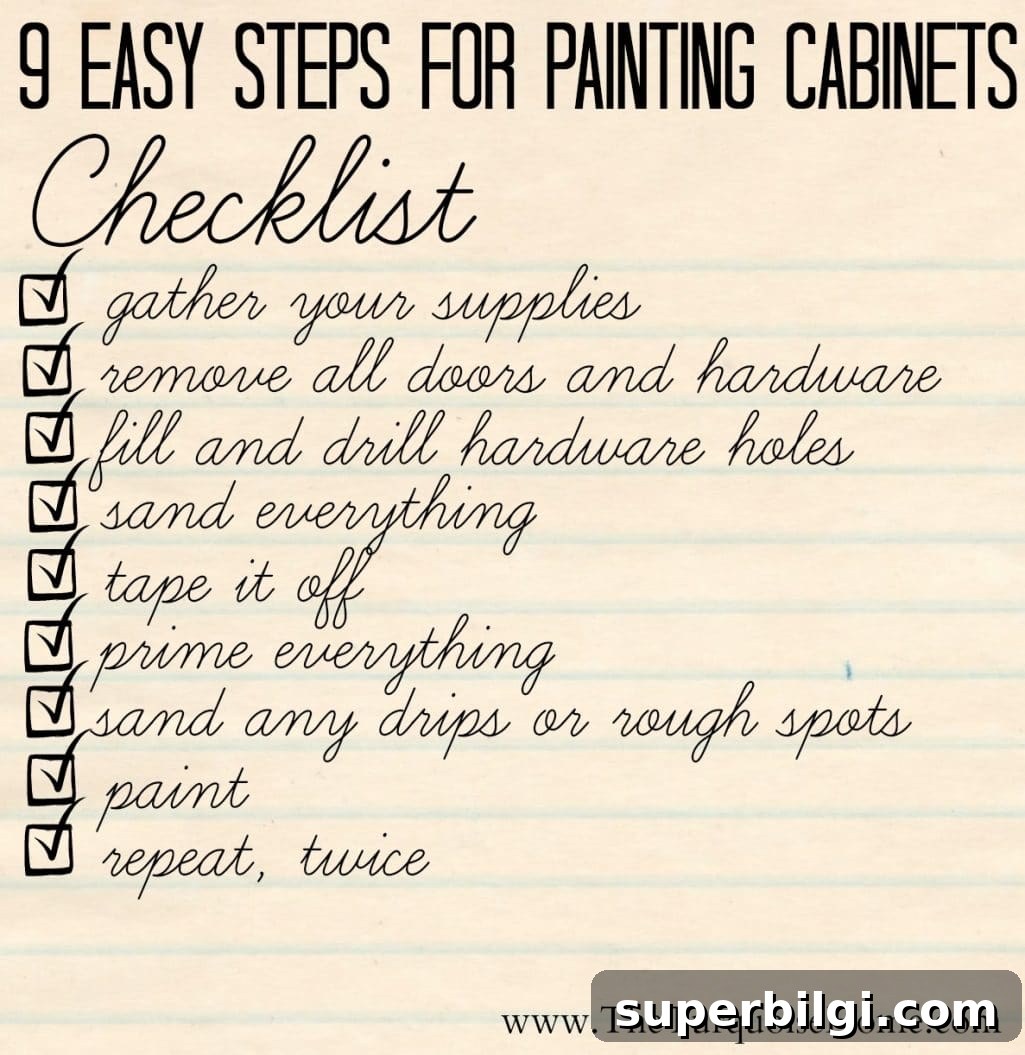
How to Paint Bathroom Cabinets
1. Gather your supplies
Keep it simple: brushes for detail work, a foam roller for panels, sandpaper/sander, primer, and your chosen cabinet paint. Prepare a well-ventilated workspace and a clean surface to lay out doors and hardware.
2. Clean the cabinets to remove all dirt and grease
Use a degreaser or a liquid sander to remove oils, fingerprints, and residue. Proper cleaning helps primer and paint adhere evenly.
3. Remove doors, drawers, drawer fronts, and hardware
Take everything off and label each piece and its hardware so reassembly is straightforward. Protect countertops and floors by taping or covering them before you start.

4. Fill and drill new hardware holes (if changing hardware)
If you’re changing pulls or knobs, fill old holes with a quality wood filler and sand smooth, then drill the new holes as needed. This step creates a clean, unified look with the new hardware.
5. Sand everything, then wipe off the dust
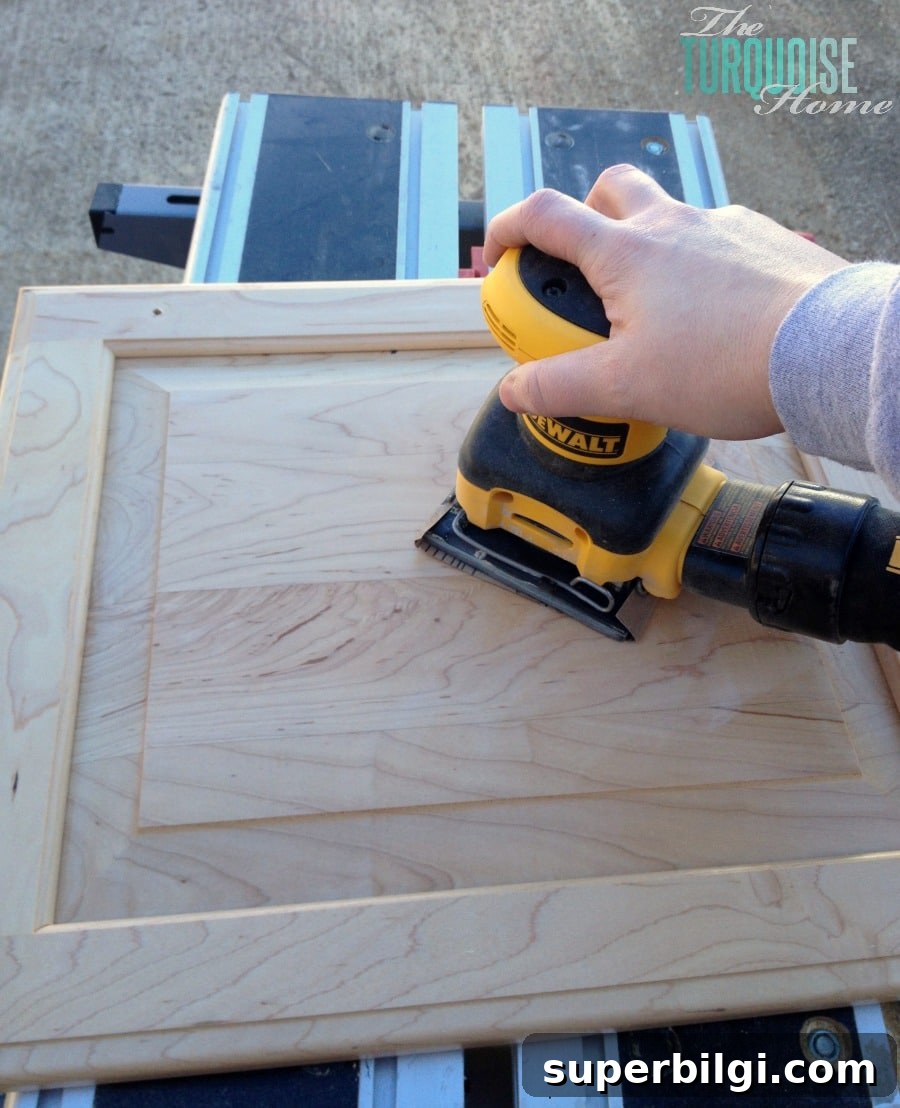
Lightly sand door faces and frames to scuff the surface and give primer something to grab. Use 220-grit for light scuffing or 120-grit if removing a lot of finish. Wipe down thoroughly to remove dust.
6. Tape walls, floors, and cabinet interiors
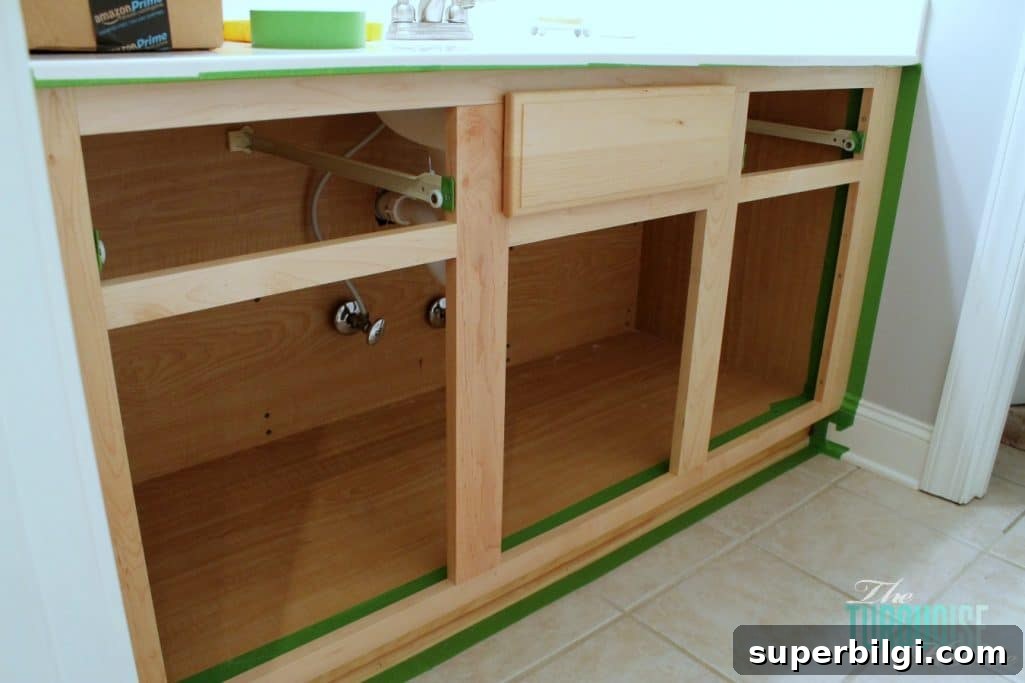
Mask areas you aren’t painting, including inside cabinets, walls, and floors, to protect surfaces and speed cleanup. Removing any removable faux drawers or panels makes priming and painting easier.
7. Prime everything
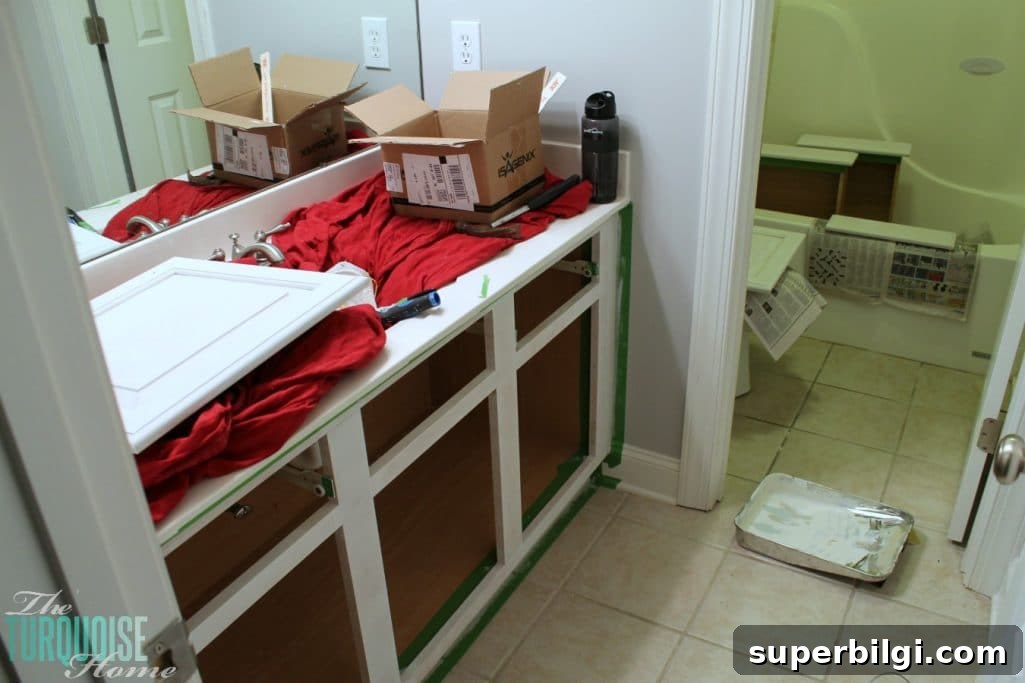
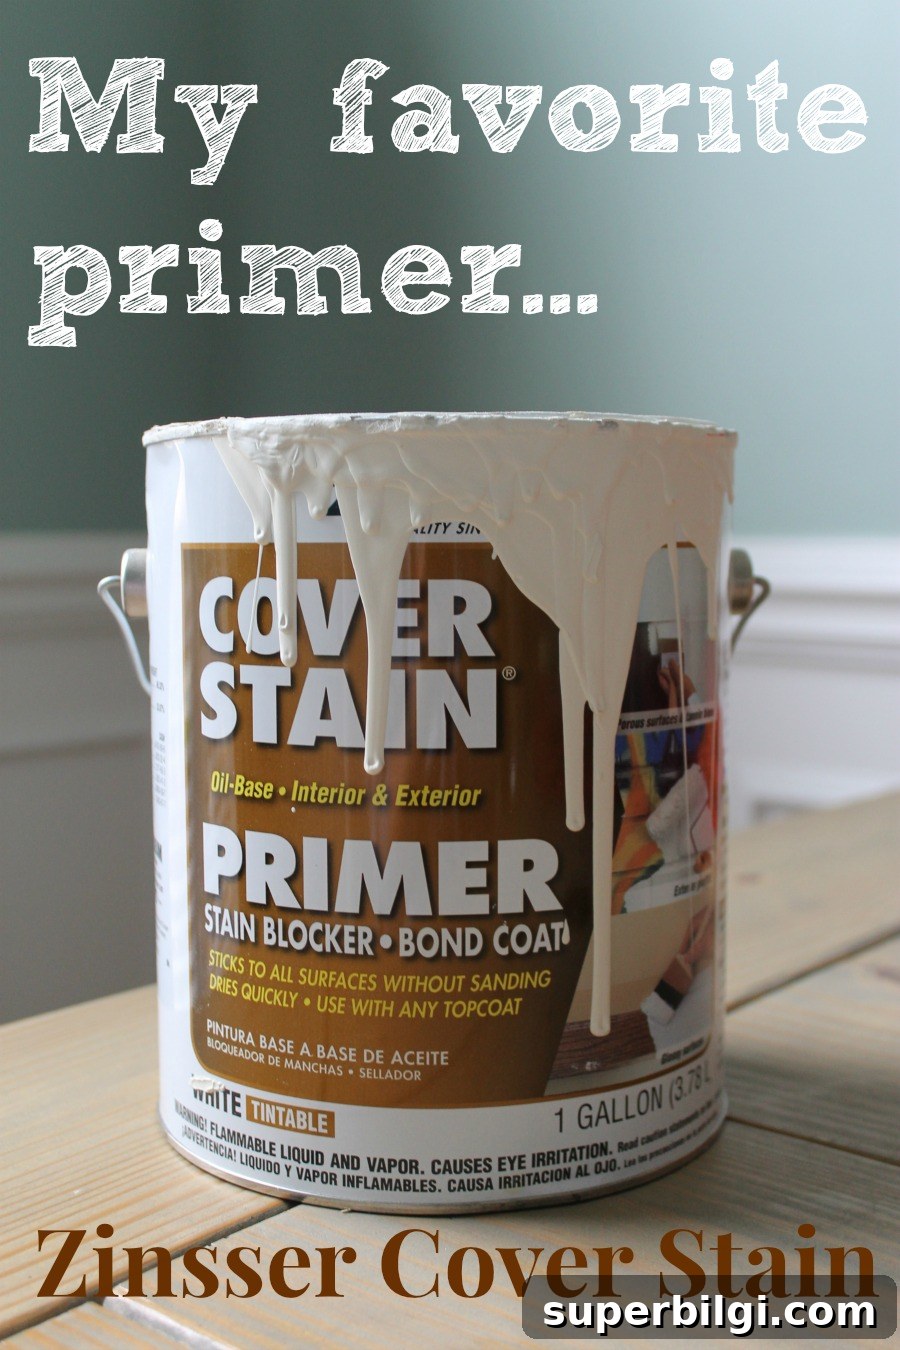
Primer seals the surface and helps the topcoat adhere. Use a stain-blocking or shellac-based primer for difficult stains, or a quality bonding primer for slick surfaces. I use Zinsser Cover Stain as my go-to primer for cabinets.
8. Sand any drips or rough spots
After primer dries, lightly sand to remove any drips or texture. Sanding gently keeps the primer in place while smoothing imperfections for a flawless topcoat.
9. Paint
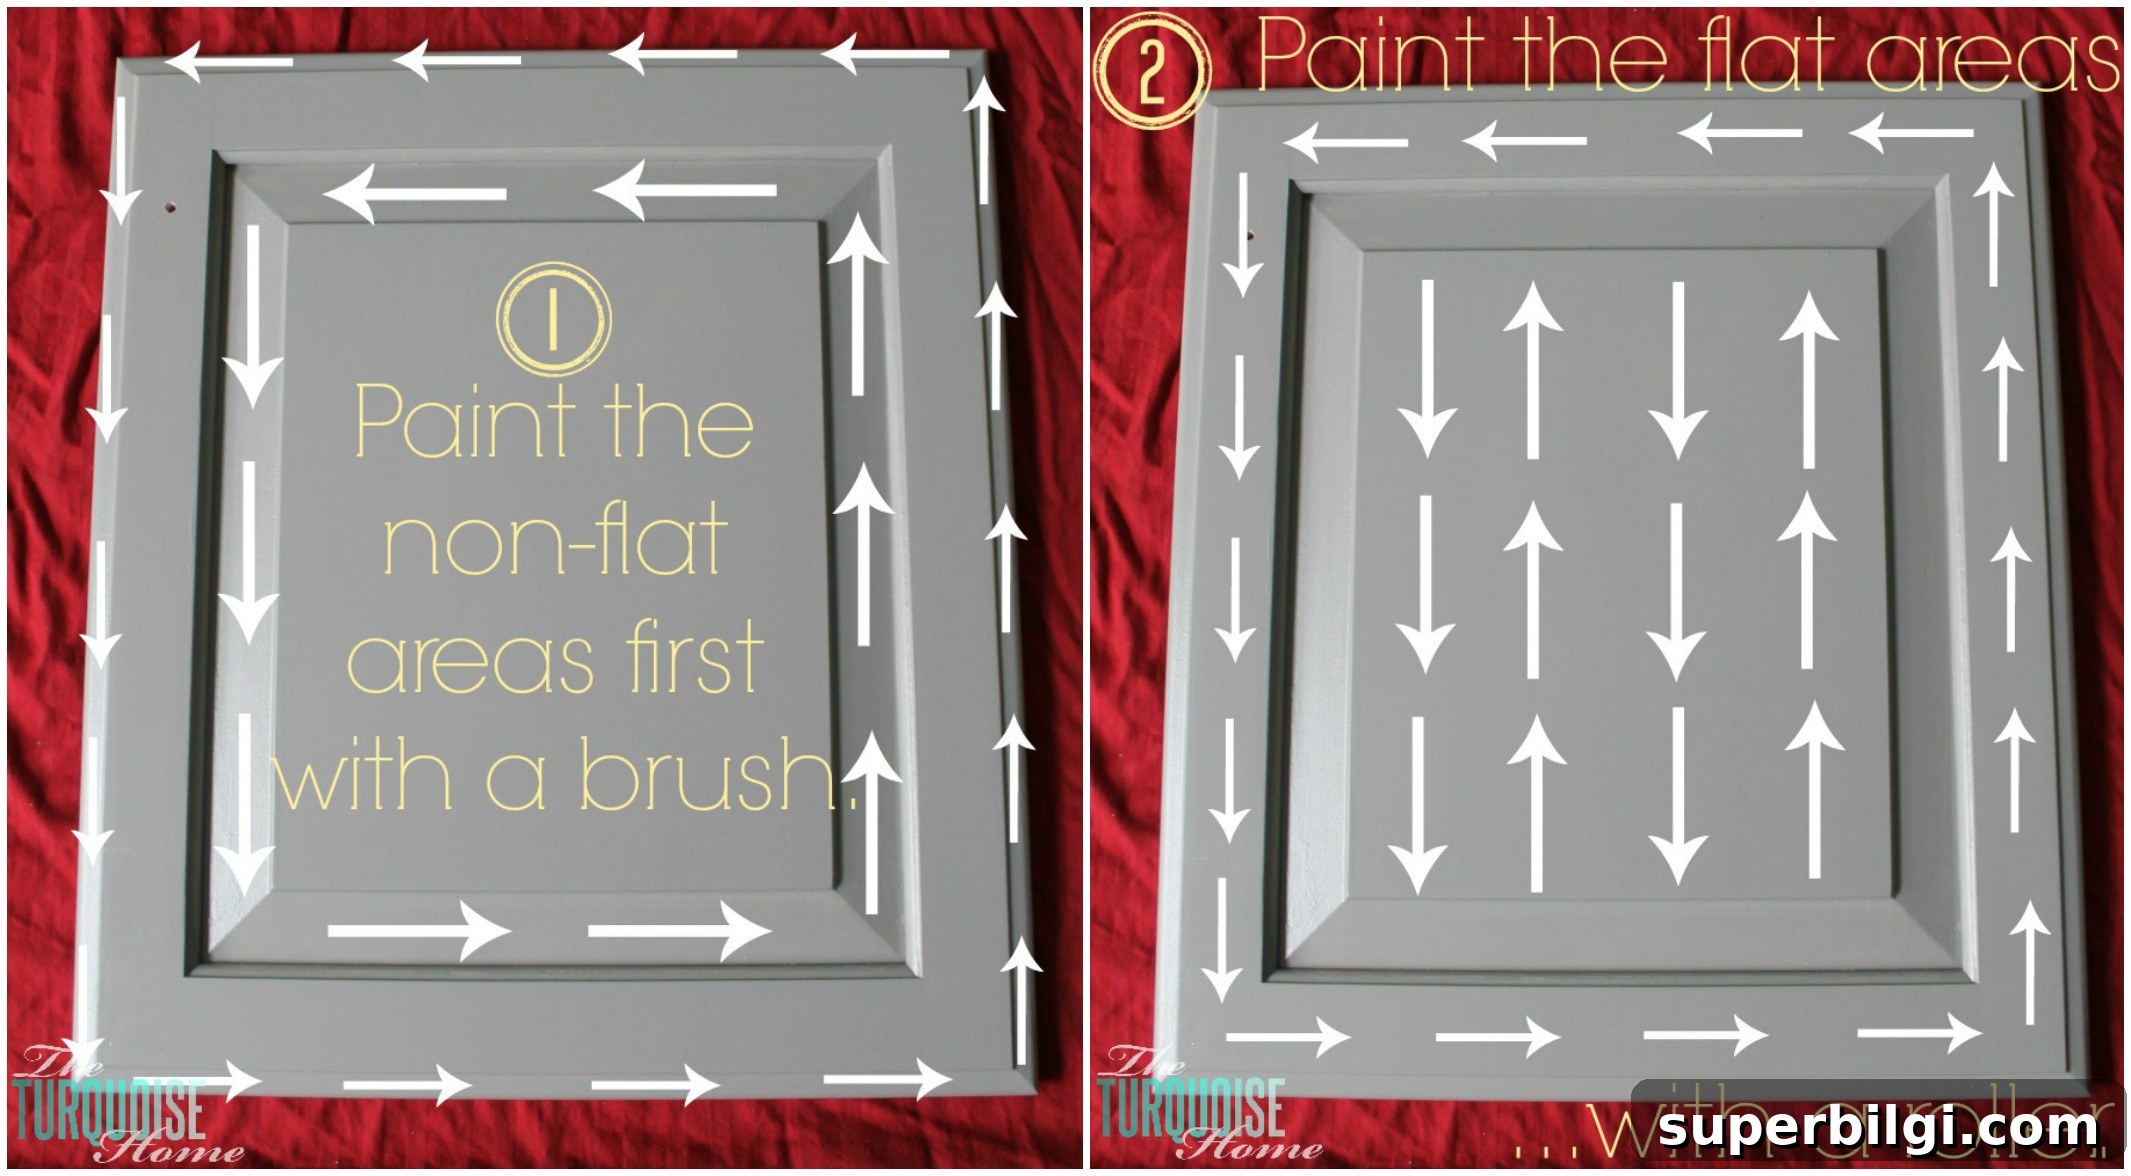
Use thin coats and let the paint level itself. Roll flat areas with a foam roller for a smooth finish and use a brush for corners, recessed panels, and edges. Check frequently for drips while the paint is still wet and gently smooth them out; the self-leveling properties will help create a glass-like finish.
10. Repeat, twice
Most cabinets need two to three thin coats. Allow 24 hours between coats and up to 48 hours for full cure before reattaching hardware or heavy use. If you find rough spots or drips between coats, sand lightly before the next coat.
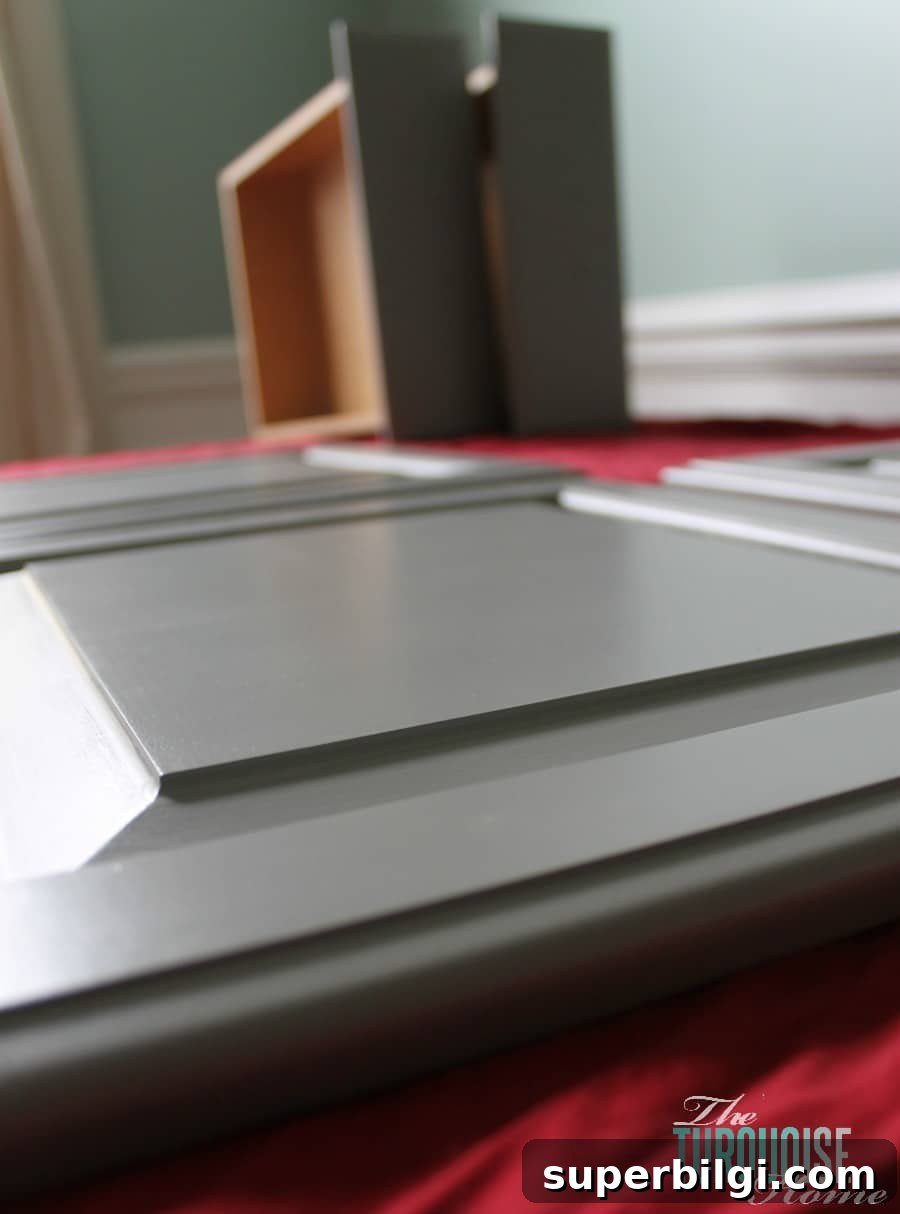
The final result can be incredibly smooth—almost like glass—when you take your time with prep, primer, and thin, even topcoats.
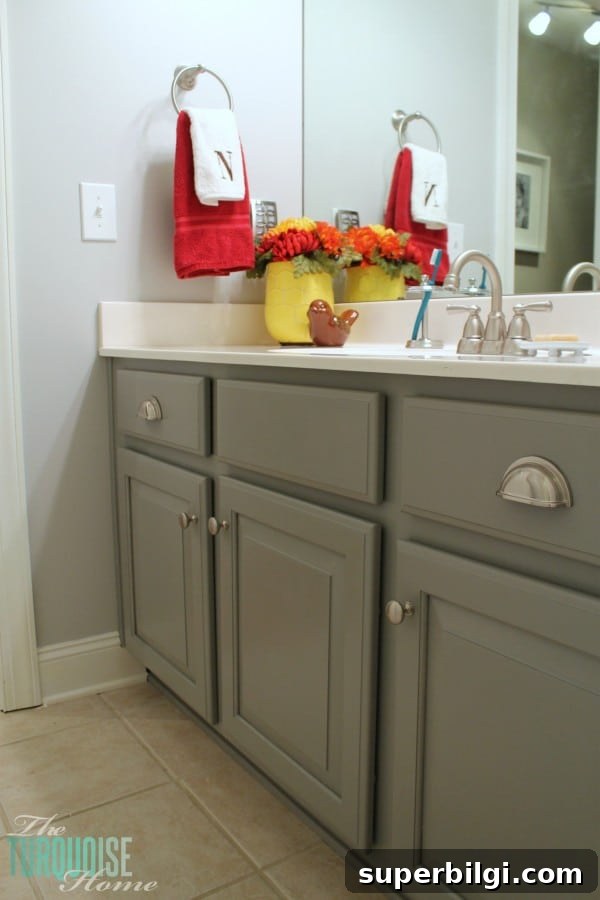
If you’ve been hesitant to tackle cabinet painting, start small and follow these steps. It’s a satisfying update that can transform builder-grade or dated cabinets into something fresh and modern.
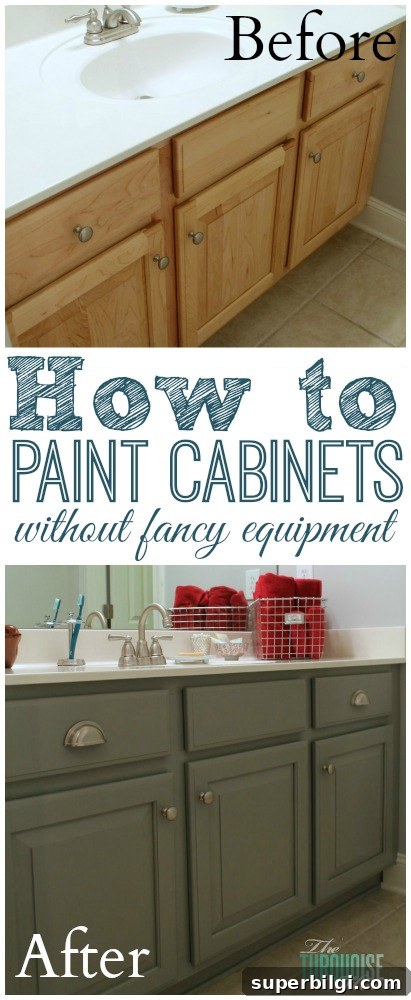
UPDATE: The paint color I used is Ominous Cloud by Clark+Kensington (Ace Hardware brand).
Frequently Asked Questions
Expect approximately $7–$15 per square foot, depending on cabinet condition, paint choice, and whether you hire labor or do it yourself.
If the cabinets are raw wood, prime before painting. If they already have a water-based paint finish and are clean and sound, you may be able to paint directly after light sanding. Test existing paint by rubbing a damp cloth; if paint comes off, it’s likely water-based.
A premium waterborne alkyd cabinet paint is ideal because it combines leveling and durability. Benjamin Moore’s Advanced line in satin or semi-gloss is a reliable choice.
Use both: brush recessed details and edges, and roll the flat surfaces for the smoothest finish. Thin coats and proper technique deliver the best results.
More posts you may enjoy:
- Ideal Cabinet Knob Placement: Tips and Tricks
- Budget-Friendly DIY Kitchen Cabinet Ideas
- Painted Kitchen Cabinets: Two Years Later