
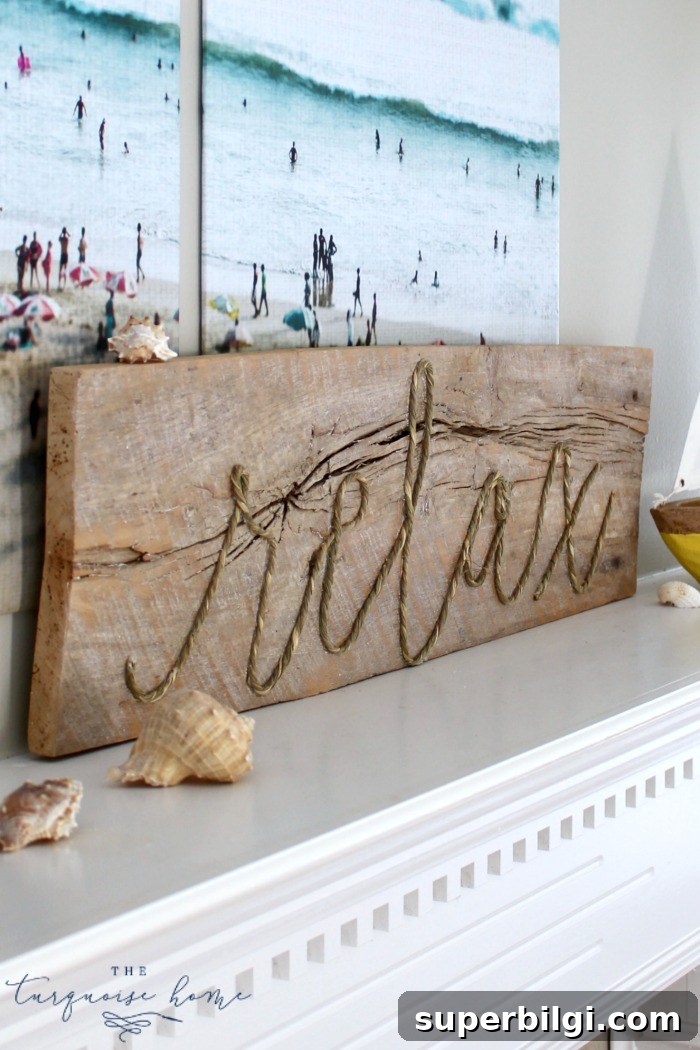
Create this charming DIY weathered rope sign with only three basic supplies and a little time. It’s an ideal addition to summer decor and a simple reminder to slow down and relax.
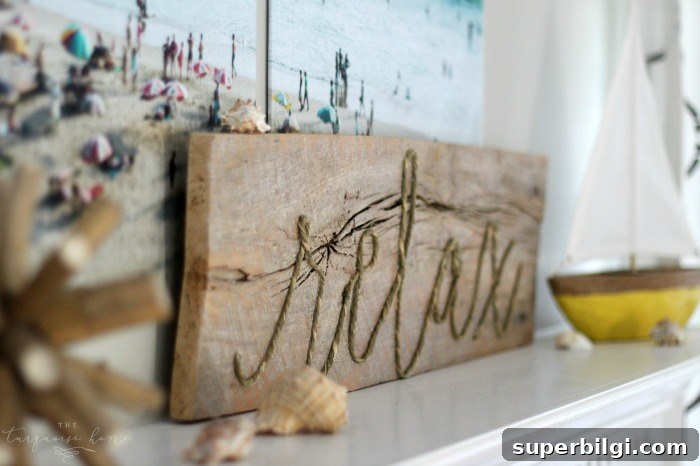
This project started with a piece of wood that already had character. I used a worn board and gave it a DIY driftwood finish to achieve that sun-bleached, weathered look—perfect as a backdrop for a rope word. The whole sign came together quickly once the wood was ready, and it became a favorite piece for my summer mantel.
Tools and Materials
- Piece of wood (any size that fits your space)
- Rope, jute, or grass cord
- Hot glue gun and glue sticks
- Chalk or a removable marker for tracing
- Sandpaper and paint or stain (optional for a driftwood finish)
- Scissors or utility knife
Choose a board that matches the look you want—rough-sawn barn wood or a sanded pine board both work well. If your wood is smooth and new, you can create a driftwood appearance with paint washes, sanding, and layers of gray and white paint to simulate aged, sun-worn wood. If you already have a weathered board, simply clean it and remove any loose splinters before beginning.
I used a simple script-style word as a guide. To plan the layout, type your chosen word in a flowing script font on your computer and use it as a visual reference for spacing and letter size. The word I used for this sign is “relax,” but you can choose any short word or even a small phrase that fits the board.
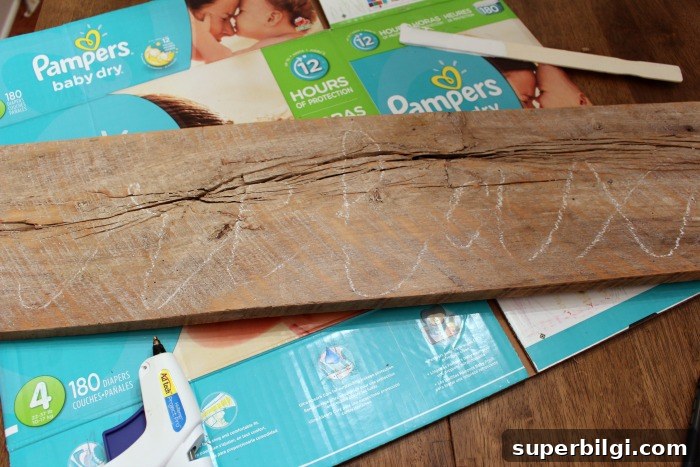
Once you have your reference, sketch the word directly on the wood using chalk. Chalk is ideal because it’s easy to erase and adjust as you refine the letters. Take your time getting the curves and spacing right—this step makes attaching the rope much easier and helps the finished sign look polished.
After the chalk guide was in place, I warmed up my hot glue gun and prepared the rope. For best results, use a rope with a medium thickness so it reads clearly against the board without overwhelming it. Uncoil the rope and clip any loose fibers to create a neat edge before you start gluing.
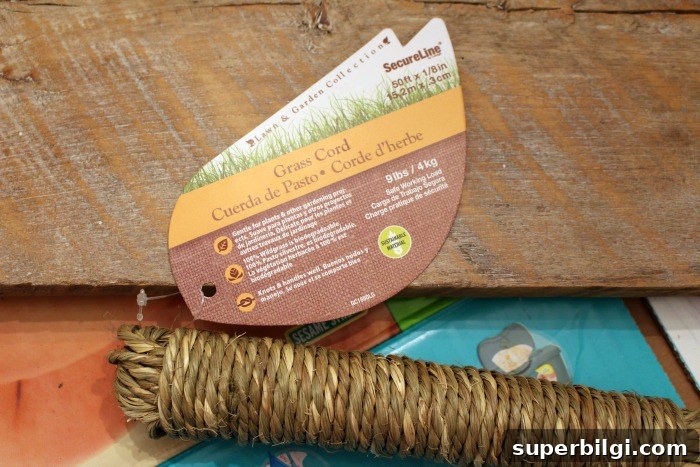
Work in short sections. Apply a line of hot glue along a small portion of the chalk line, press the rope into the glue, and hold until set. Move steadily around each letter, trimming and tucking the rope as necessary for smooth curves and clean intersections. For tight corners or small loops, cut the rope and but the ends together neatly, hiding the seam in a curve or behind an overlap.
If you make a mistake, simply peel up the rope while the glue is still warm and reposition it. For a few tricky spots I re-traced the chalk and re-applied glue until the shape felt right. When each letter is secured, wipe away any remaining chalk with a damp cloth and let the glue fully cool before handling the sign.
Here is the finished sign—simple, textured, and full of coastal charm. The rope stands out against the weathered surface and adds just the right bit of dimension to the board. This kind of piece works well leaned on a mantel, hung with a sawtooth hanger, or displayed on a shelf with other summer accents.
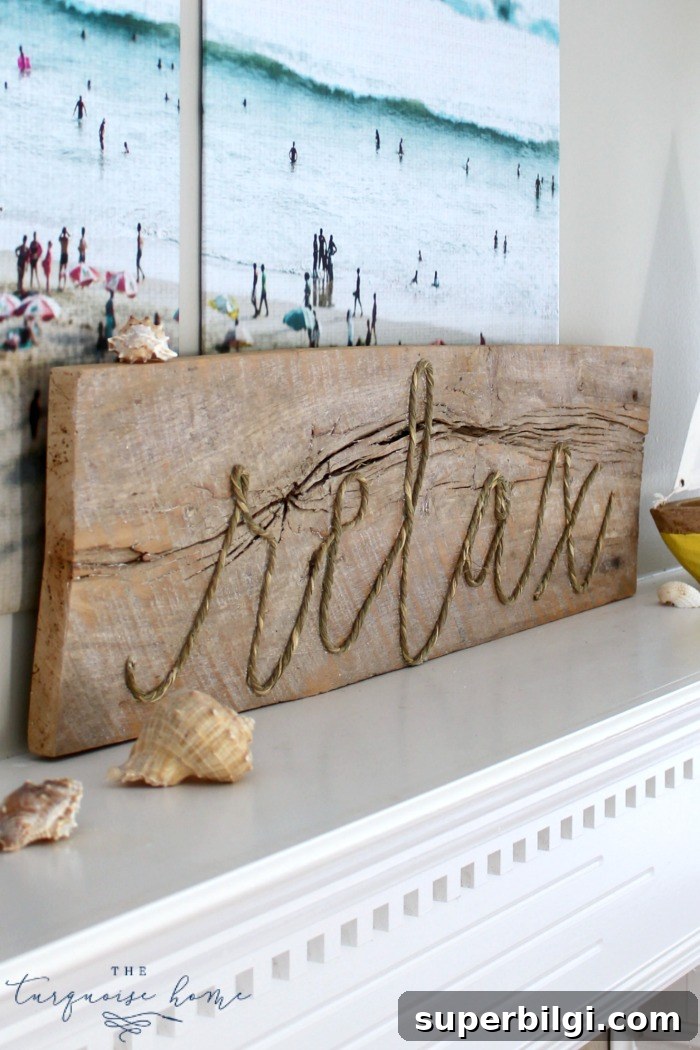
Tips and variations: choose darker or lighter rope for contrast; paint the rope lightly with a whitewash for a softer coastal look; seal the finished piece with a matte clear coat if it will be handled often. Shorter words, monograms, or simple icons (like an anchor or heart) are all great alternatives if you want to make multiple signs for a gallery-style display.
This weathered rope sign brought texture and a relaxed vibe to my summer mantel—I’ll be sharing the full mantel reveal soon. If you like quick, low-cost DIYs that create a big visual impact, this is a perfect weekend project.
More Posts You Will Love: