
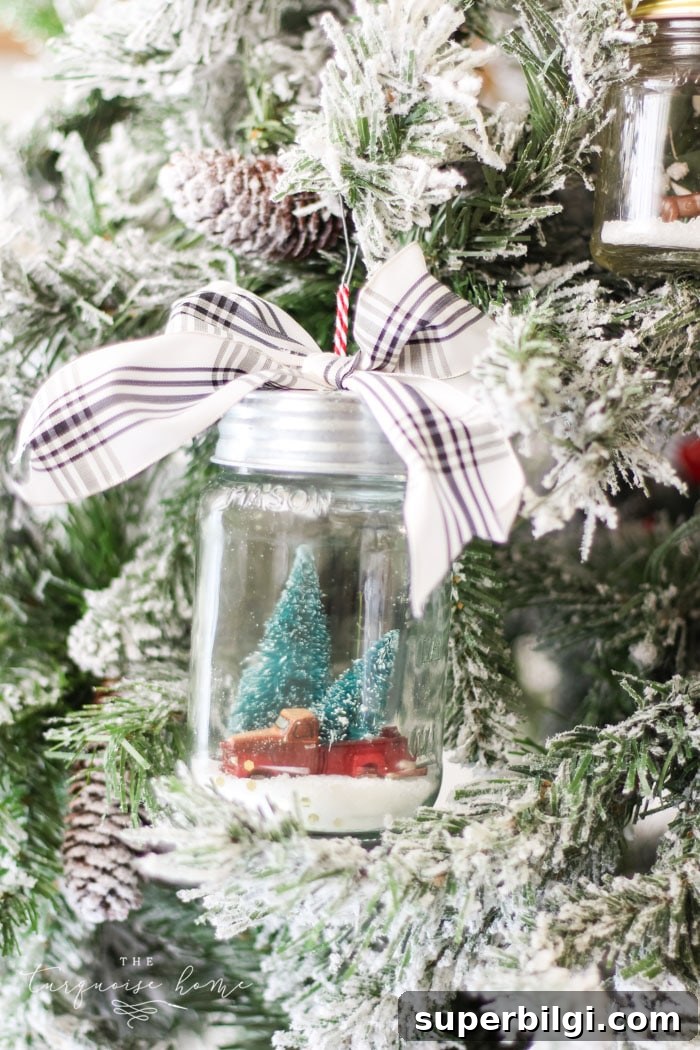
Create a snowy scene inside a glass jar with this charming DIY Christmas snow globe ornament. Five simple steps and a few supplies are all you need to make a festive keepsake for your tree.
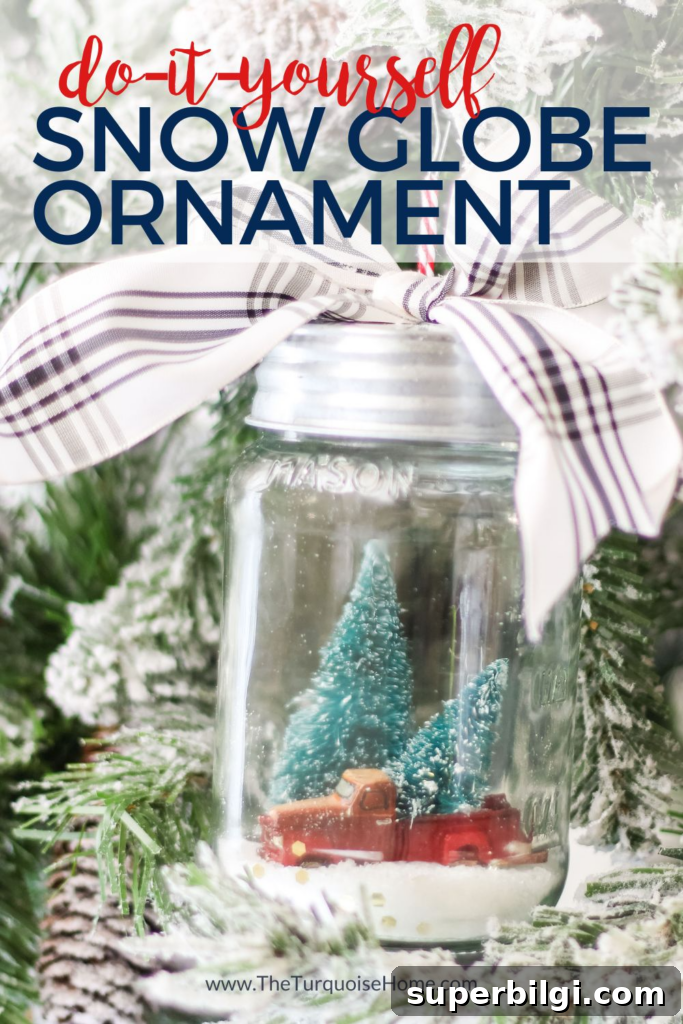
I enjoy crafting a new Christmas ornament each year, and this season I wanted to create tiny winter scenes inside clear jars. In the past I made a larger glass-canister “Christmas village,” and this year I decided to scale the idea down to jar-sized snow globes. These little scenes feel magical and are a hit with my kids.
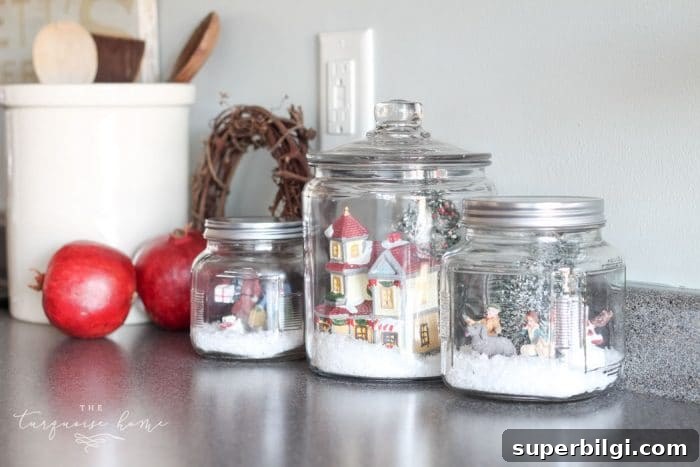
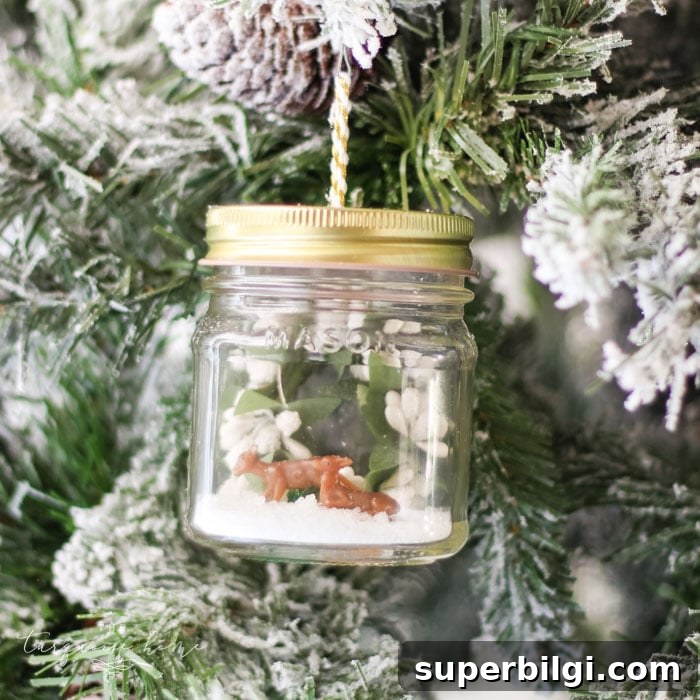
I started by scouting thrifted jelly jars, mason jars and small candle jars from my stash. Then I visited the dollhouse miniatures section at a craft store to pick up tiny figurines—mini deer, little trucks, mini wreaths and bottle-brush trees make perfect scenes. If your jar has patterned glass, swap it for a clear jar so the scene is easier to see.
I repurposed empty candle jars after cleaning them thoroughly. Reusing jars is eco-friendly and gives a nice clear view for your miniature scene. Clean glass jars well, removing any wax residue, labels and adhesive before you begin assembling.
Note: This post originally included affiliate links and product suggestions.
Supplies You Will Need to Make a Mason Jar “Snow Globe” Ornament
- Mini tractor or toy truck (for a rustic scene)
- Mini reindeer or other small figurines
- Mini winter wreath or other tiny decorations
- Miniature bottle-brush trees
- Clear mason jars, small candle jars, or 8–16 oz glass jars
- Fake snow, such as craft snow or, in a pinch, Epsom salt
- Hammer
- Large nail (for making a hole in the lid)
- Hot glue gun and glue sticks
- Scissors
- Jute twine or strong string for hanging
- Ribbon or bow for decoration (optional)
How to Make Mason Jar “Snow Globe” Ornaments
Step 1. Choose and clean your jars
Select clear-sided jars so your mini scene is visible from all angles. Small jelly jars can be cute, but I found that my cleaned candle jars gave the best clarity. Remove labels, wash with warm soapy water and, if needed, use a little rubbing alcohol to remove stubborn residue. Allow the jars to dry completely before proceeding.
Step 2. Make a hanger from the lid
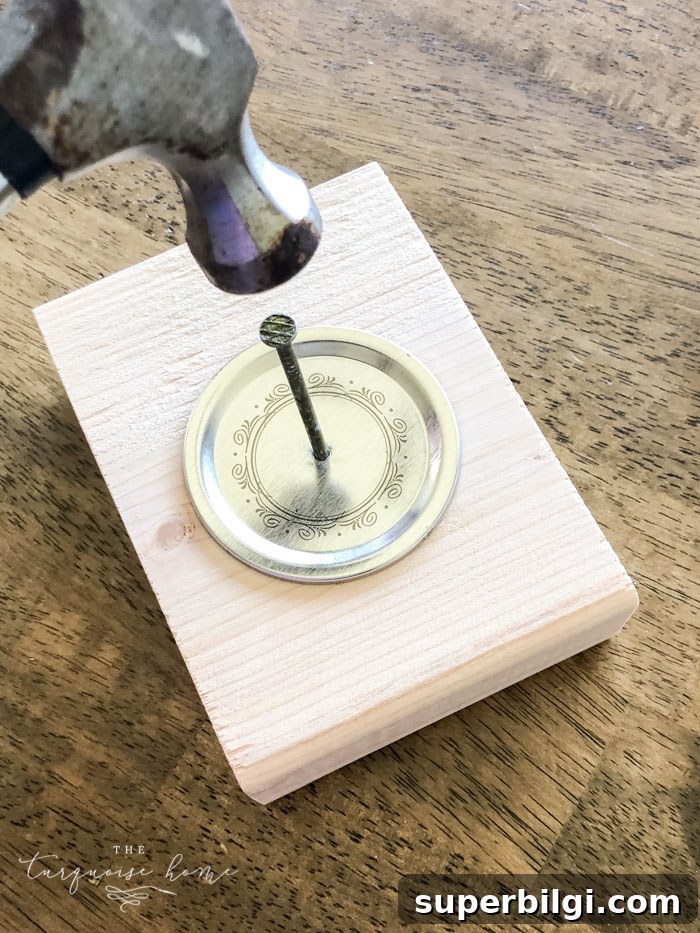
Use a hammer and a large nail to carefully punch a hole through the center of the jar lid. Thread a piece of jute or sturdy string through the hole and tie it into a loop so you can hang the ornament from your tree. If your lid is metal, file any sharp edges or add a small bead or washer inside to protect the twine.
Step 3. Create the scene inside the jar
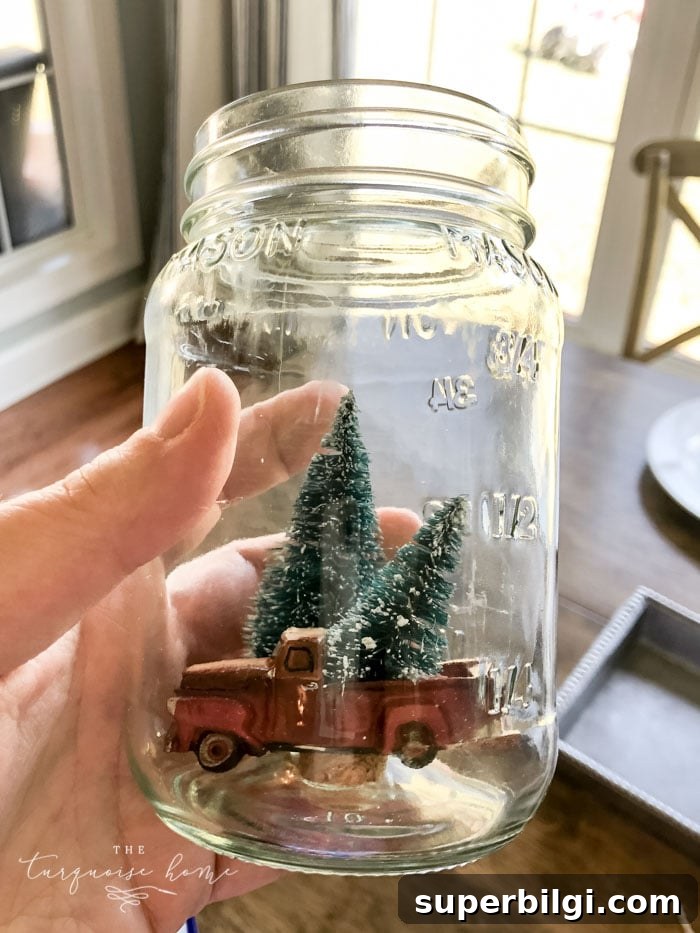
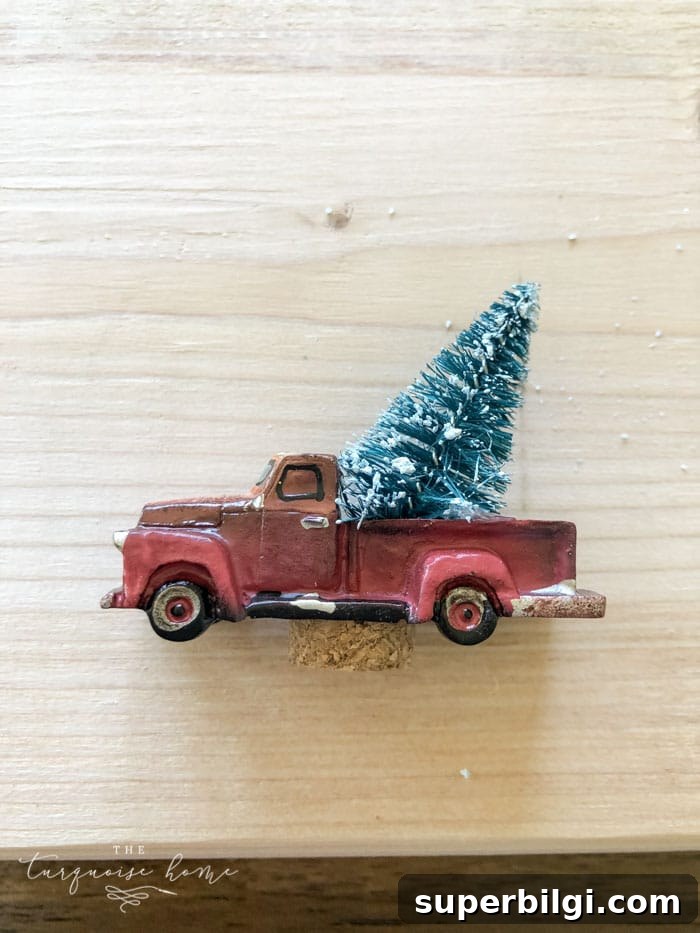
Choose your miniatures and arrange them on the inside of the jar lid so they face outward when the jar is upside down. Use hot glue to attach each piece to the inside of the lid; gluing them in place prevents shifting after you add the snow. To give the illusion of a blanket of snow around the figures, mount items slightly off the lid surface by gluing small pieces of cork or foam underneath to raise them.
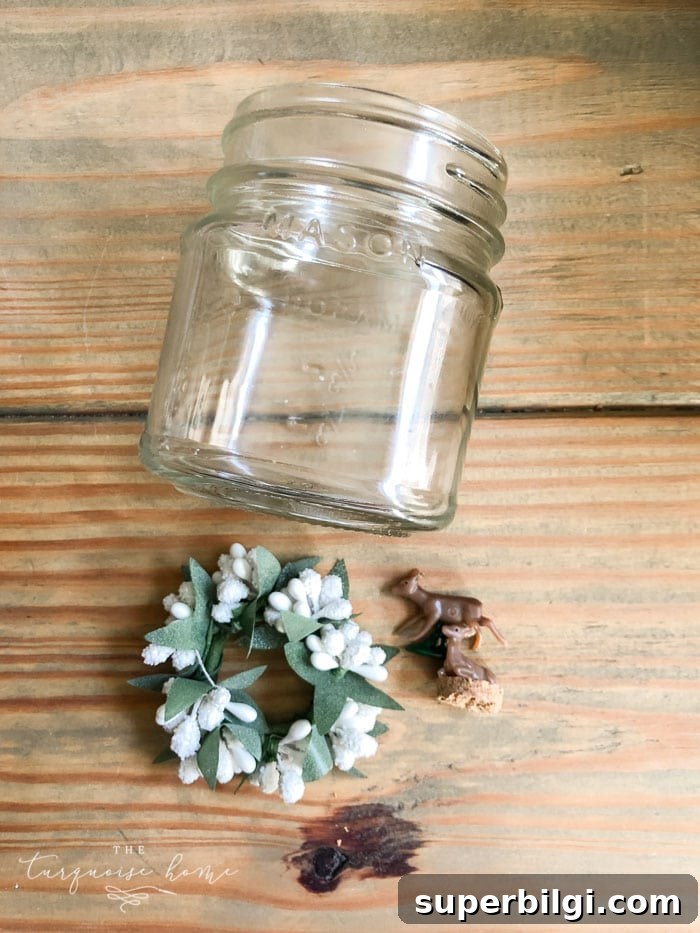
For example, trim the base of a bottle-brush tree to tuck into the bed of a toy truck, or glue a tiny wreath to a lamppost or tree trunk. These small adjustments make the scene feel cohesive and intentional.
Step 4. Add a layer of “snow”
Pour a shallow layer of fake snow into the bottom of the jar—about a quarter inch is usually enough to create the snowy ground. Then screw the lid (with the glued scene attached) onto the jar so the scene sits on top when inverted. If you like some sparkle, add a pinch of craft glitter to the snow or lightly dust the figurines with glitter before gluing them in place.
Step 5. Seal and decorate the exterior
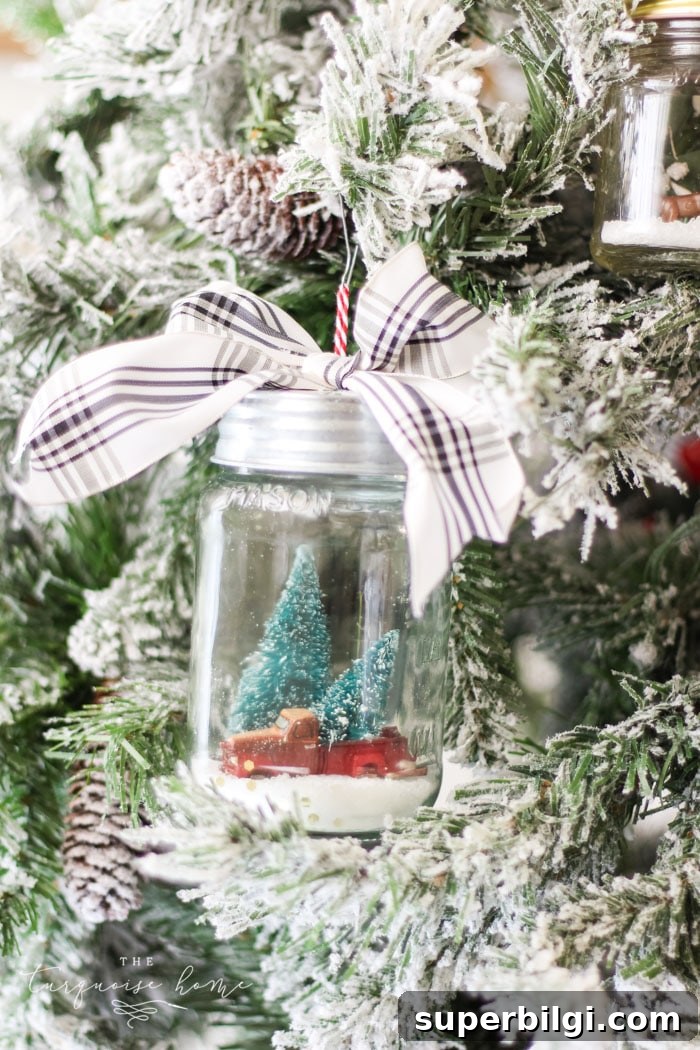
Once the lid is secure, add a bow or ribbon around the neck of the jar for a finished look. Hang the ornament by its jute loop on your tree or tie a decorative ribbon over the hanger for extra flair. These jars also make thoughtful homemade gifts or charming additions to place settings.
This project is quick, inexpensive and easily customizable. Mix and match minis and jar sizes to create a collection of unique snow globe ornaments that reflect your holiday style.
More Christmas projects you’ll love:
- 40+ Amazing DIY Christmas Gift Ideas
- DIY Wood Finial Ornament
- Mini Wooden Christmas Sign Ornaments
- Chalkboard Wood-Slice Ornaments
- DIY Paper-Covered Ornaments