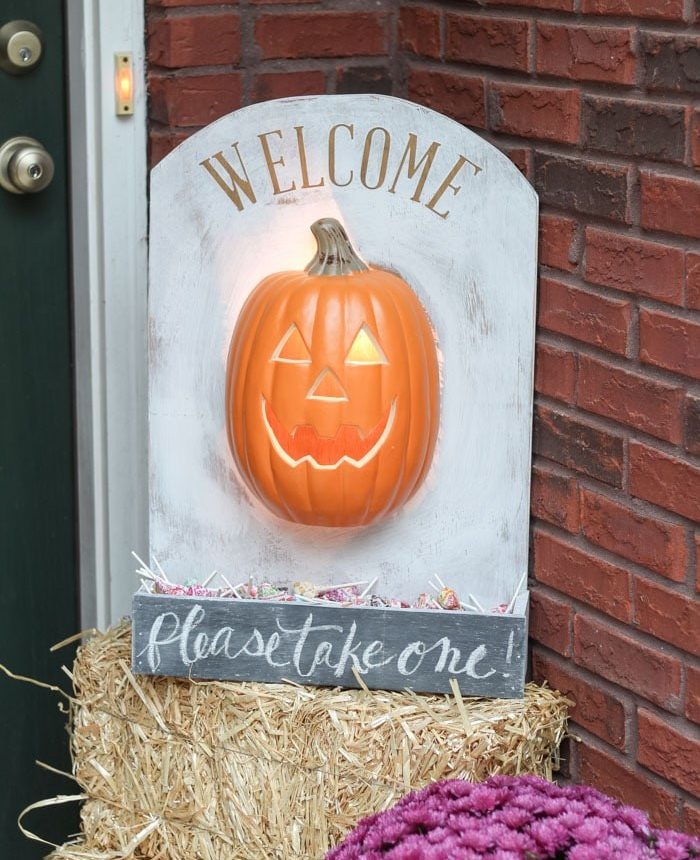
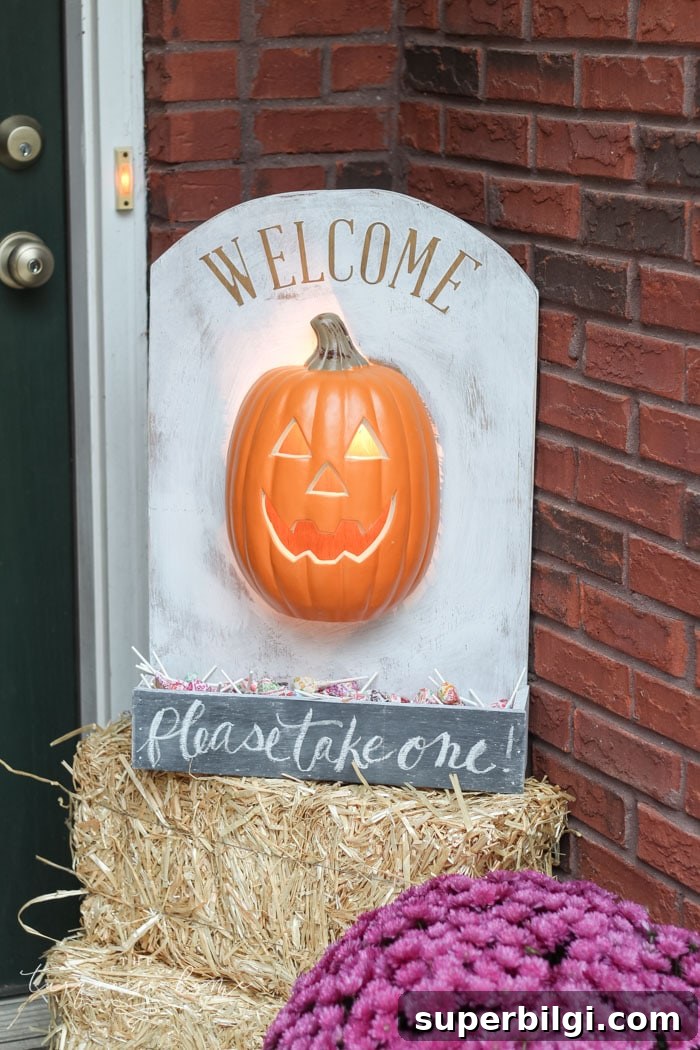
A DIY lighted pumpkin candy holder is a charming, practical way to share treats on Halloween night when you can’t be at the door. Leaving a candy-filled box with a glowing jack-o’-lantern at your front step lets trick-or-treaters help themselves while you take the kids around the neighborhood.
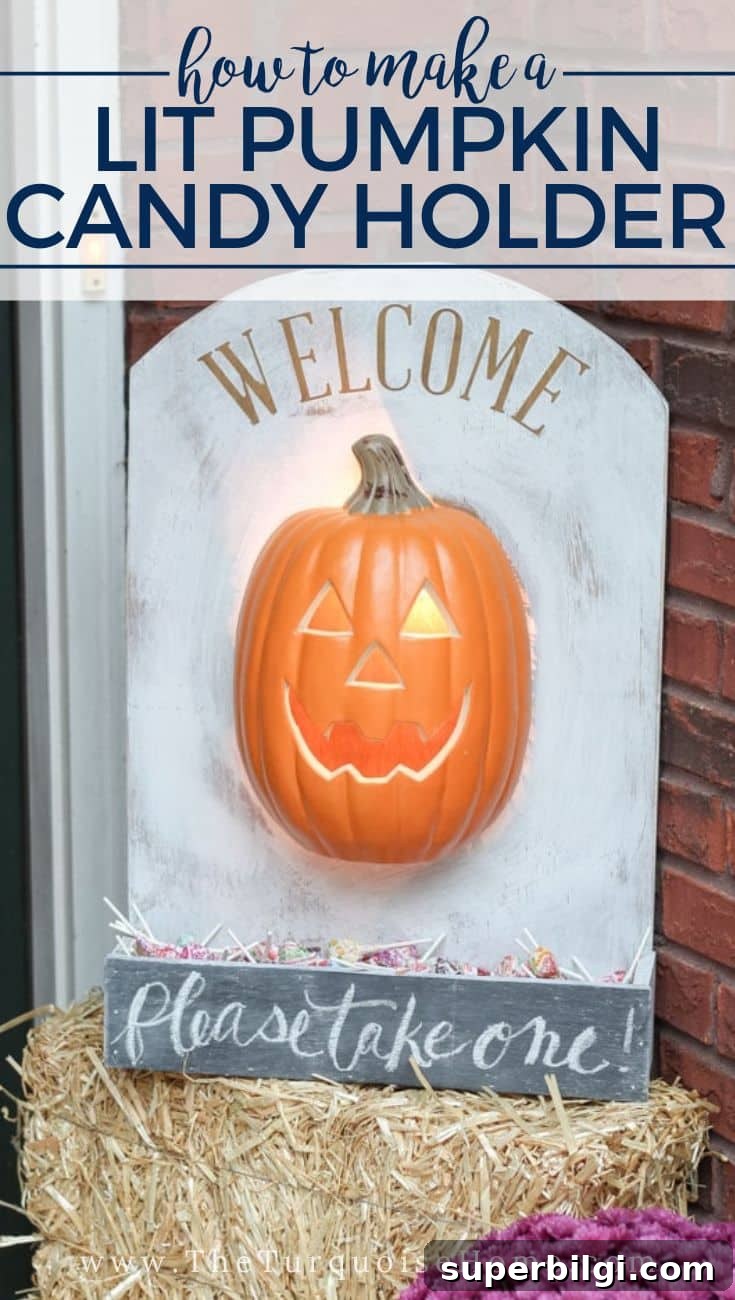
This project started as part of a Home Depot DIY workshop. The original design leaned toward spooky, but I prefer a friendlier look—more whimsical than frightening—so I swapped their skeleton-filled bag idea for a lighted pumpkin and a welcoming sign that better suits my home’s cozy pumpkin theme.
The box and gravestone-shaped backboard make an excellent backdrop for any style of candy holder you like. Whether you go sweet or spooky, this basic structure adapts easily to your preferred decoration.
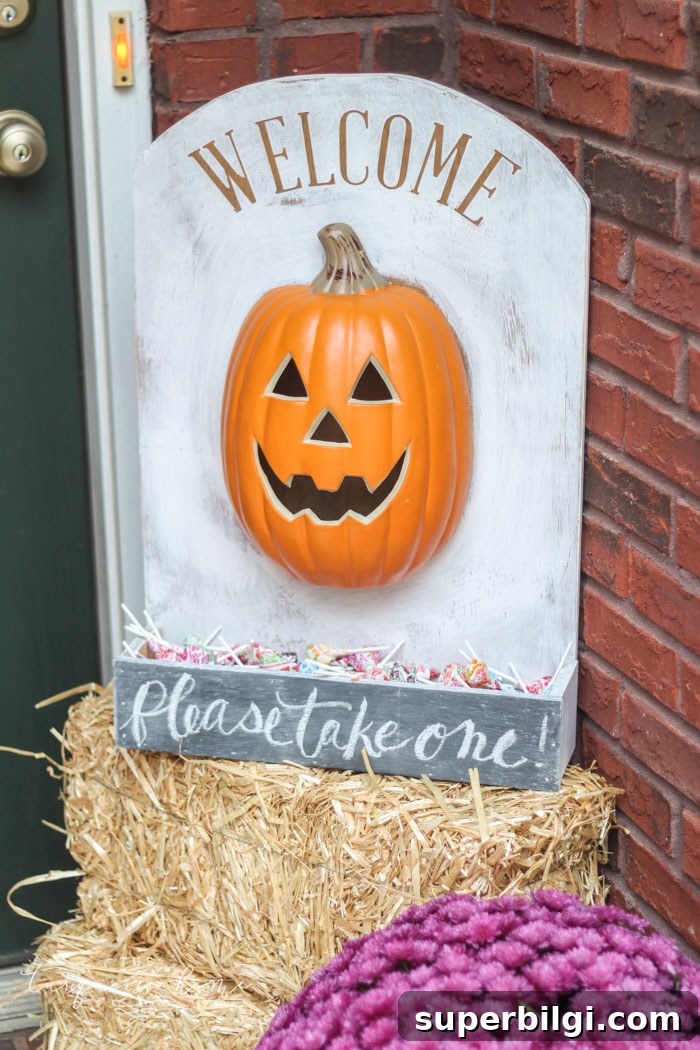
We’ve used this pumpkin candy holder every Halloween for nearly a decade, and it’s become a family favorite. My kids adore it, and I can already picture them wanting it when they’re grown with kids of their own—so a second one might be in my future!
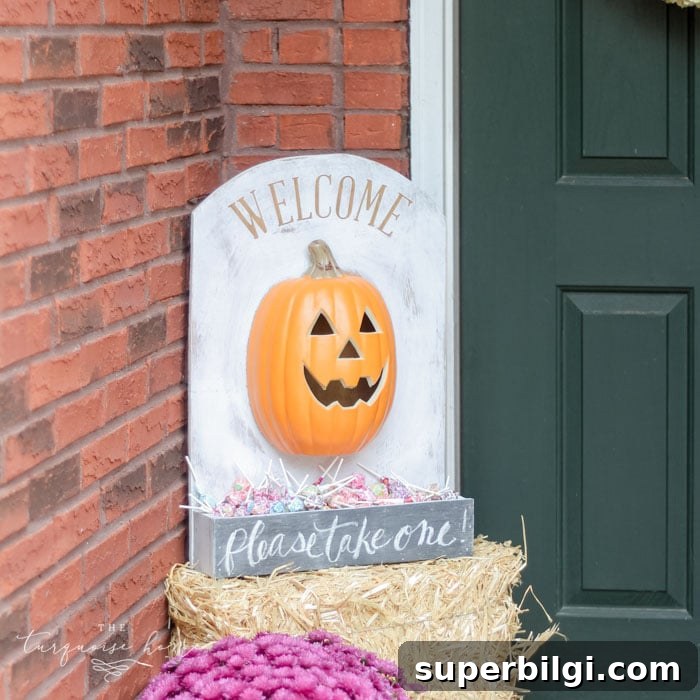
What You’ll Need to Make a DIY Lighted Pumpkin Candy Holder
- 1 piece of 2′ x 2′ x 1/2″ plywood (if you only find 2′ x 4′ pieces, you can use one and save the remainder for another project)
- Lighted plastic jack-o’-lantern
- Jigsaw
- Circular saw
- 1 1/2″ brad nails
- Brad nailer
- Measuring tape
- Carpenter’s square
- Clamps
- Pencil and safety goggles
- Sanding block
- Paint or stain (colors of your choice)
- Vinyl or adhesive lettering (optional)
- Mod Podge (optional, for crisp painted letters)
Want to Save This?
Save or bookmark this tutorial for later so you can prepare before Halloween night. This build is straightforward and makes a delightful, reusable decoration for years to come.
How to Make a DIY Lighted Pumpkin Candy Holder
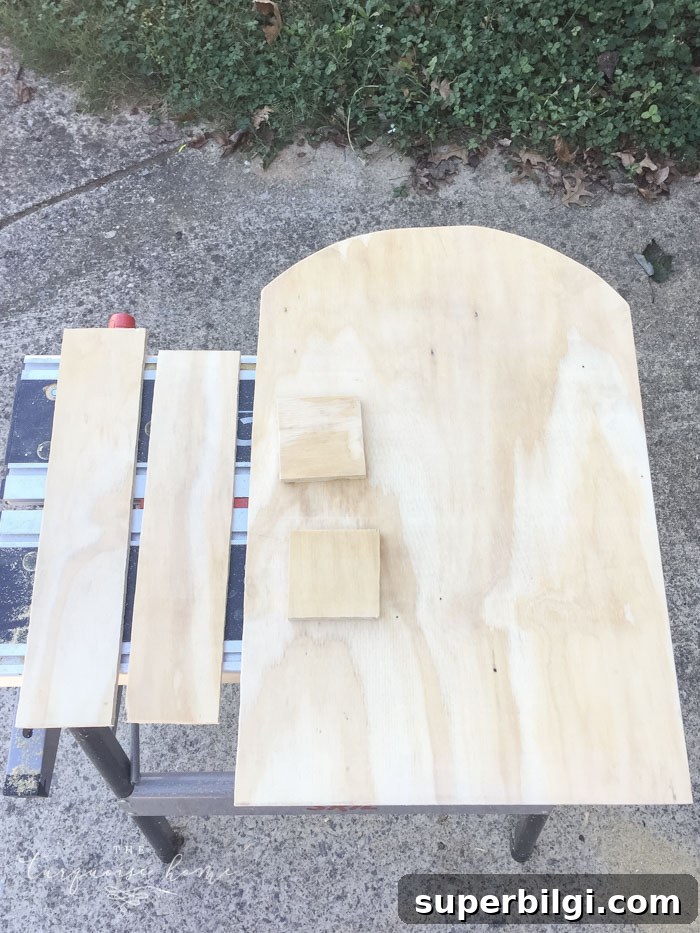
1. Measure and mark the plywood pieces you need to cut
Lay out and label all cuts on the plywood before you begin. Mark the front, back (gravestone-shaped), sides, and bottom so you have a clear cutting plan.
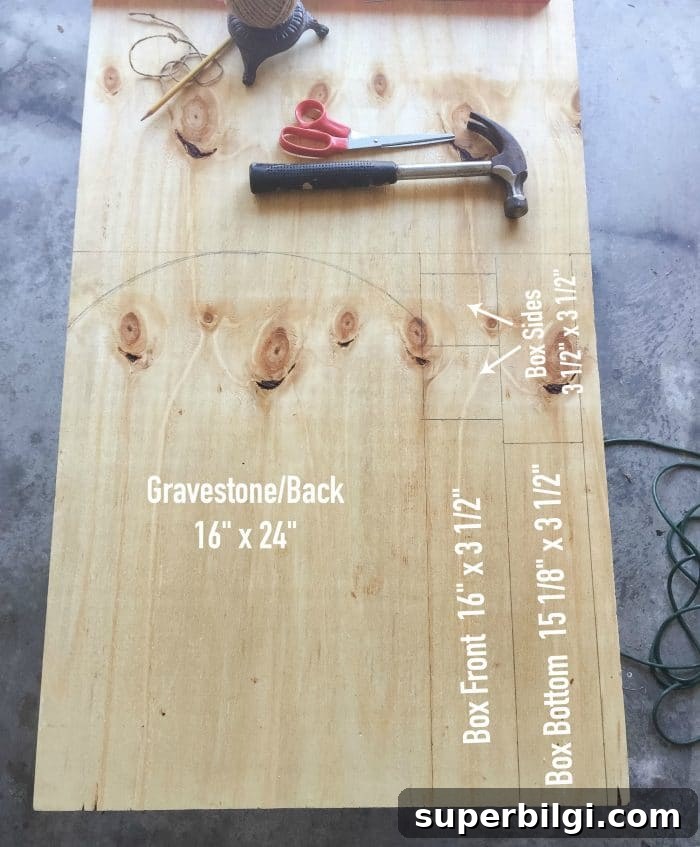
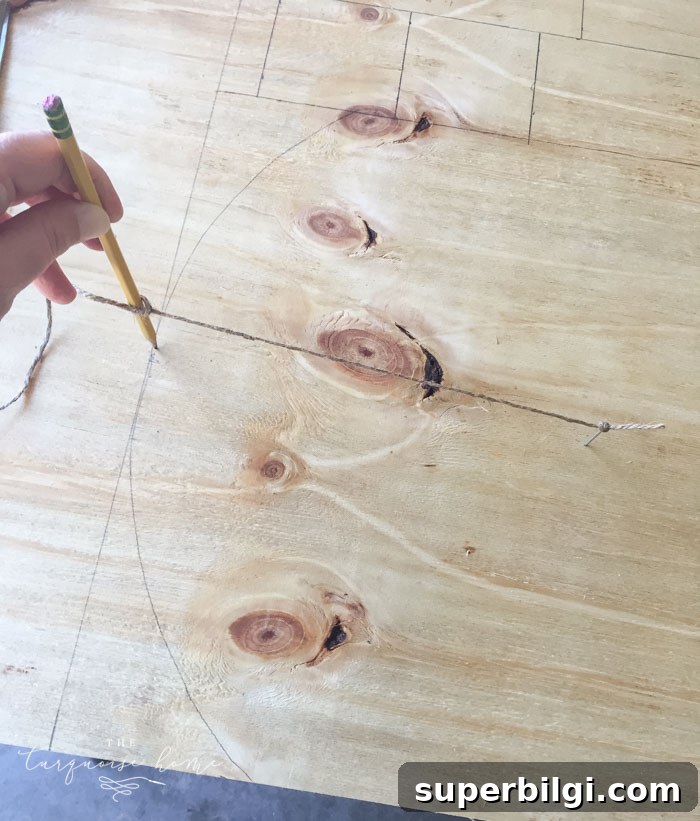
1b. Draw the arc for the gravestone-shaped back piece
Measure 10 inches down from the top center of the back piece and hammer a small nail at that point. Tie a 10-inch string to the nail and to a pencil, then draw the arc to form a smooth rounded top for the gravestone backboard.
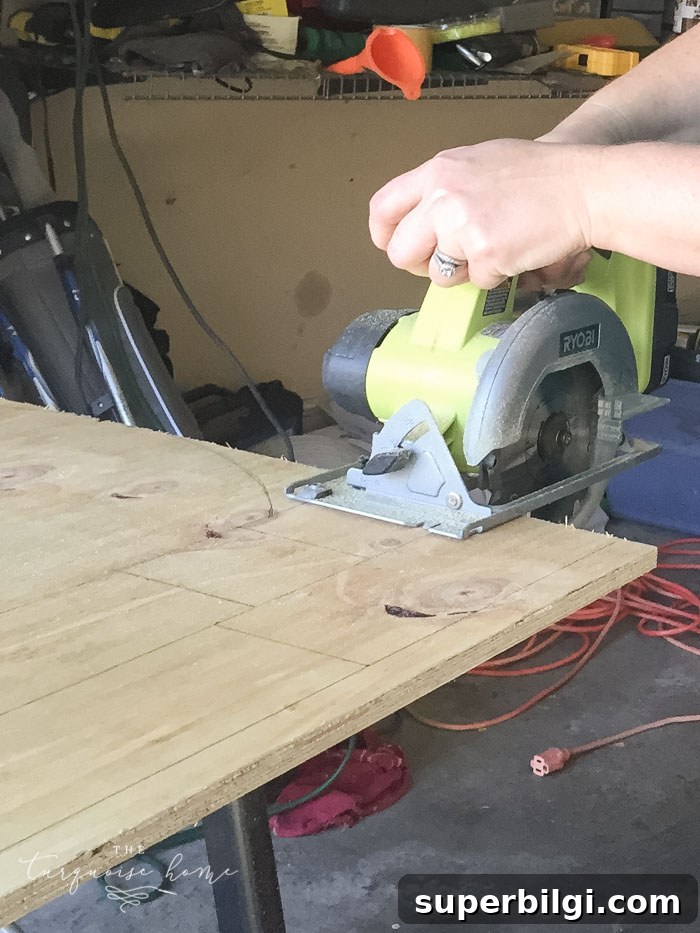
2. Cut the straight lines with a circular saw
Use a circular saw to cut the straight edges for the front, sides, and bottom pieces. Wear safety goggles and follow all standard safety precautions while cutting.
3. Cut the arc on the back piece with a jigsaw
Use a jigsaw to follow the drawn arc and cut the rounded top for the gravestone backboard. If you’re new to the jigsaw, take it slow—the cut is easier than it looks. After cutting, use a sanding block to smooth any rough edges.
4. Paint or stain the box
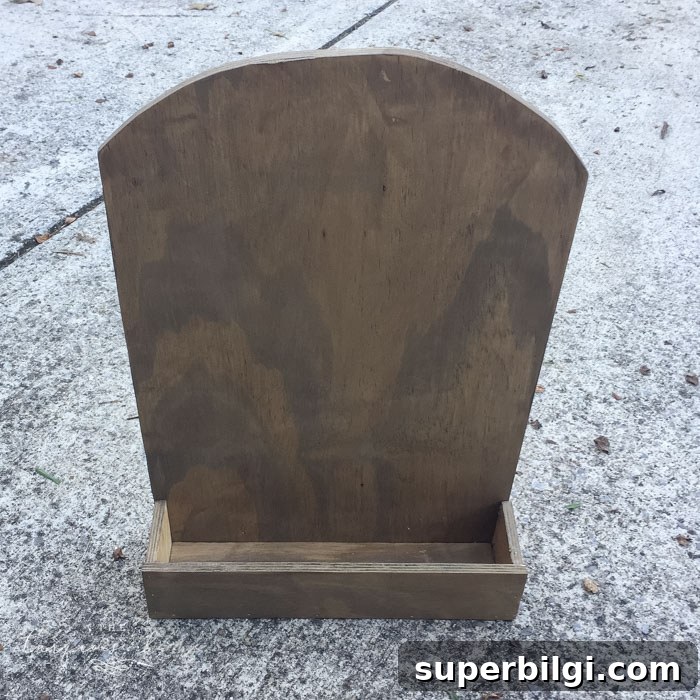
Stain or paint the parts as preferred. I stained the inside backboard to keep the area behind the pumpkin darker, and saved detailed painting for after assembly. Pre-staining can speed up the finishing later.
5. Assemble the box
Position the side panels flush with the front piece and secure them with 1 1/2″ brad nails using a brad nailer. Then attach the sides to the backboard, again ensuring flush alignment before nailing.
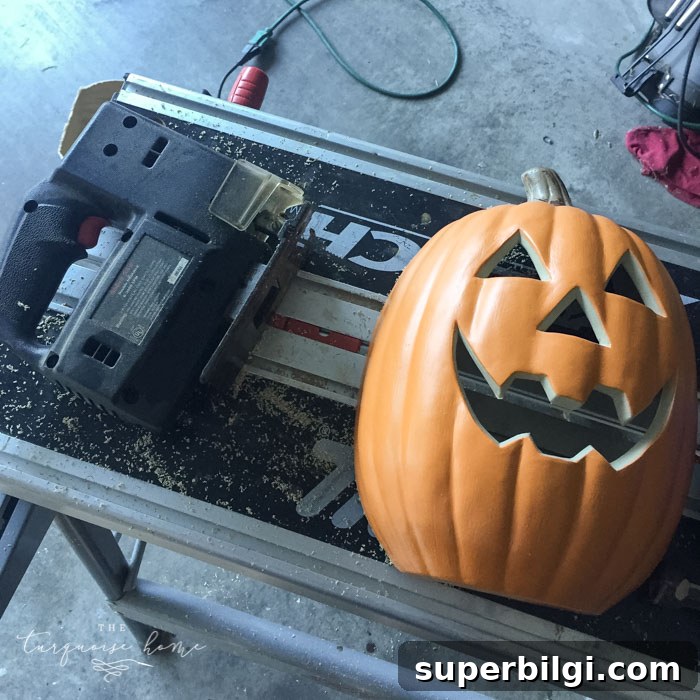
6. Cut the plastic jack-o’-lantern in half
Trim the plastic pumpkin in half so it can sit flush against the backboard. Cutting plastic can be tricky—use a jigsaw or suitable cutting tool and follow safety precautions. If you’re unsure, ask someone for help.
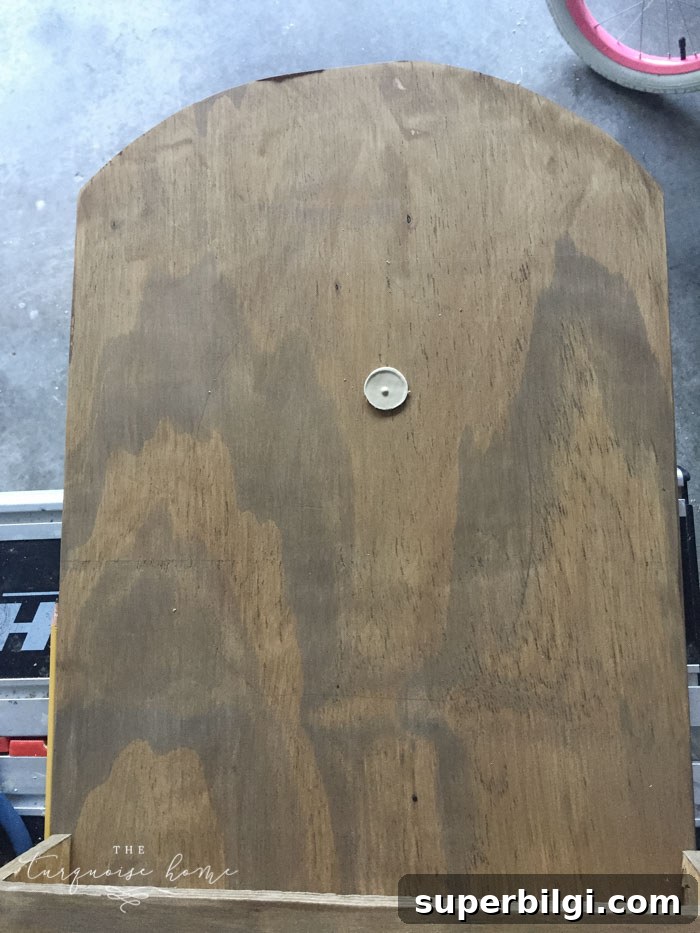
7. Cut a hole for the pumpkin’s internal light
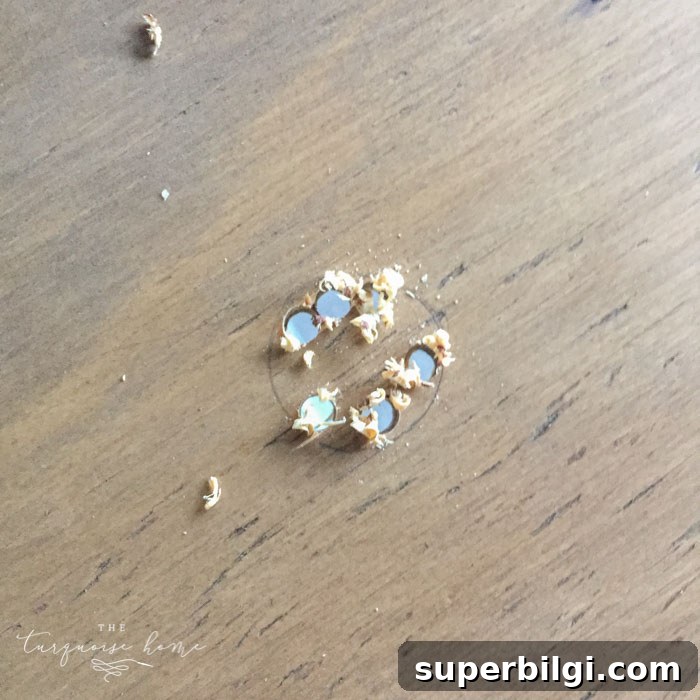
Trace where the pumpkin will sit on the backboard, then mark and cut a hole for the lamp or battery pack to pass through. Drill several holes around the outline and finish the shape with a jigsaw for a smooth opening.
8. Add the “Welcome” sign
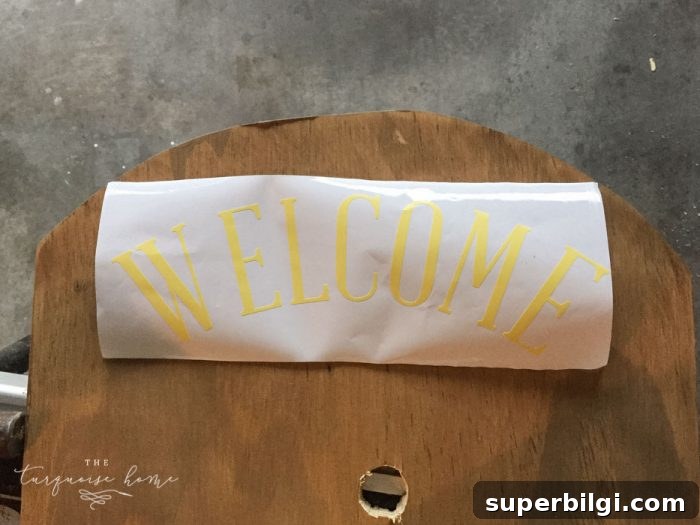
Cut or apply vinyl letters for a welcoming message above the pumpkin. If you plan to paint over the lettering, apply Mod Podge to the edges so the paint lines stay crisp.
9. Paint the assembled box
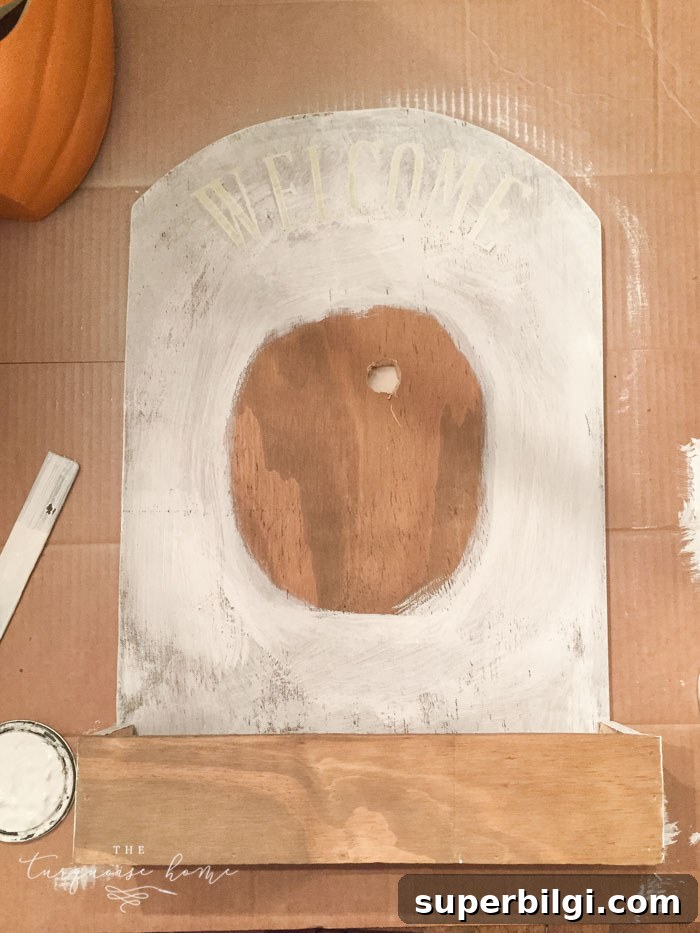
Dry-brush white chalk-style paint across most of the box, leaving the pumpkin area and the front most board unpainted if you want contrast. Paint the front board with black chalkboard paint so you can add a changeable message with chalk.
10. Remove vinyl letters and seal edges
Peel away the vinyl letters to reveal clean lettering. If the pumpkin edge isn’t perfectly flush to the backboard, consider sealing gaps with hot glue or clear caulk to reduce light leakage—but leaving a little glow can be charming too.
11. Secure the pumpkin and install the light
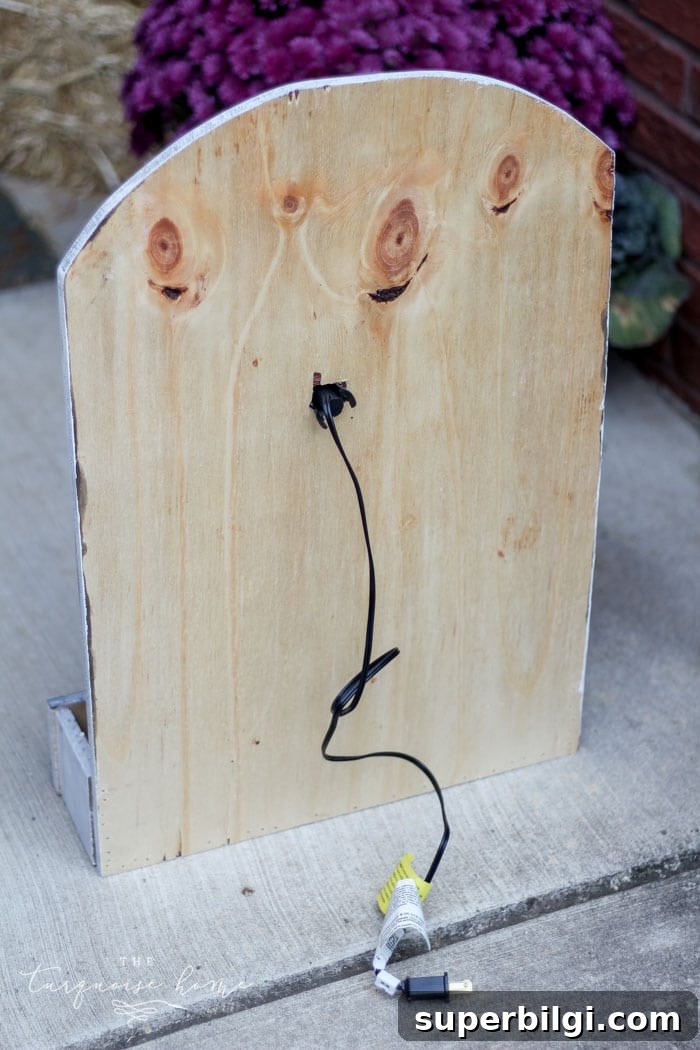
Attach the pumpkin to the backboard with a strong clear adhesive—Gorilla Glue or another durable glue works well. For extra hold, glue the areas that contact the board most securely. Then insert the light through the hole from behind and secure the light or battery pack in place.
12. Add candy and a chalkboard message
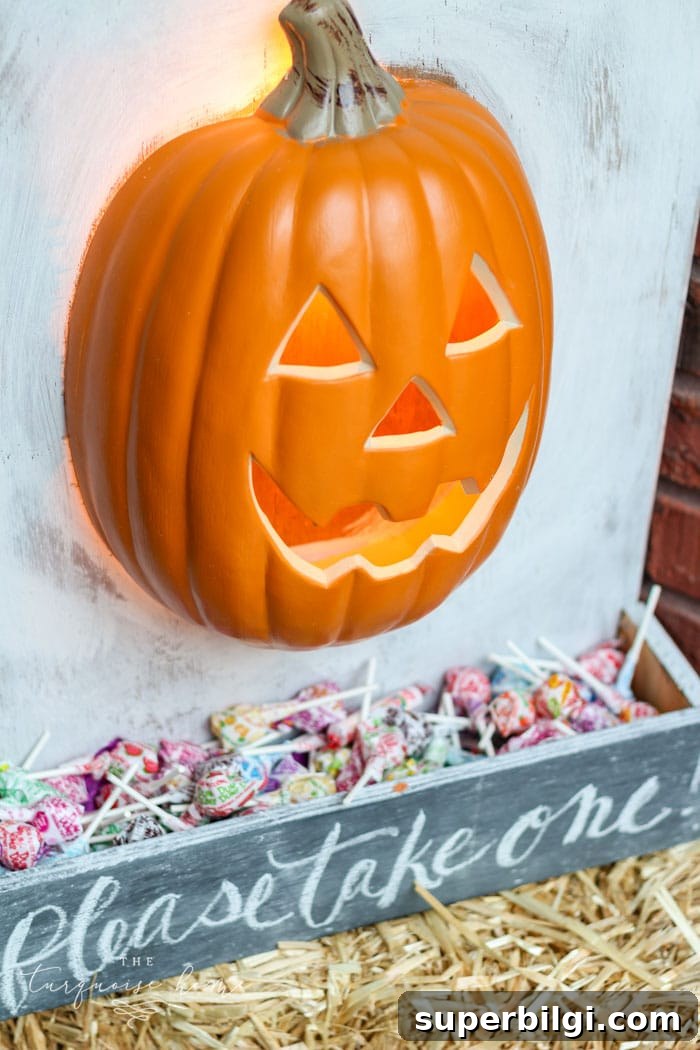
Fill the front box with wrapped candy, write a friendly message on the chalkboard front, and place the holder at your doorstep. The lighted pumpkin creates a welcoming, festive glow for trick-or-treaters even when you’re out walking the neighborhood.
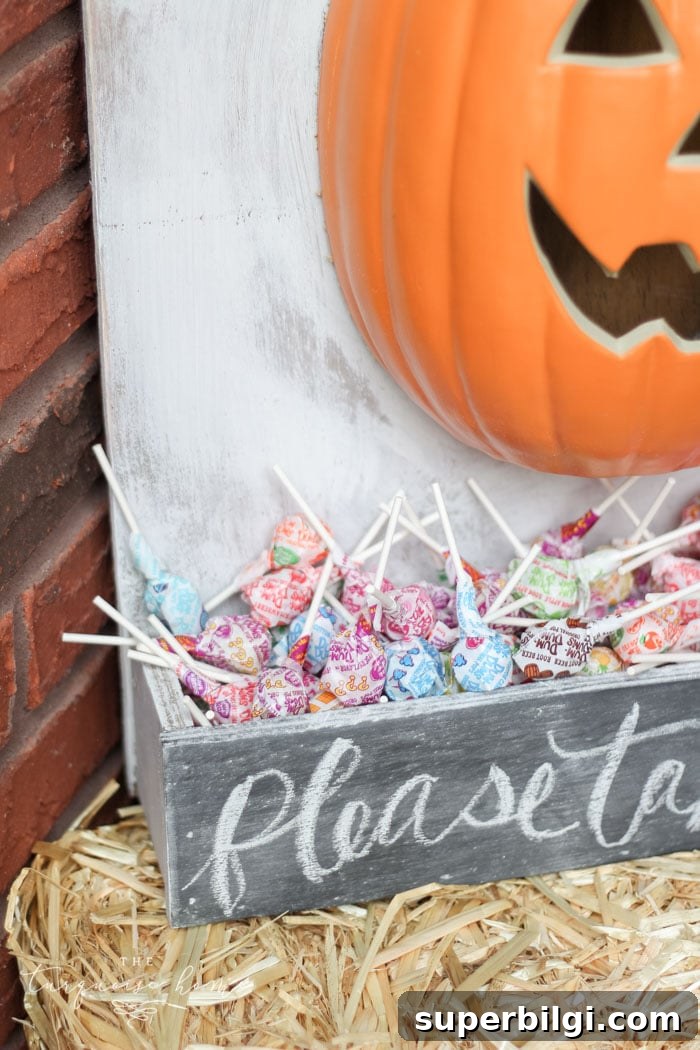
I’m thrilled with how this project turned out. Leaving the backboard stained rather than painted keeps the area behind the pumpkin visually darker when the light is off, which helps the pumpkin glow look even better when lit.
More posts you’ll love:
- Mason Jar Lid Pumpkin Craft
- The Best DIY Halloween Decorations
- Greenery & Pumpkins: Free Fall Printables
- The Best Fall Decorating Ideas for a Cozy Home
- Dough Bowl Centerpiece for Fall