
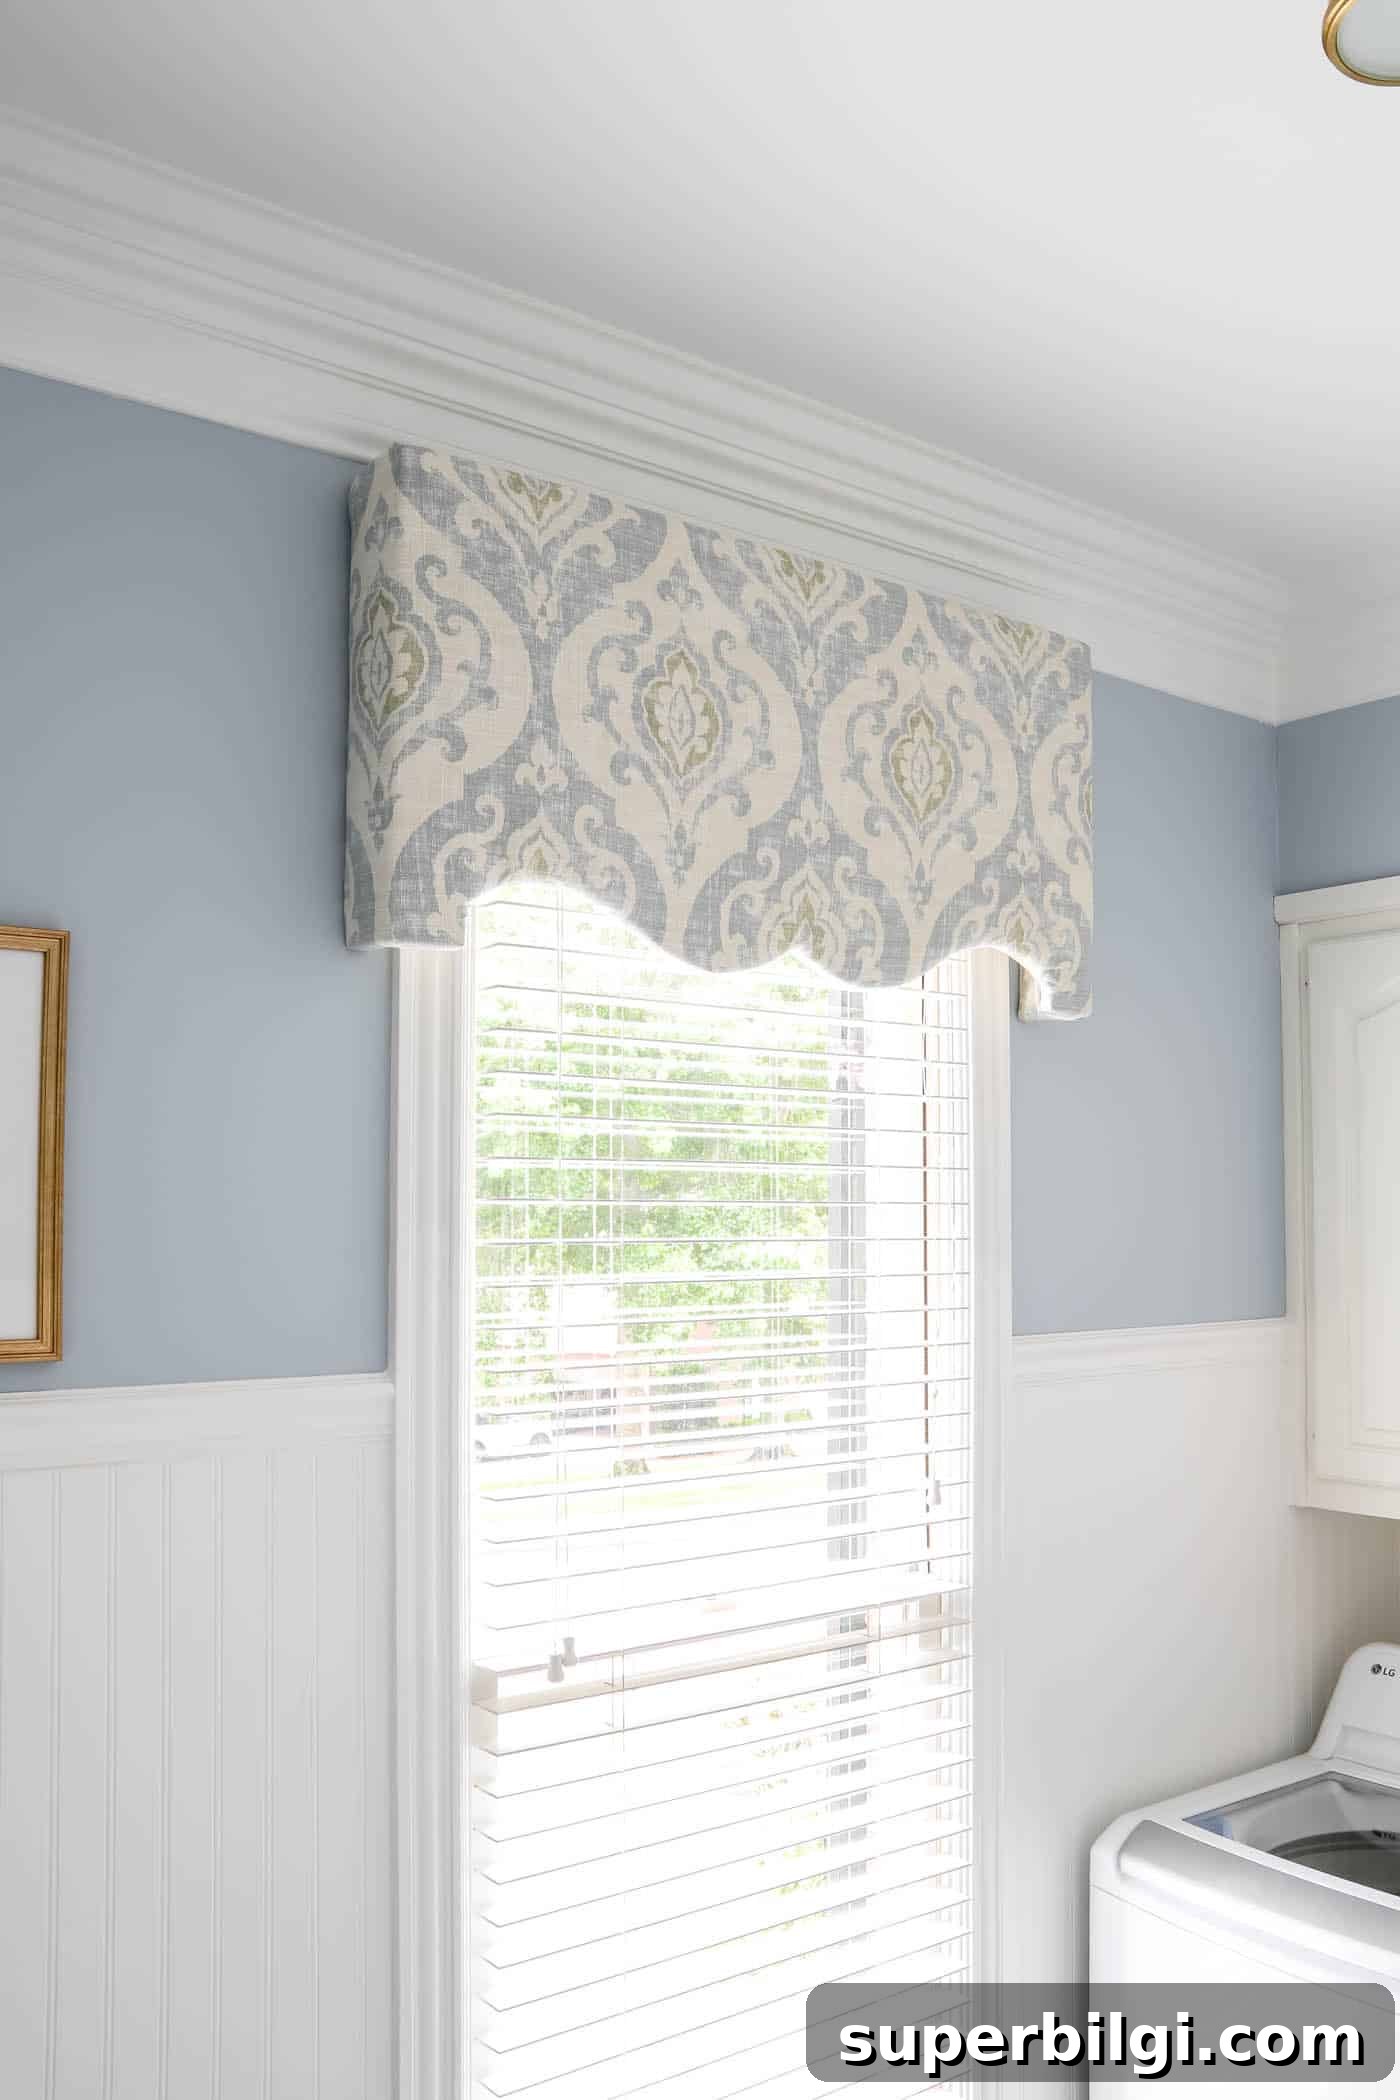
Are you tired of bare windows that make a room feel unfinished? A fabric-covered cornice board is an elegant, budget-friendly solution that adds pattern, color, and a tailored look without the bulk of curtains. With a few tools, common materials, and a few hours of work, you can build a stylish cornice to hide blinds or window hardware and give any room a finished appearance.
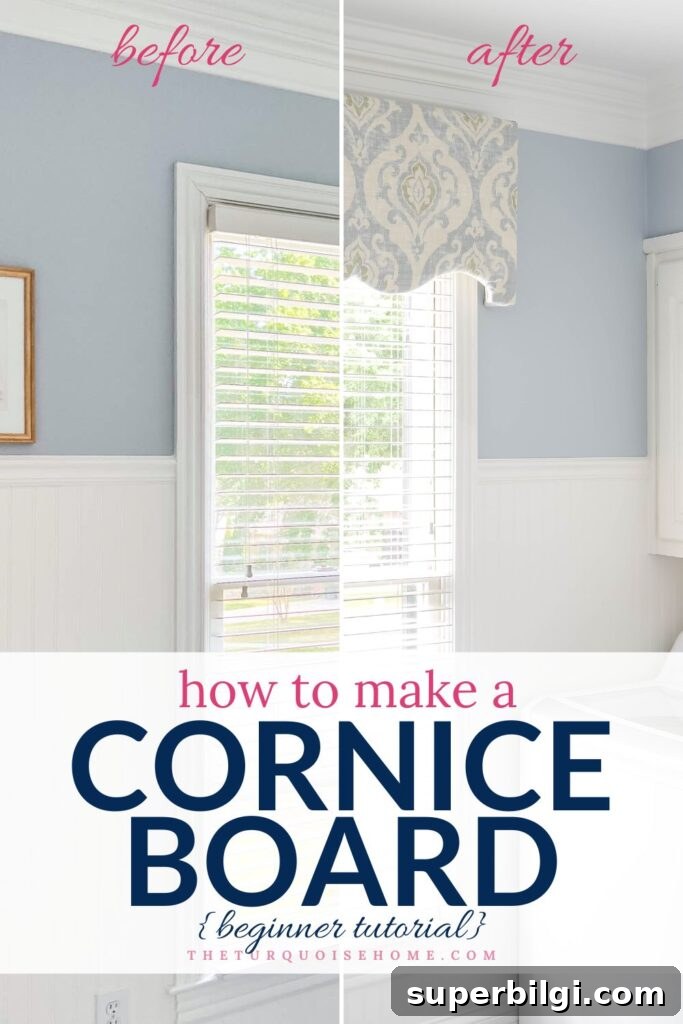
Laundry Room Makeover — A Cornice That Finishes the Space
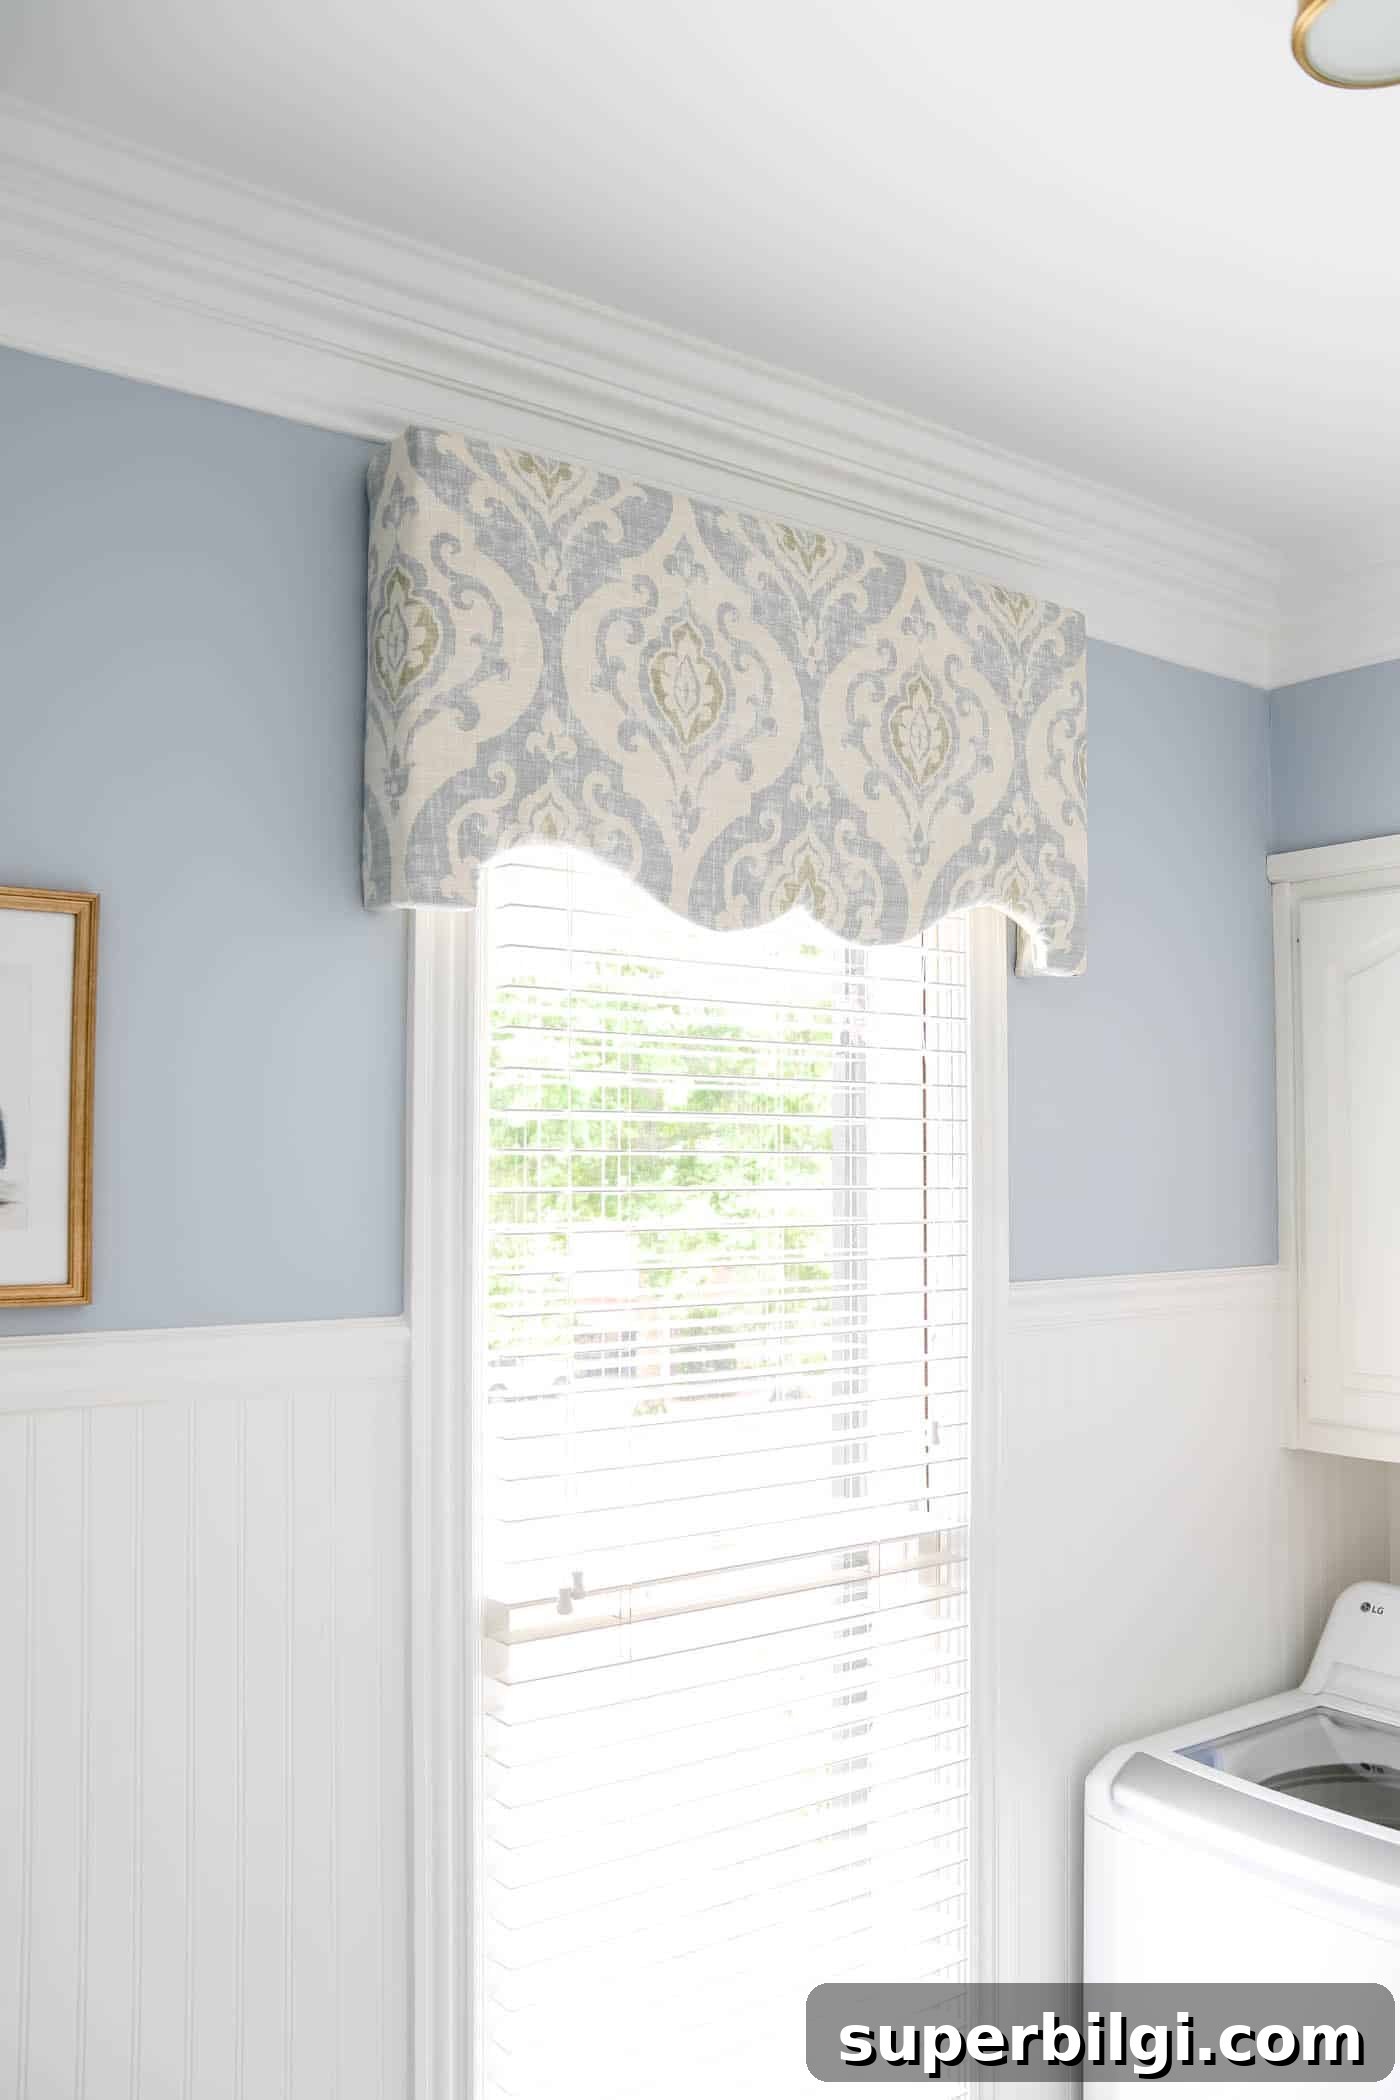
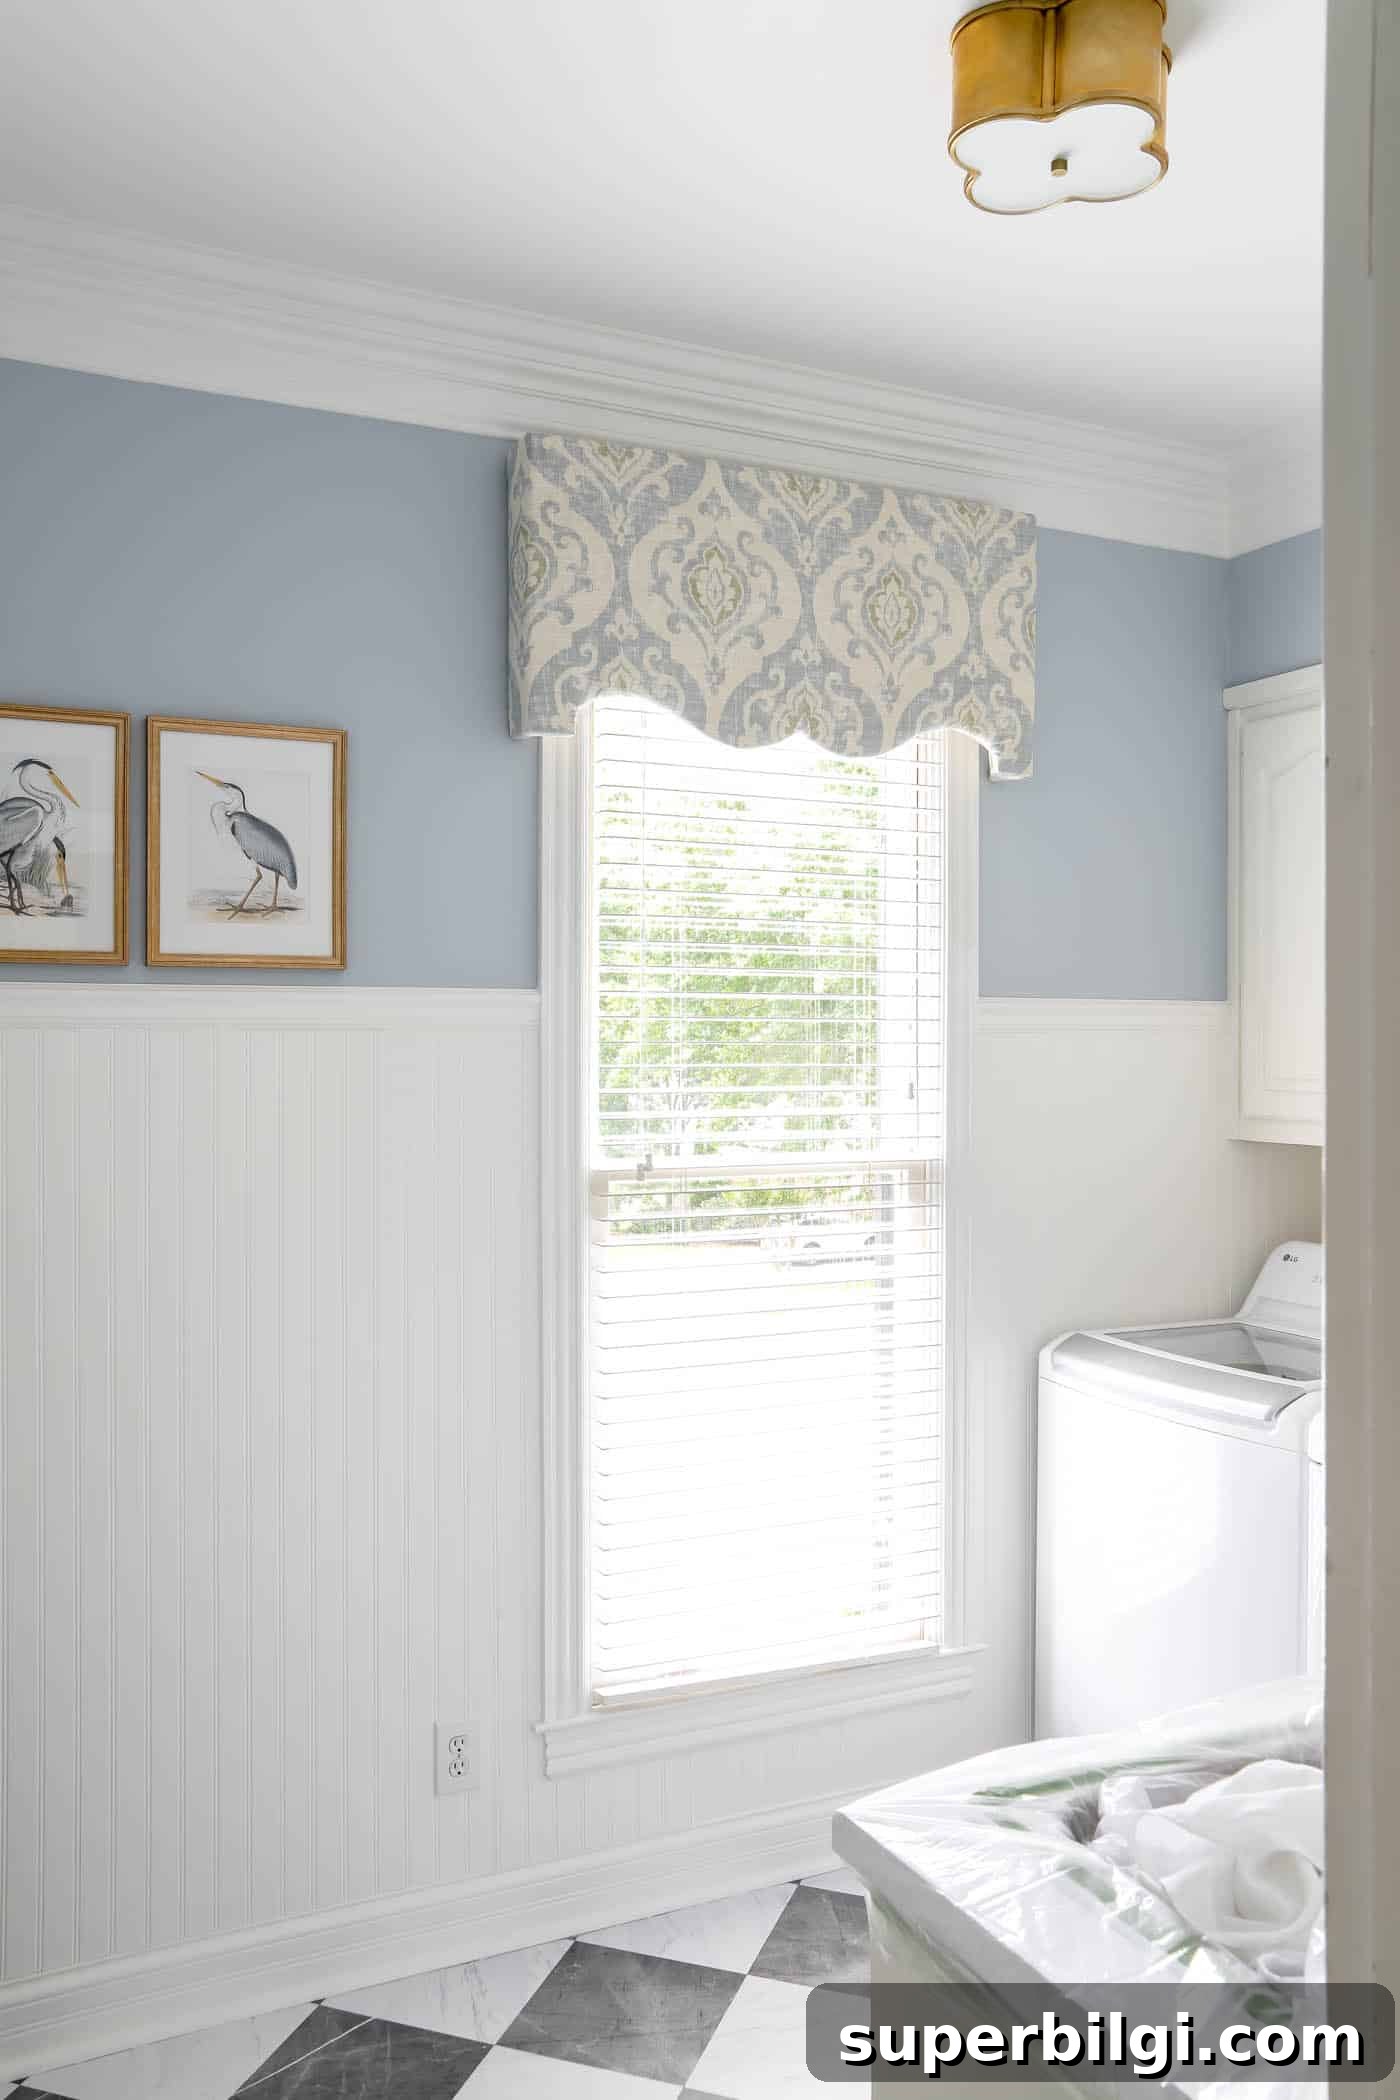
For my 1990s laundry room update, a custom cornice board was the perfect finishing touch. The room already had color on the walls and in the art, but it needed pattern and a bit of softness. Curtains would have interfered with the room’s function, so a fabric-covered cornice delivered the style I wanted without getting in the way of the workspace.
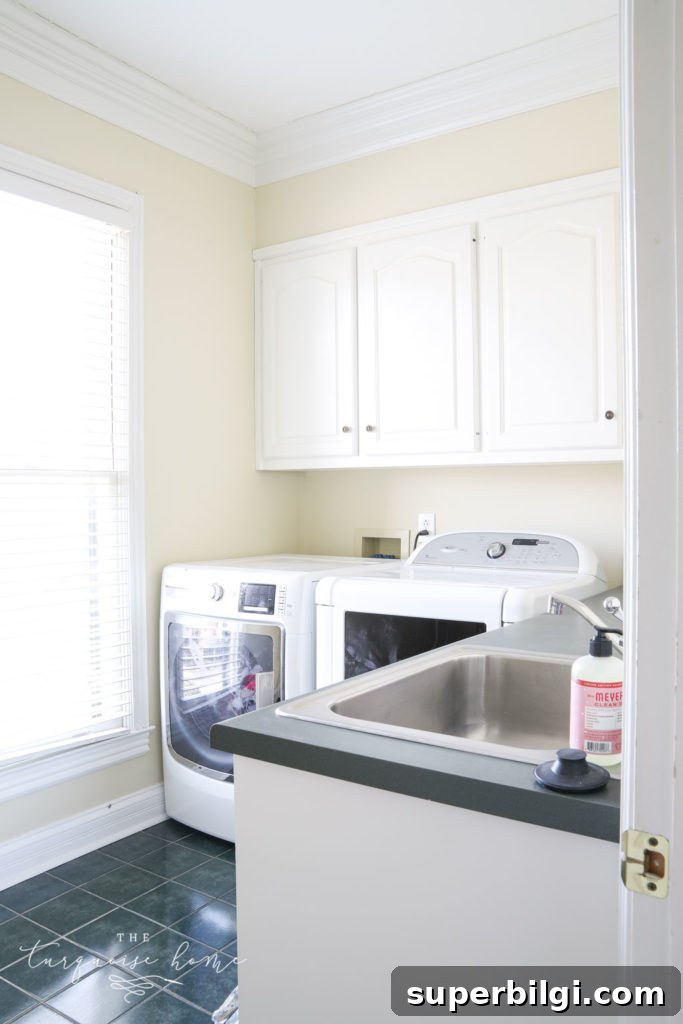
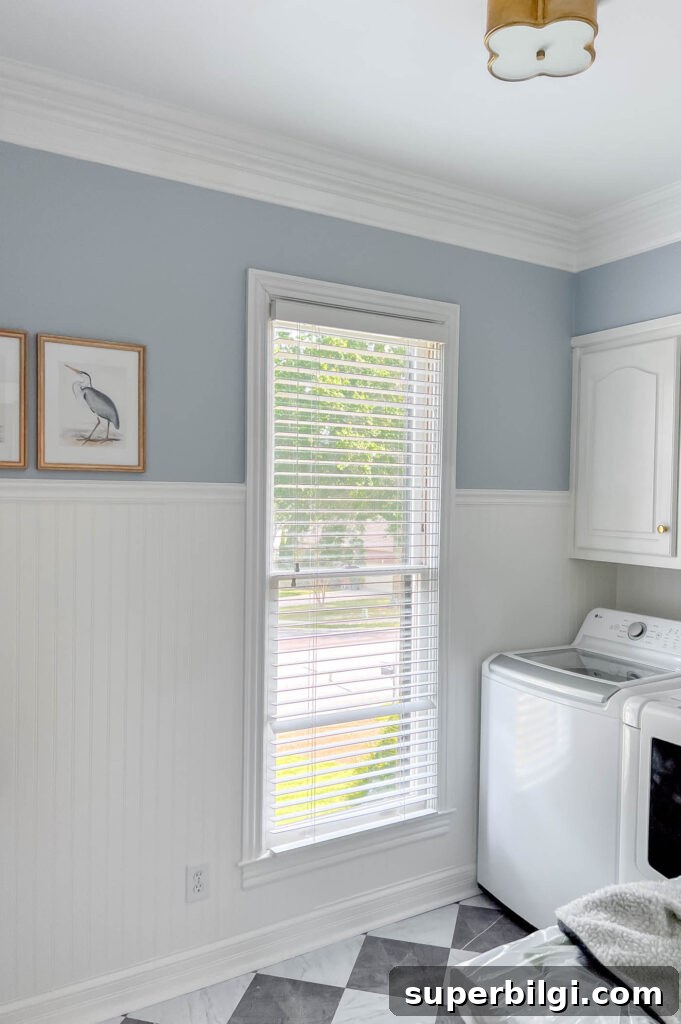
Before the project, the room felt plain and utilitarian. I made a series of updates—new floor tile, beadboard and chair rail, fresh paint in Simply White and Heather Blue, a relocated drying rack, and new lighting—and the cornice was the final, cohesive element that pulled the look together.
What are cornice boards?
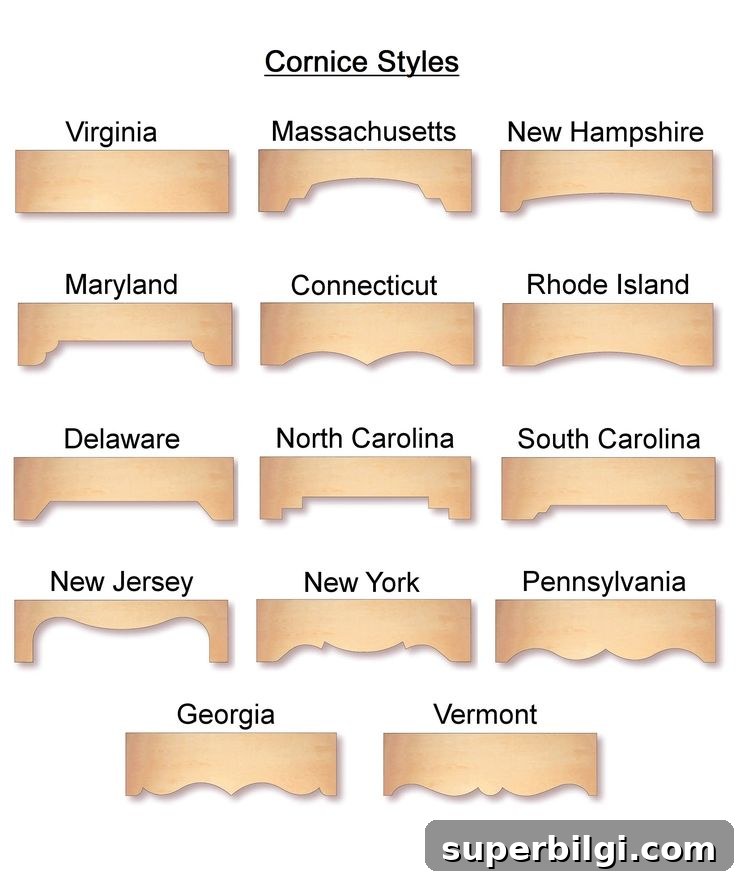
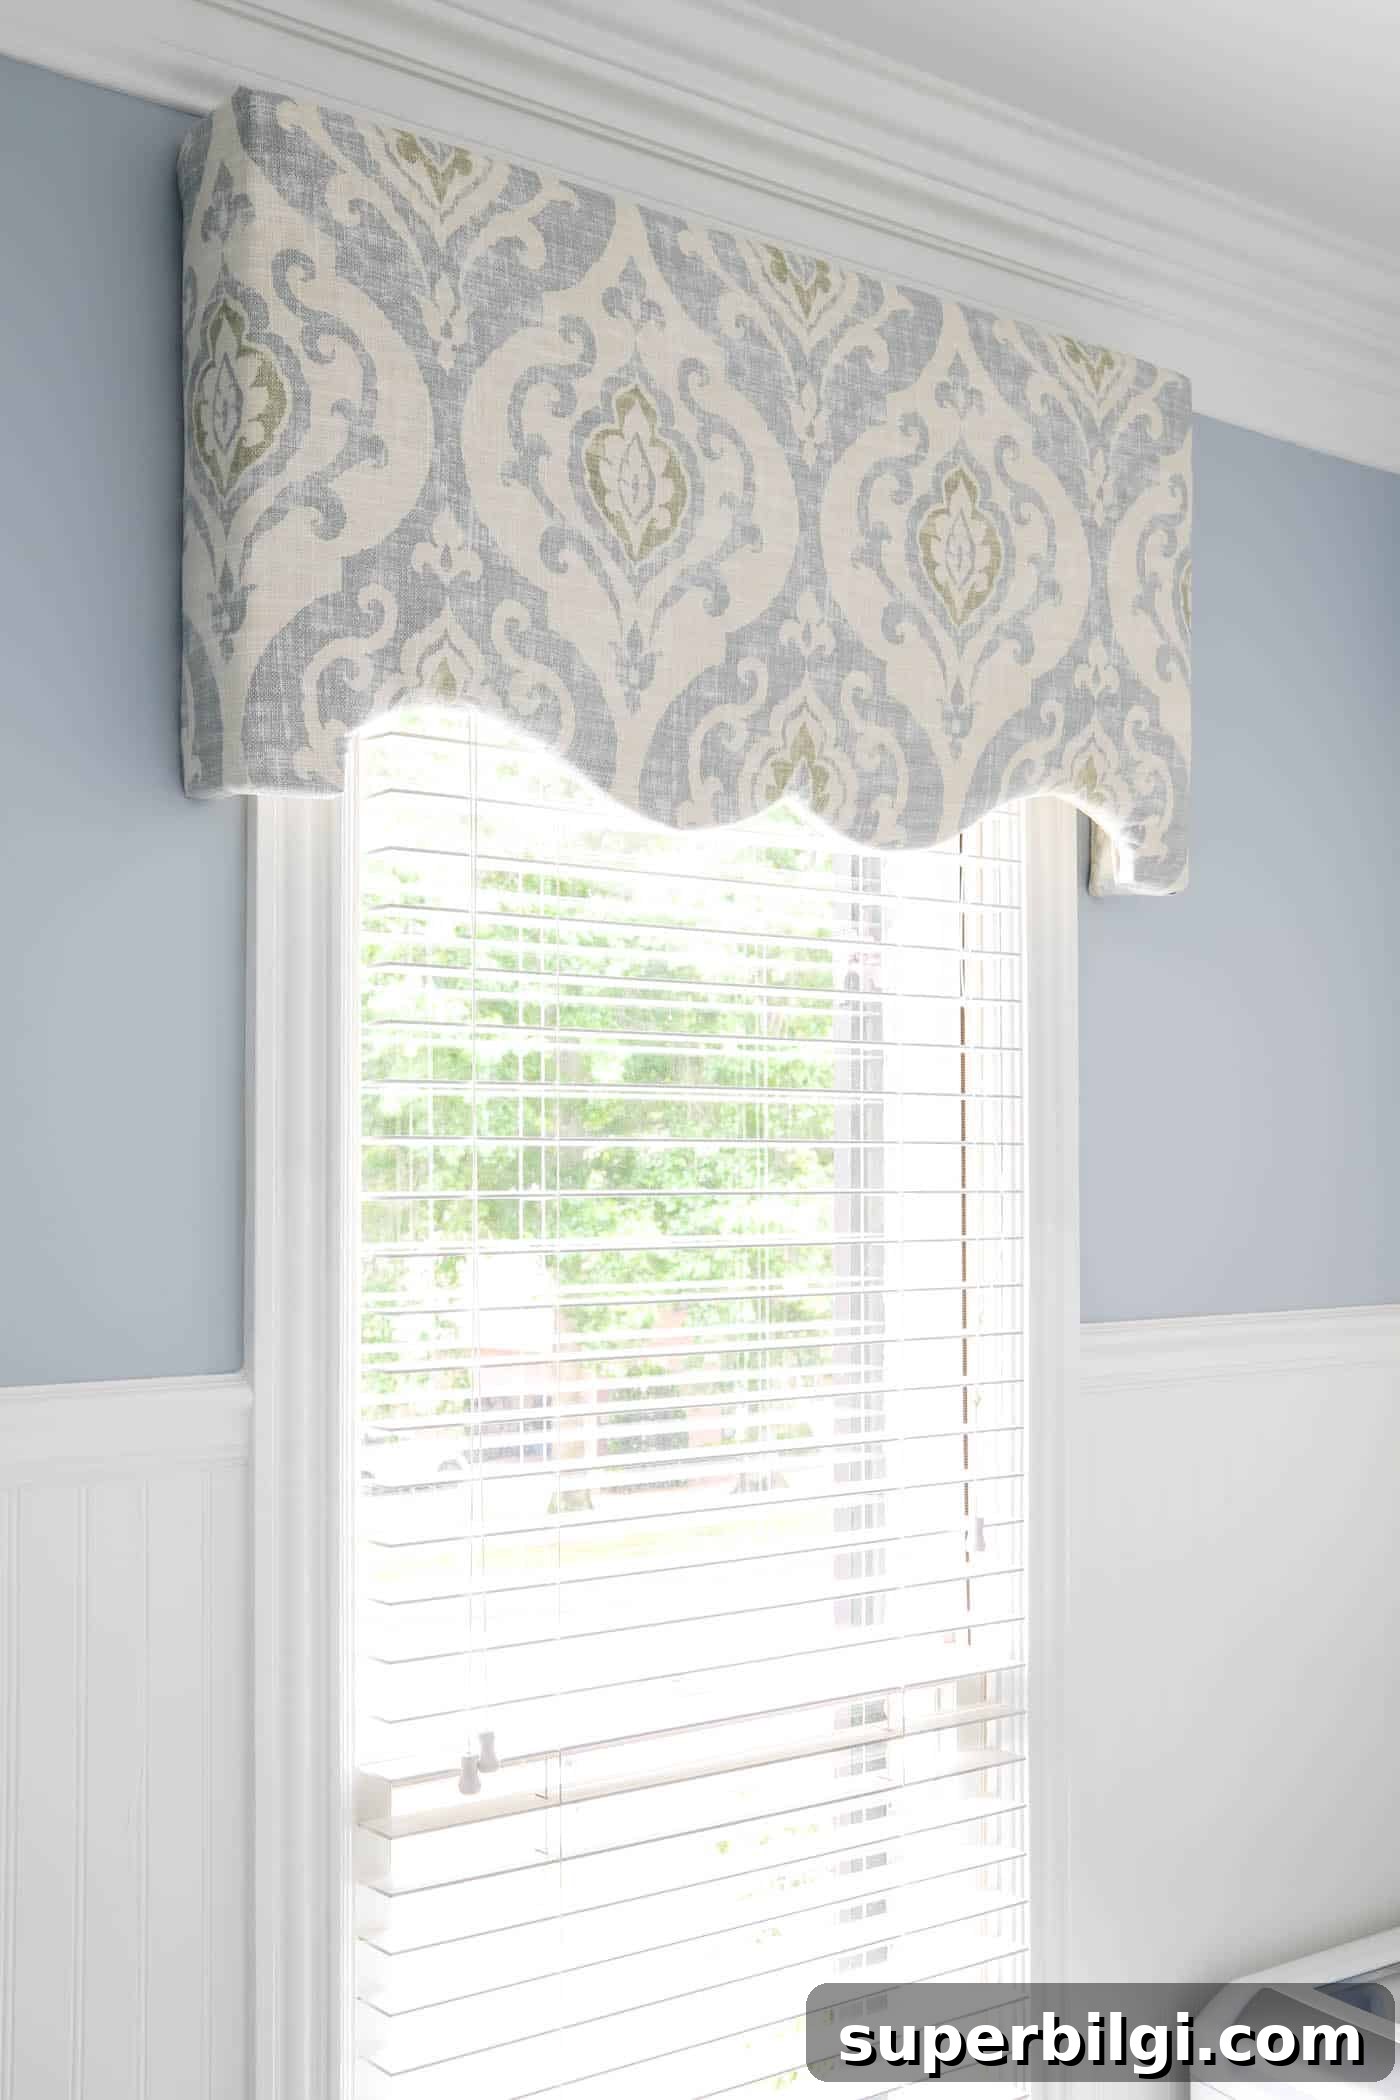
Cornice boards are stationary, decorative window treatments mounted above a window. Typically built from plywood or wood framing and wrapped in fabric, they provide a structured, tailored look. Cornices hide curtain hardware or blind brackets, add visual interest, and can be customized in many shapes—from simple rectangular boxes to curved, scalloped, or traditional Pennsylvania-style designs.
This is a great beginner-friendly project: it’s affordable, quick to build, and highly customizable.
DIY Cornice Board Ideas and Styles
You can adapt the cornice shape to match your decor. The easiest choice is a straight rectangular box, but curved or scalloped edges create a more classic or decorative feel. For my laundry room I chose a Pennsylvania-style cornice with a softly curved center—perfect for patterned fabric.
If you’re unsure about a shape, make a full-size paper or cardboard template and hold it over the window. Adjusting cardboard is cheap and simple compared to recutting plywood.
How to Measure for a Cornice Board
Before cutting wood, establish the right proportions for your window.
- Width: Measure the window including trim, then add about 4–6 inches so the cornice extends roughly 2–3 inches past each side of the window casing.
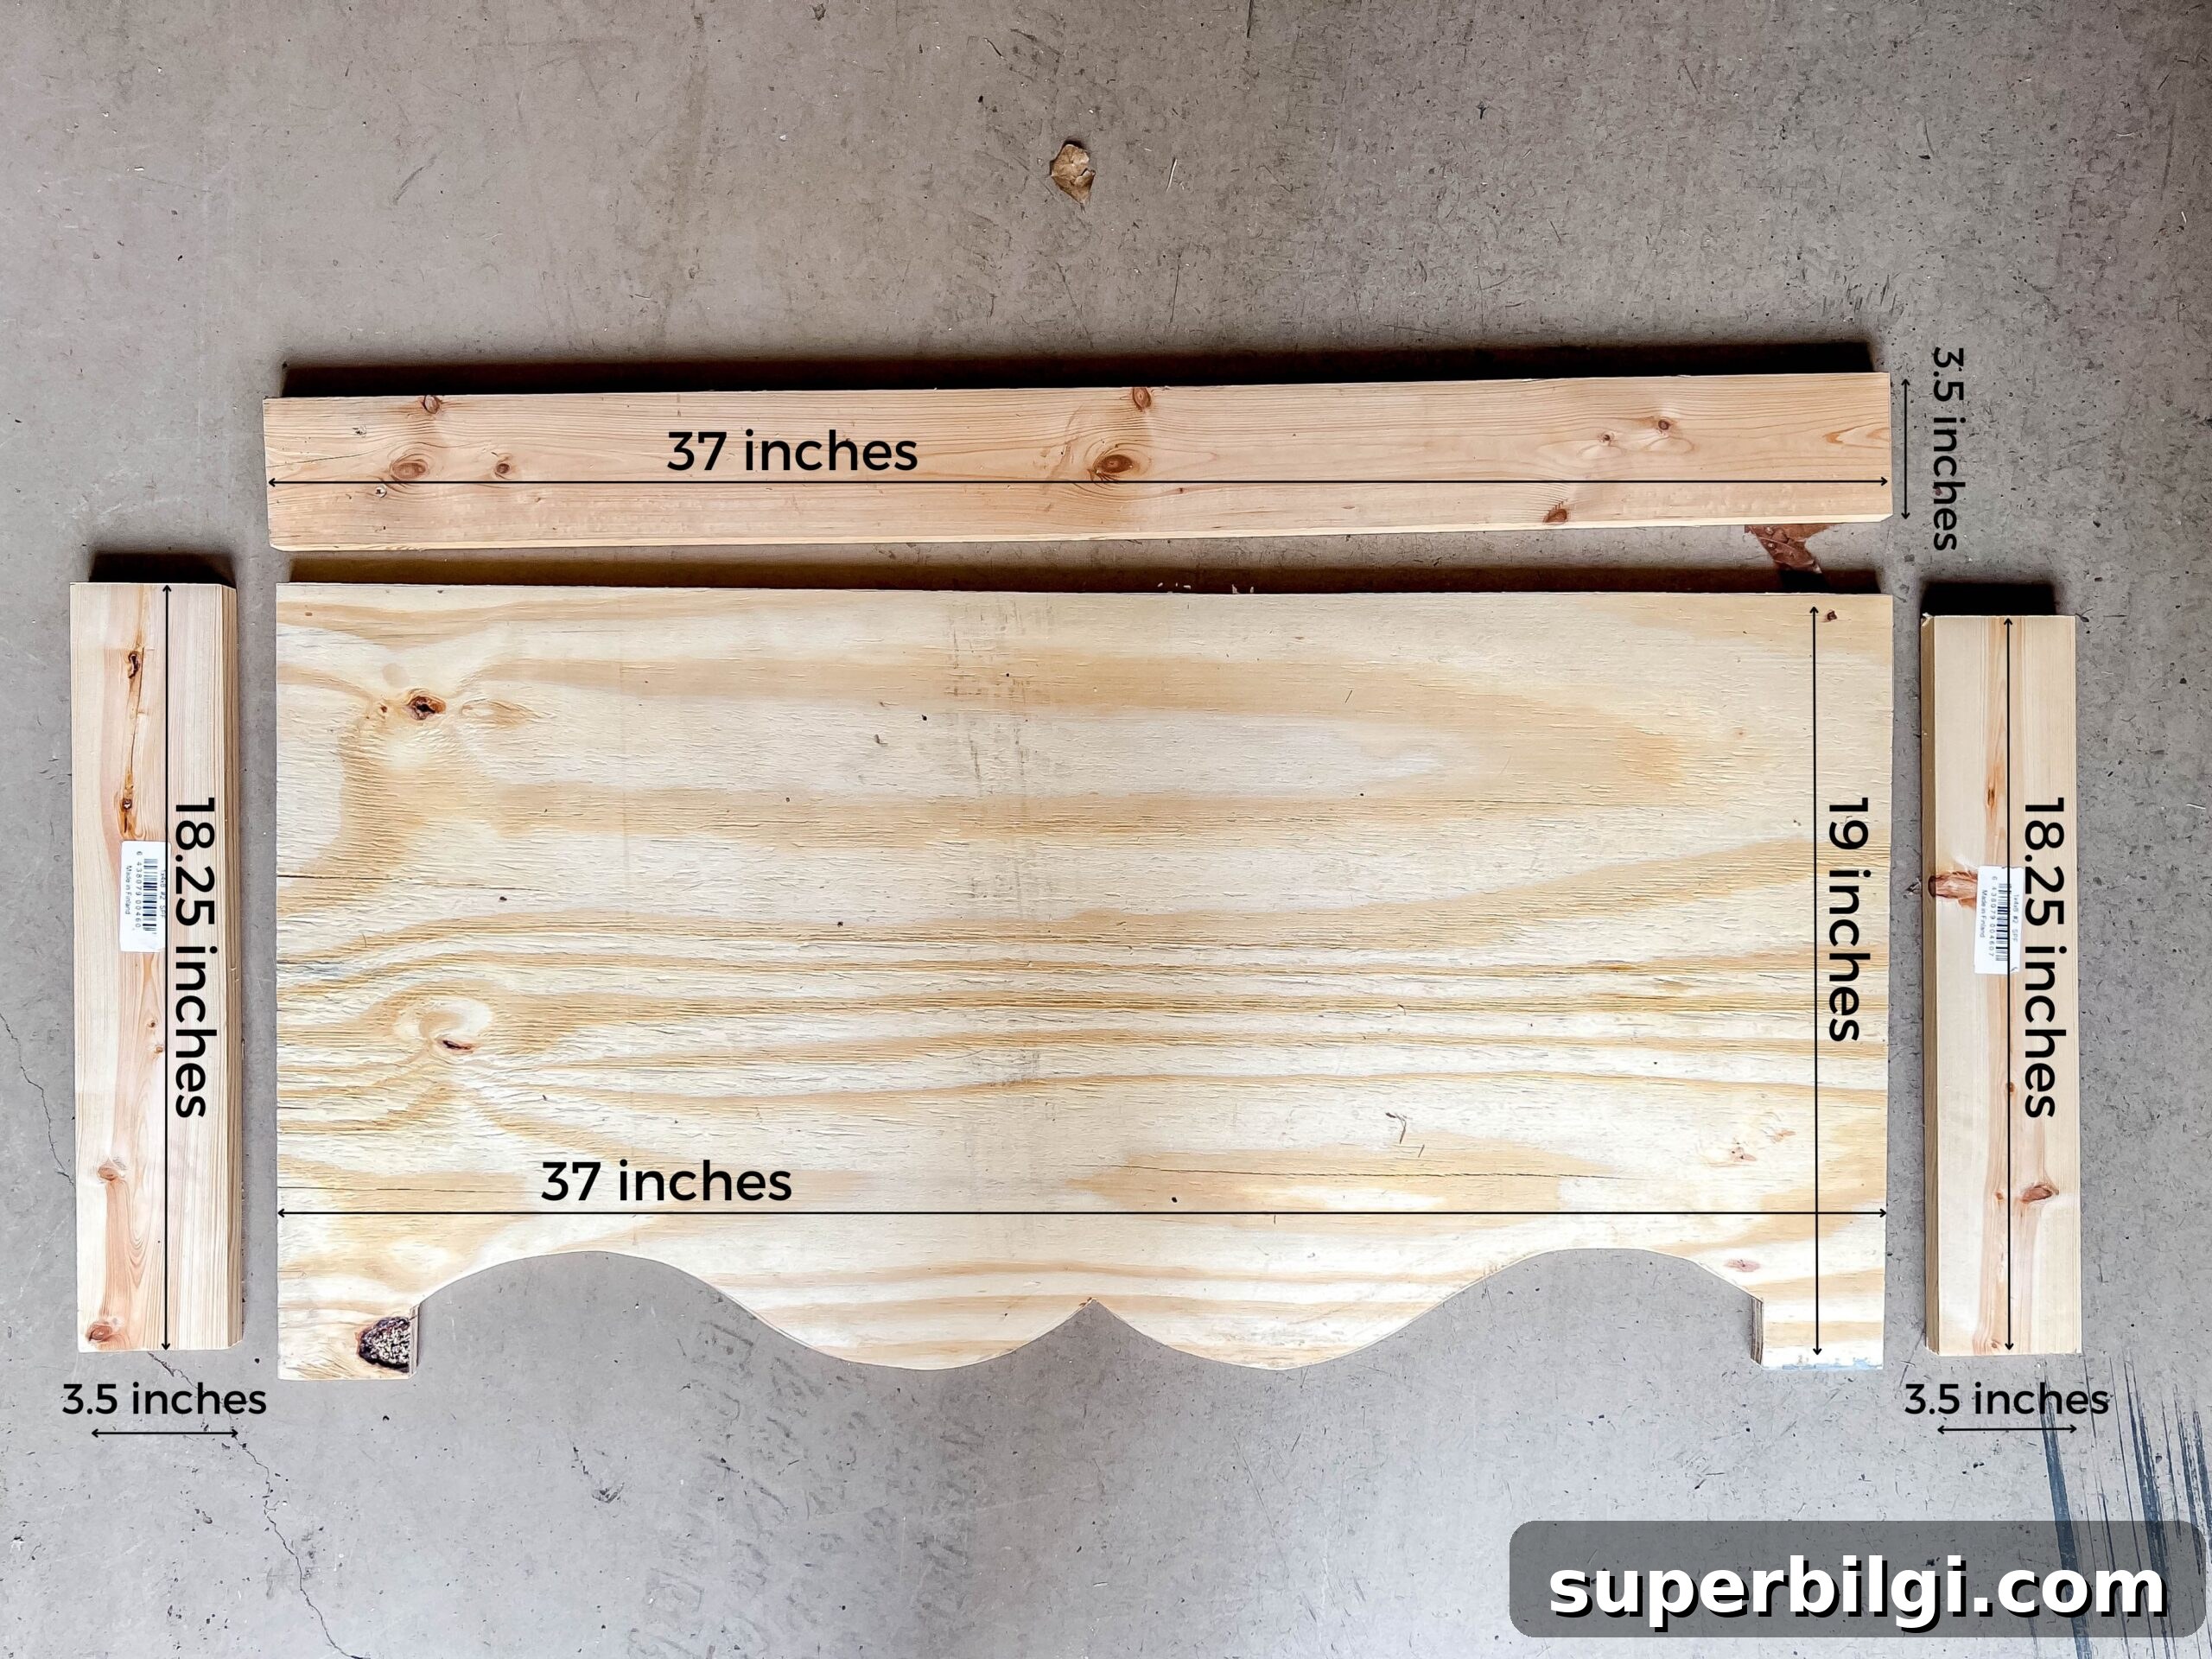
- Height: The cornice should be tall enough to hide blinds or curtain hardware but not so tall that it overwhelms the window. I made my cornice 19 inches tall to cover the hardware and sit nicely under the crown molding.
- Depth: Decide how far you want the cornice to project from the wall. Allow enough clearance for trim and window treatments and for whatever hanging method you’ll use.
For the front panel I used 3/4-inch plywood for rigidity and easy shaping. If possible, build a cardboard template to confirm proportions before cutting wood.
Before You Start
Choose Your Fabric
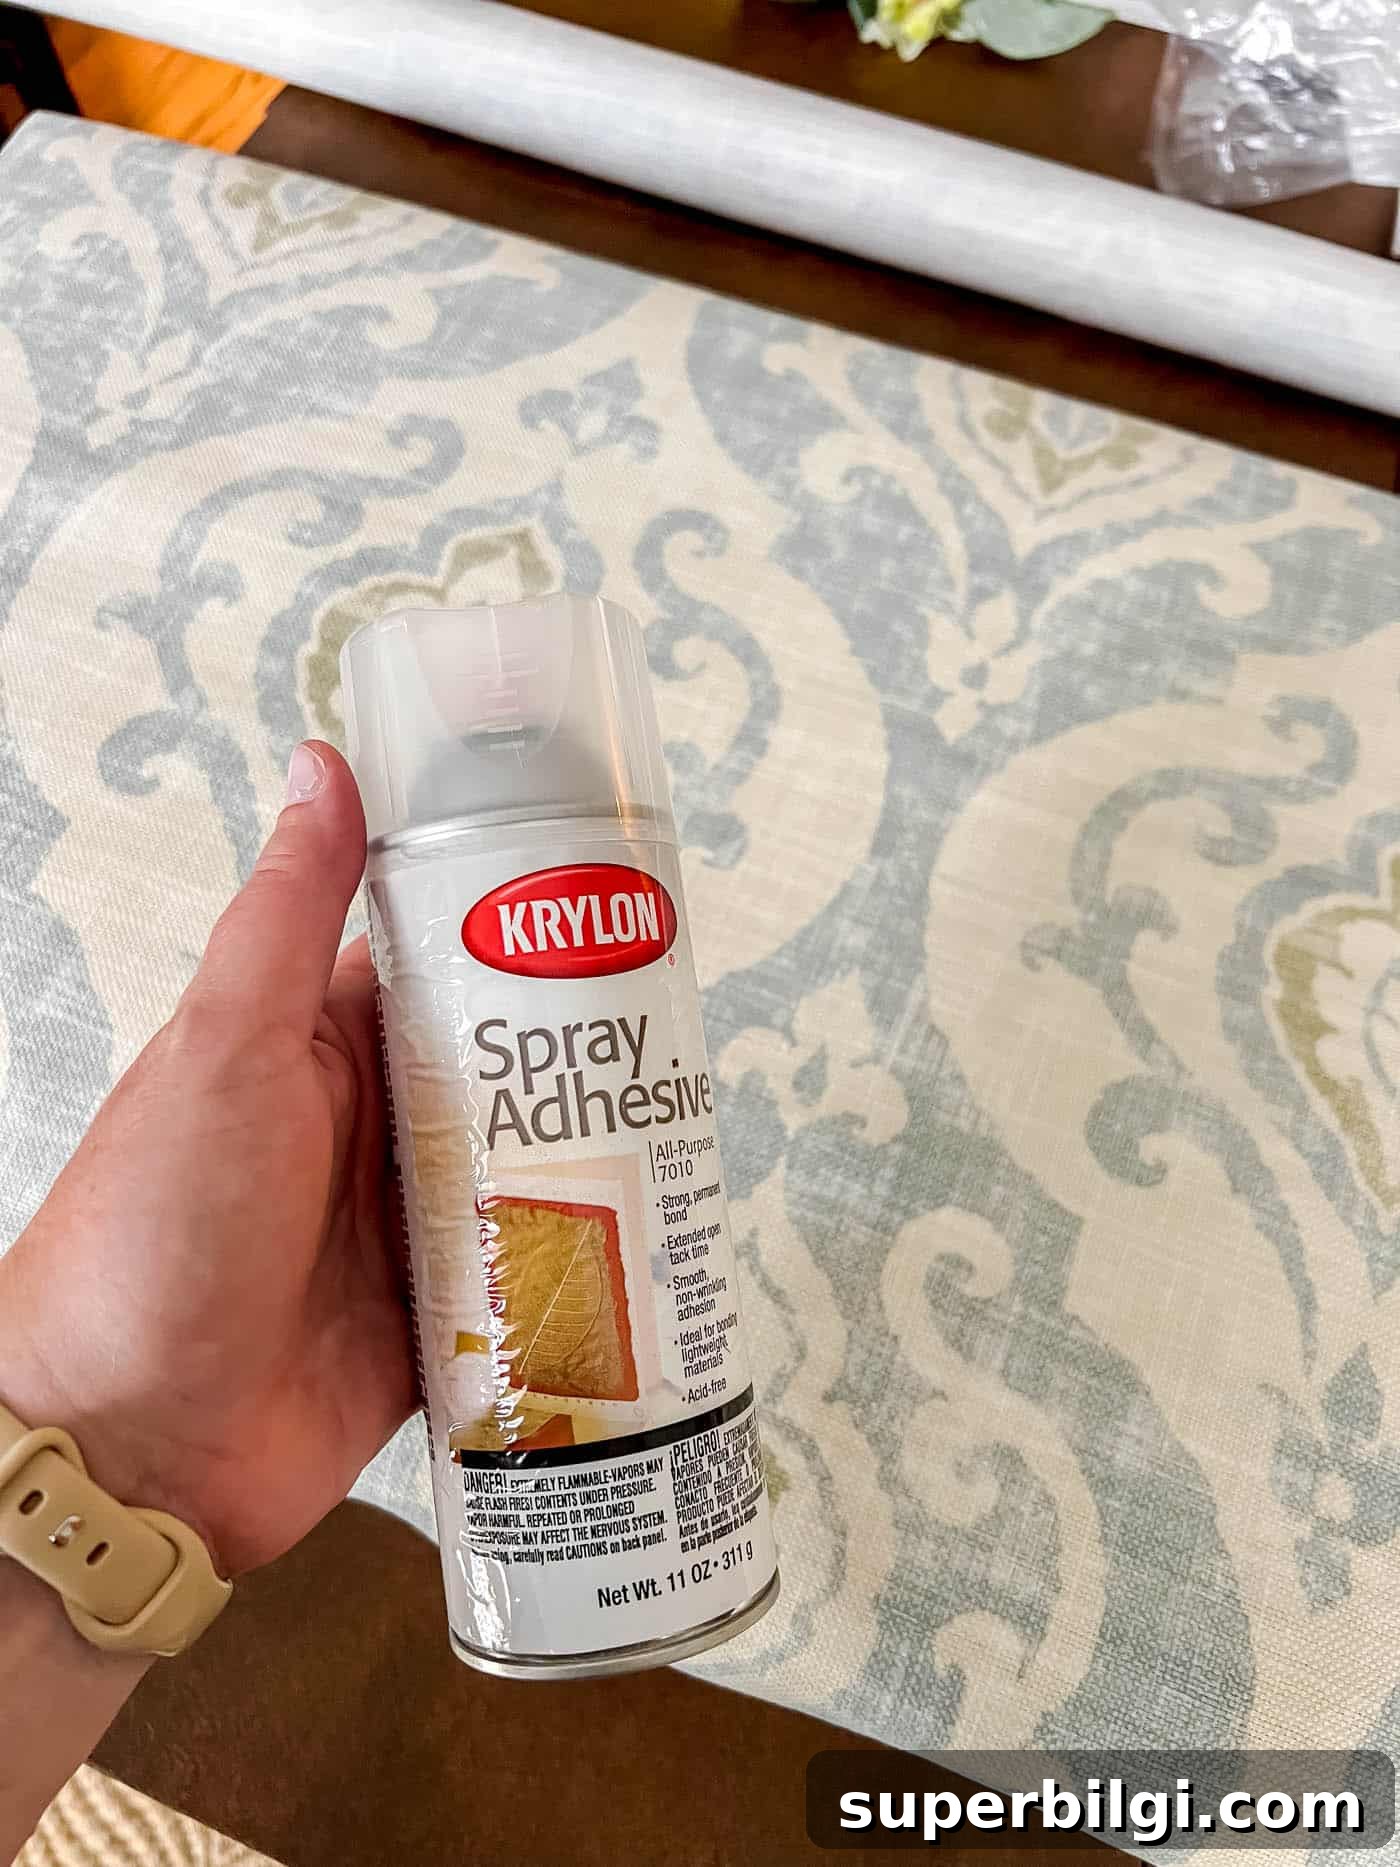
Select a medium-weight upholstery or home-decor fabric—linen, canvas, cotton/polyester blends, or similar. Medium-weight materials fold and staple cleanly without being overly bulky. If you use patterned fabric, pick a layout that’s easy to center on the cornice front.
Supplies Needed
Basic tools and materials you’ll need:
- Poster board or cardboard for a template
- Pencil and scissors
- 3/4″ plywood for the front panel (or an equivalent board)
- 1×4 boards for the top and sides, or cut pieces from plywood
- Fabric large enough to wrap the cornice
- Poly-fil batting for padding
- Staple gun and staples
- Drill and screws
- Saws: circular saw for straight cuts and jigsaw for curves (or a handsaw and coping tools)
- Wood glue
- L-brackets and corner braces for assembly and mounting
- Optional trim or embellishments and backing fabric
How to Make a DIY Cornice Board with Fabric
Follow these core steps to build a fabric-covered cornice:
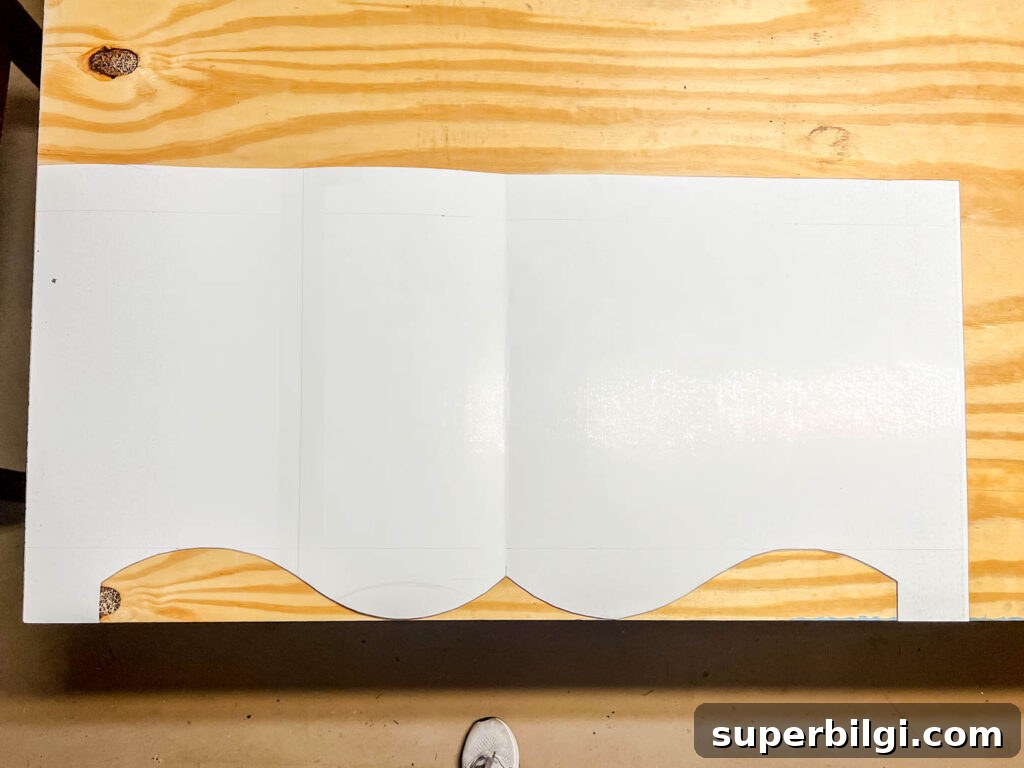
Step 1: Make a Template
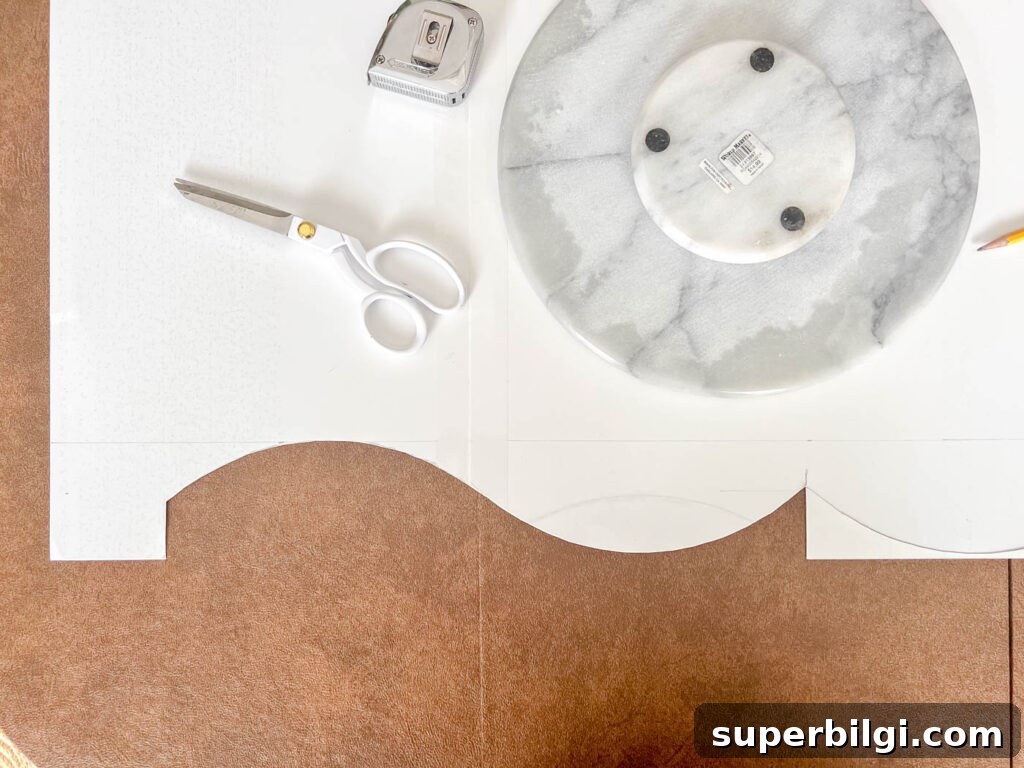
Trace the shape you want onto poster board or cardboard, cut it out, and refine until you like the look. For curved or decorative edges, use a round object or flexible curve to get smooth lines.
Step 2: Cut the Plywood
Trace the template onto the plywood front panel and cut the shape with a circular saw for straight lines and a jigsaw for curves. Smooth any rough edges with sandpaper if needed—the fabric will hide minor imperfections.
Step 3: Cut the Top and Side Pieces
Cut the top and side boards to match the front panel dimensions. The width of these pieces determines how far the cornice projects from the wall. Test-fit everything before assembly so the depth clears trim and window hardware.
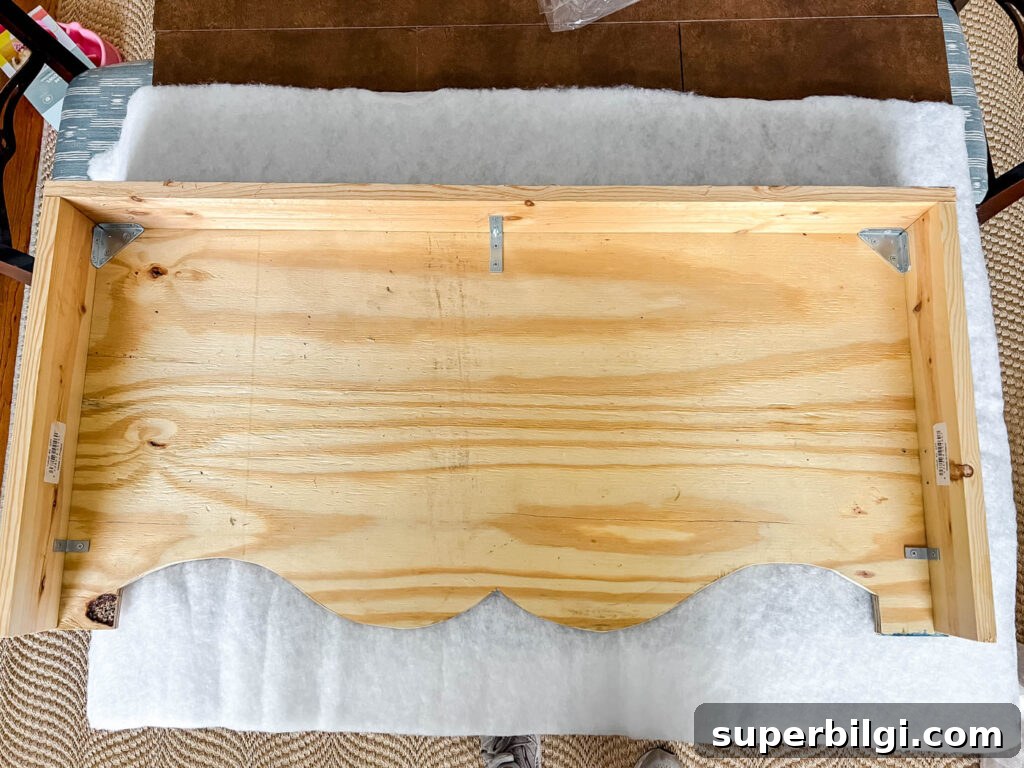
Step 4: Assemble the Cornice Box
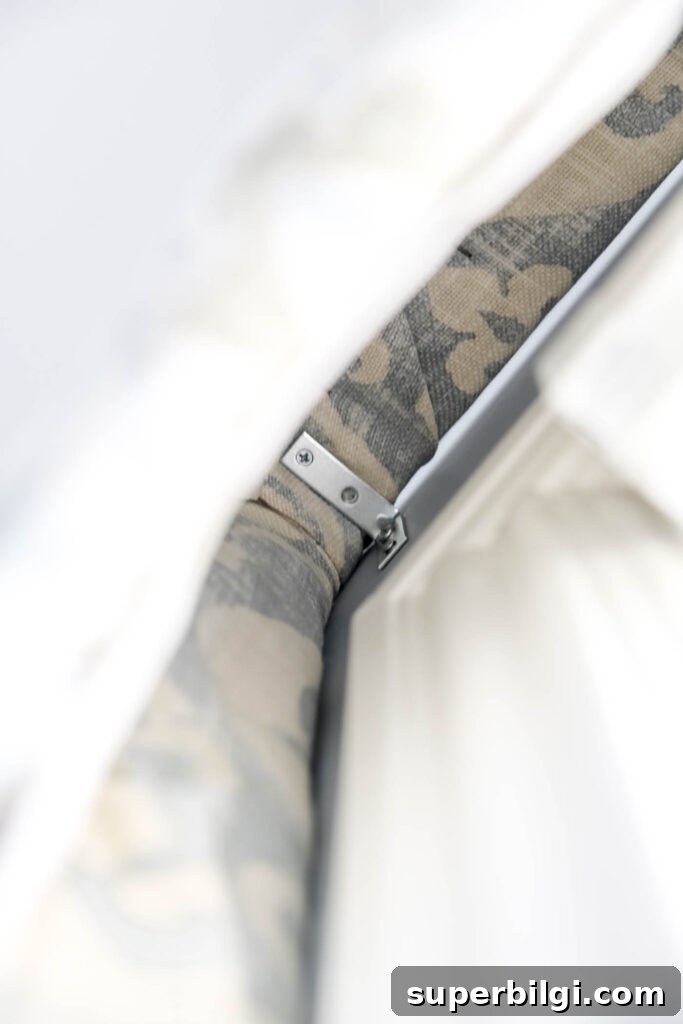
Attach the top and side pieces to the front panel. Use wood glue, corner braces, and L-brackets for strength and square corners. Reinforce seams as needed so the box is rigid and stable.
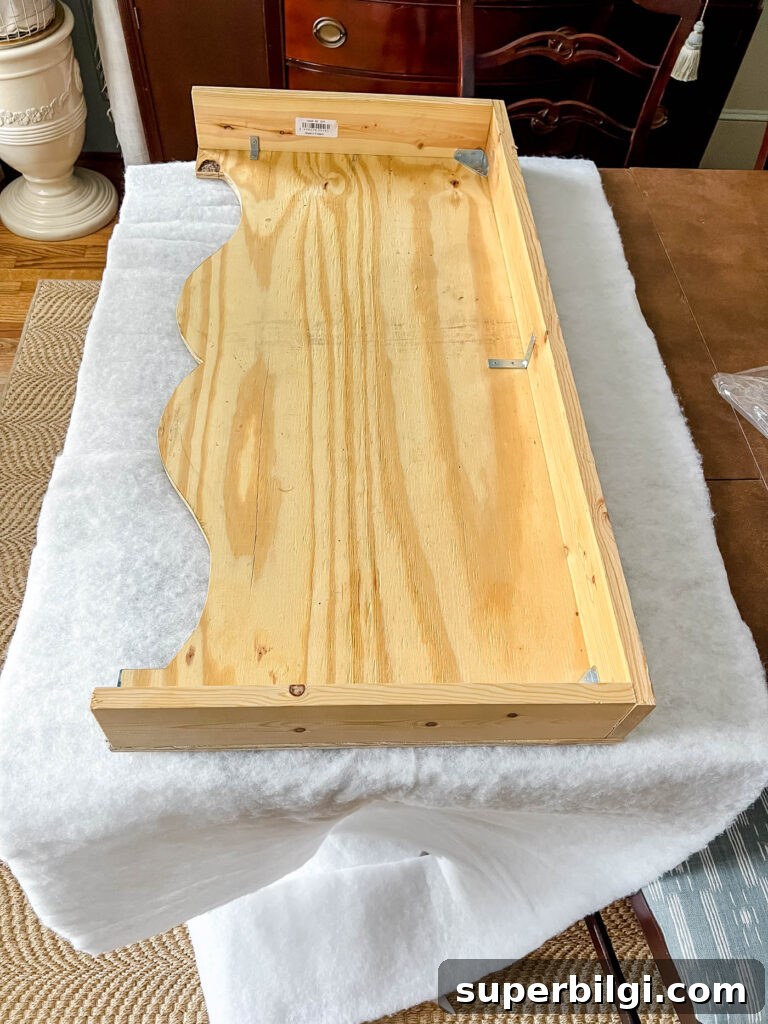
Step 5: Add Batting or Padding
Cut batting or poly-fil slightly larger than the cornice front, wrap it around the edges, and staple it to the back. Smooth wrinkles and trim excess batting to prevent bulk under the fabric.
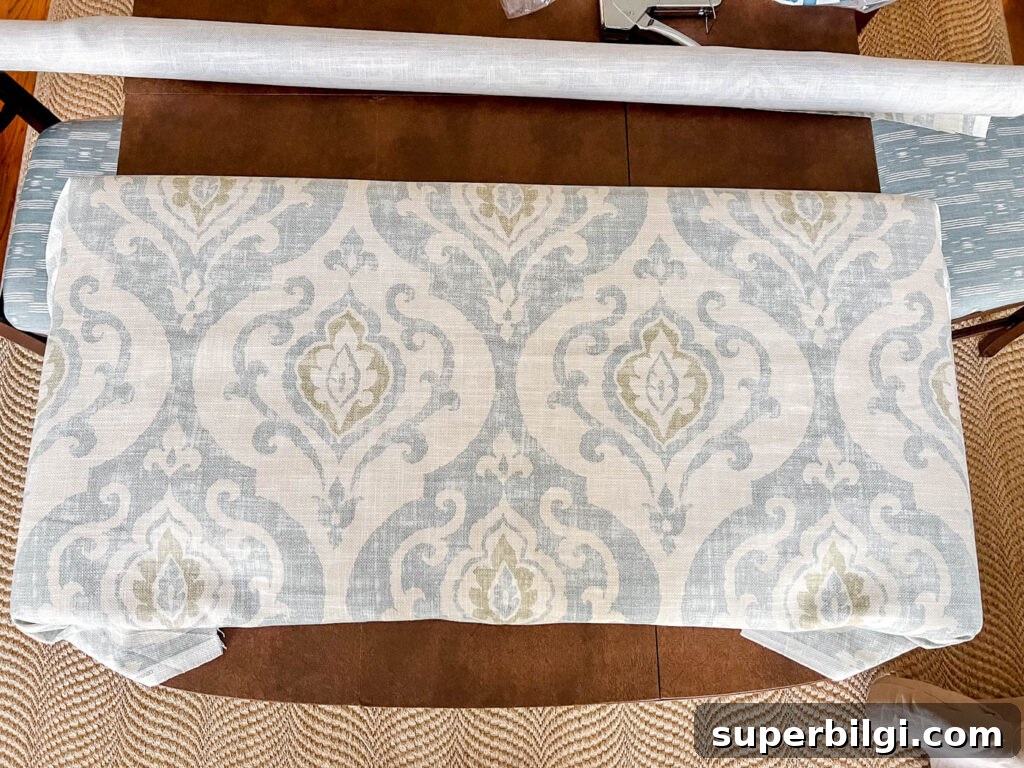
Step 6: Center the Fabric
Lay the fabric face down, center the cornice front on top so the pattern aligns, then flip and hold it in place before stapling. Accurate centering makes a big visual difference, especially with bold repeats.
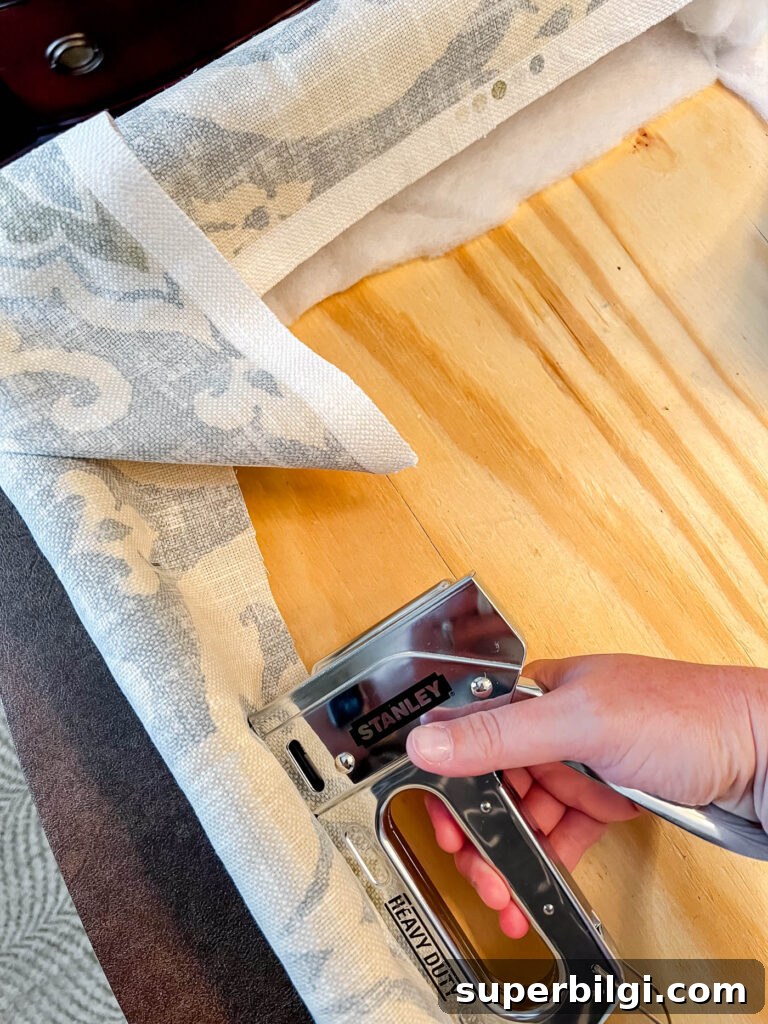
Step 7: Staple the Fabric to the Board
Start at the center of the top edge and staple outward, pulling the fabric snug as you go. Make relief cuts around inward curves and fold corners neatly, much like wrapping a present. Continue stapling around the back until the fabric is secure and smooth.
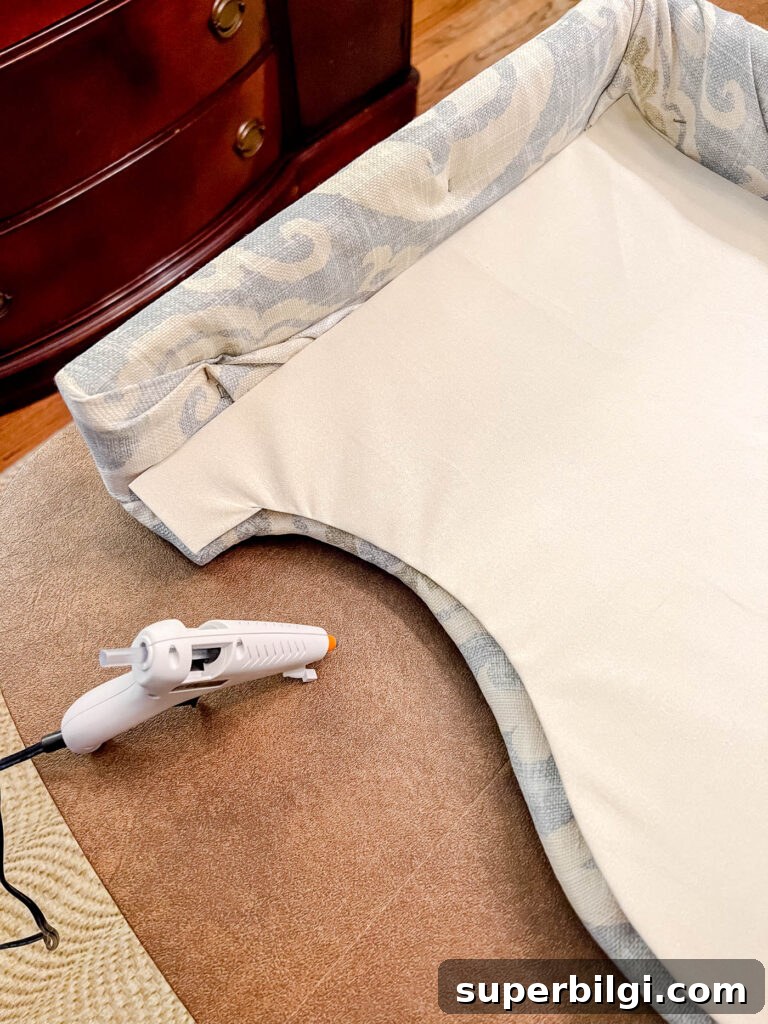
Step 8: Finish the Back (Optional)
If the back of the cornice will be visible from outside or another room, create a clean-lined backing. Cut poster board or a thin panel to size, wrap it in neutral fabric, and glue or staple it to the back to hide staples and raw edges.
How to Hang a Cornice Board
There are two common mounting methods. Choose the one that fits your cornice depth and wall construction.
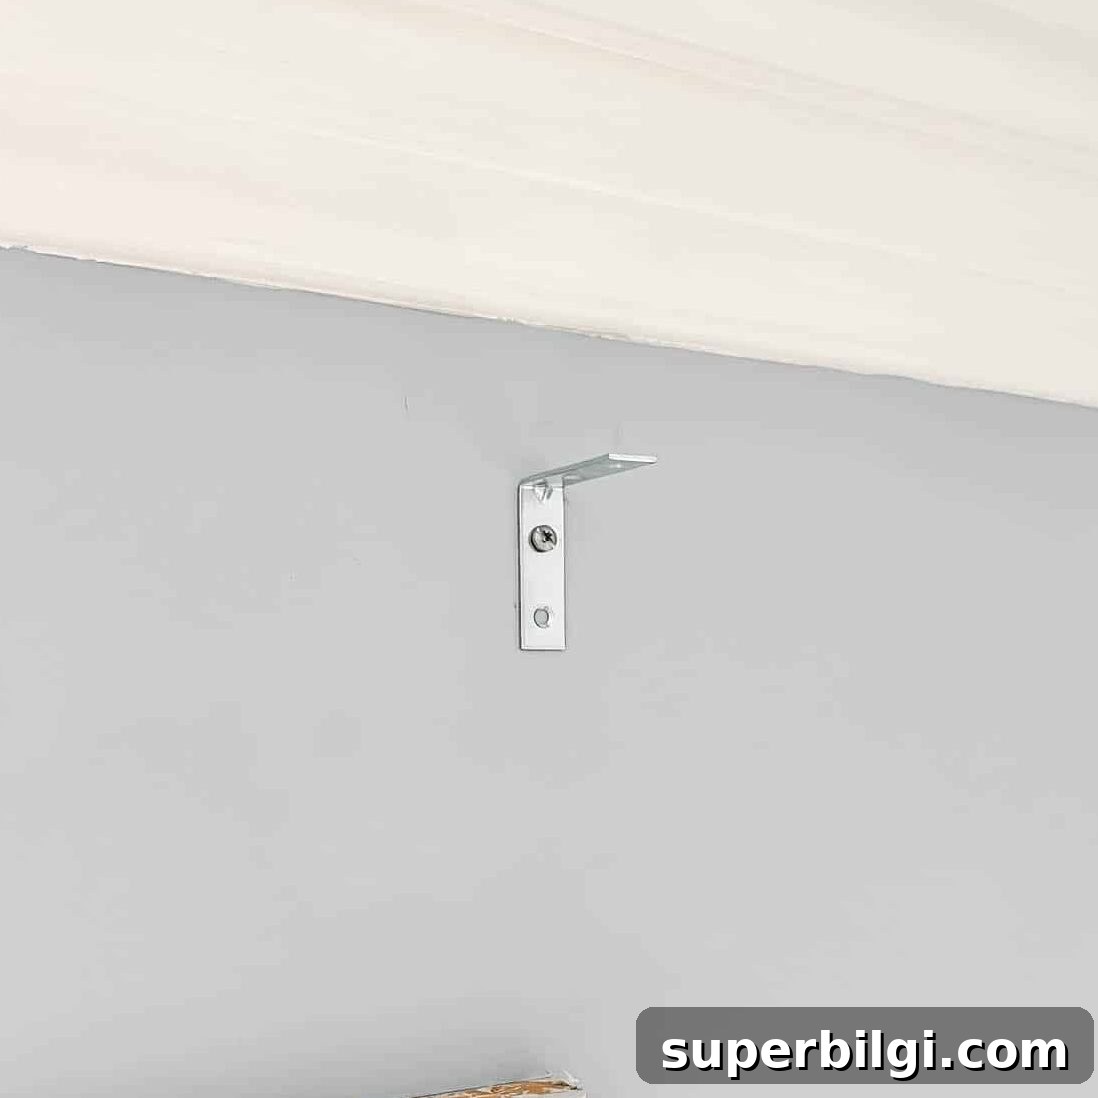
Option 1: L-Brackets
Install two L-brackets into wall studs or anchors, set the cornice on top of the brackets, and drive screws up through the brackets into the top board to secure. This is a sturdy approach if you have clearance to screw from below.
Option 2: D-Rings
Attach heavy-duty D-rings to the back of the cornice and hang it on properly anchored screws, similar to hanging artwork. This method works well if the cornice projects only a few inches and access underneath is limited.
Tips for a Professional Finish
- Center patterned fabric before stapling to keep the design balanced.
- Maintain even tension so the fabric is smooth without distorting the print.
- Trim excess batting around corners for clean folds and reduced bulk.
- Make relief cuts at tight curves to allow fabric to lie flat.
- Take care with corners—neat folds give a tailored look.
- Finish the back if visibility is a concern for a polished appearance.
DIY Cornice Board FAQs
How wide should a cornice board be?
Typically 4–6 inches wider than the window including trim, so it extends 2–3 inches past each side for a balanced look.
How deep should a cornice board be?
Deep enough to clear window trim and hardware. My cornice projects about 3.5 inches from the wall; consider a slightly deeper projection if you need room to work during installation.
How tall should a cornice board be?
Height depends on window size and desired coverage. A common approach is to place the cornice high and wide—high enough to sit near crown molding and cover only the hardware and a portion of the window. My cornice is 19 inches tall and balances well with the molding above.
What fabric is best?
Use a medium-weight upholstery or home-decor fabric that pulls taut without stretching. Patterns that are easy to center work best on a structured front panel.
Do you need batting?
Batting is optional but recommended. It softens corners, gives dimension, and helps the fabric sit smoothly for a refined look.
Final Thoughts
Making a fabric-covered cornice is an accessible DIY that elevates a room instantly. It’s cost-effective, quick to build, and makes a strong visual statement. If you want to add color or pattern without curtains, this is an excellent project to try—you’ll be surprised how polished the finished result looks for the effort.