
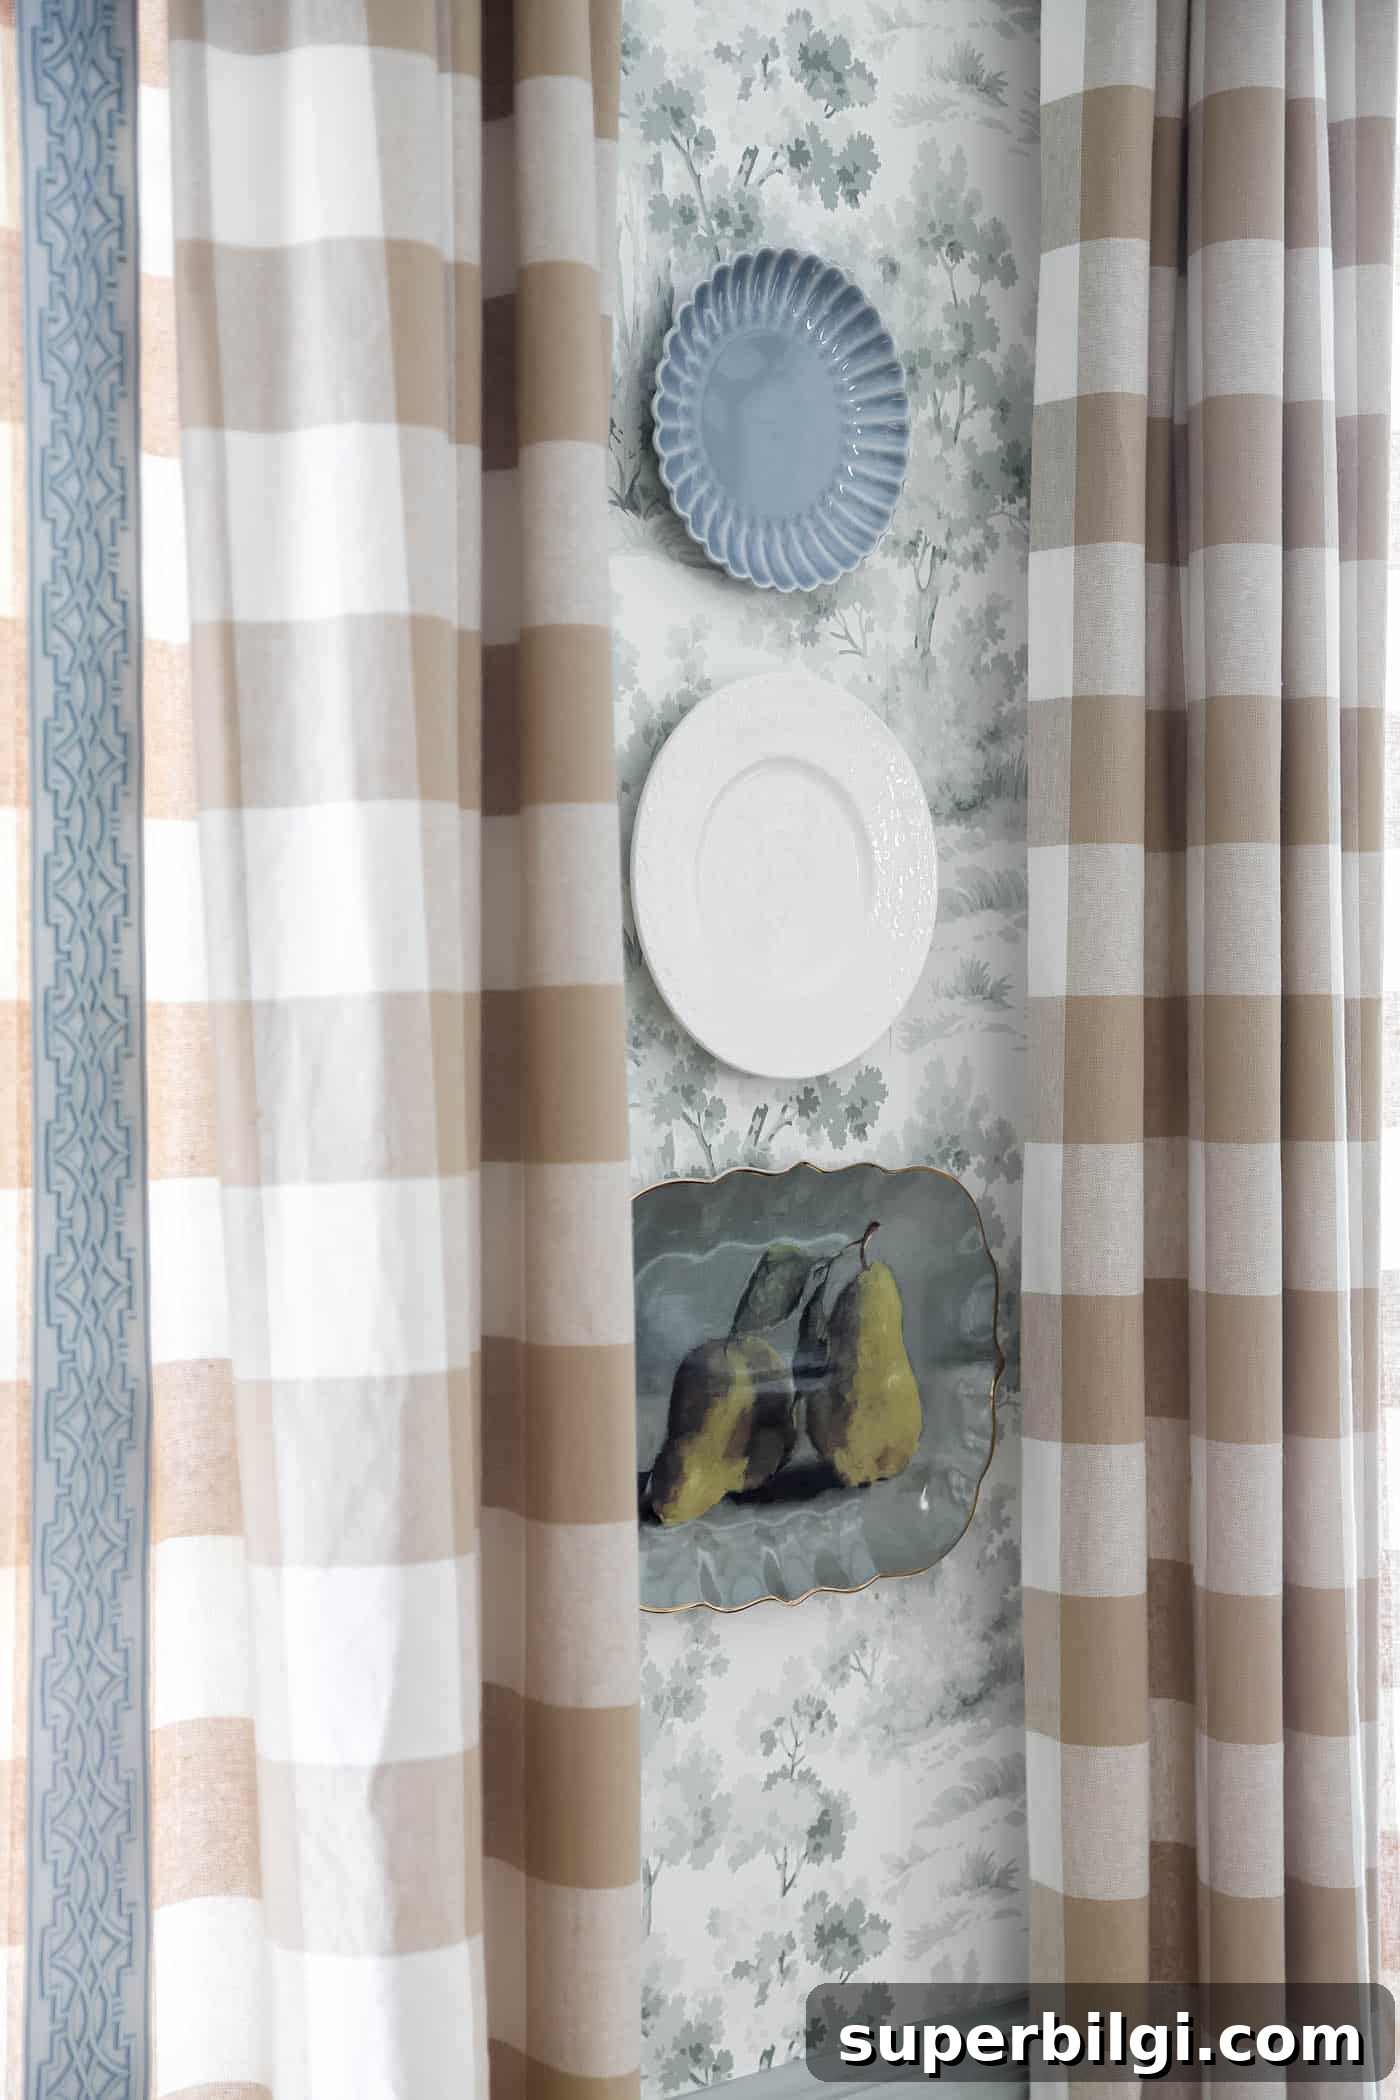
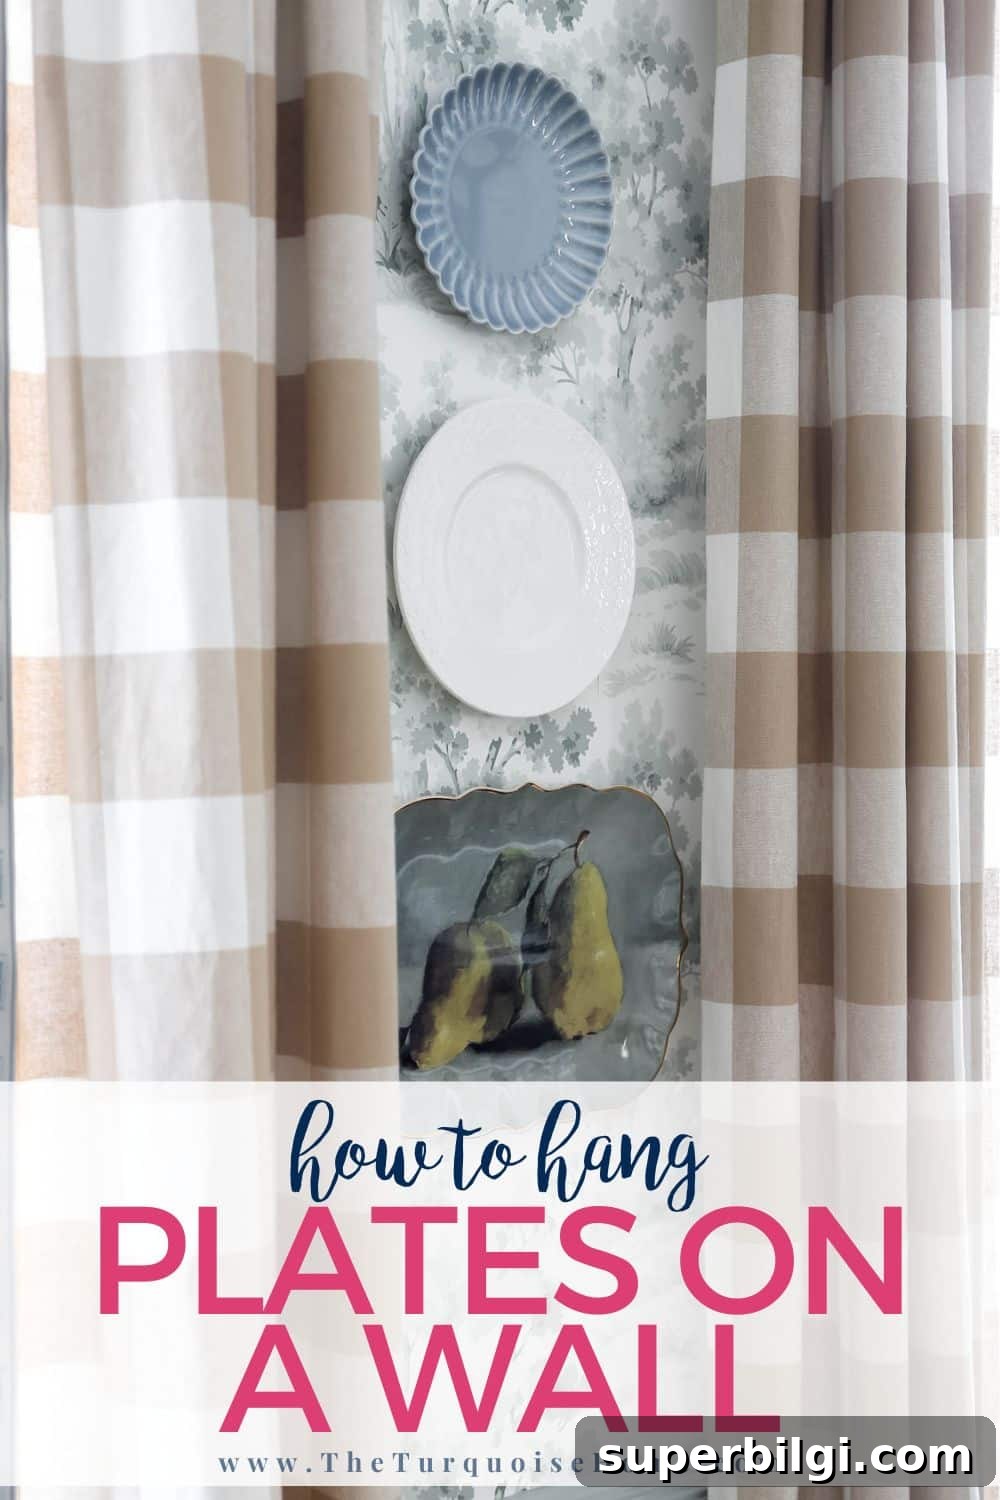
Learn how to hang plates on a wall with this simple step-by-step guide. Get practical tips for layout, hanging methods, and creating a charming, budget-friendly plate wall display.
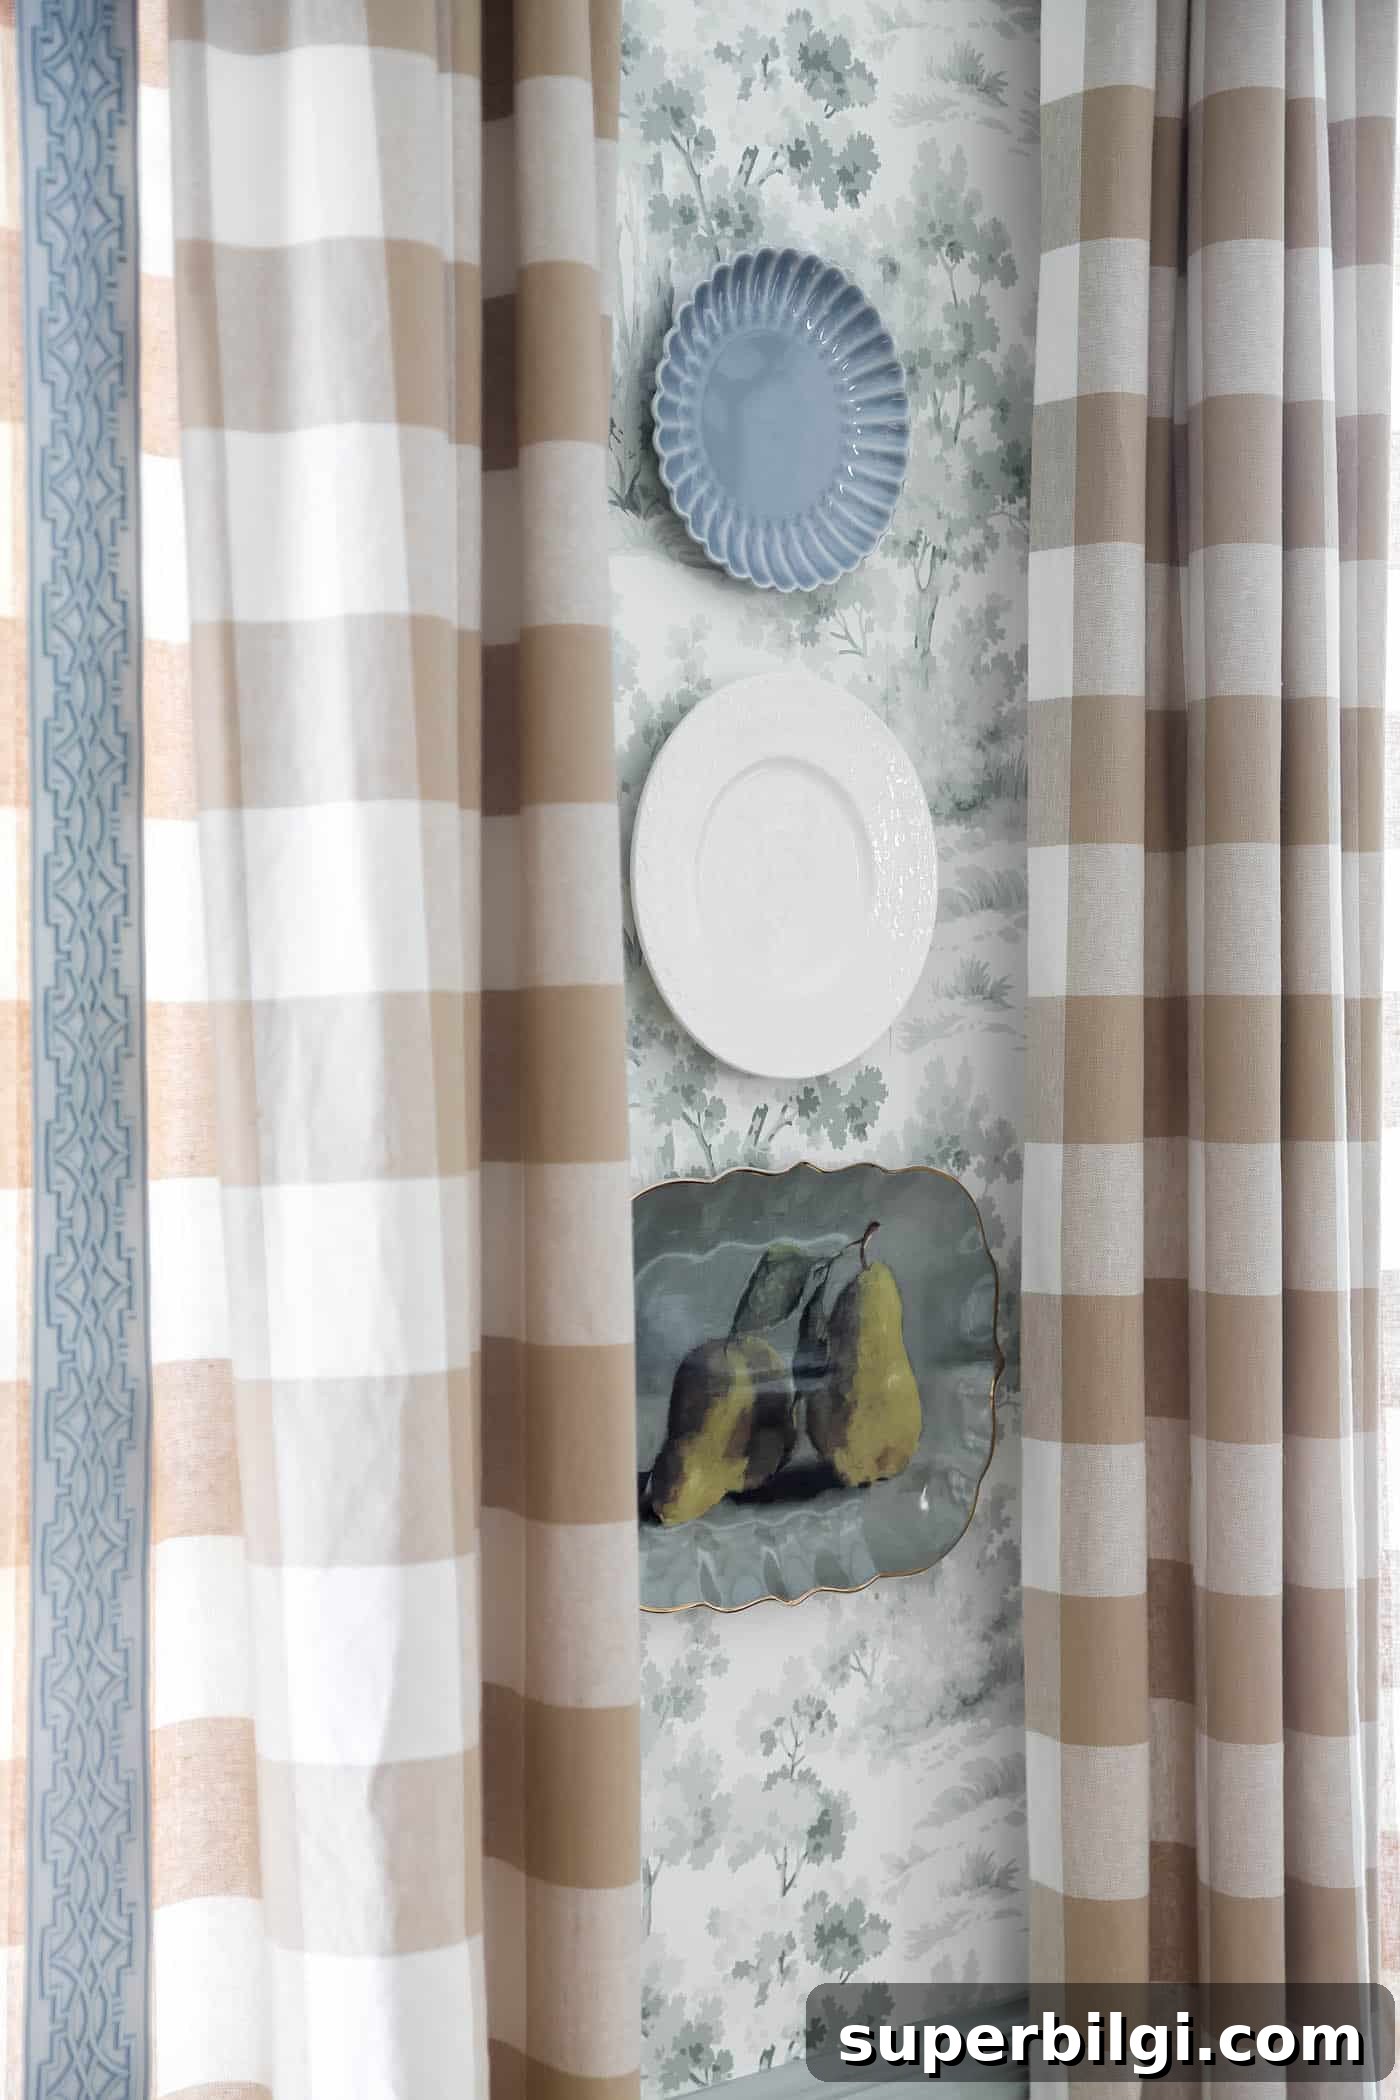
A wall covered in plates immediately feels warm and personal. Whether you’re displaying heirloom china, thrifted finds, or colorful dessert plates, a plate wall is an affordable way to add character to any room.
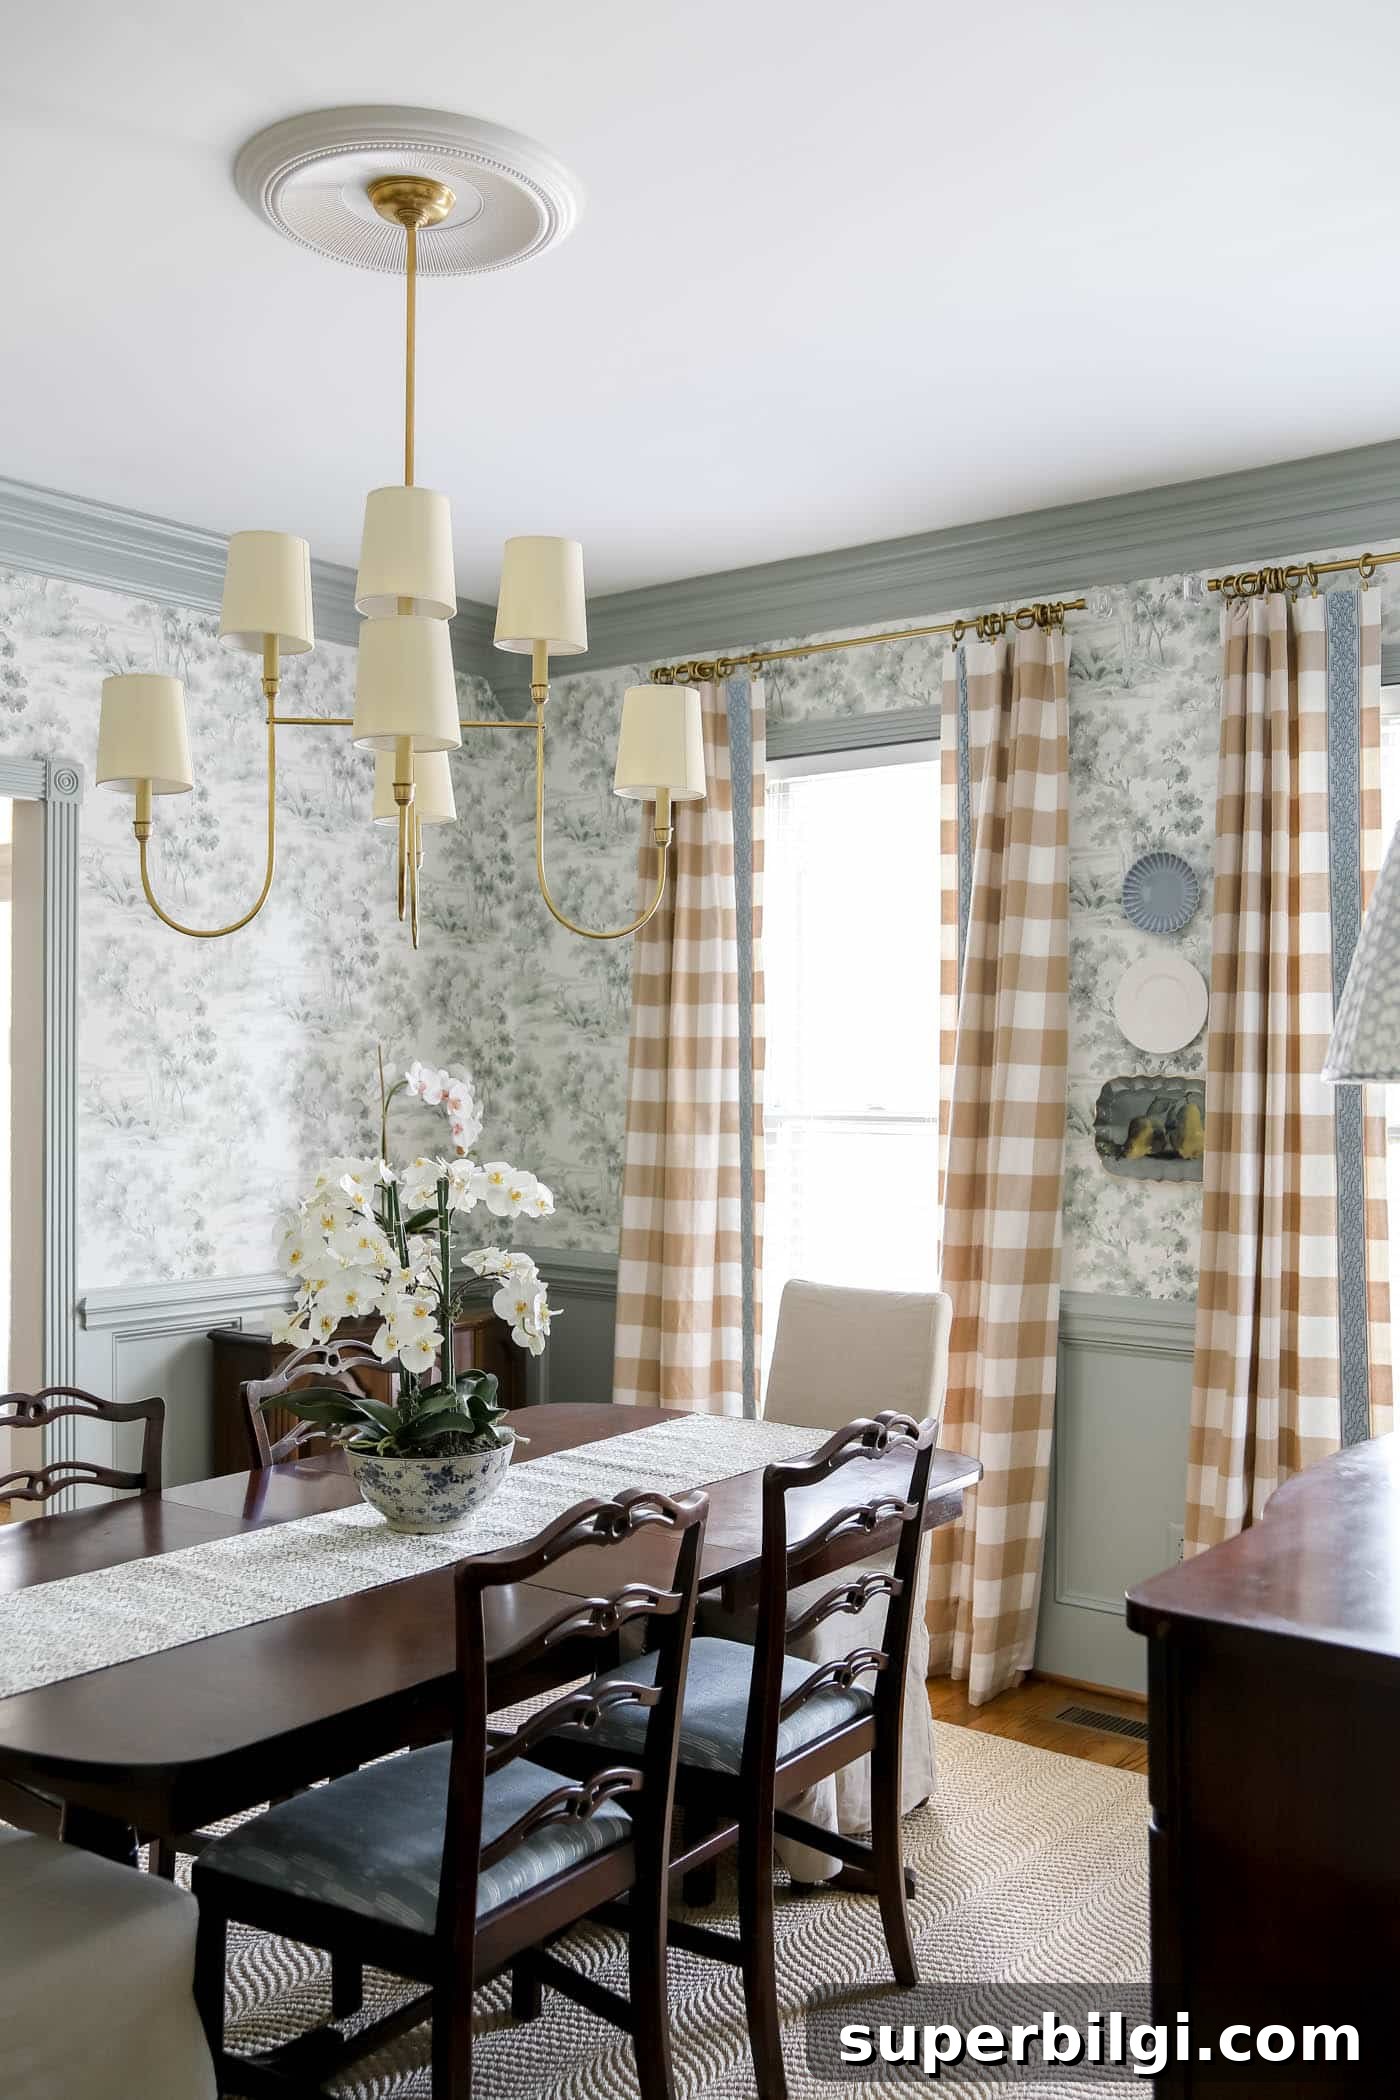
I recently created a plate wall at home and discovered it’s much easier than it looks. If you’ve hesitated because you were worried about plates falling, or you weren’t sure where to begin, this guide will walk you through a straightforward, real-life method that doesn’t require fancy tools.
Follow these steps to hang plates as wall decor with confidence and style.
Why Decorate with Plates on the Wall
- Budget-friendly decor with big impact. You don’t need an expensive budget to make a statement. Use plates you already own, hunt for thrifted treasures, or add a few affordable pieces from common home stores.
- Plates tell a story. Displaying dishes can highlight heirlooms, souvenirs, or a favorite flea market find—it becomes a personal gallery of memories.
- They add texture and charm. Plates introduce depth and a layered, welcoming feel, especially when mixed in shapes and patterns.
Supplies You’ll Need
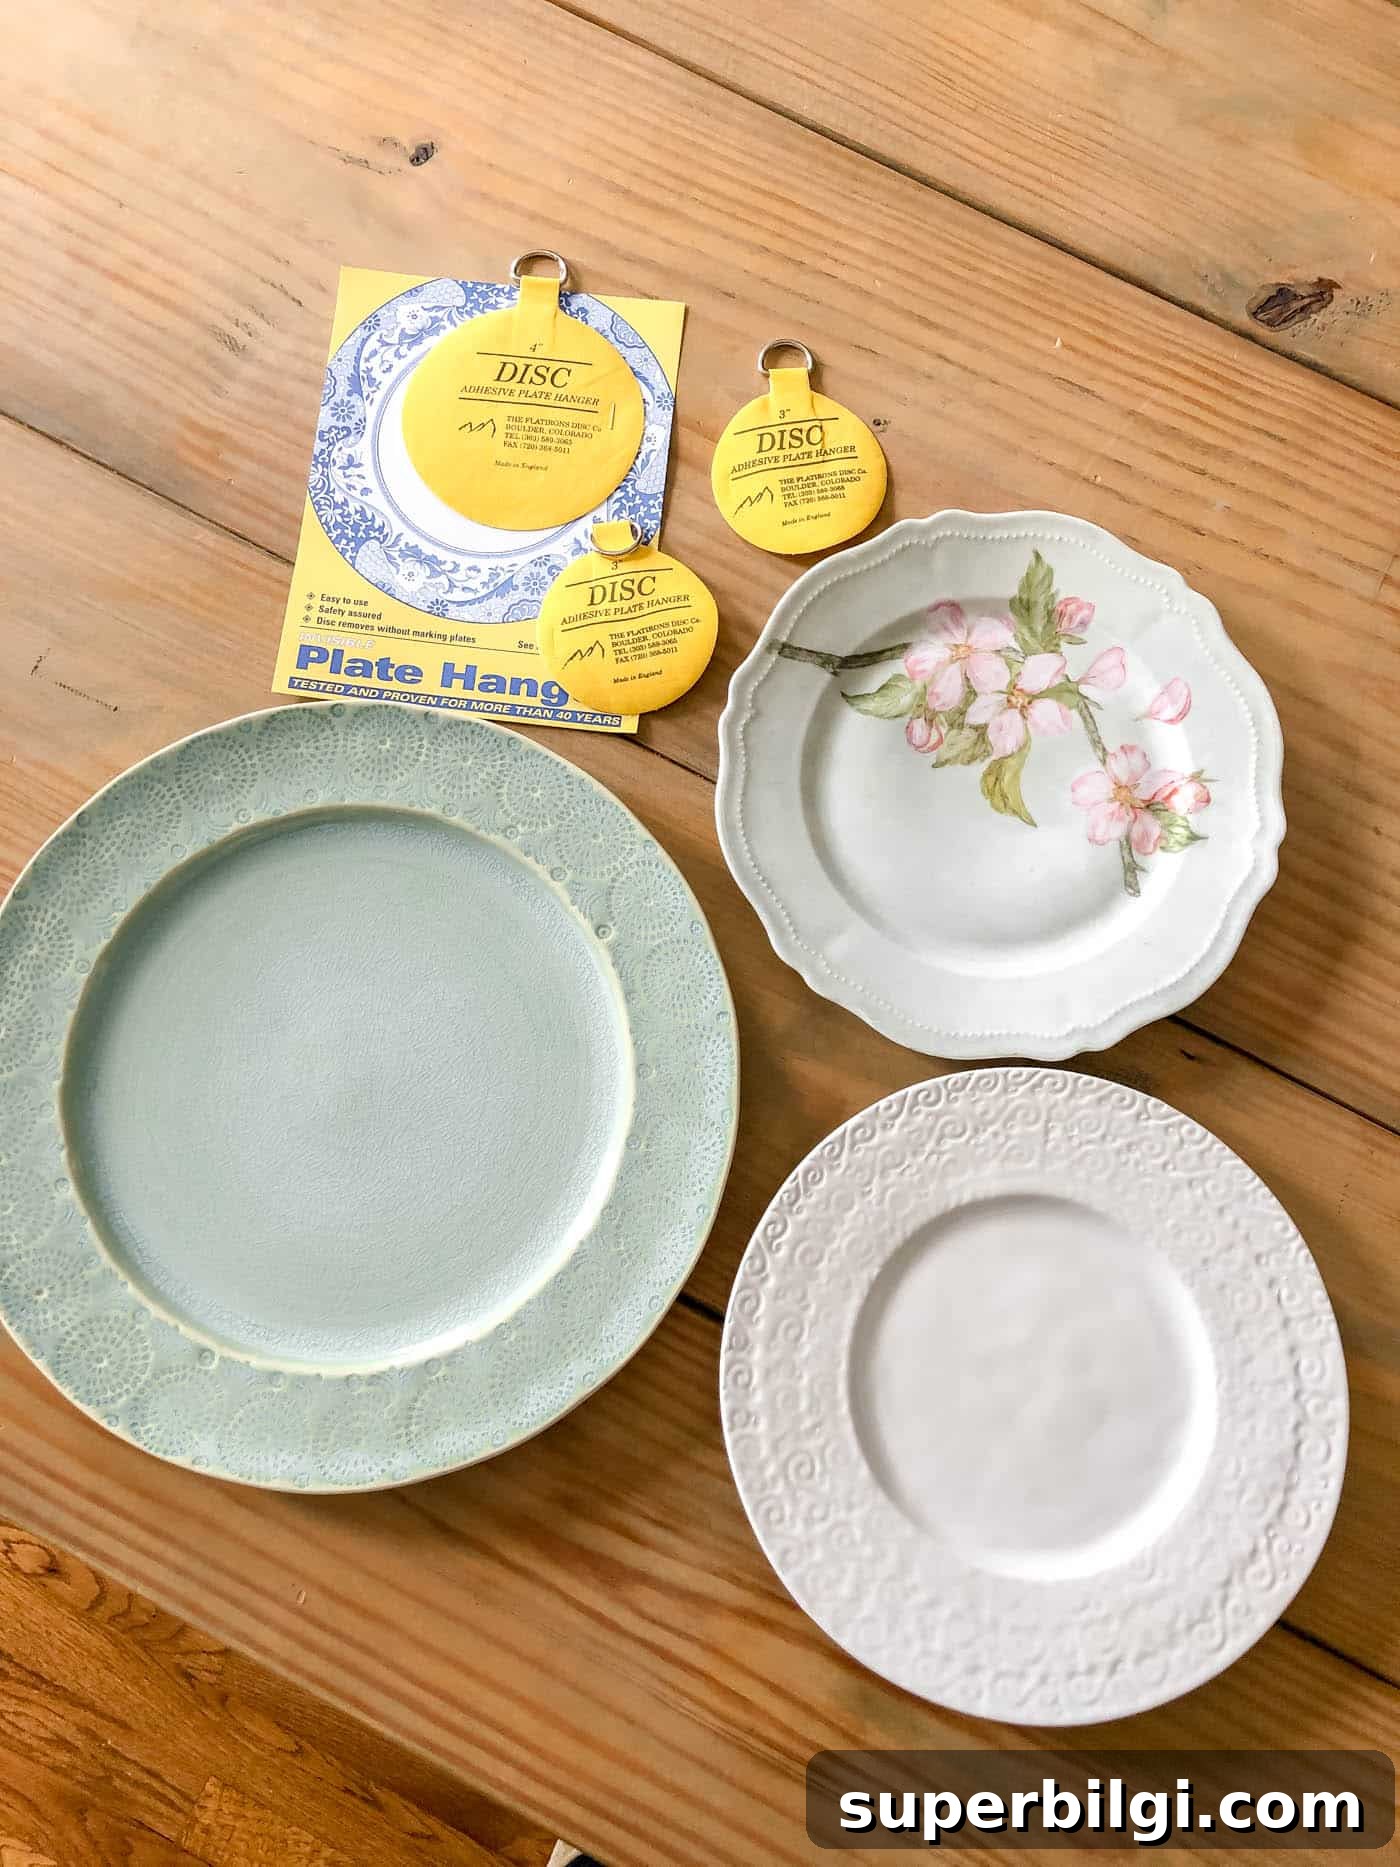
- Plates — any size or shape
- Plate hangers or adhesive disc hangers (adhesive discs are a clean, nearly invisible option)
- Picture hanging hooks or nails
- Painter’s tape
- Scissors
- Pencil
- Hammer
- Optional: level or measuring tape for precise grids
Hanging Plates on a Wall Tutorial
1. Choose Your Plates
Gather the plates you want to display. Mixing sizes, shapes, and finishes creates a collected, cozy look. Don’t shy away from combining patterned and solid plates or vintage with modern pieces.
Tip: Lay the plates out on a table or the floor to experiment with arrangements before committing to placement on the wall.
2. Plan Your Placement with Templates
Trace each plate onto kraft paper or wrapping paper, cut the shapes out, and tape them to the wall to preview the composition. This lets you tweak spacing and balance without making holes.
Real-life tip: Step back and view the arrangement from different points in the room; what looks right up close can read differently from a distance.
3. Pick Your Hanging Method
There are two common approaches for hanging plates:
Wire Plate Hangers
Traditional springy wire hangers grip the edges of the plate and are secure and removable. Choose the correct size for each plate. Be gentle when fitting them so you don’t chip delicate edges.
Adhesive Disc Hangers
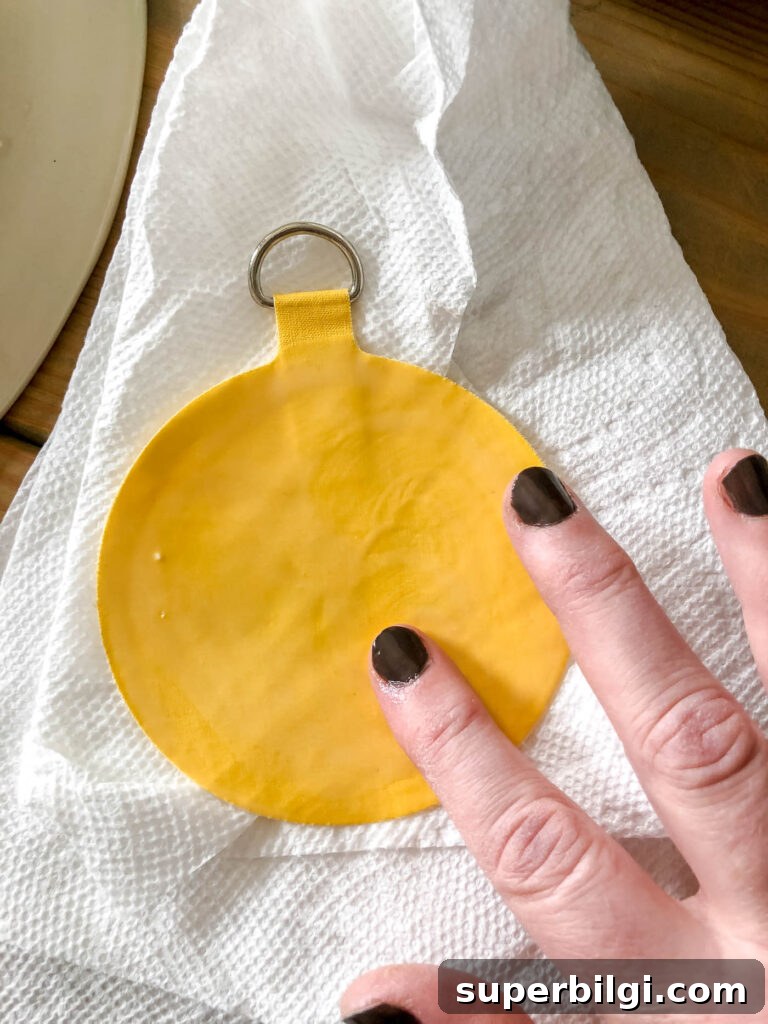
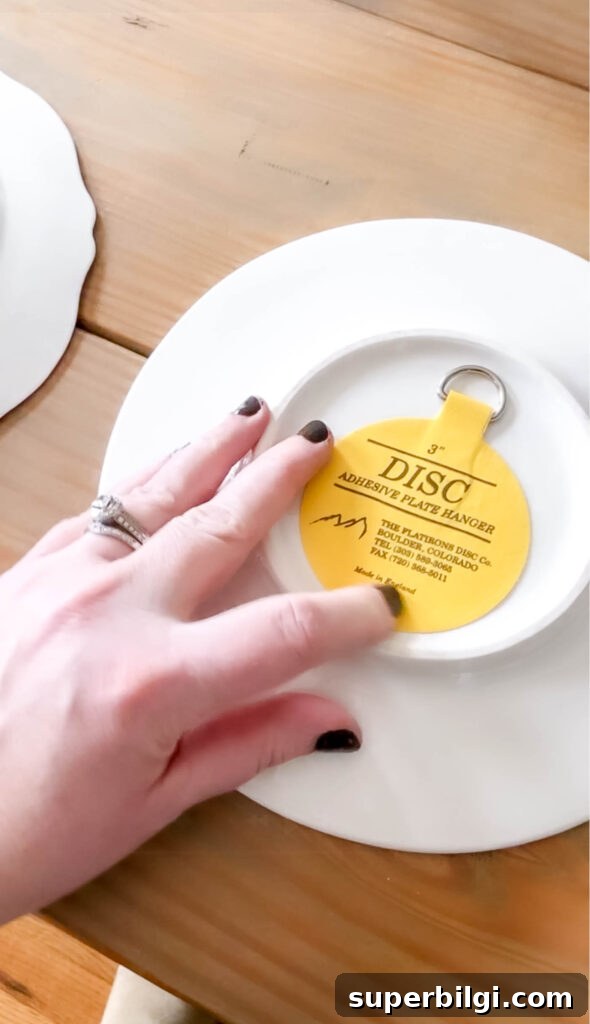
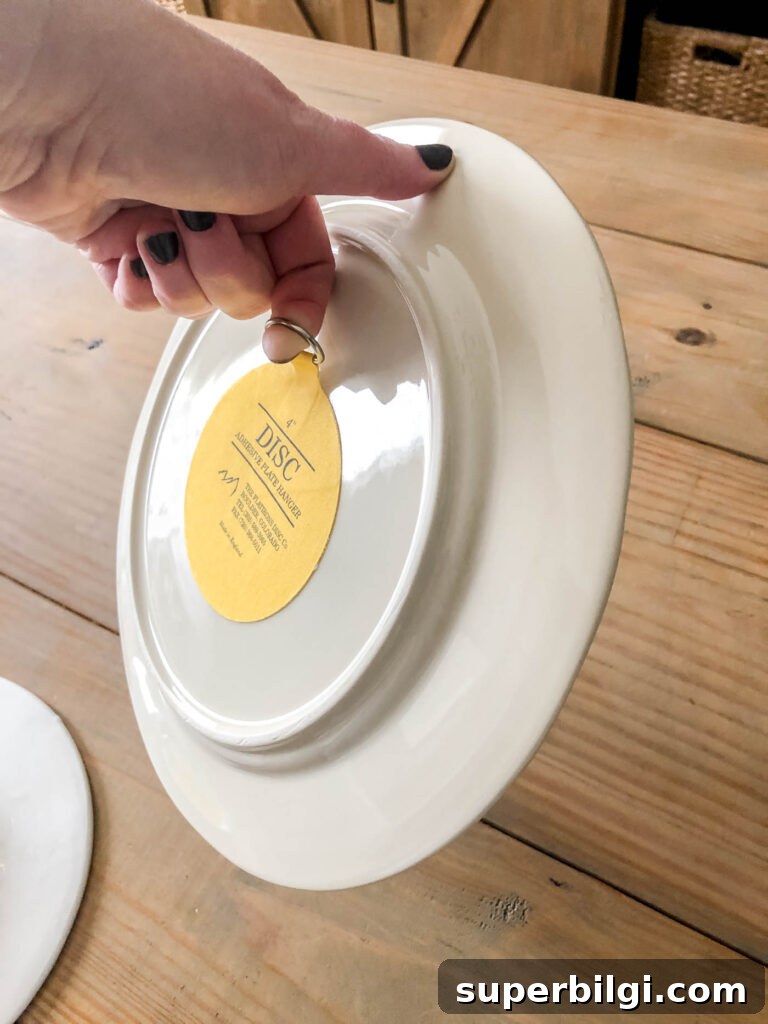
Adhesive disc hangers adhere to the back of the plate and provide an invisible look from the front. They’re available in sizes and weight ratings — follow the manufacturer’s instructions carefully, including any recommended drying time before hanging. When applied correctly, they hold securely and leave the plate face unobstructed.
To use them, moisten the adhesive as instructed (often a little water helps activate the bond), press firmly, and allow the recommended cure time before hanging.
4. Hang Your Plates
With templates taped to the wall, mark the spot for each hook or nail—usually just above the center of each plate outline. Install your hooks or nails, remove the paper templates, then hang the plates and make small adjustments until they sit correctly.
Optional: Use a level and measuring tape for precise grids or straight lines. For a more casual, collected look, you can eyeball the placement instead.
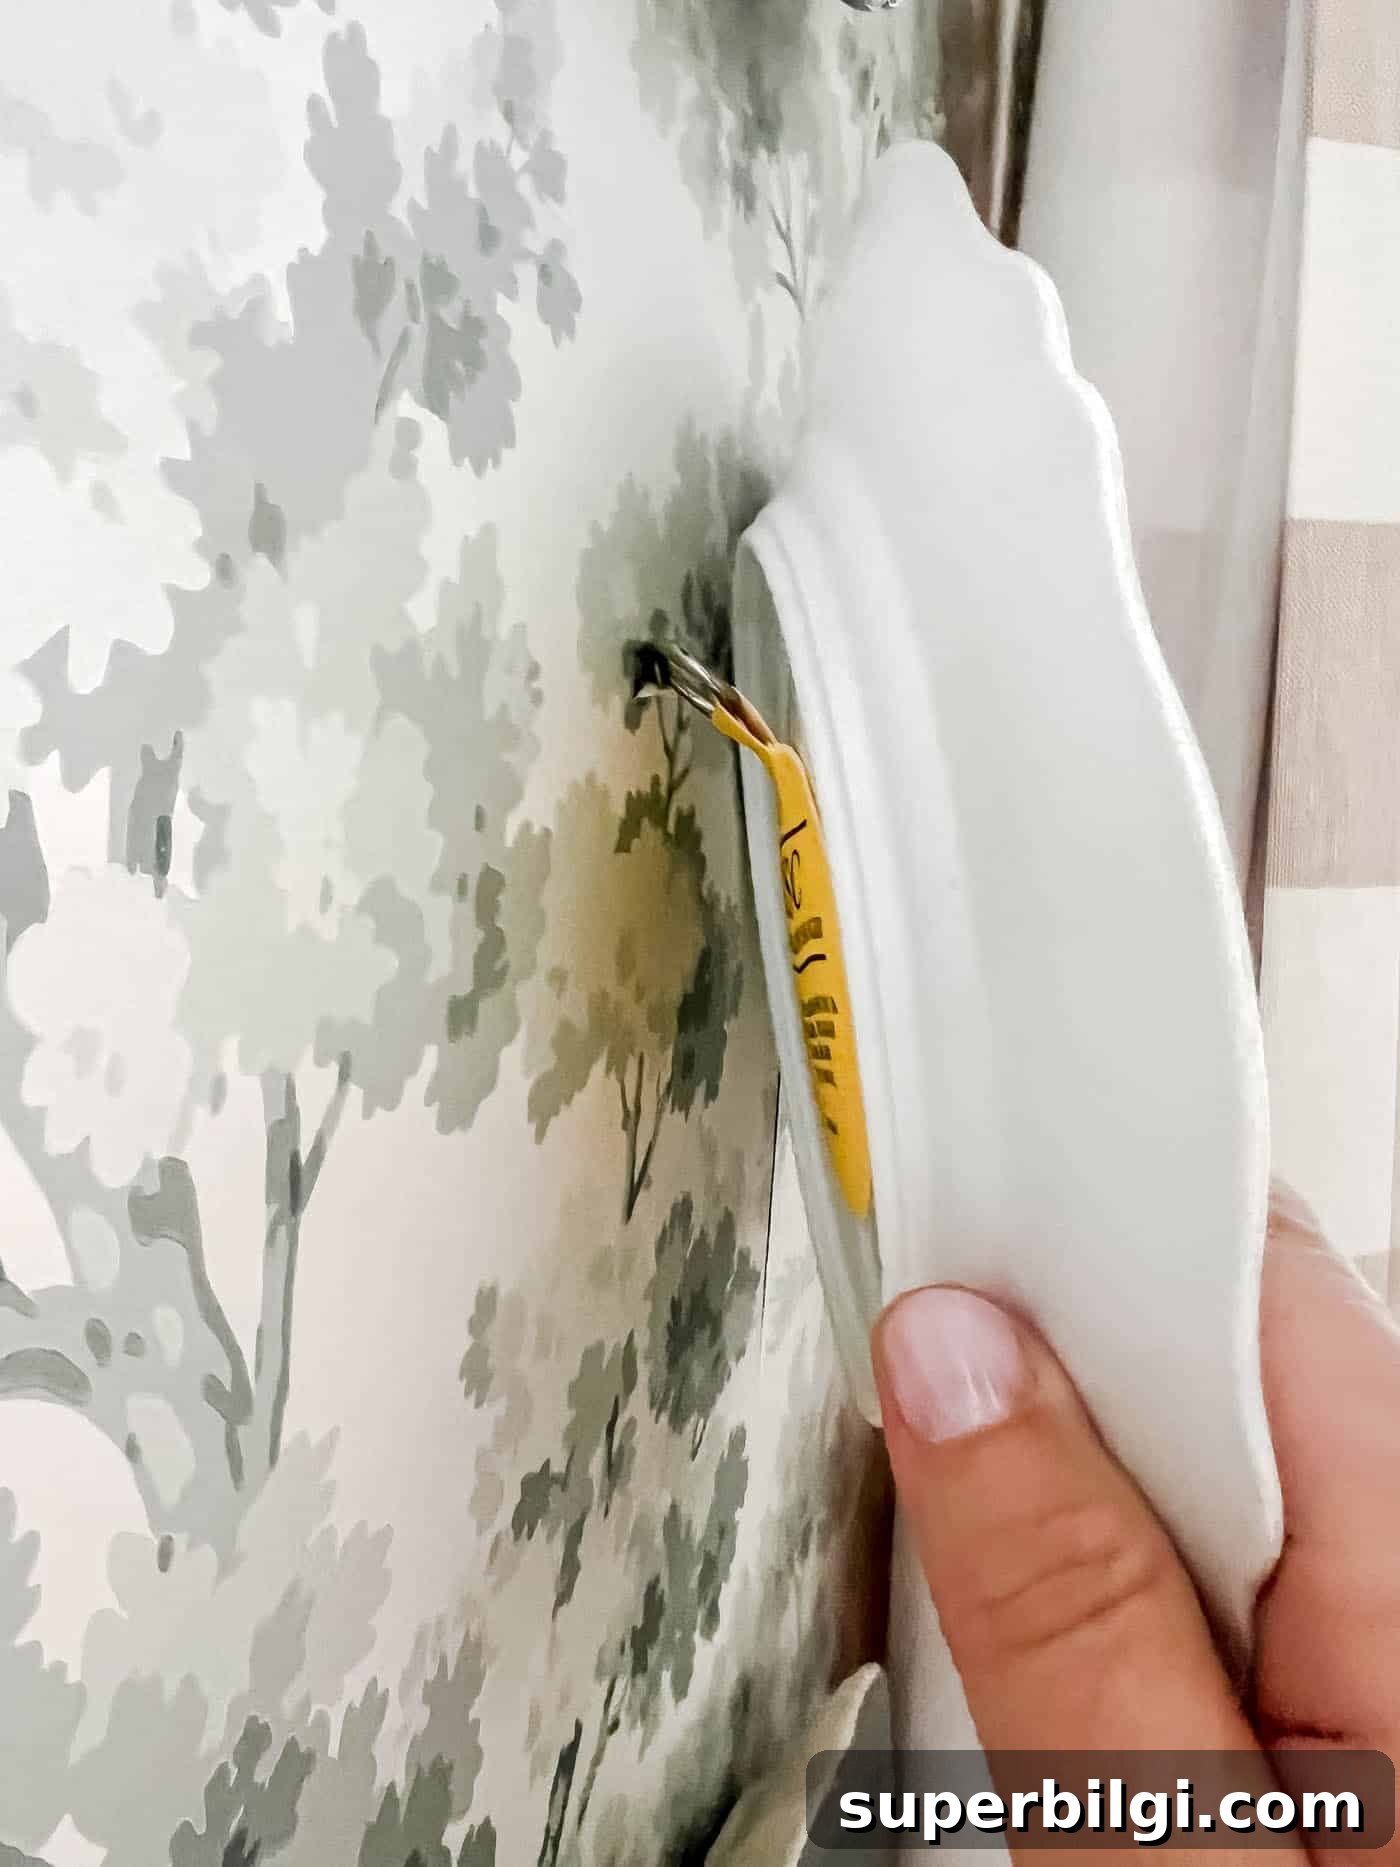
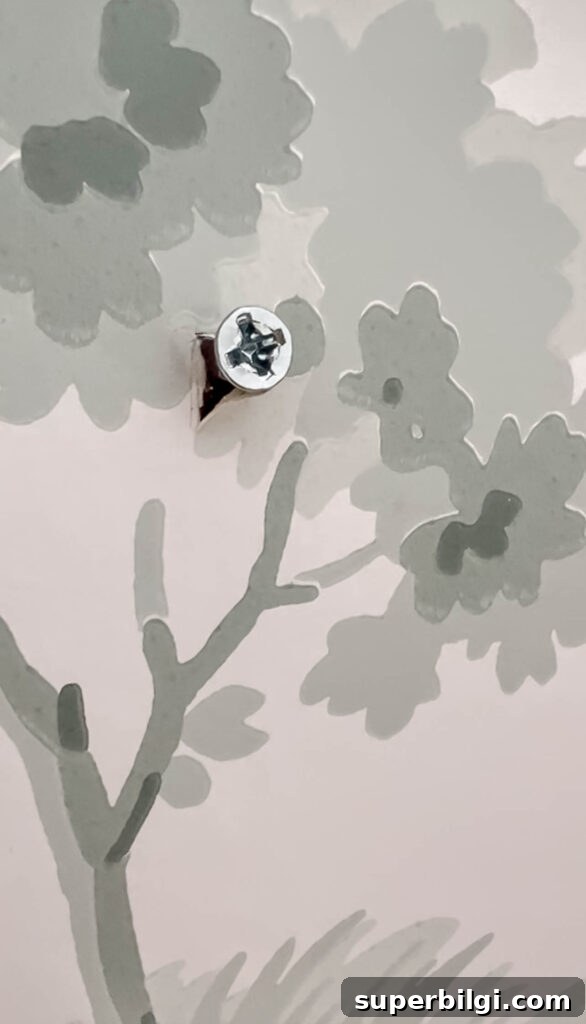
Tip for hanging on wallpaper: Cut and fold back a small piece of wallpaper where you’ll place the nail or screw. When you remove the plate, you can fold the paper back to conceal the hole.
5. Step Back & Smile
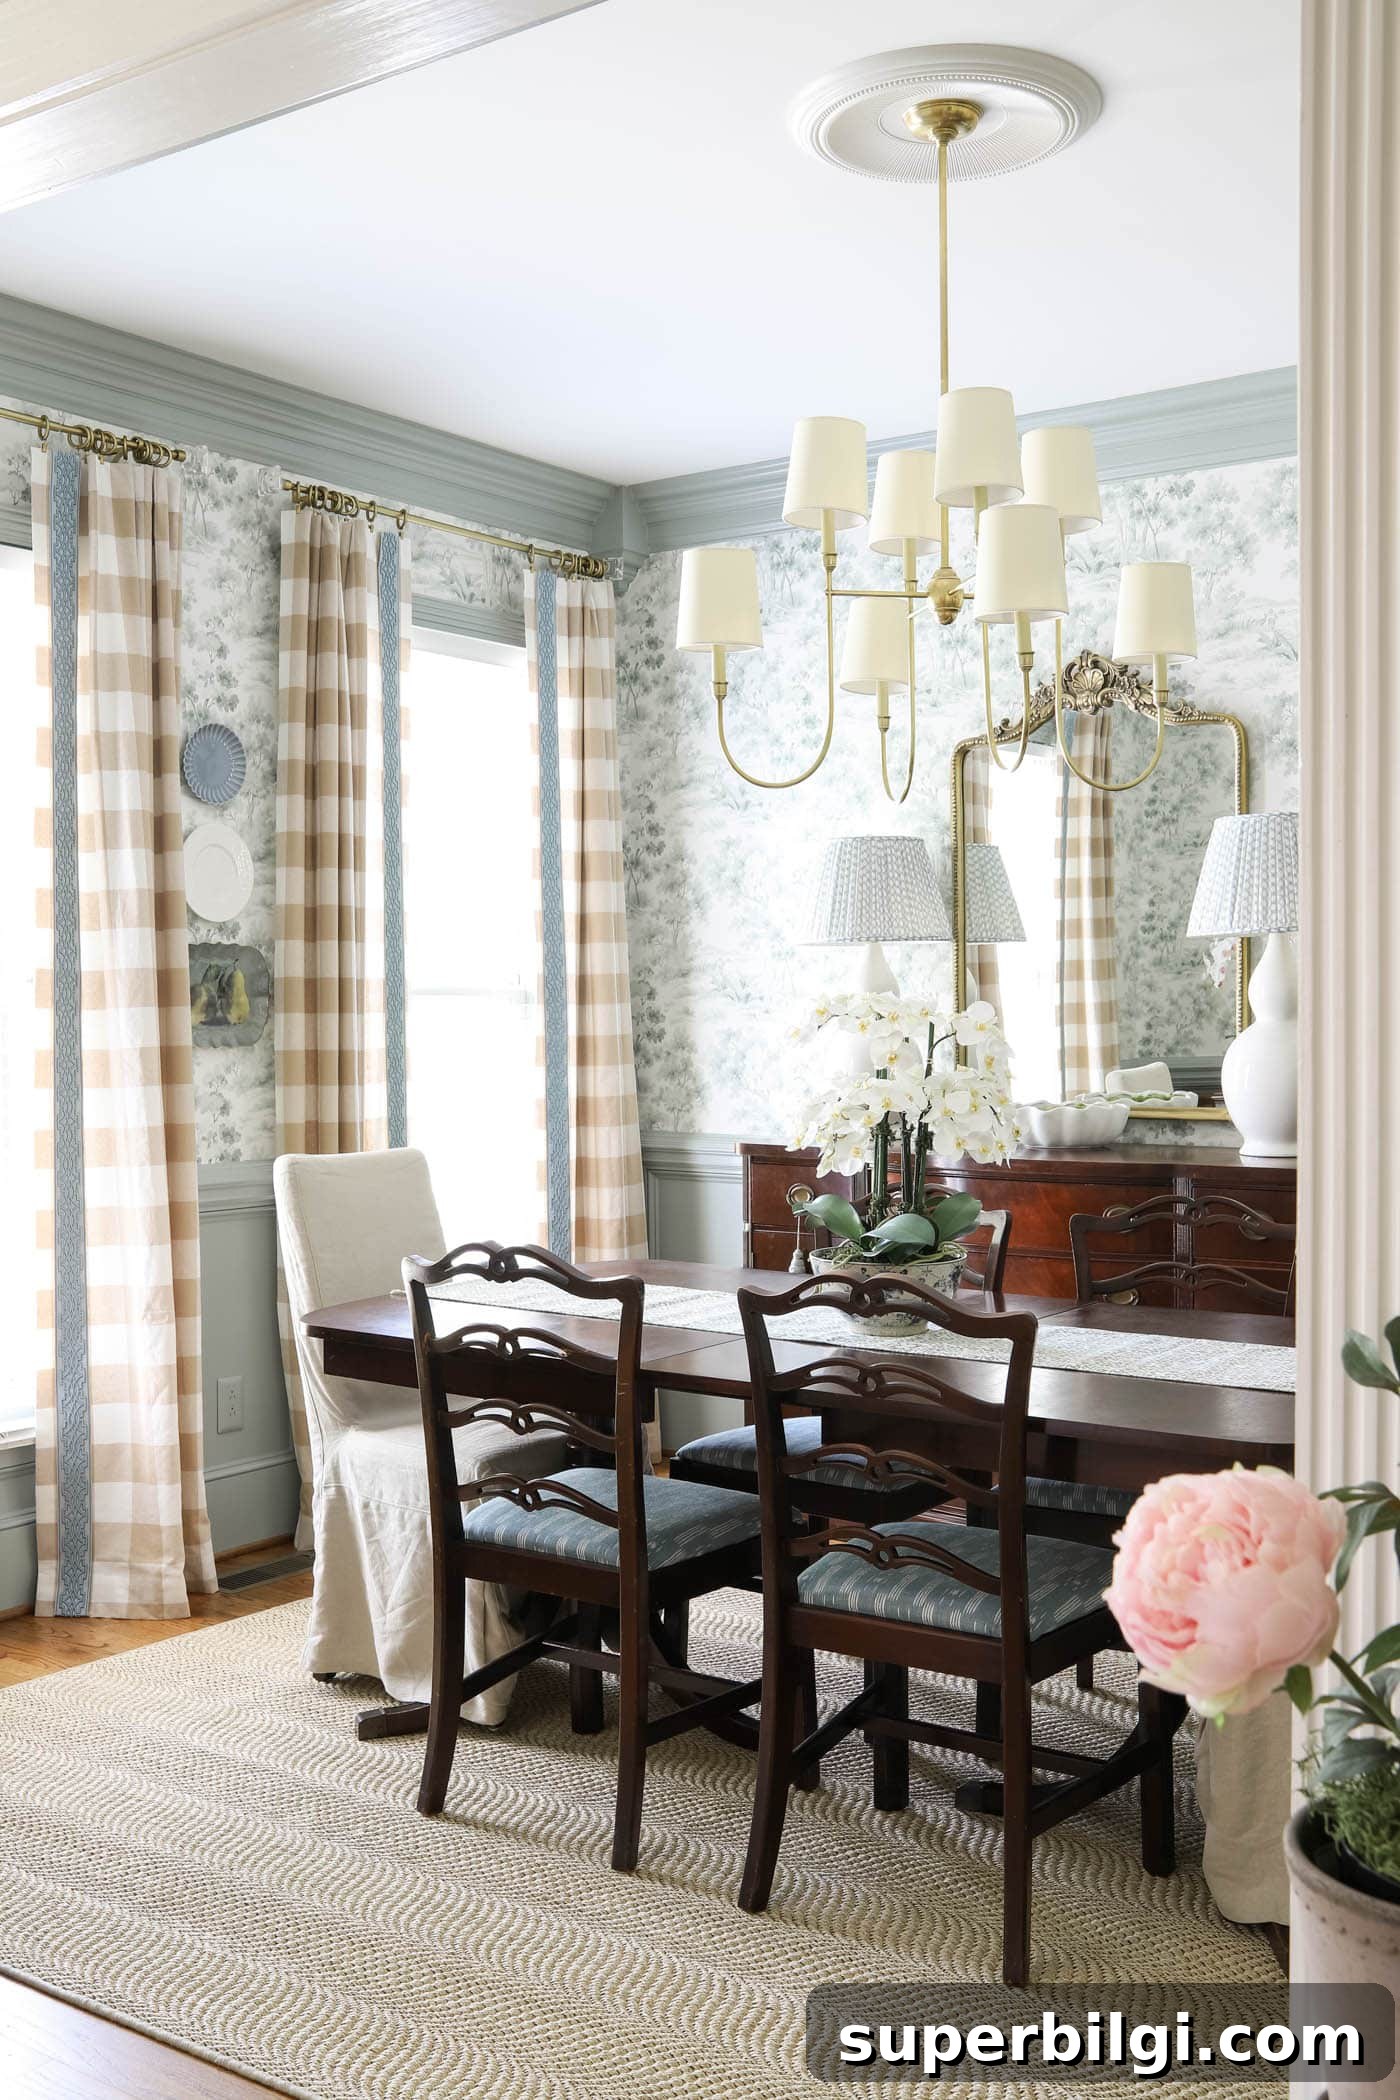
Standing back and seeing your favorite dishes on the wall is deeply satisfying. A plate wall works in a dining room, kitchen, hallway, or even a bathroom, and instantly adds charm and personality to your home.
A Few Extra Tips
- Damage-free options: Consider Command picture hanging strips if you’re in a rental or want to avoid wall damage—ensure the plate back is smooth and flat.
- Create texture: Slightly overlap plates or mix in a small framed art piece to add depth.
- Balance the composition: If one side feels visually heavy, swap plates or shift spacing to even it out.
- Use what you love: Plates don’t need to match perfectly—quirky mixes often look the most charming.
Final Thoughts
I love passing my plate wall every day. It tells a story, makes the room feel like us, and was a simple, affordable project. If you’ve been thinking about doing this, don’t worry—you can absolutely do it, even without prior DIY experience.
Have you ever hung plates on a wall or do you have a special thrifted or gifted dish you’d like to display? It’s a lovely way to celebrate what you love in your home.
Related posts you might enjoy:
- How to Name A House: A Fun and Creative Guide
- Trash to Treasure: Peacock Framed Art
- Before & After: Lighting Upgrades That Made Our Home Cozy
- Decorating with Hydrangeas
- Small Porch Decorating Ideas