
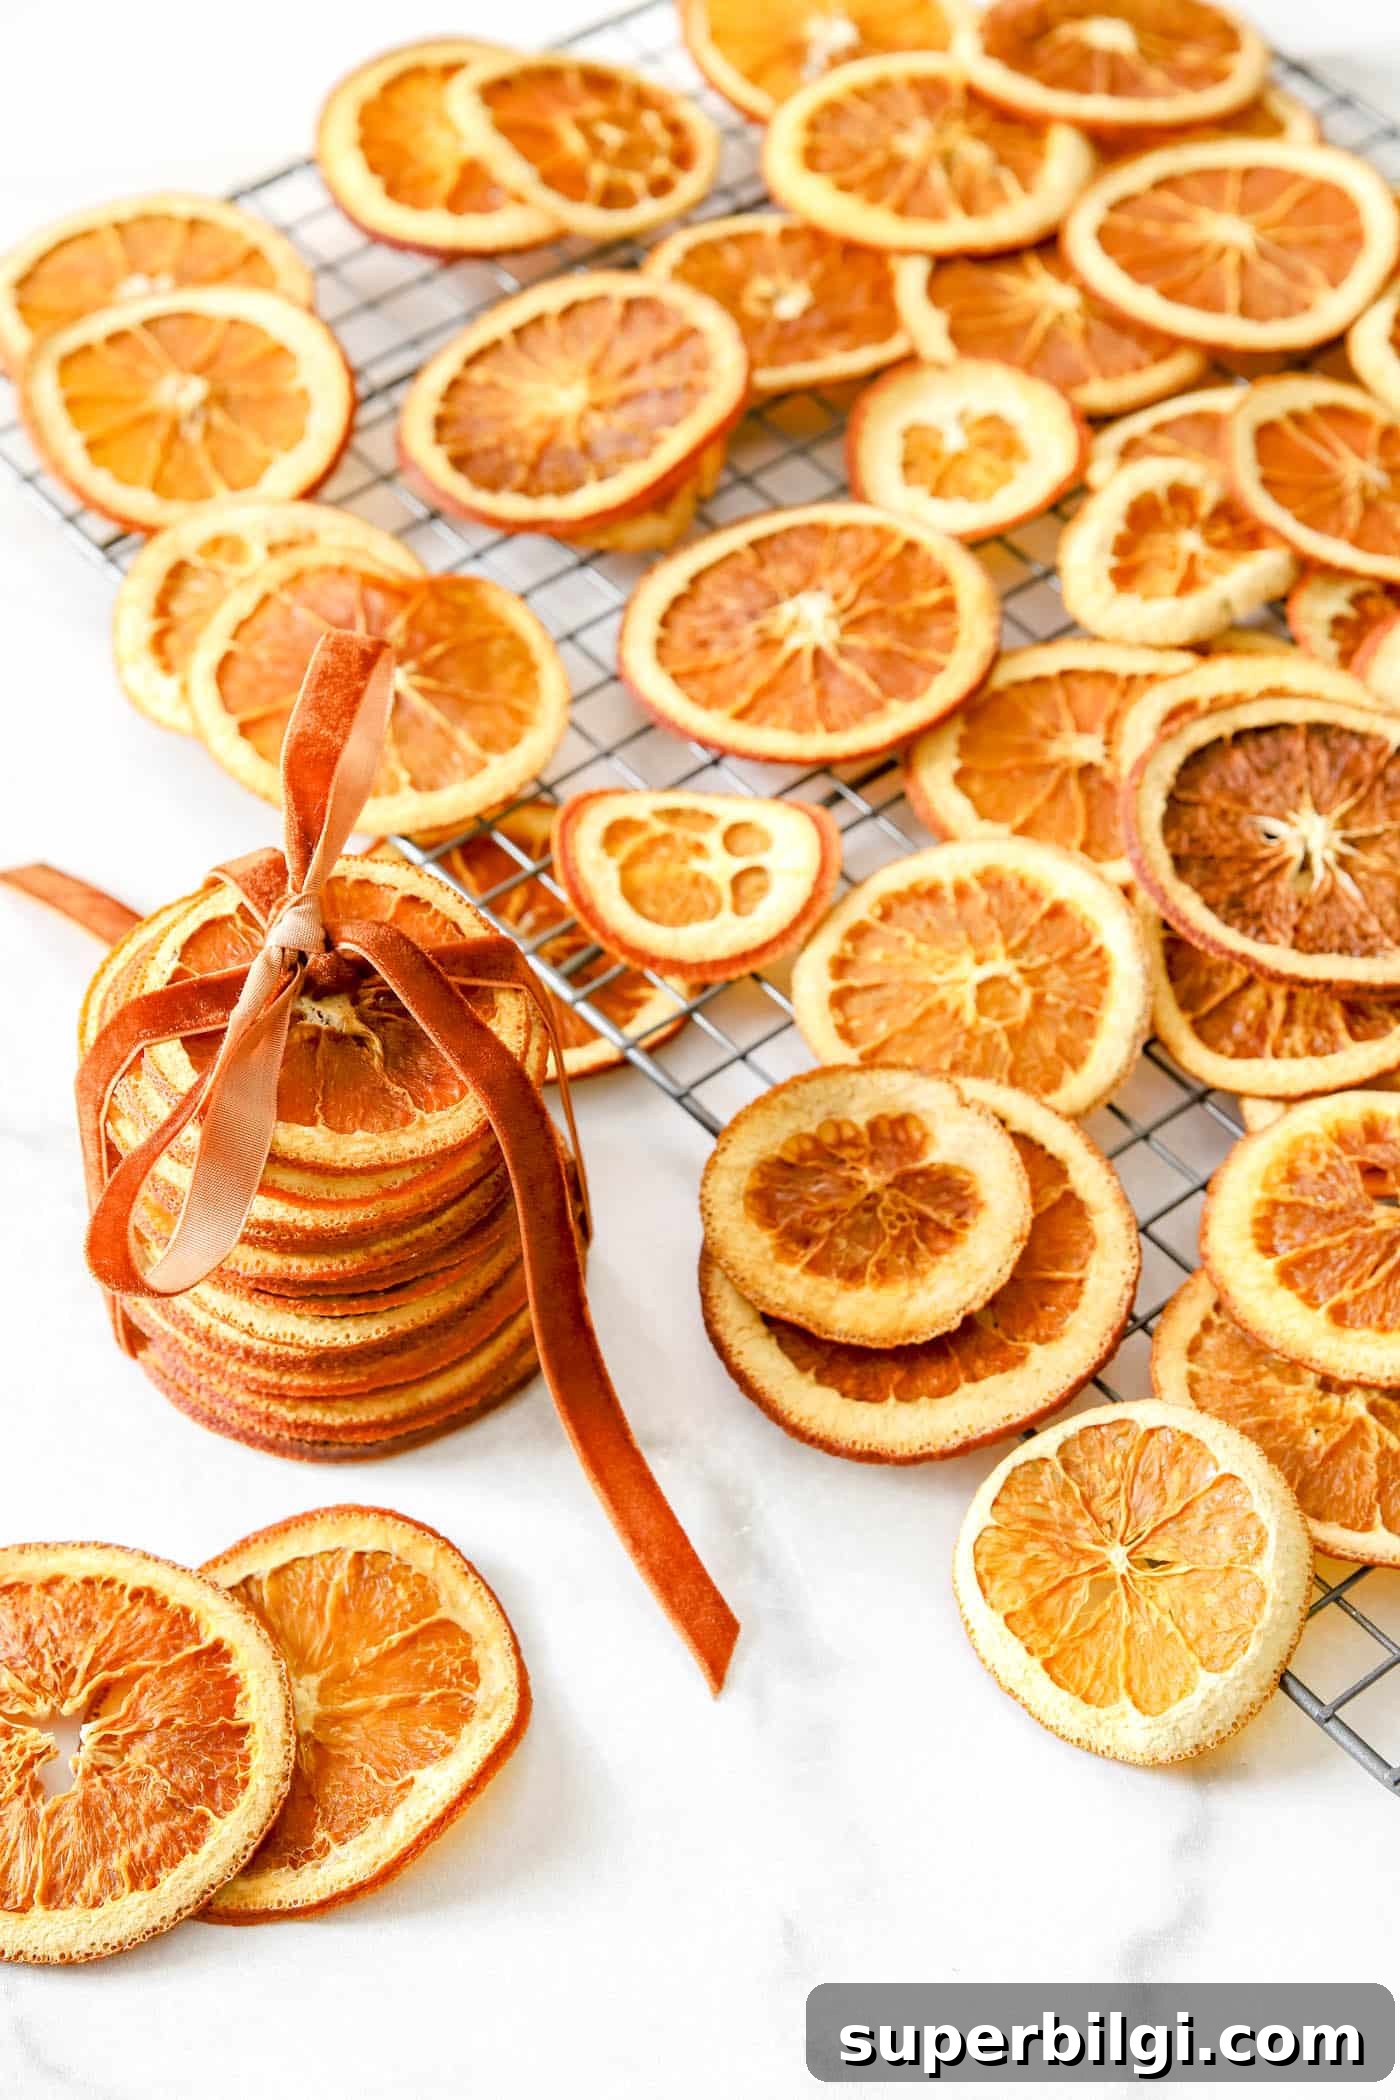
Orange slices aren’t just a snack—they’re an easy, beautiful material for DIY home decor and crafts. Dried orange slices add natural color and texture to garlands, wreaths, potpourri, ornaments, and drink garnishes. They work year-round but shine in holiday and rustic styles, bringing a warm, handmade touch to any space.

The best part is that drying orange slices is affordable and simple. A few oranges and a little time will yield charming, long-lasting decorations you made yourself.
I hadn’t dehydrated oranges until recently, and after sharing a short video I received several questions about the process. After testing different approaches, I’ve refined the easiest, most reliable method for drying orange slices at home.
This guide walks you through the steps, shares tips for consistent results, and offers creative ideas for using your dried orange slices. Let’s get started!
This post contains affiliate links for your convenience. See my full disclosure policy.
Why Dry Orange Slices?
Dehydrated orange slices have become a favorite among crafters and decorators for several reasons. They look beautiful, are budget-friendly, and are eco-friendly compared with many manufactured decorations. Their bright color and translucent centers catch light beautifully, making them ideal for trees, windows, or backlit displays. Plus, they’re versatile—use them in garlands, potpourri, wreaths, or as drink garnishes.
They’re Pretty
Dried orange slices glow when light passes through them and add a warm, rustic feel to boho, farmhouse, cottage, or holiday decor.
Cost-Effectiveness
You don’t need expensive decorations. A handful of fresh oranges will produce many slices for a fraction of store-bought ornament costs—and, if dried and stored properly, they can last a long time.
Eco-Friendly
Dried fruit is biodegradable, making it a greener choice for holiday and everyday decor.
Versatility
Use dried slices in garlands, potpourri, wreaths, drink garnishes, or as scented ornaments. They’re suitable for many seasons and styles.
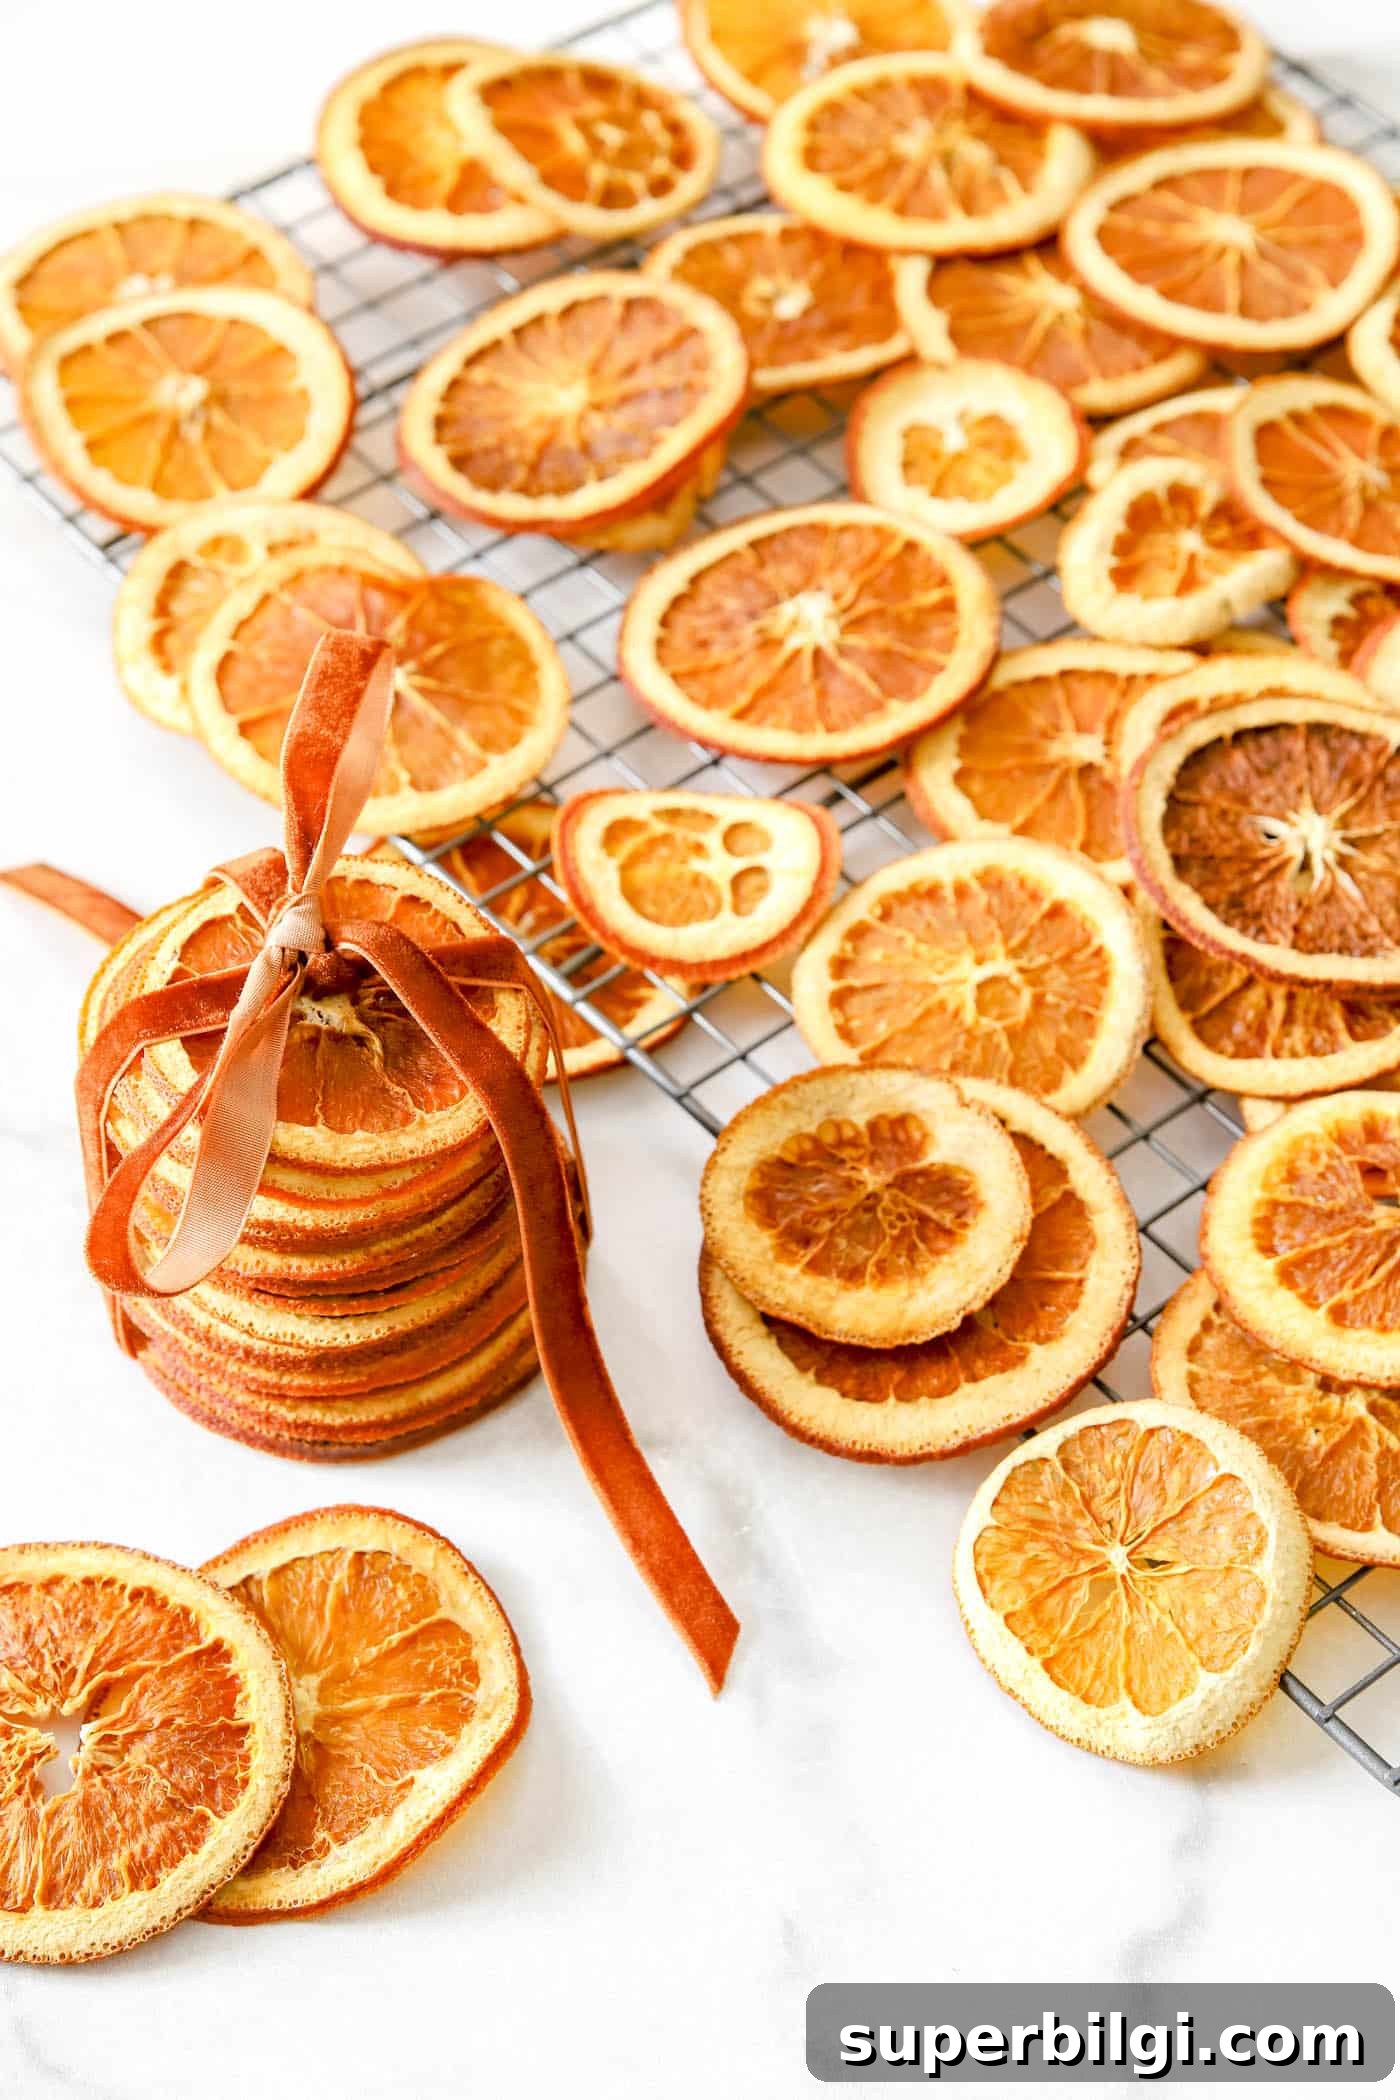
How to Dry Orange Slices
The oven method is straightforward: slice, blot, bake low and slow, and finish by air-drying. Alternatively, a dehydrator yields great results, too. Below are the tools and step-by-step directions.
Materials Needed:
- Fresh oranges—navel or firm varieties work well
- Sharp serrated knife or mandolin slicer
- Cutting board
- Baking tray
- Parchment paper
- Oven or food dehydrator
- Paper towels
- Wire cooling rack (for final air-drying)
Steps for How to Make Dried Orange Slices in the Oven
1. Preheat the Oven
Start low—around 170°F (75°C). Low, steady heat dries the fruit evenly without burning. You can raise the temperature slightly as needed, but avoid exceeding about 200°F (93°C).
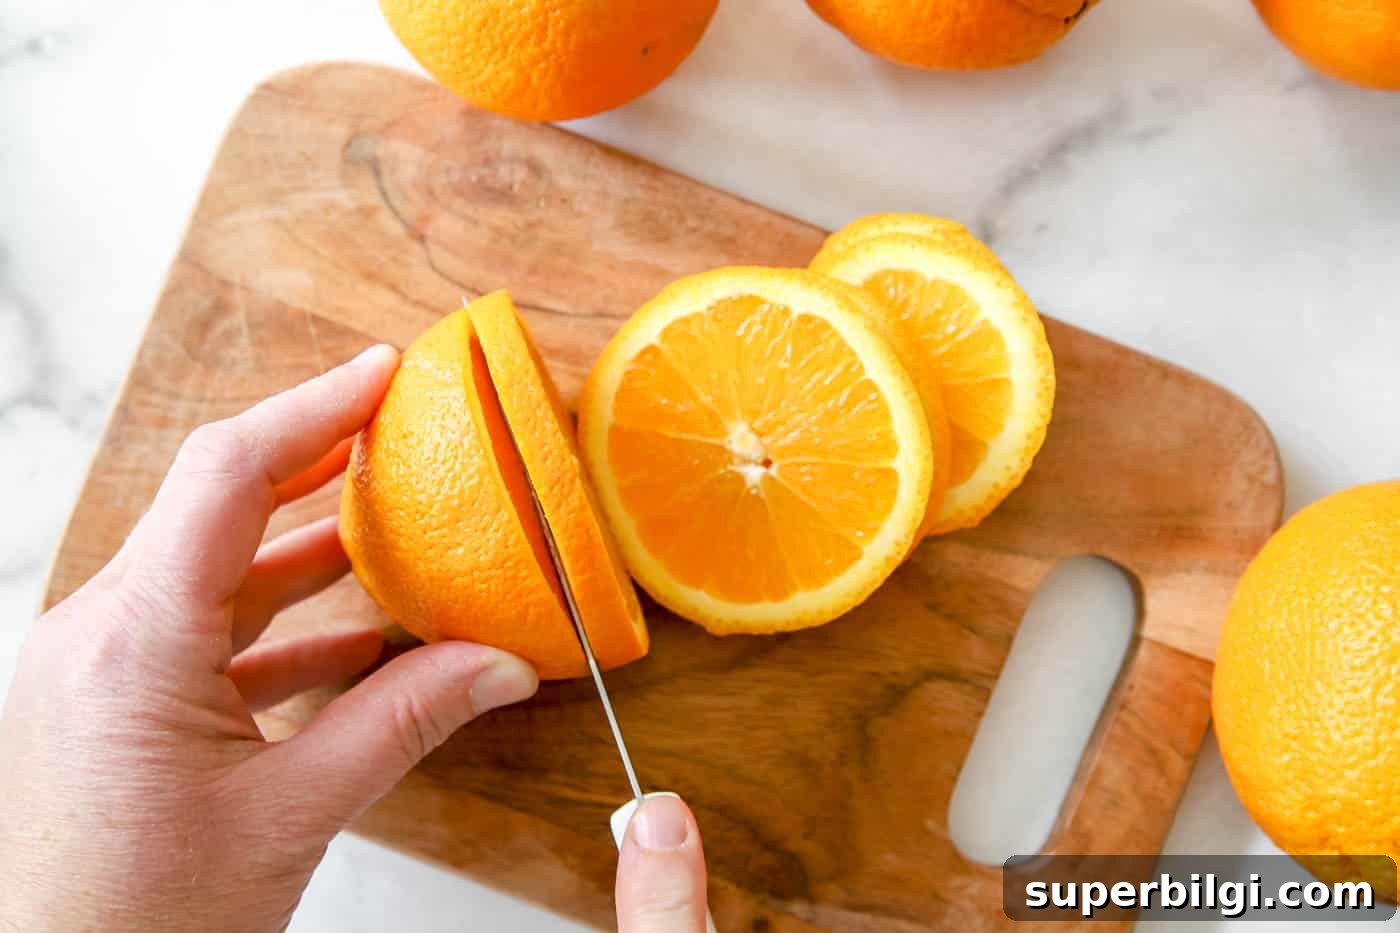
2. Slice the Oranges
Slice the oranges to about 1/4 inch (6 mm) thick. Even thickness is important: slices that are too thick take much longer to dry, and slices that are too thin can curl and burn. A mandolin makes uniform slices fast—use it carefully.
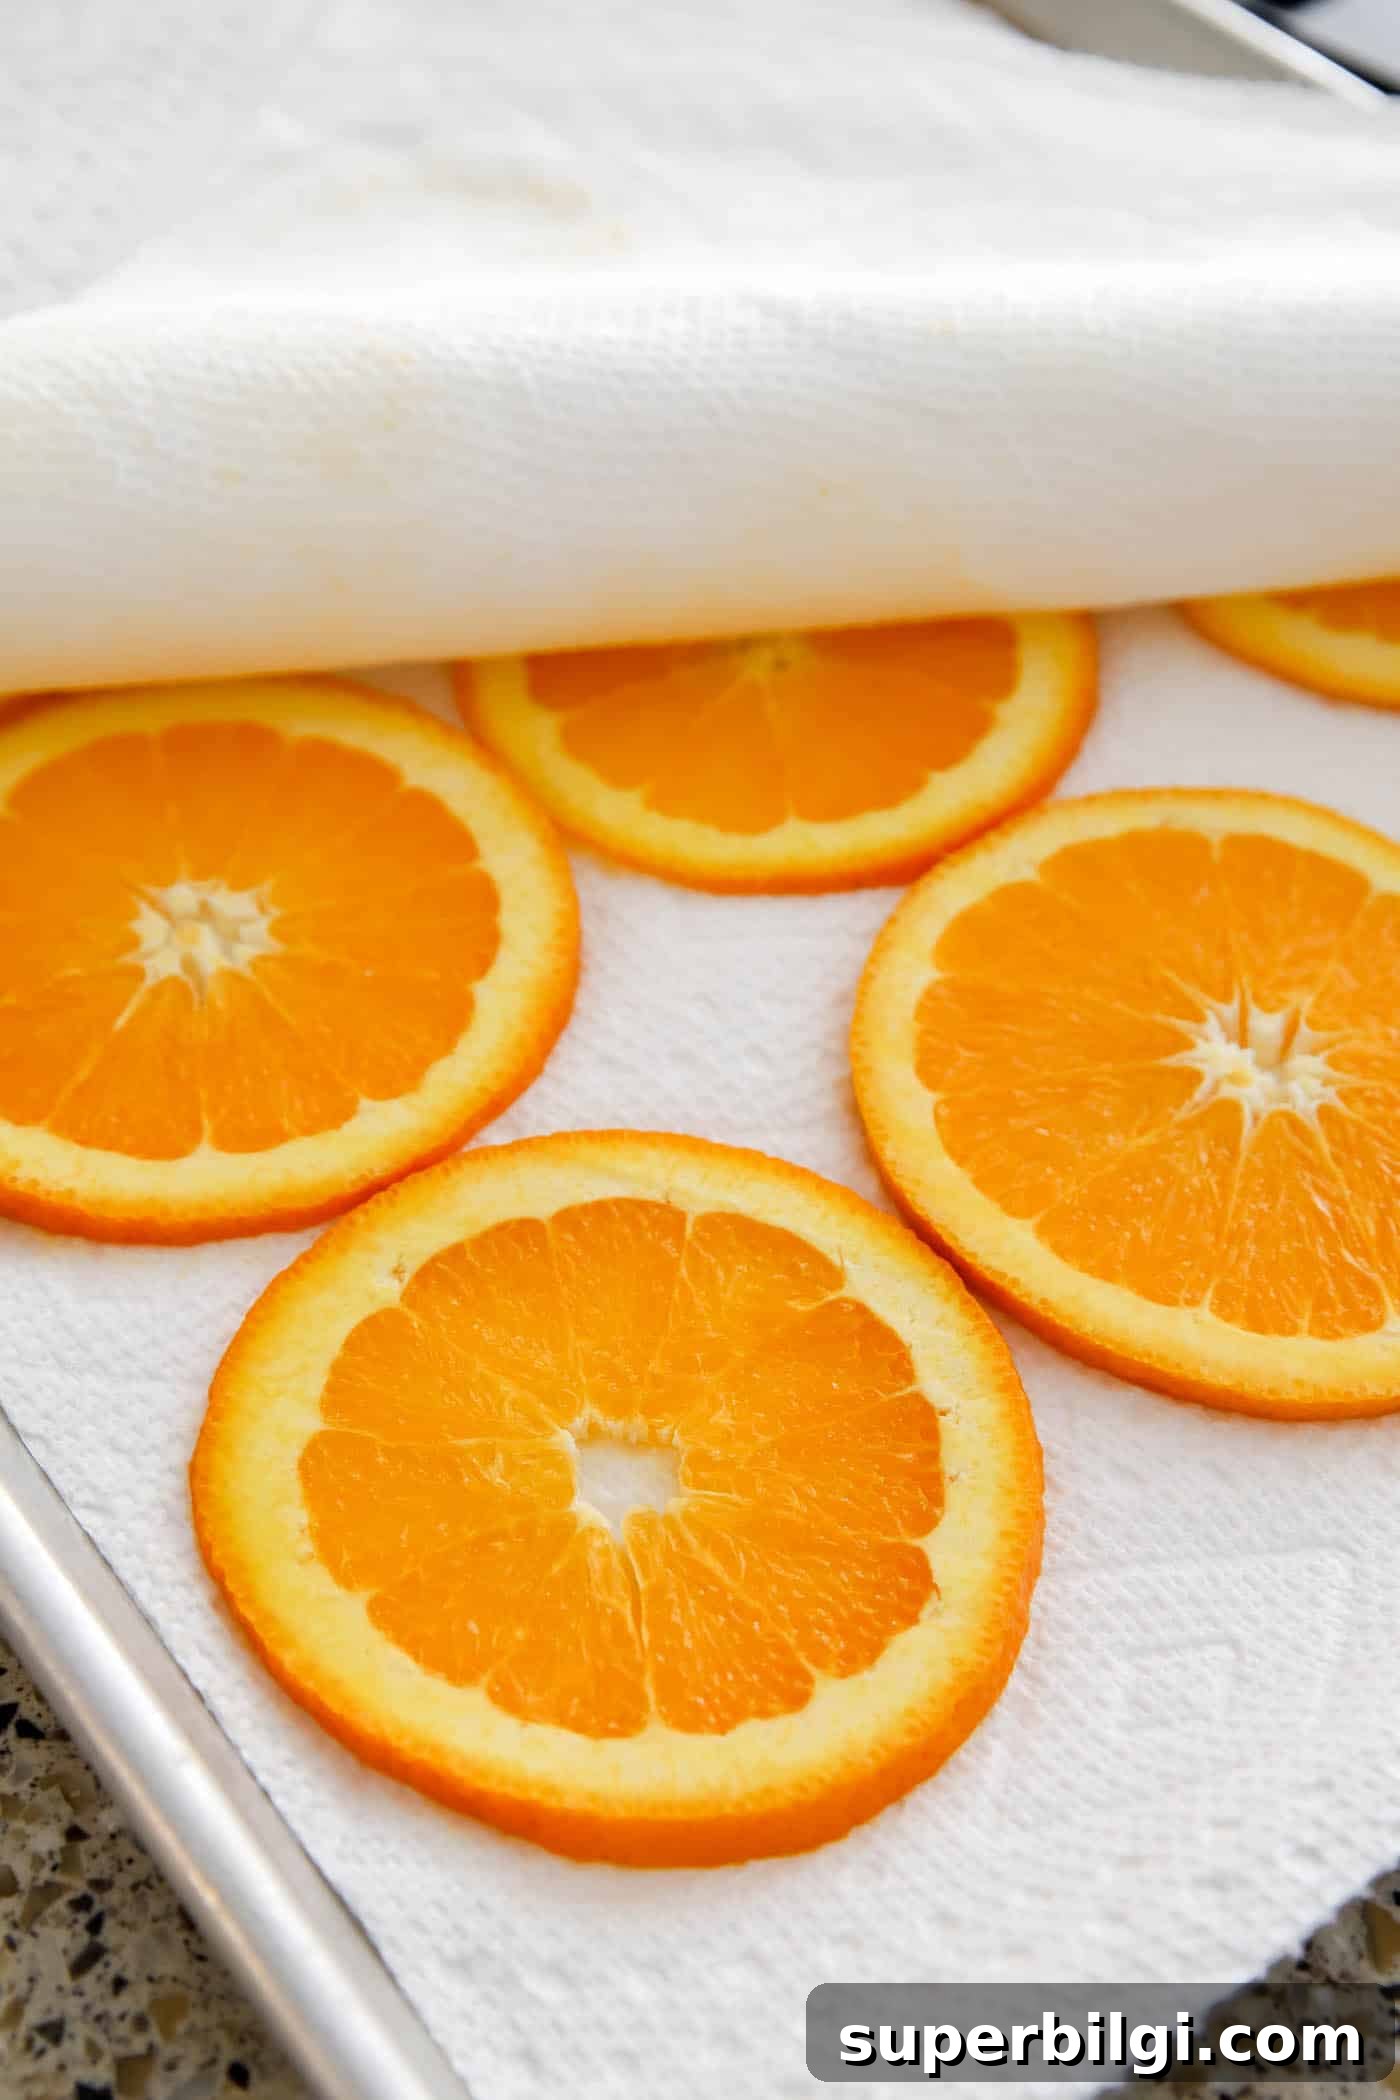
3. Remove as Much Moisture as Possible
Key step: blot each slice with paper towels to remove surface moisture before baking. Laying slices on layers of paper towel and pressing gently helps pull out extra juice. Re-blot the slices each time you flip them while drying—this speeds the process and reduces bubbling or burning.
Quick Tip: Sprinkle Some Sugar
- Dust slices lightly with powdered sugar before drying for a brighter color and a subtle sheen.
- The sugar can make the finished slices sweeter if you plan to use them as edible garnishes.
4. Arrange Oranges on the Baking Tray
Line the baking tray with parchment paper and arrange slices in a single layer with a little space between them. Avoid overlapping to ensure even drying. Parchment helps wick moisture away and prevents sticking.
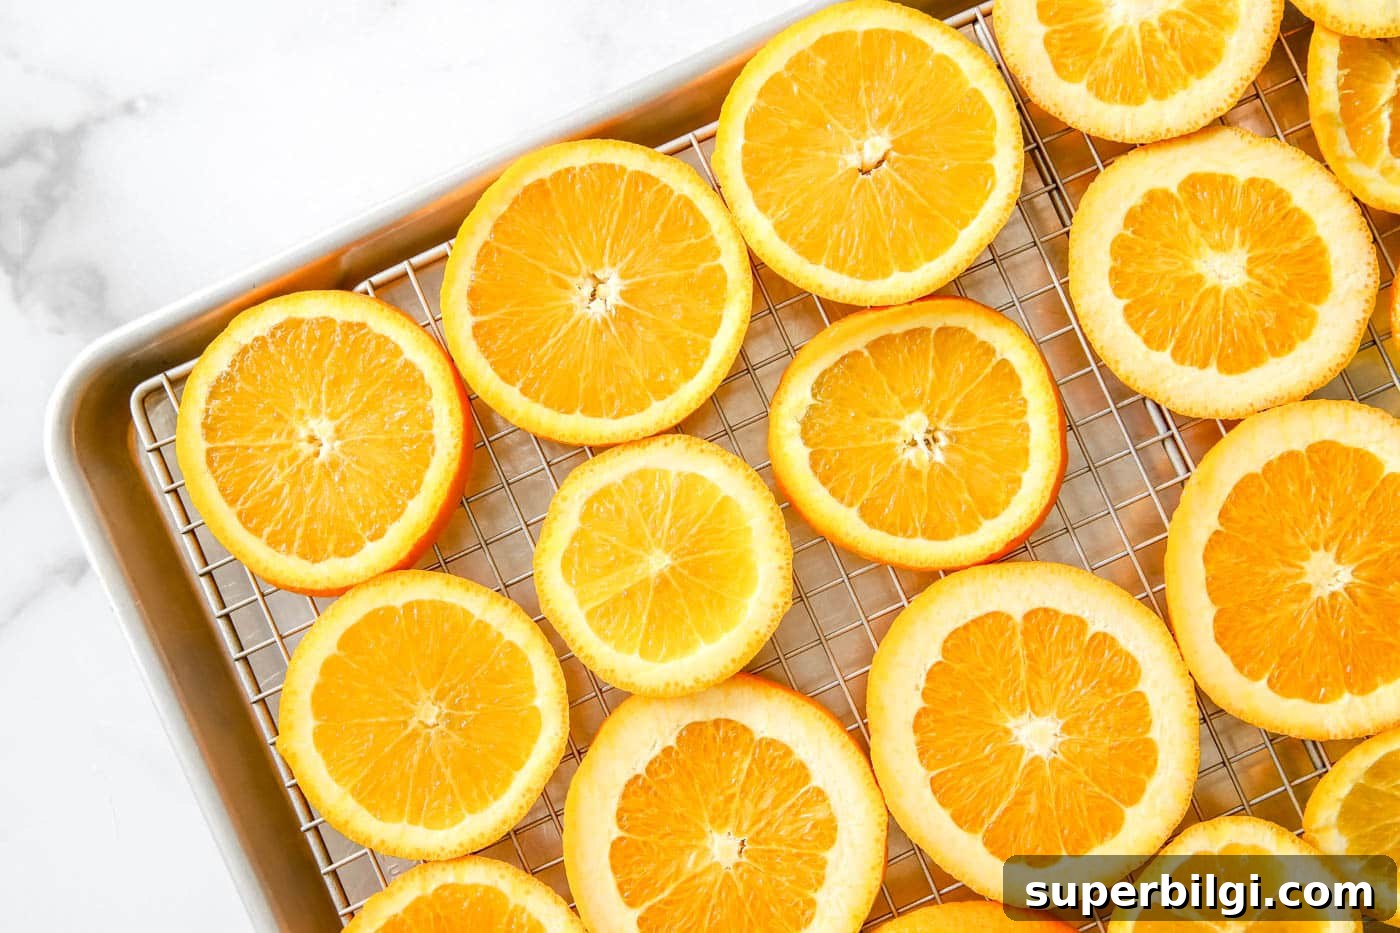
5. Bake Low and Slow & Flip Often
Bake for several hours—generally 3–5 hours or more depending on thickness and your oven. Flip the slices every 20–30 minutes and blot any released moisture. Raise the oven temperature by about 10°F each hour if needed, but stay below 200°F. Remove slices as they finish; some will dry faster than others.
You’ll know they’re done when the flesh is firm and the slice makes a dull “thunk” if dropped onto the counter instead of feeling soft.
6. Cool and Cure
Transfer finished slices to a wire rack and let them air-dry for 24 hours to ensure any remaining moisture evaporates. This curing step helps them firm up and prevents mold during storage.
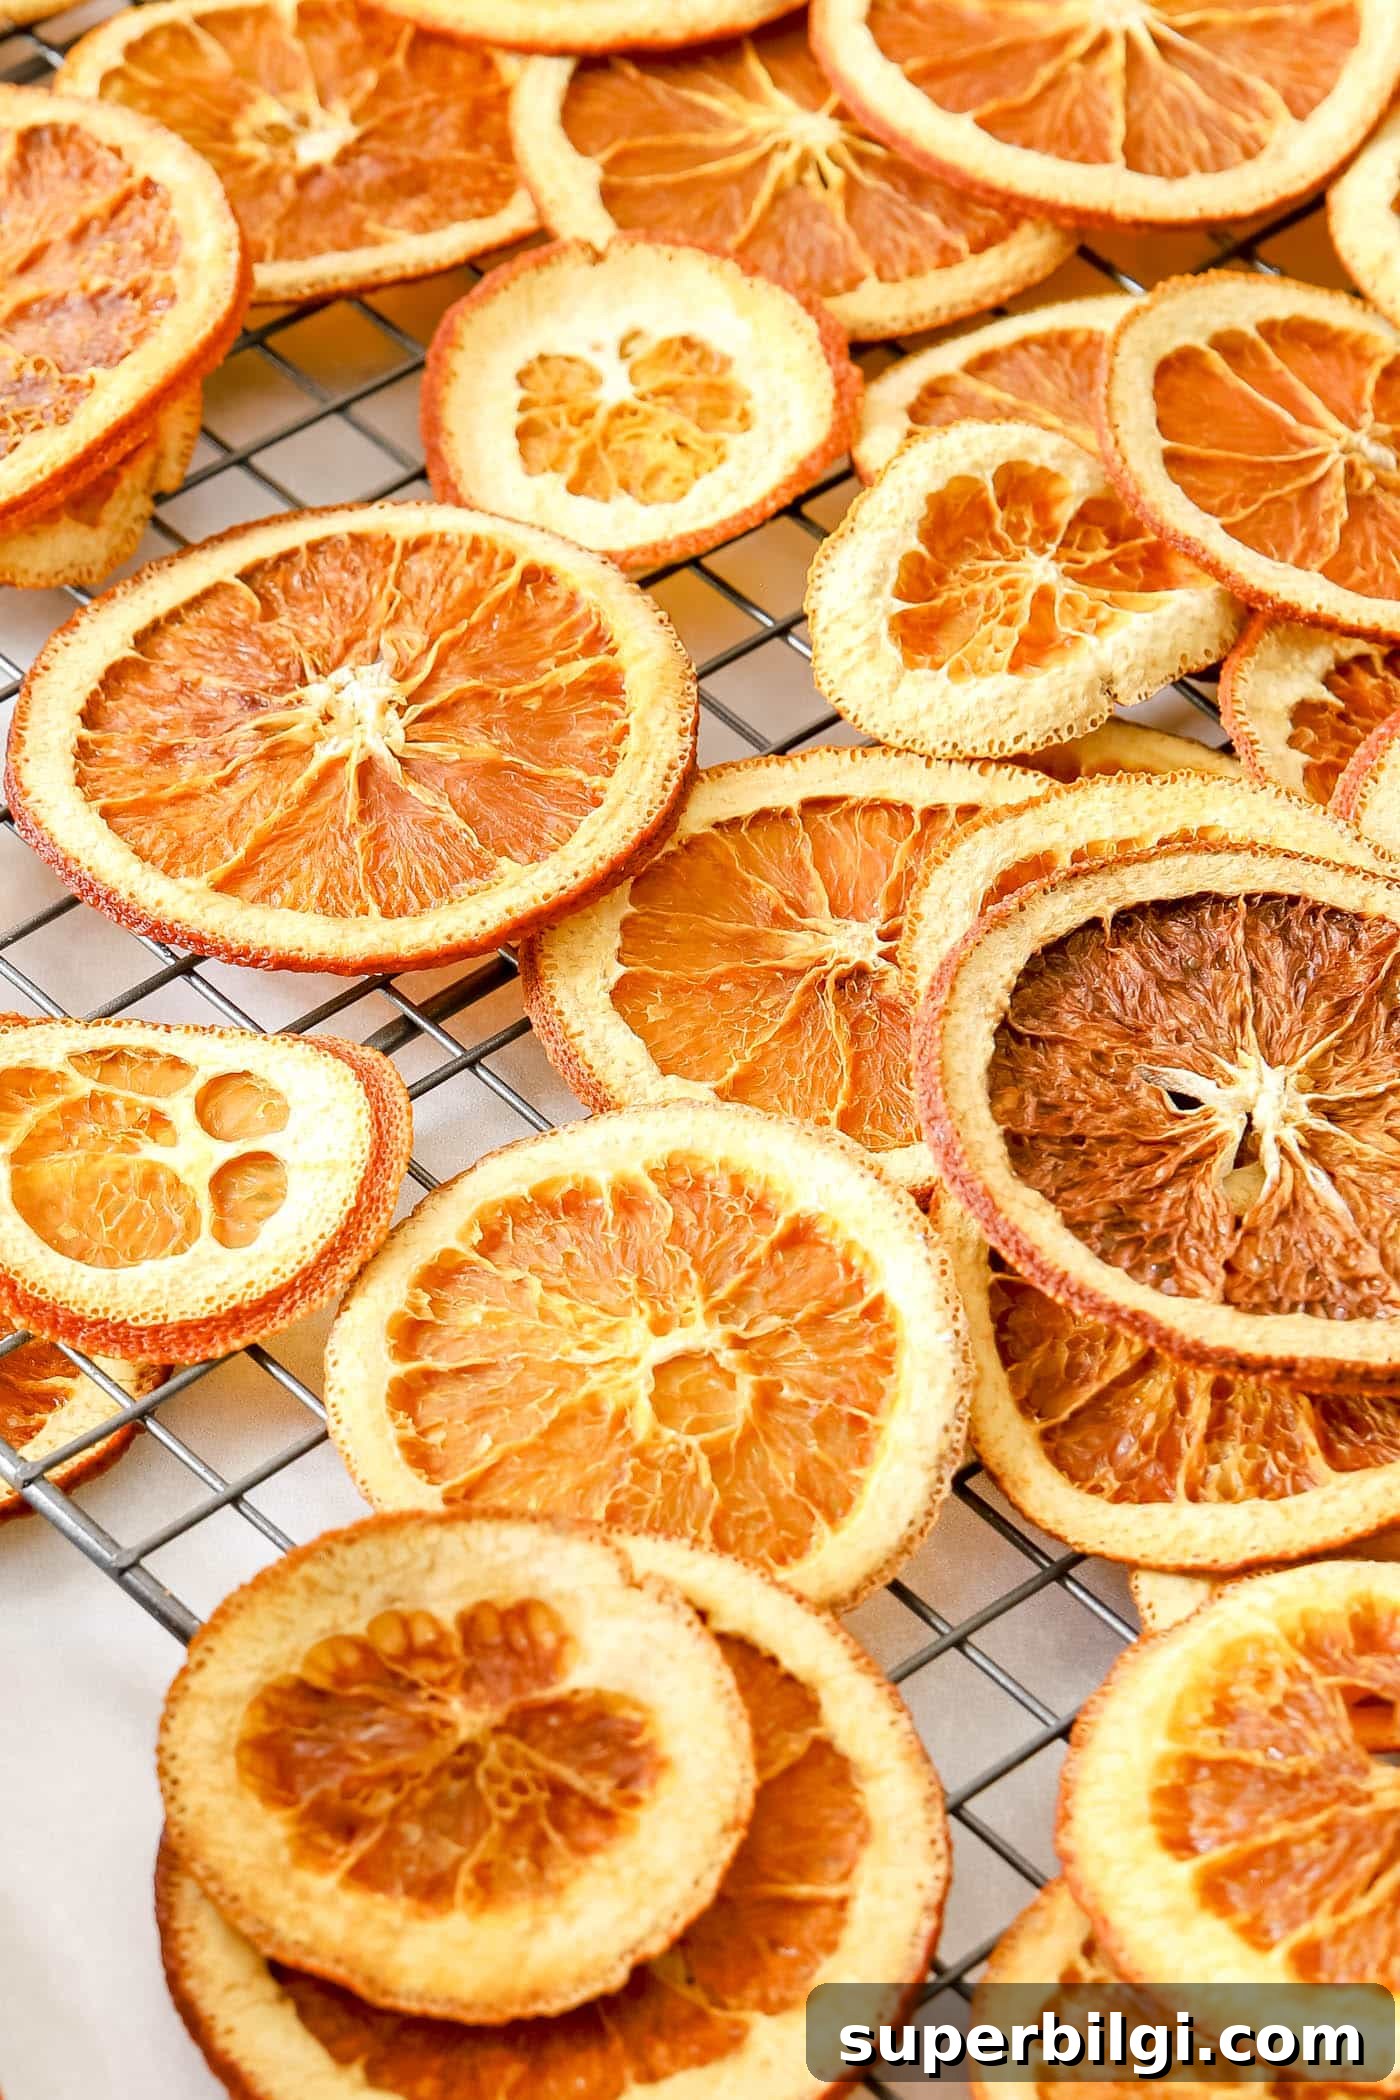
Alternate Method using a Dehydrator
A dehydrator set to about 135°F (57°C) works well. Lay slices flat on the trays and expect a drying time of 6–12 hours depending on humidity and slice thickness. Dehydrators offer consistent airflow and make the process hands-off.
Pro Tips for Perfectly Dried Orange Slices
- Even slices: Keep thickness consistent for even drying.
- Monitor heat: Ovens vary—check frequently to avoid burning.
- Mix citrus: Add lemon, lime, or grapefruit slices for color variety.
- Boost scent: Sprinkle cinnamon or cloves on slices before drying, or apply a drop of essential oil afterward for extra aroma.
Creative Ways to Use Orange Slices
Once dried, orange slices have many uses. Here are a few favorites:
1. Holiday Garland
String slices on twine or ribbon to make a natural garland. Add cinnamon sticks, star anise, or cranberries for festive texture and scent.
2. Home Decor
Place slices in a glass vase as a simple centerpiece, tuck them into wreaths, or glue them to gift tags for an elegant handmade touch.
3. Potpourri or Stovetop Simmer Pot
Combine dried oranges with dried flowers, cinnamon, cloves, and essential oils for a natural potpourri. For a simmer pot, mix slices with water, rosemary, cinnamon sticks, and spices—heat gently on the stove for a fragrant home.
4. Drink Garnishes
Use dried slices to garnish cocktails, mocktails, mulled wine, or tea. They add visual charm and a citrus aroma.
5. Scented Ornaments
Thread ribbon through a slice to hang it as an ornament. Add whole cloves for a classic old-fashioned holiday scent.

How to Store Dried Orange Slices
Store your dried slices in an airtight container in a cool, dry place. Properly dried and stored slices can keep for several months; however, their color may gradually fade. If you plan to use them for food or drinks, keep them in a food-safe container away from humidity.

Add a Rustic Charm to Your Projects Today
Drying orange slices is a fun, sustainable project that adds warmth and personality to your home. Whether you’re crafting holiday garlands, garnishing drinks, or making potpourri, these natural slices are an easy way to bring handmade beauty into your space. Try it this weekend and enjoy the cozy, citrusy results.
Have your own tips or creative ideas for dried orange slices? Share them in the comments!
More Posts You Will Love:
- Navy & Orange Free Fall Printables
- Vanilla & Orange Spice Room Freshener Spray
- Orange Creamsicle Fruit Dip
- Gold, Blue and Brown Christmas Decor
- Christmas Gift Wrapping Ideas