
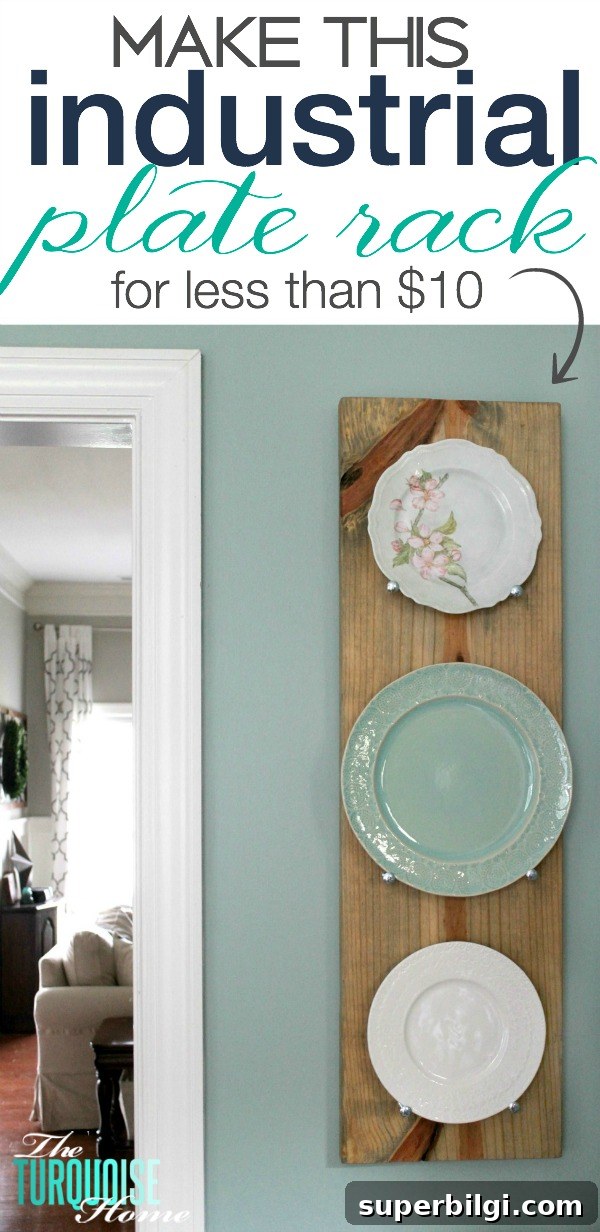
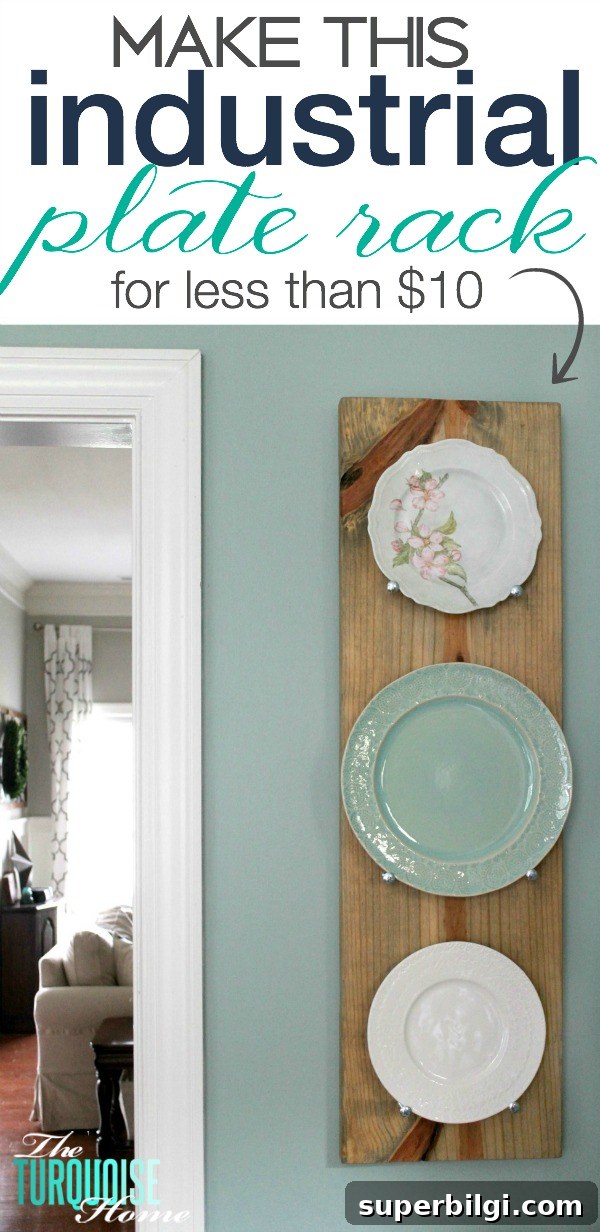
Create a DIY industrial plate rack to display your favorite plates on the wall. This project uses just a couple of inexpensive supplies and six simple steps.
This industrial-style plate rack is an easy, low-cost project that makes a striking piece of wall décor. I built mine using materials I already had on hand, but if you need to buy anything, the total cost should be under $10. The result is a rustic, practical display that keeps plates safe while showing them off.
The idea came while browsing decorating ideas and remembering a simple plate wall I admired. I had three decorative plates stored away and wanted an easy backdrop so the plate colors would stand out against the wall. A quick search led me to a straightforward approach for making a plate rack from a single board and a few carriage bolts. I adapted the concept to fit my plates and finished the project in a few hours.
This project is great for clearing storage clutter, using leftover materials, and producing a custom piece of decor in an afternoon. Below are the materials and step-by-step instructions I used to build my plate rack.
Materials you will need
- Carriage bolts (about 2″ long work well)
- One 2×12 board cut to the desired length
- Strong glue suitable for wood and metal (such as a polyurethane glue)
- D-ring hangers or other picture-hanging hardware
- Self-drilling drywall anchors if you cannot secure the rack to a wall stud
- Tools on hand: miter saw or circular saw, sander, drill, measuring tape, pencil
How to make the plate rack
1. Determine the board size
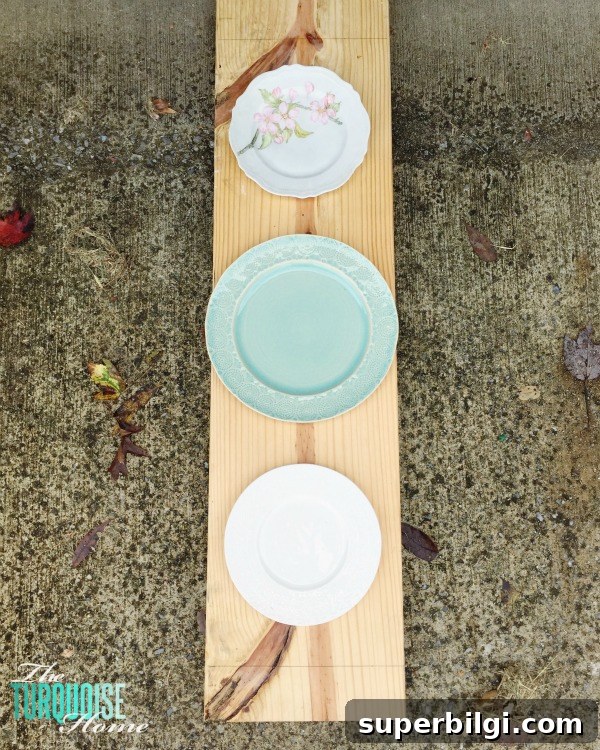
Place the plates on the board to find the ideal spacing, then measure between and around them to mark where the bolts should be placed. If your plates are the same size, you can measure evenly spaced intervals; if they vary, position each plate and mark individually.
2. Cut the board to length
Cut the 2×12 board to the length you determined. A miter saw gives the cleanest cut, but a circular saw will also work fine. Make sure your measurements are accurate so the plates balance visually when mounted.
3. Sand the board
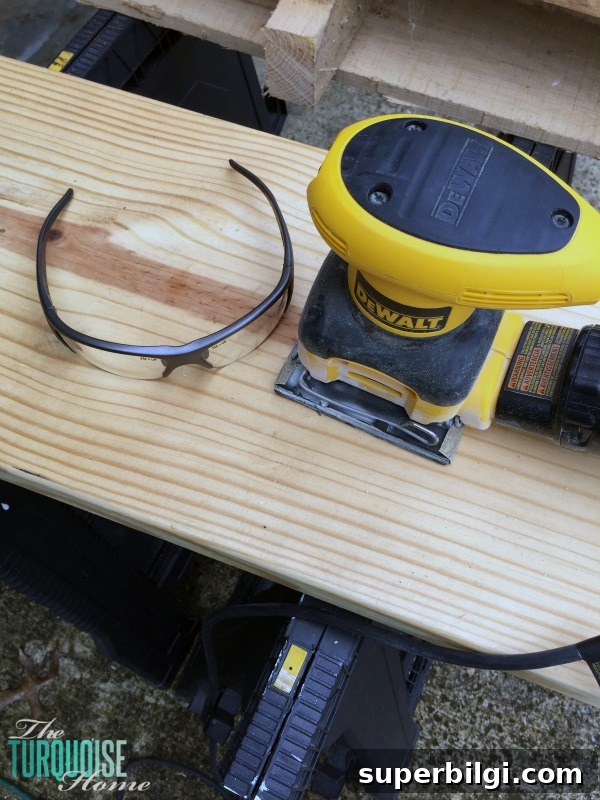
Sand the board to remove rough edges, mill marks, and any blemishes. Sand with the grain to avoid swirl marks. A square orbital sander works well for a smooth finish. Wear eye protection and a dust mask while sanding and cutting.
4. Stain or finish the wood
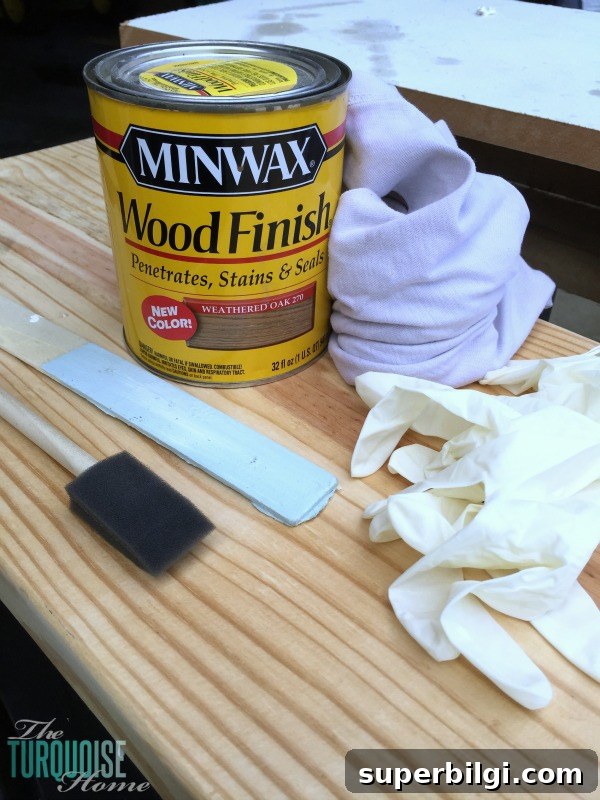
Apply the stain or finish of your choice to match your room’s decor. I used a weathered-oak style stain for a warm, aged look that coordinates well with farmhouse furniture. Allow the finish to dry fully according to the manufacturer’s instructions. Disposable gloves can protect your hands when working with stains and oil-based finishes.
5. Add the carriage bolts
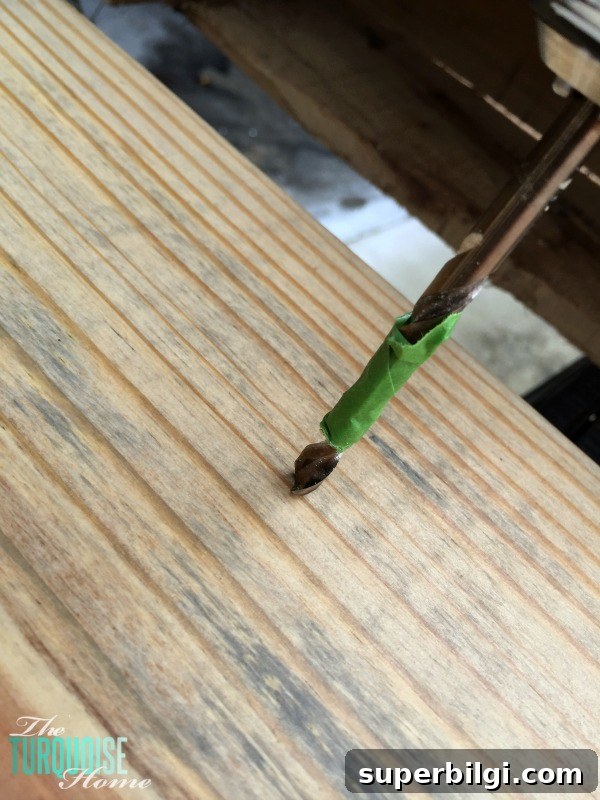
Drill shallow holes where each bolt will be placed. I drilled so about 1/2″ of the bolt would be embedded and approximately 1-1/2″ would protrude to support the plate. Dry-fit the plates to confirm spacing, then glue each bolt into its hole. Use a strong adhesive, and be prepared to wipe away any excess as some glues expand while curing. Keep the bolts aligned while the glue sets.
6. Attach hanging hardware and mount
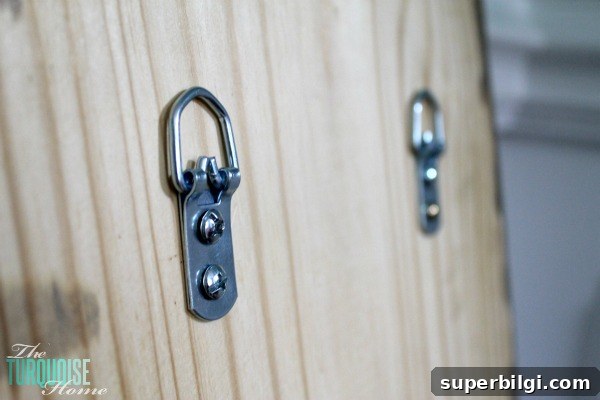
Once the glue has cured, attach D-rings or other hangers to the back of the board. If you can secure the rack to a stud, that’s ideal; otherwise, use quality drywall anchors rated for the weight you expect to hang. Hang the board level, then place the plates on the bolts. For extra security, add a small piece of adhesive backing or velcro behind the top edge of each plate so they won’t slip forward.
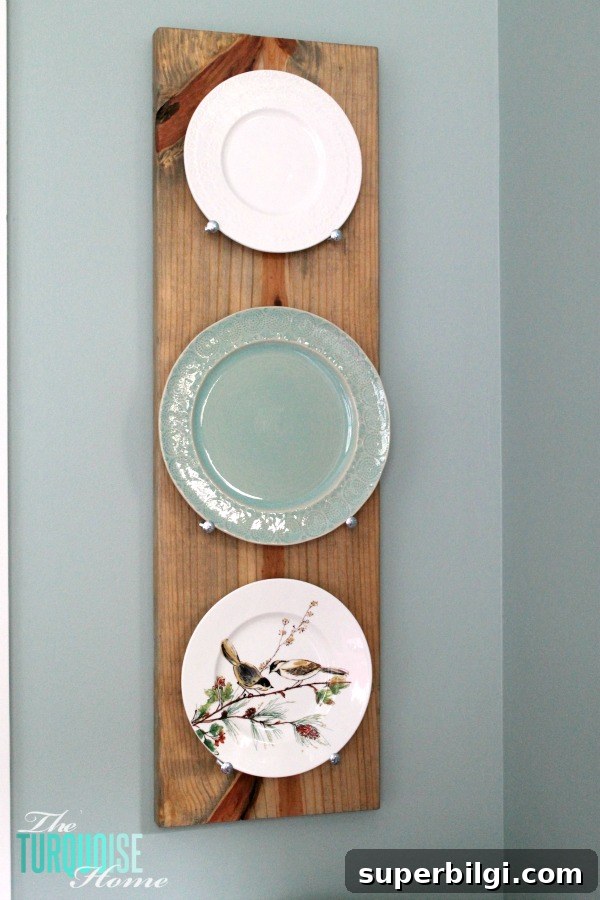
The finished rack creates an attractive focal point and lets you enjoy decorative plates you might otherwise keep boxed away. I used a mix of white and turquoise plates and one sentimental plate I found years ago that reminds me of family memories. The display feels personal and adds character to the room.
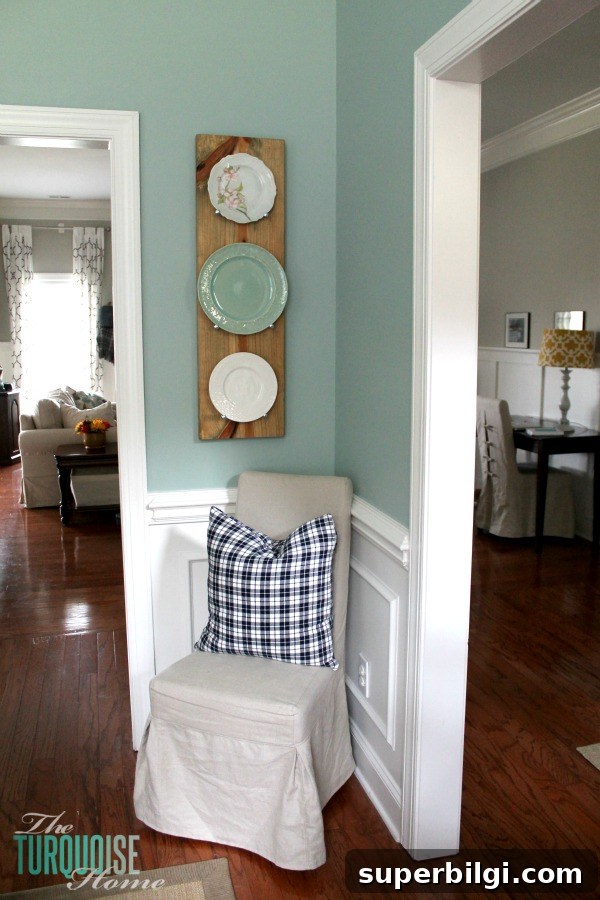
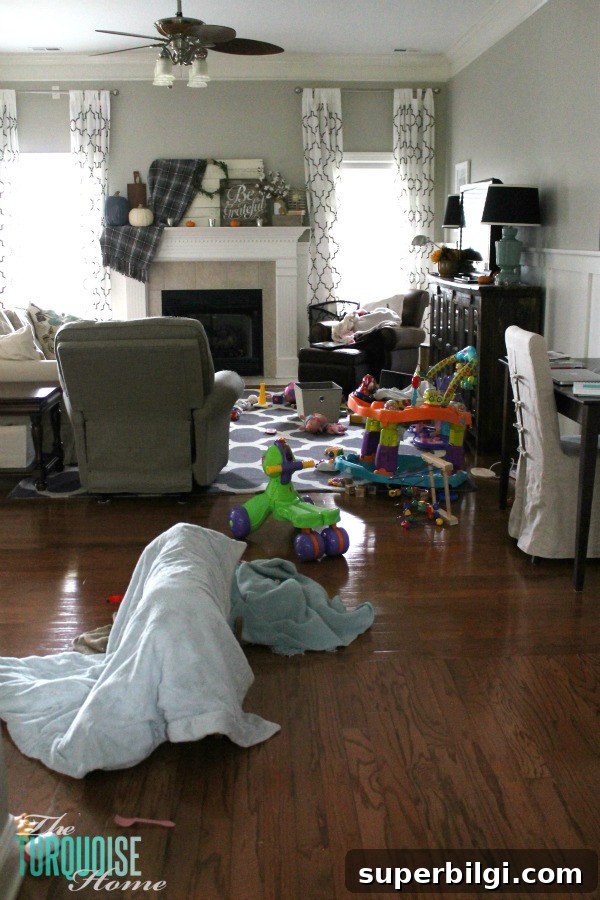
A final note: staged photos often hide the everyday mess, but this project is designed for real homes—busy, lived-in spaces included. Building a simple piece like this is a satisfying way to refresh a room without spending much time or money.
Give a project you’ve been postponing a try this week. Start small if you need to—completing even a simple craft builds momentum and feels great. If you make a plate rack, enjoy displaying it and share how it turned out.
More posts you may enjoy:
- How to Decorate with Winter Decorations for Christmas
- DIY Photo Transfer to Wood (Step-by-Step Tutorial)
- 5 Must-Have Tools for the DIYer
- 10 More Essential Tools for a Beginner DIYer
- DIY Farmhouse Table