
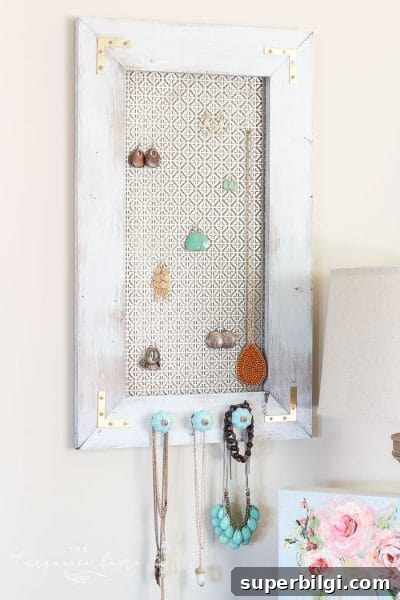
Do you ever make a project that is both beautiful and practical using only items from the hardware store? Those are my favorite kinds of projects. This DIY jewelry organizer is a perfect example: simple materials transformed into a useful, attractive piece that organizes necklaces, bracelets, and more.
This idea is adorable and surprisingly easy to build. It makes a thoughtful handmade gift for a friend or your mom, or a stylish piece to keep for yourself. I took my inspiration from a basic concept and customized it to match my style—here’s how I made mine and how you can build one for yourself.
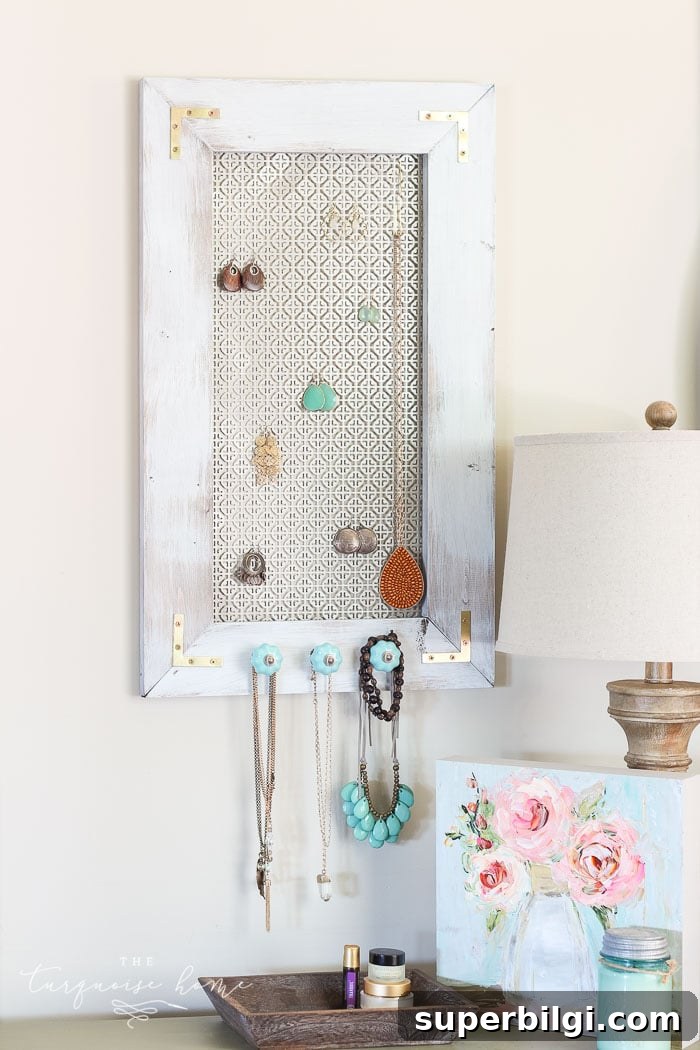
For my version I chose turquoise knobs to hang necklaces and changed the frame to mitered corners for a polished look. The original instructions suggested attaching corner brackets on the back of the frame, but with mitered corners I liked the look of adding small flat corner braces to the front for a subtle industrial accent.
RELATED: DIY Concrete Tray with Dock Cleat Handles
I also swapped the Union Jack aluminum sheet for a mosaic metal sheet to better fit my aesthetic. I finished the frame with a wood stain and then brushed on a thin layer of light blue paint to achieve a rustic, weathered finish that still shows the grain underneath.
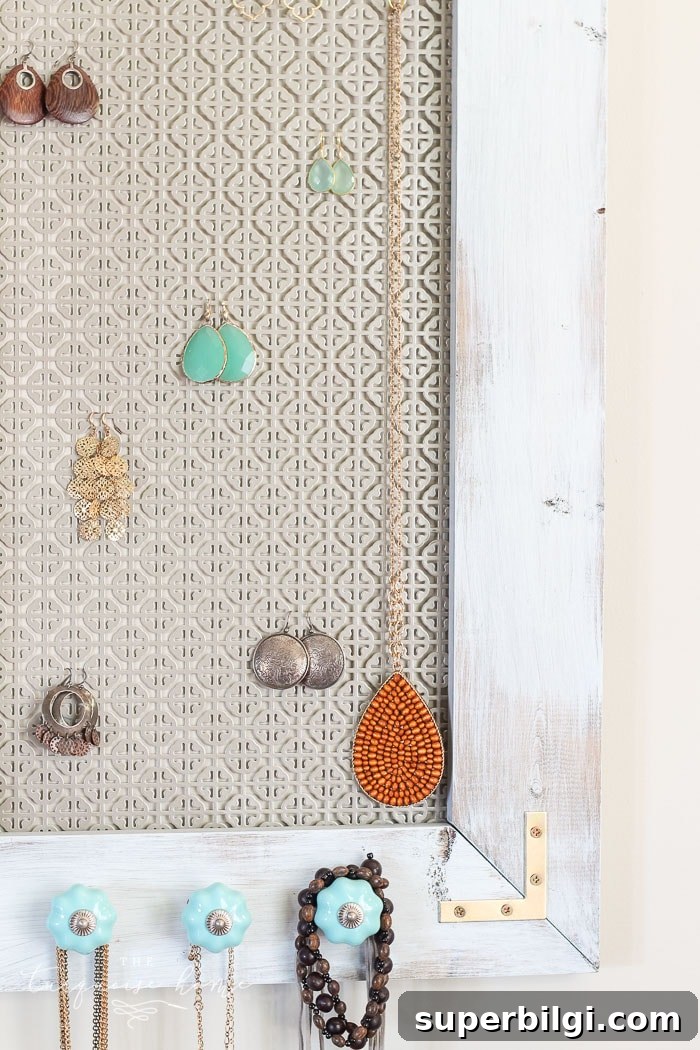
I first stained the wood, then applied a thin wash of paint and sanded lightly for a worn, rustic look. The result is a delicate balance between farmhouse charm and industrial detail.
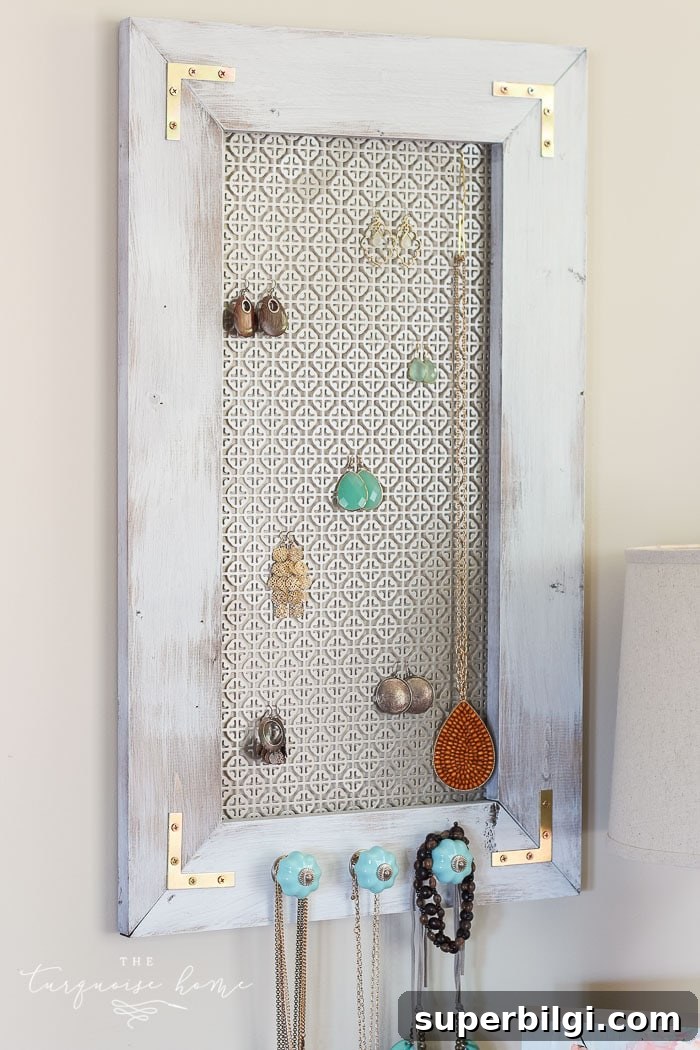
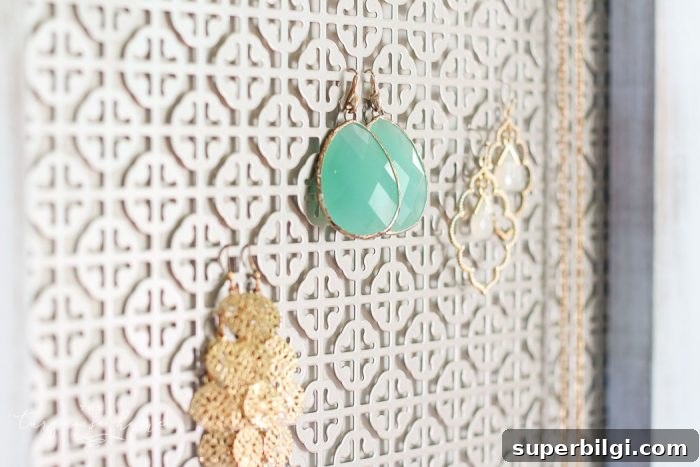
I love how it turned out, and I’m keeping this one for myself. It’s quick and inexpensive to make, so I’ll probably build a few more as gifts.
Tools & Materials Needed for a DIY Jewelry Organizer
- One 1″ x 4″ x 8′ common board (or similar lumber for the frame)
- Mosaic metal sheet or decorative metal backing sized to fit your frame
- Miter saw or hand miter box for cutting corners
- Wood glue
- Staple gun or small finish nails and hammer
- Wood stain (your preferred color)
- Paint for a wash or distressed finish
- Rags for staining and wiping
- Sawtooth hanger or other hanging hardware
- Small corner braces (optional, for decoration or added strength)
- Knobs, hooks, or small pegs to hang jewelry
- Measuring tape, pencil, screwdriver or drill
How to Build a DIY Jewelry Organizer — Step-by-Step
This step-by-step overview will help you assemble a basic framed jewelry organizer. Adjust sizes and spacing to suit the metal sheet and the number of knobs or hooks you plan to add.
Step 1 — Plan and measure: Measure the metal sheet you’ll use for the backing. Decide on the finished outside dimensions of your frame so the inner opening accommodates the metal sheet with a small reveal if desired.
Step 2 — Cut the frame pieces: Cut four pieces from your 1×4 board. For a crisp, polished look cut mitered corners at 45 degrees. If you prefer simplicity, you can cut square butt joints and use corner braces.
Step 3 — Assemble the frame: Apply wood glue to the joints and clamp while the glue dries. Reinforce the joints with a staple gun, finish nails, or small corner braces for extra strength. If you used mitered cuts, ensure the miters are tight and sand any rough edges.
Step 4 — Stain and finish: Stain the frame with your chosen wood stain and wipe away excess. Once dry, you can apply a thin wash of paint or lightly sand a painted coat to create a rustic, weathered finish. This two-step finish—stain first, then a light paint wash—lets wood grain show through while adding color.
Step 5 — Attach the metal backing: Place the metal sheet flush with the back or slightly recessed inside the frame, depending on your preference. Secure it with small staples or short screws around the perimeter. Be careful when handling metal edges—wear gloves if needed.
Step 6 — Add knobs and hardware: Mark and evenly space the knobs, hooks, or pegs along the bottom half of the metal backing so necklaces hang freely. Drill pilot holes if necessary and fasten knobs or hooks from the front. Attach a sawtooth hanger or other hanging hardware to the back of the frame for wall mounting.
Step 7 — Final touches: Wipe the piece clean, touch up any paint or stain, and hang it to test spacing before filling with jewelry. Consider adding small adhesive felt pads to the back corners if you want to protect your wall.
More Ways to Personalize Your Jewelry Organizer
Personalization is the fun part. Try different backing materials like cork, chicken wire, reclaimed wood slats, or patterned metal. Swap knobs for decorative handles or mismatched vintage drawer pulls for an eclectic look. Paint or distress the frame to match your room decor. This project is flexible and makes a great starter woodworking project for beginners.

Whether you make one to keep or several as gifts, a DIY jewelry organizer is an inexpensive, creative way to declutter and display your jewelry. With basic tools and a little time, you can build a stylish, functional piece that fits your home and personal taste.