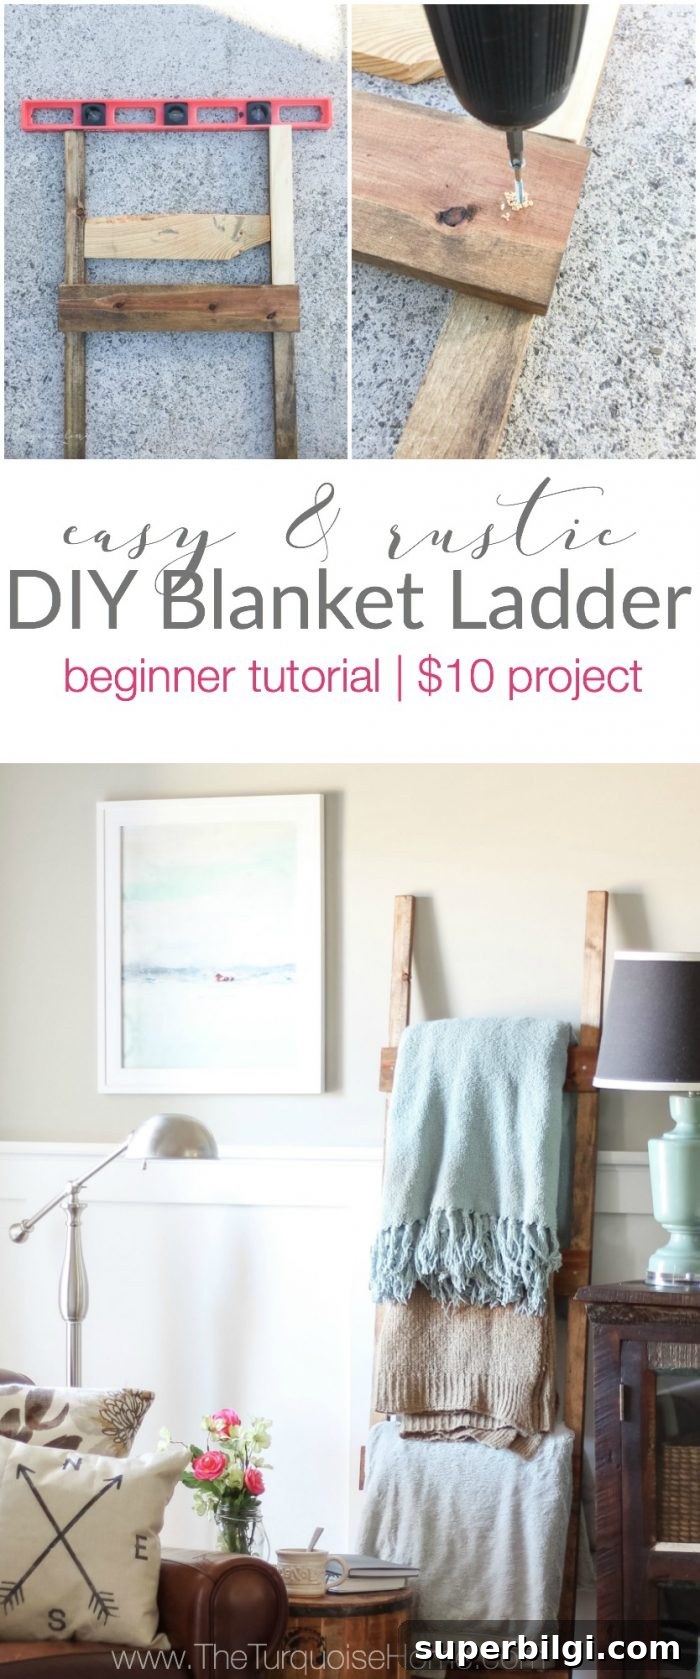
Build an easy DIY blanket ladder that stores and displays blankets neatly while adding simple farmhouse charm to your home. Supplies cost less than $10 and the project takes under 30 minutes.

I’d wanted a blanket ladder for a couple of years, and finally decided to make one. It was simple and quick — exactly the kind of beginner-friendly woodworking project that delivers a lot of impact for minimal time and cost.
This ladder is very affordable. My total lumber cost was under $10; I already had one board on hand, but I included its cost when estimating. The materials list below covers what you’ll need to build a sturdy, attractive ladder for blankets or throws.
Supplies You’ll Need for a DIY Blanket Ladder
- 2 – 1 x 2 x 72 boards. These are the ladder side rails; if you buy them at this length make sure they are the same length and straight.
- 1 – 1 x 4 x 96 board. This board is for the rungs. You only need about 6 feet, but an 8-foot board gives wiggle room for saw cuts and mistakes.
- Drill with appropriate drill bits (recommended to pre-drill holes to avoid splitting the wood).
- Circular saw or miter saw. A miter saw makes square cuts faster and more accurate, but a circular saw will work fine.
- Wood screws (1 to 1.5 inch screws work well).
- Ruler or tape measure and a pencil for marking.
- Wood glue (optional for extra hold).
- Paint brush or foam brush for stain or paint.
- Stain or paint in the color you prefer—Minwax’s Provincial is a nice mid-tone stain; dark walnut gives a richer look.
- Some scrap wood pieces to use as simple guides for spacing the rungs (optional).
Tip: When buying lumber, lay each board on a flat surface at the store to check that it’s straight. Warped boards make any project more difficult.
How to Build a DIY Blanket Ladder
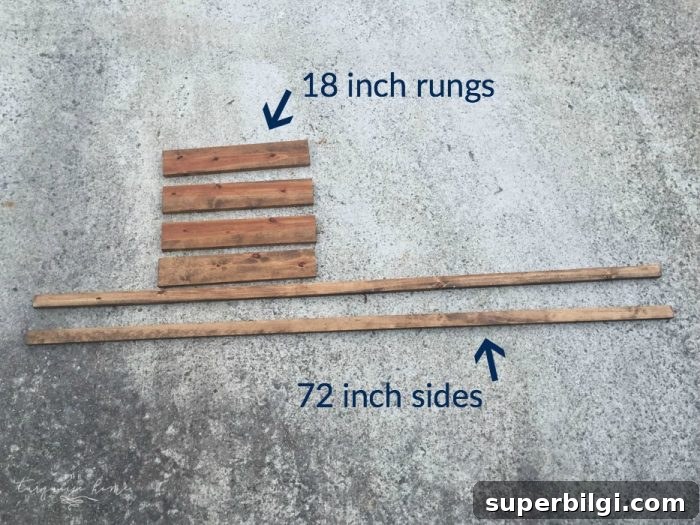
Step 1. Cut the 1 x 4 x 96 into 18-inch pieces for rungs
Cut the 1 x 4 into 18-inch lengths to make the rungs. This width fits nicely between two 1 x 2 side rails with a little overhang so the rungs sit snugly against the sides.
Step 2. Sand all pieces
Sand edges and surfaces to remove splinters and rough spots. Smooth rungs prevent snags and make the ladder comfortable to handle.
Step 3. Stain or paint the wood
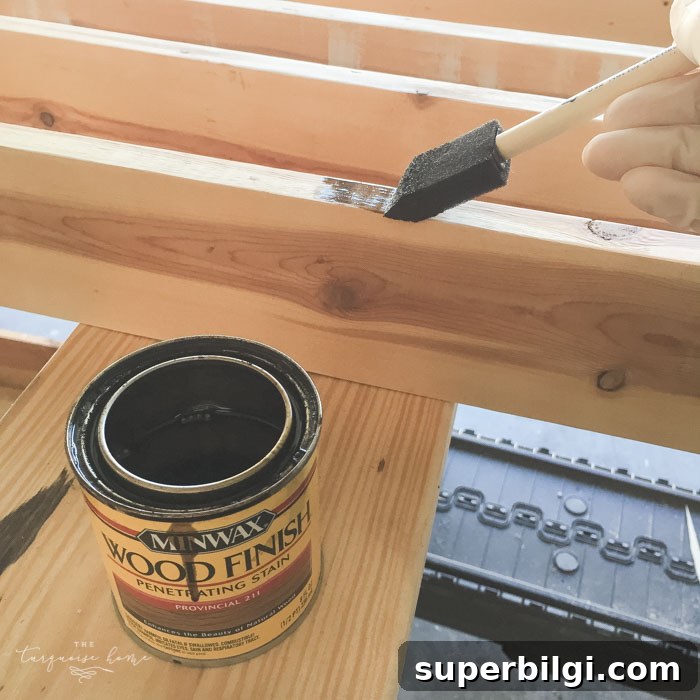
Apply your chosen stain or paint and allow it to dry fully—waiting a day is a good practice to ensure fumes dissipate and the finish cures. Staining first also helps you match the ladder to your room’s decor.
Step 4. Lay the ladder sides flat
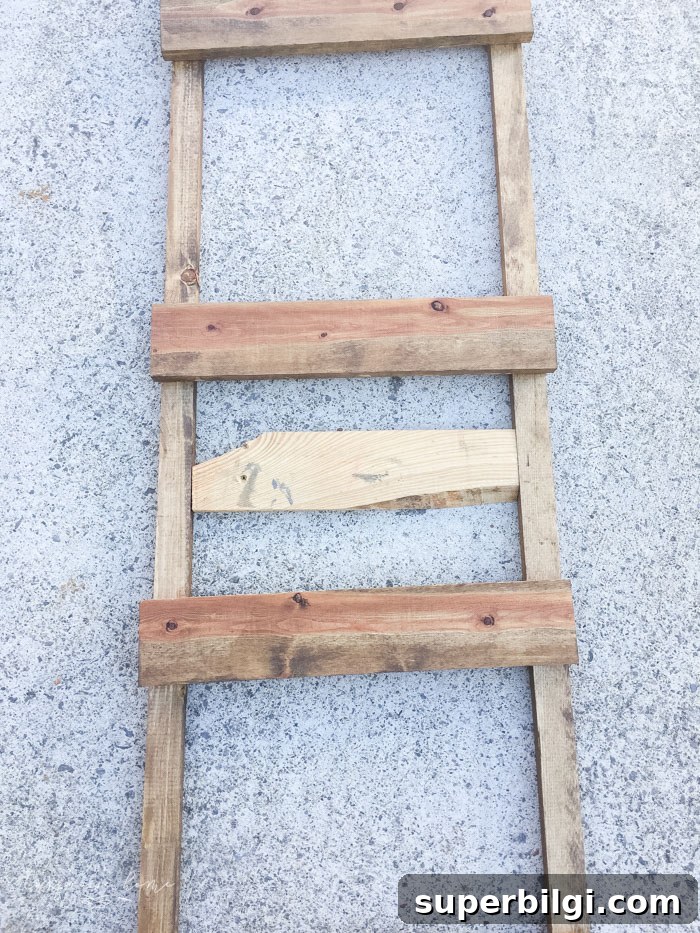
Work on a flat surface so everything lines up correctly. If your driveway or work area isn’t perfectly level, find a garage floor or a large table to assemble on to reduce any wobble.
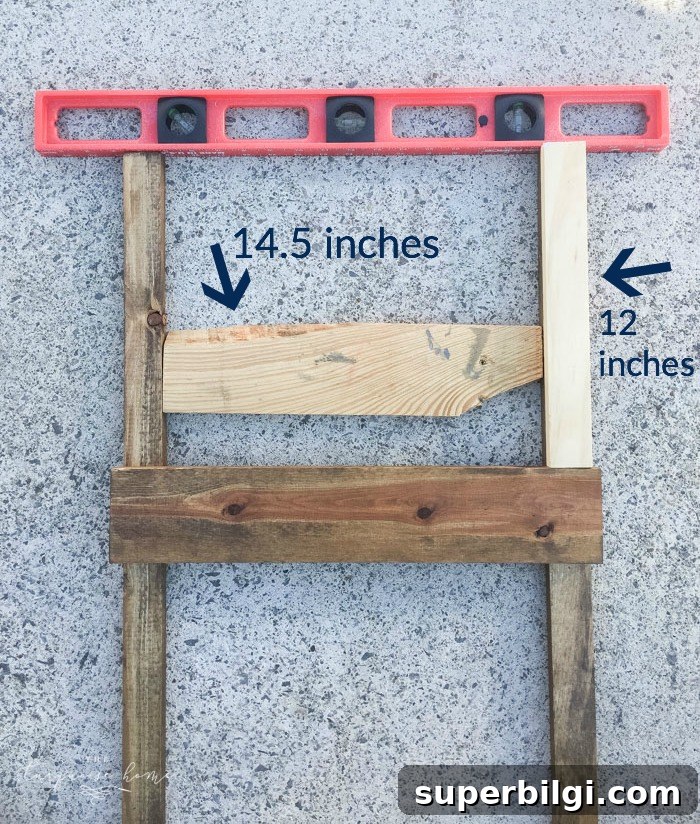
Step 5. Make simple spacing guides
Use scrap wood to create a 14.5-inch spacer that fits between the two rails and a 12-inch spacer to set the distance from the top of the ladder to the first rung and between subsequent rungs. These quick guides speed up assembly and keep spacing consistent.
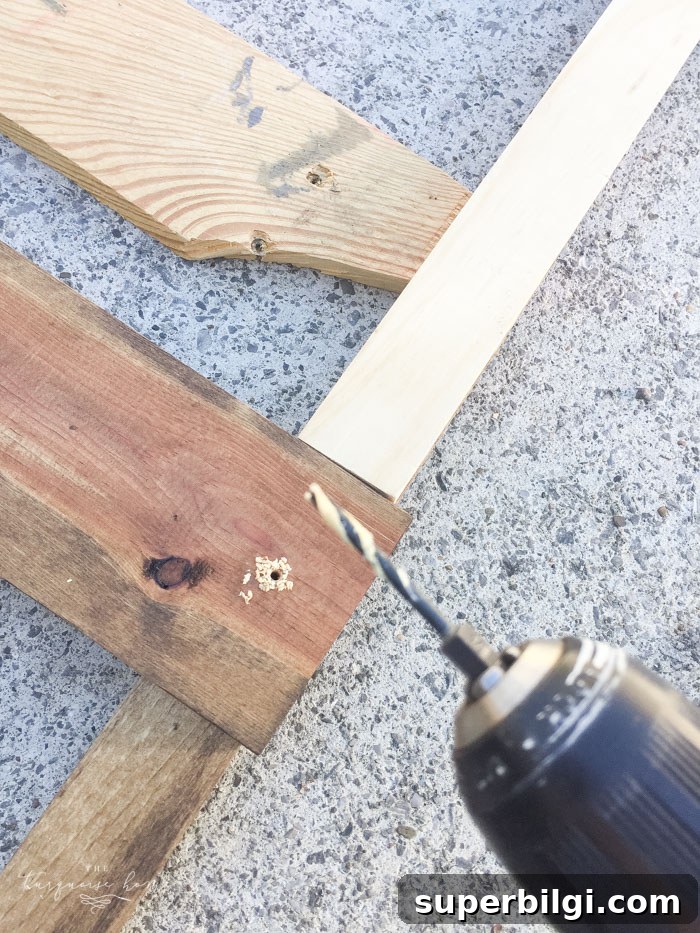
Step 6. Pre-drill holes
Once a rung is positioned, pre-drill pilot holes to prevent splitting the wood when you drive in screws. This is an easy step that improves the finished result.
Tip: Use two screws per rung for greater strength and stability.
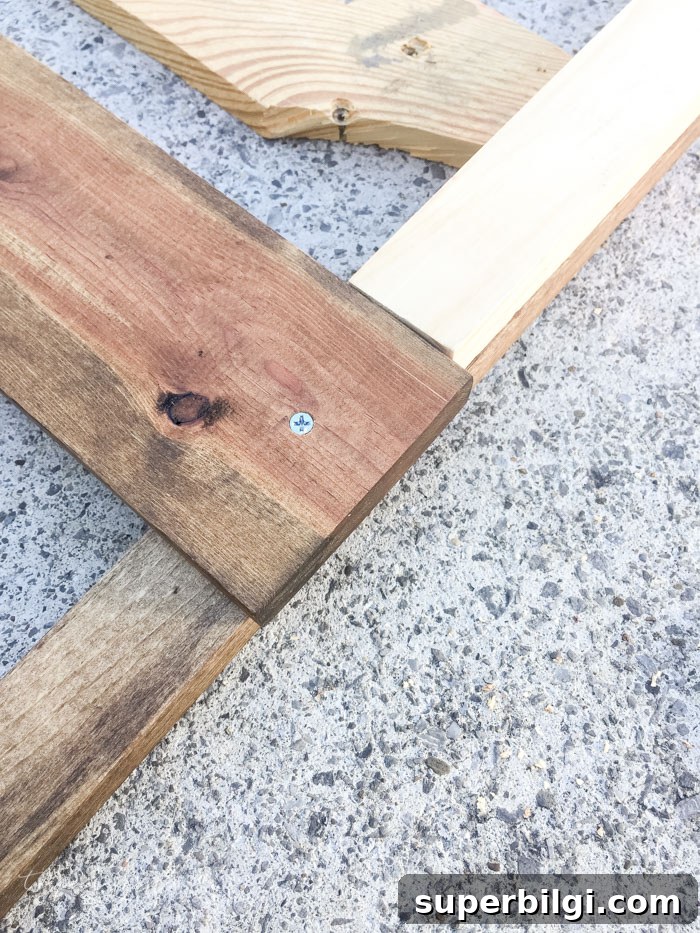
Step 7. Screw in each rung
Secure each rung with 1 to 1.5 inch wood screws. Drive the screws through the side rails into the ends of the rungs. Use two screws per rung if possible to minimize wobble.
Step 8. Repeat until complete
Continue adding rungs until the ladder is finished. Adjust rung spacing to suit the blankets or throws you’ll display. The ladder adds functional storage and a decorative accent to the living room or bedroom.

Now you can style the ladder with blankets, throws, or even towels in a bathroom. It adds texture and visual interest to a corner and keeps blankets organized and accessible.

This is a very approachable project for first-time builders. The basic materials and simple steps make it easy to customize size, finish, and spacing. Give it a try—you’ll be surprised how much style a simple ladder adds to your space.