
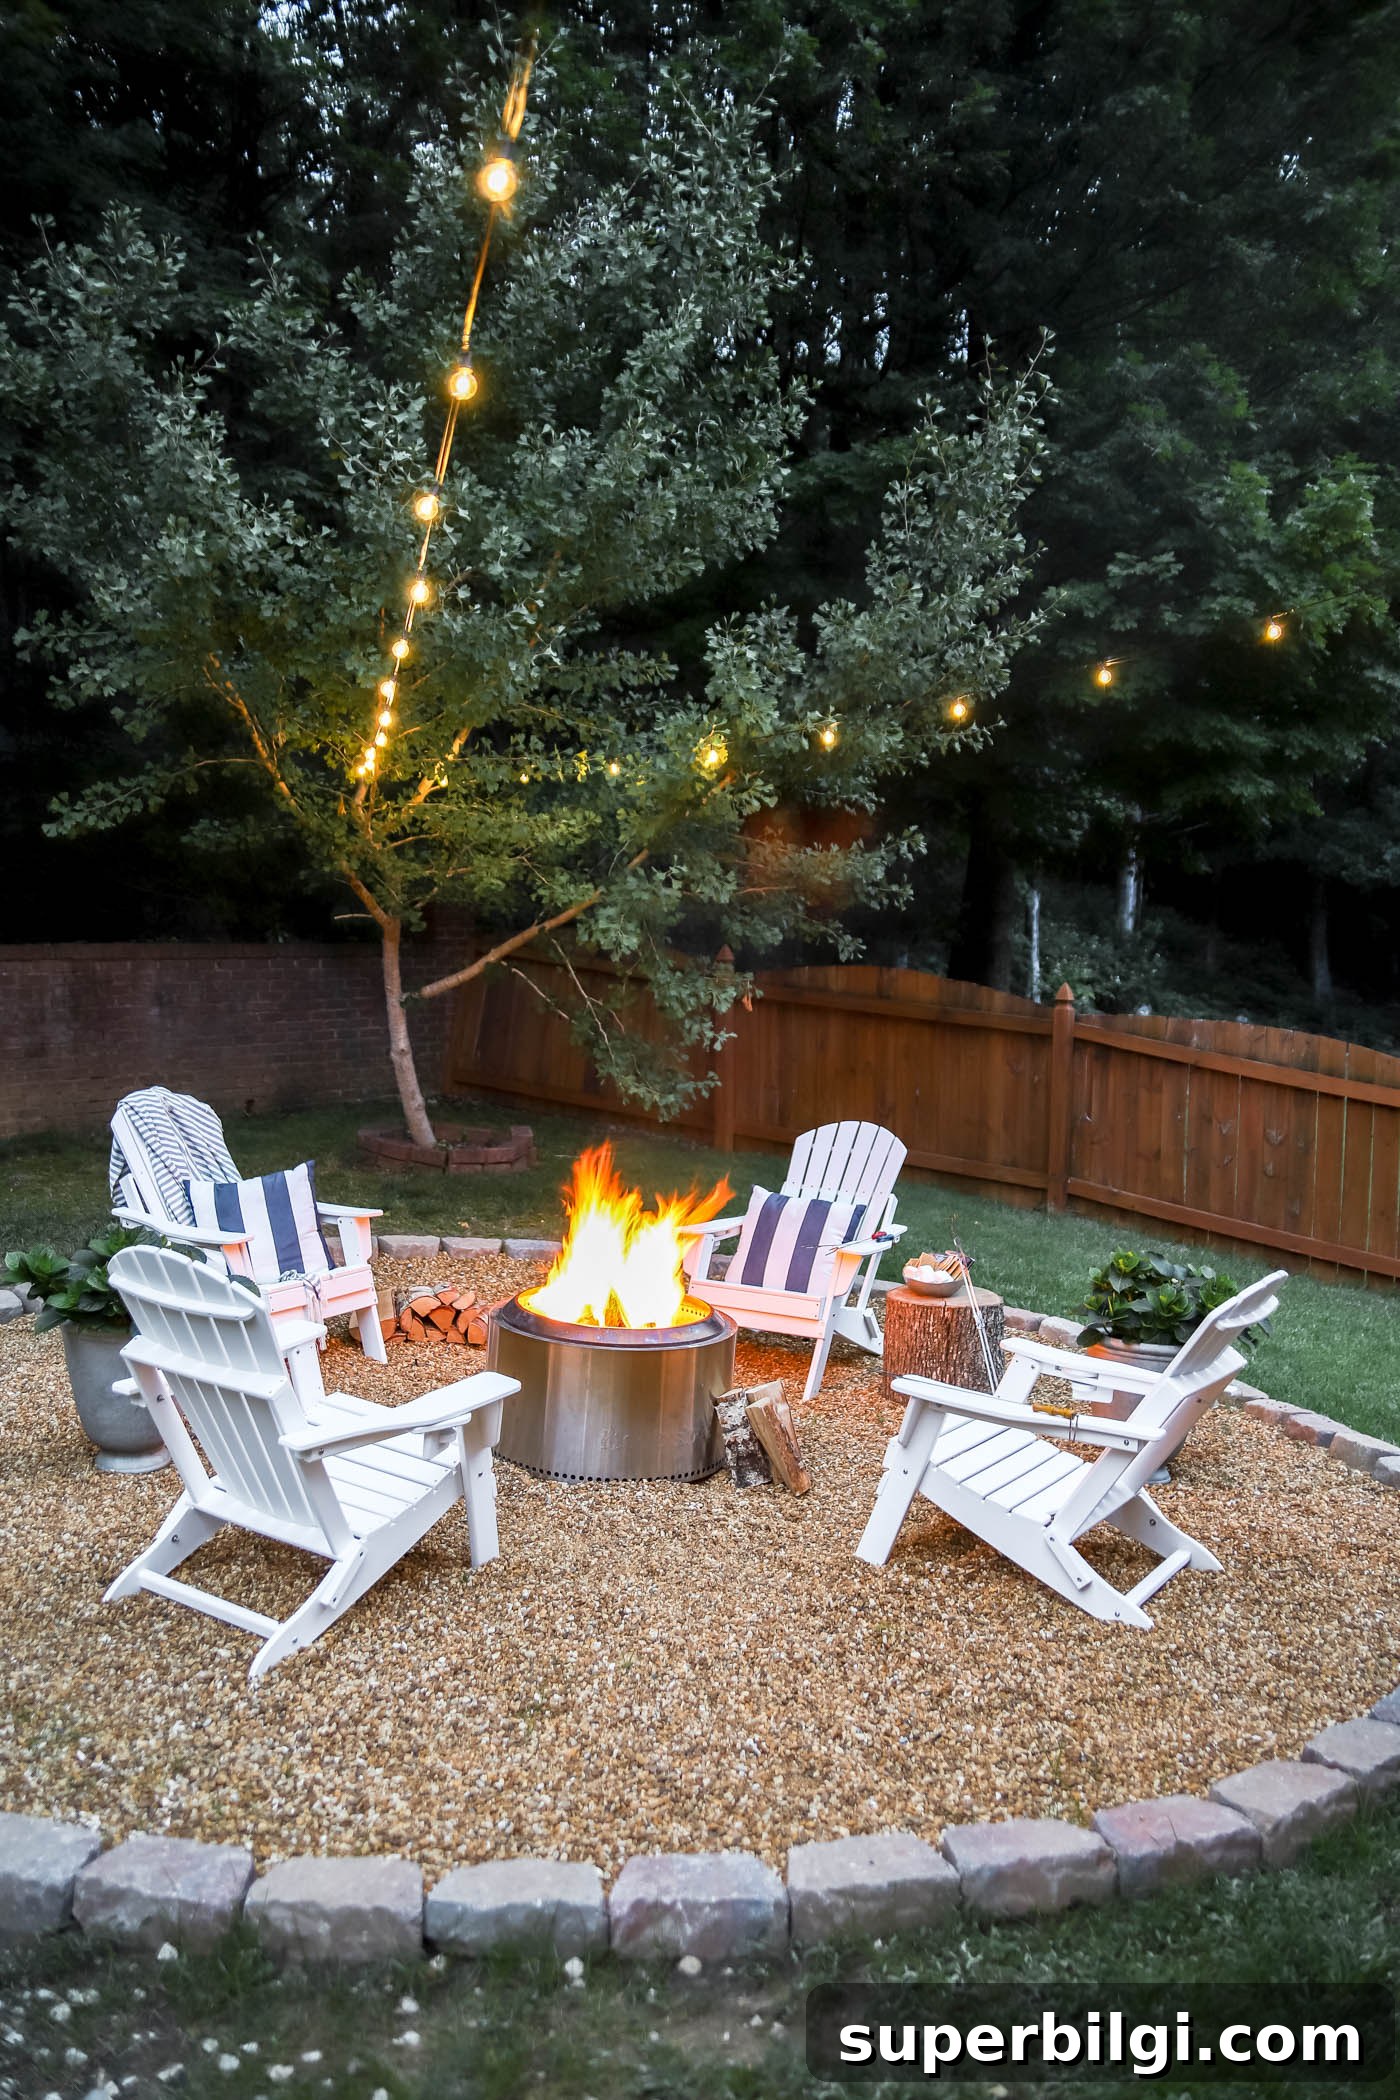
A DIY fire pit area is a wonderful way to create a warm, inviting outdoor living space. Follow this simple guide to build a cozy fire pit area that’s perfect for family nights and s’mores.
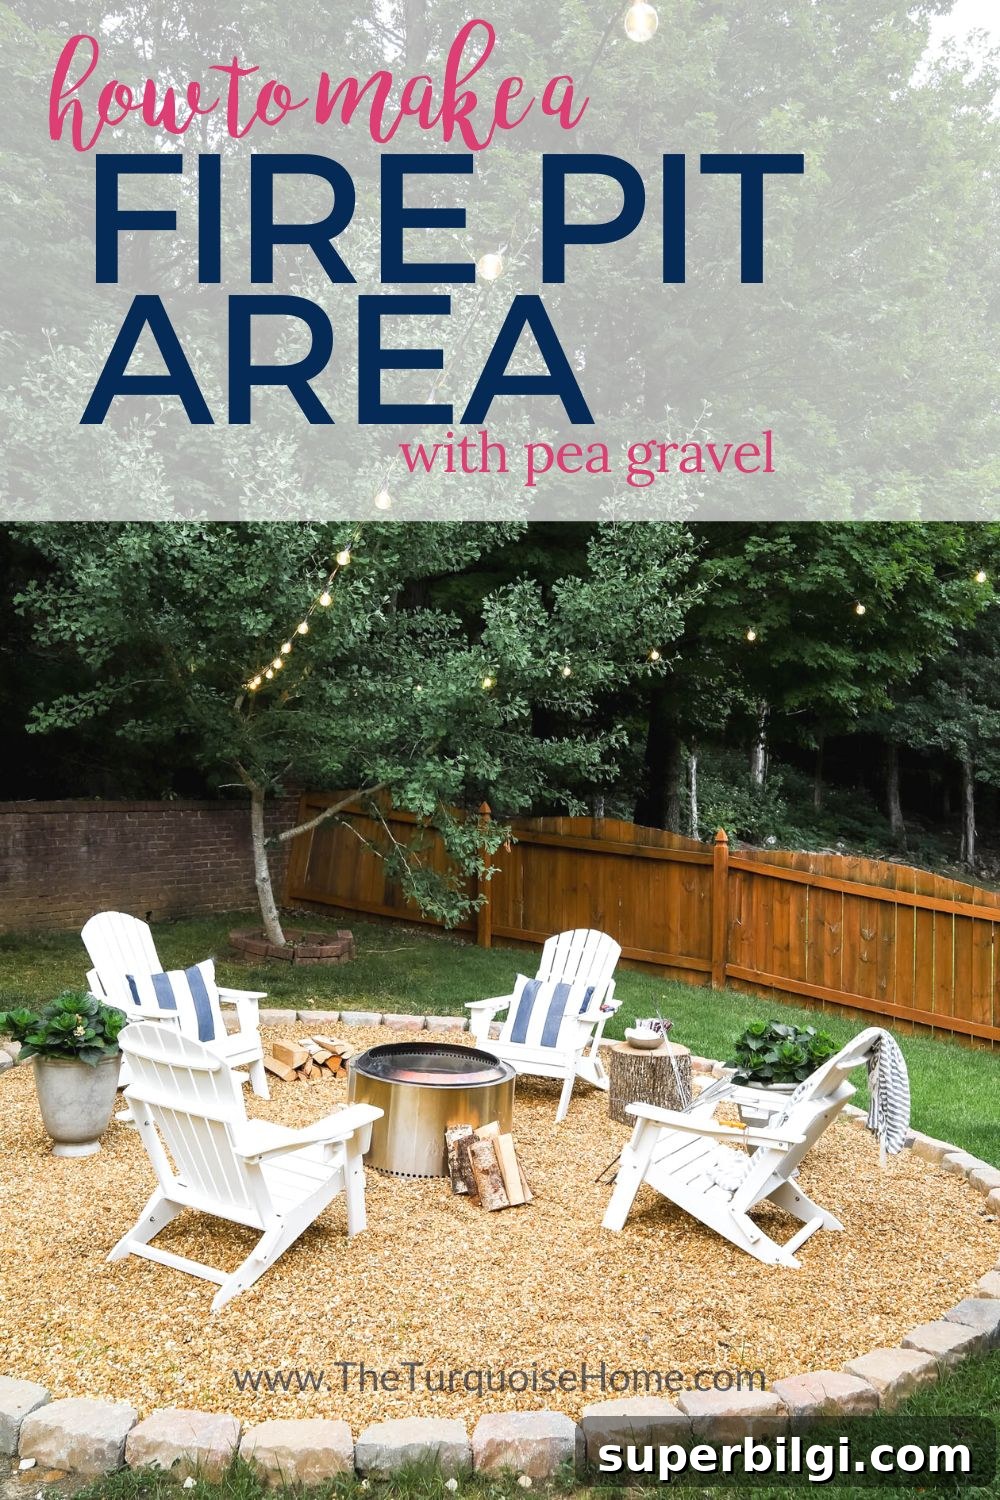
A few years ago I shared ideas for building a DIY fire pit. Since we now have a bit more yard space, I’m sharing how we built the entire fire pit area around our fire pit—from choosing the location to finishing touches.
This post contains affiliate links for your convenience. See my full disclosure policy.
We didn’t build a permanent pit that year because we fell in love with a smokeless, portable option: the Solo Stove. We’ve used the Yukon-size Solo Stove for several years and love that we don’t smell like smoke after a night of s’mores. Its design helps reduce smoke coming off the fire, so it’s a great choice if you prefer a cleaner fire experience.
When we moved into our current home we traded a large yard for a smaller, more private half-wooded yard. We had to pare down yard toys and the trampoline became the biggest eyesore—although it was invaluable during quarantine. Recently we got a dog and found ourselves spending more time outside. With the trampoline gone, the bare spot it left behind made the perfect place for a dedicated fire pit area.
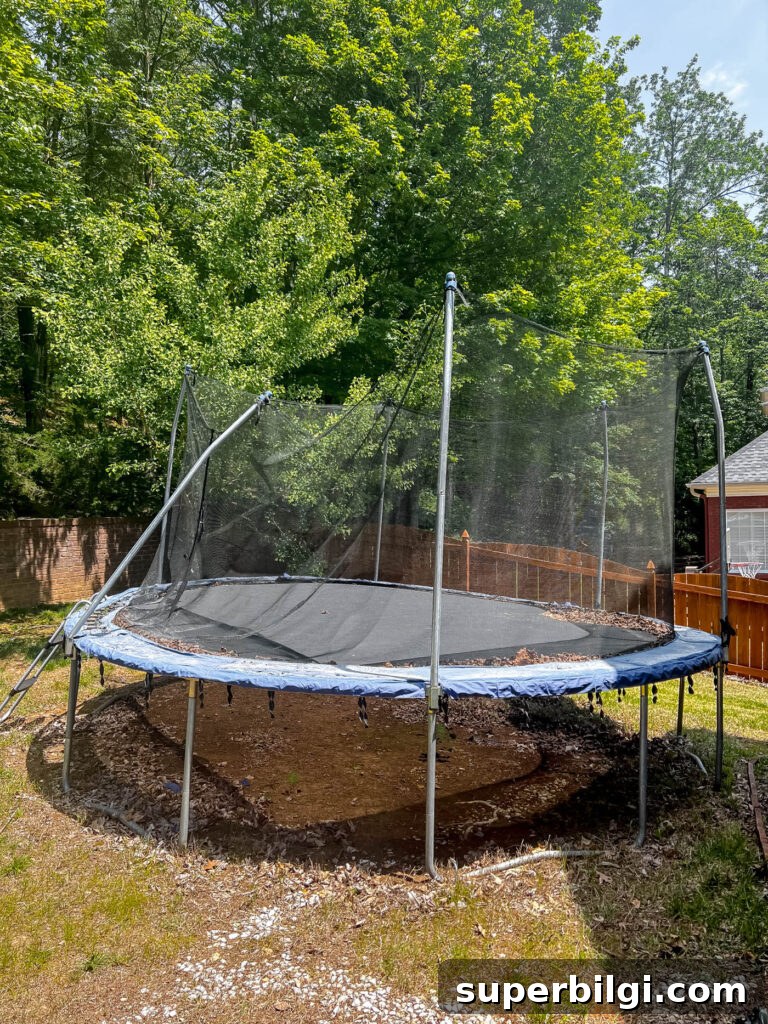
Removing the trampoline opened up a chance to create a real outdoor room for our family. Below are the supplies, considerations, and step-by-step instructions we used to build a functional, attractive fire pit area.
Supplies You’ll Need for a Fire Pit Area
- Weed eater & weed killer
- Landscaping fabric and stakes
- Stake and string
- Light-colored spray paint
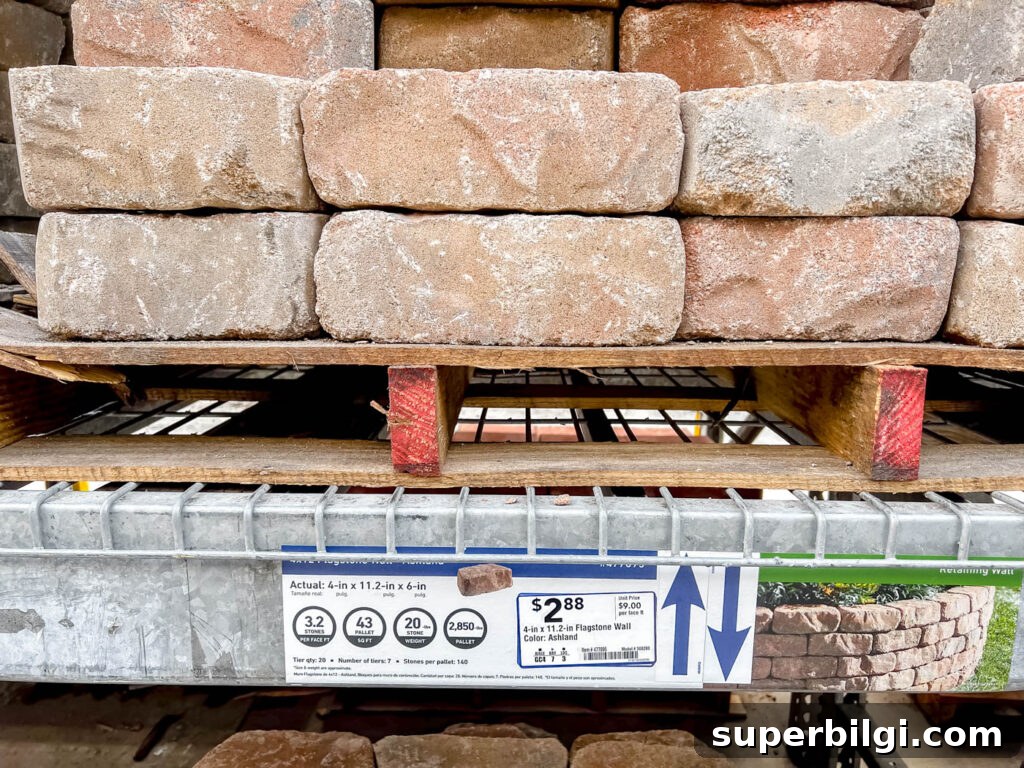
- Pavers, flagstone, or other border material
- Construction adhesive
- Pea gravel
- Rake or shovel
- Wheelbarrow (optional)
- Fire pit — portable fire pit, Solo Stove, or a built kit
- Seating — Adirondack chairs or benches
- Optional: string lights, outdoor pillows, potted plants, side tables
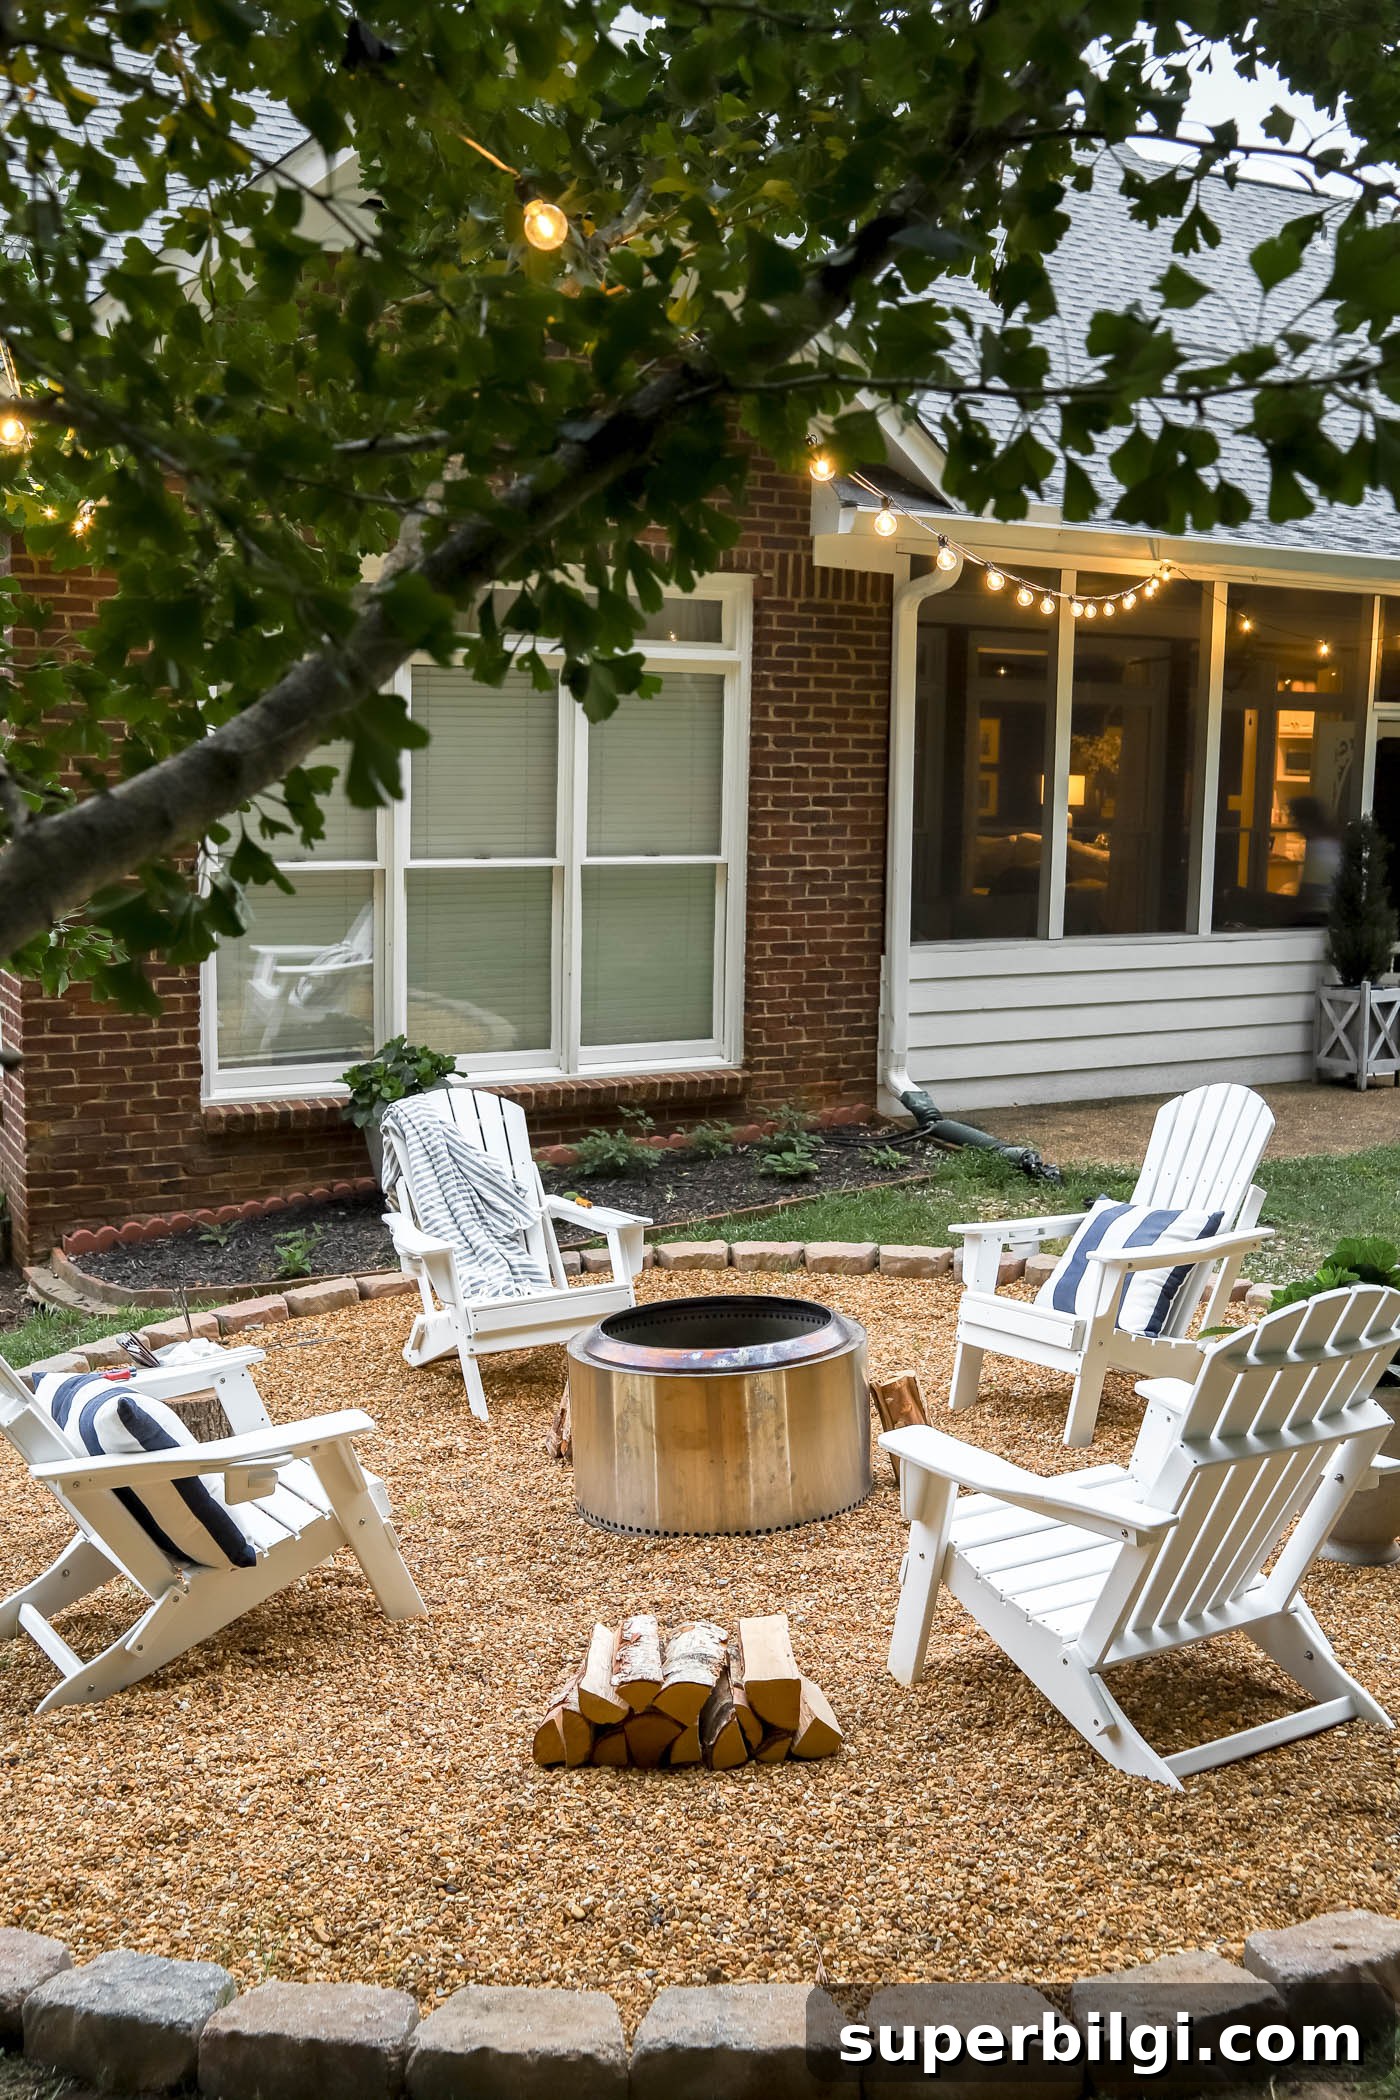
Things to Consider Before Starting the Project
- Decide how large the area should be and how many people you want to seat. Our circle is 16 feet in diameter and fits 6–8 Adirondack chairs comfortably.
- Choose the type of fire pit—portable, store-bought, or built from bricks, stone, or concrete blocks.
- Place the fire pit at least 10 feet from the house and check your insurance or local regulations for requirements.
- Watch for overhead trees and other obstacles that could interfere with smoke or create a hazard.
- Pick a flat or mostly flat space or plan to have the area leveled.
- Shop around for materials: local garden centers often sell pea gravel by the ton at lower prices than big-box stores.
How to Make a Fire Pit Area
1. Choose & Mark the Location
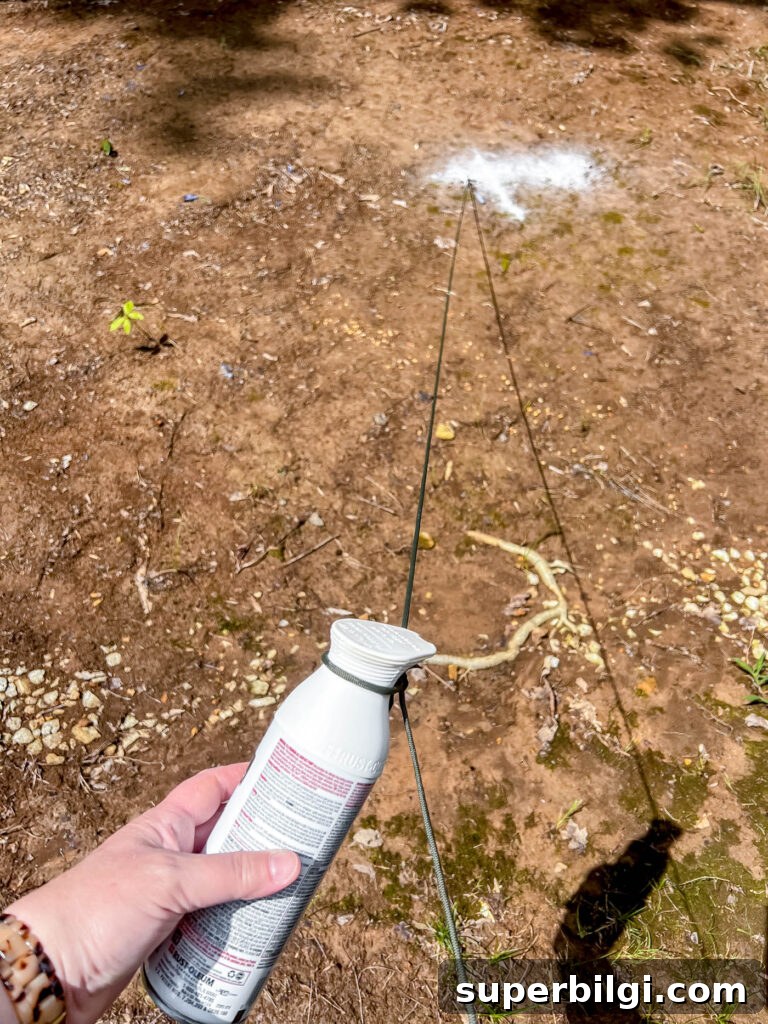
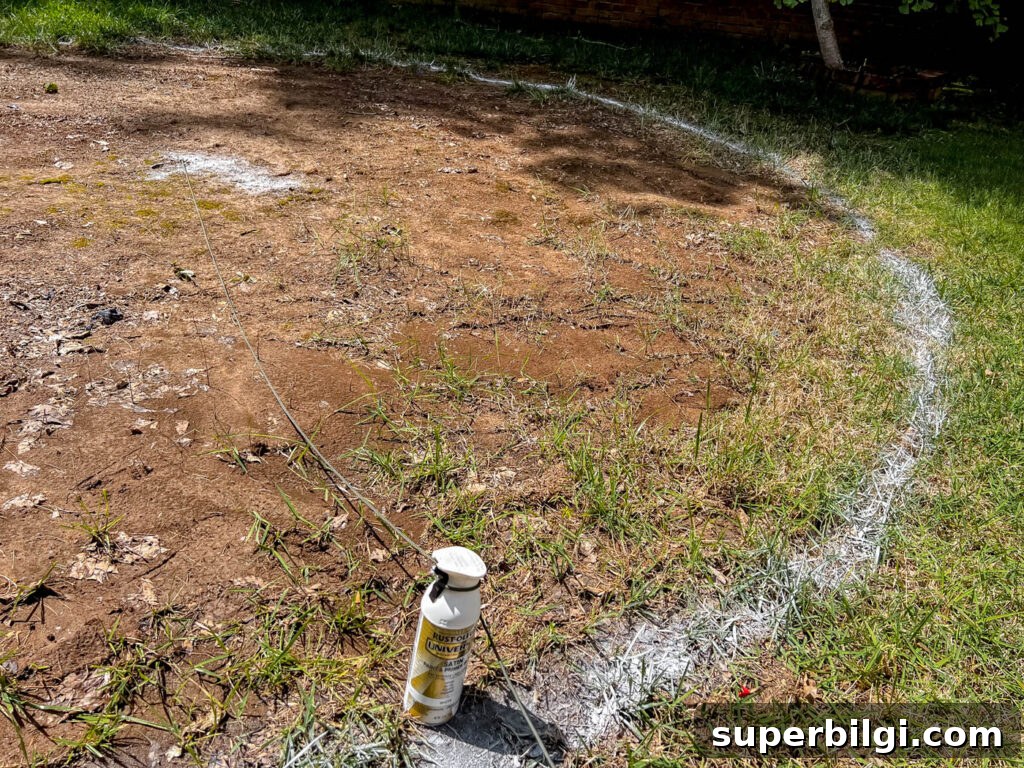
Pick a flat, level spot away from structures and low branches. Measure the size you want, place a stake in the center, tie a string to the stake at the radius distance, attach a can of spray paint to the string, and spray a clean circle to mark your perimeter.
2. Remove Grass, Weeds, Plants or Large Rocks
Clear the area by scalping the grass, using a tiller, or applying weed killer where needed. Removing vegetation helps prevent regrowth through your gravel base. In our case, the trampoline already left a bare spot, so this step was minimal.
3. Level the Ground
Make sure the area is mostly level so chairs sit evenly and you don’t have drainage problems. We left a slight grade to preserve existing yard drainage and confirmed the area felt stable and comfortable before continuing.
4. Install Landscaping Fabric
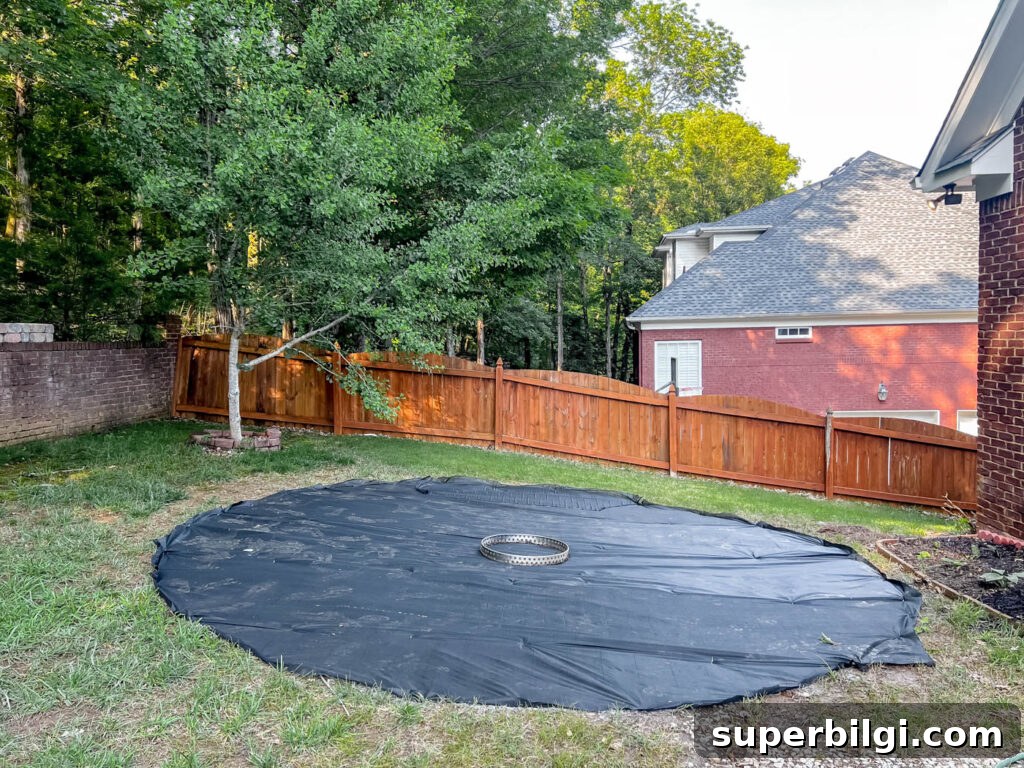
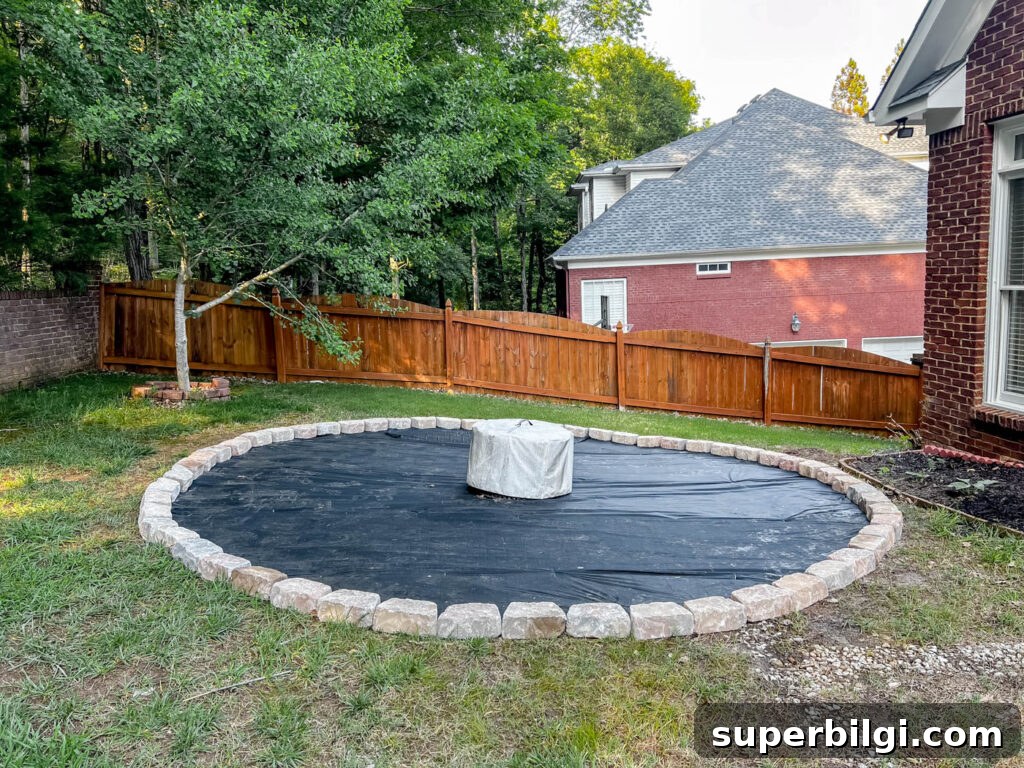
Lay landscaping fabric across the cleared area to reduce weeds from growing through the gravel. Secure it with landscaping stakes around the perimeter.
5. Place the Fire Pit in the Center
Position your fire pit, whether built-in or portable, in the center of the circle. If your design requires a base of sand or gravel inside the pit, follow the manufacturer’s or kit instructions and all applicable safety guidelines.
6. Create a Raised Border Around the Perimeter
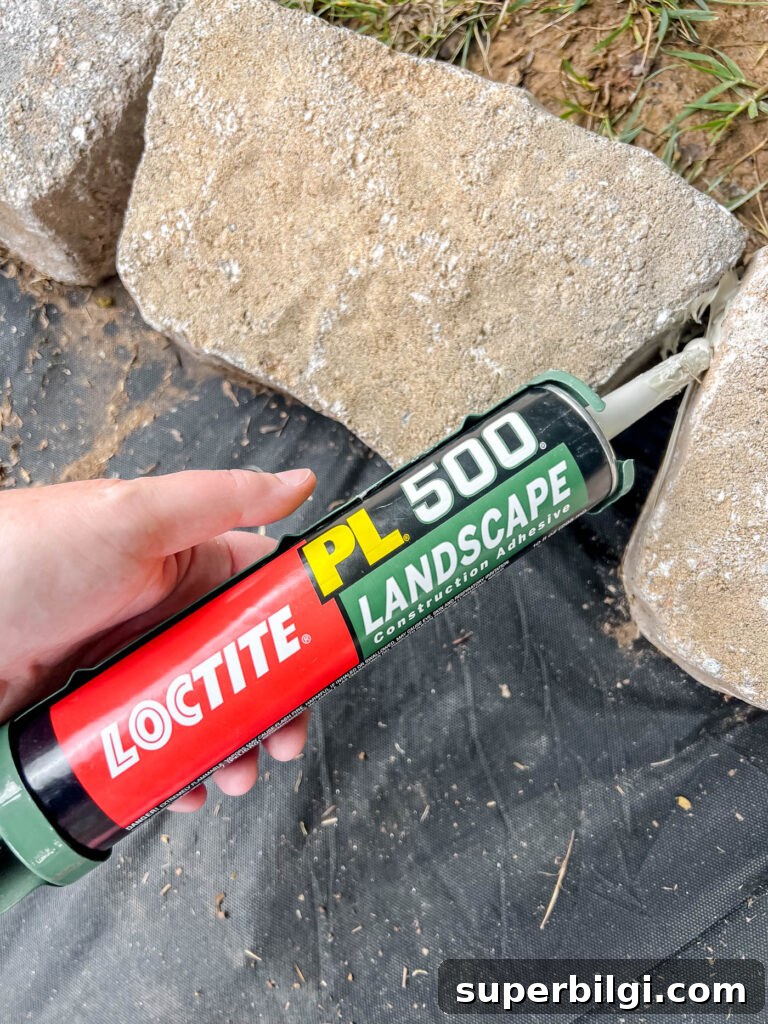
Install a border around the edge of the circle to contain the gravel. We used flagstone pieces and applied construction adhesive to hold them in place. You could use any decorative stone, pavers, or metal edging depending on your style and budget.
7. Fill the Area with Pea Gravel or Other Rock
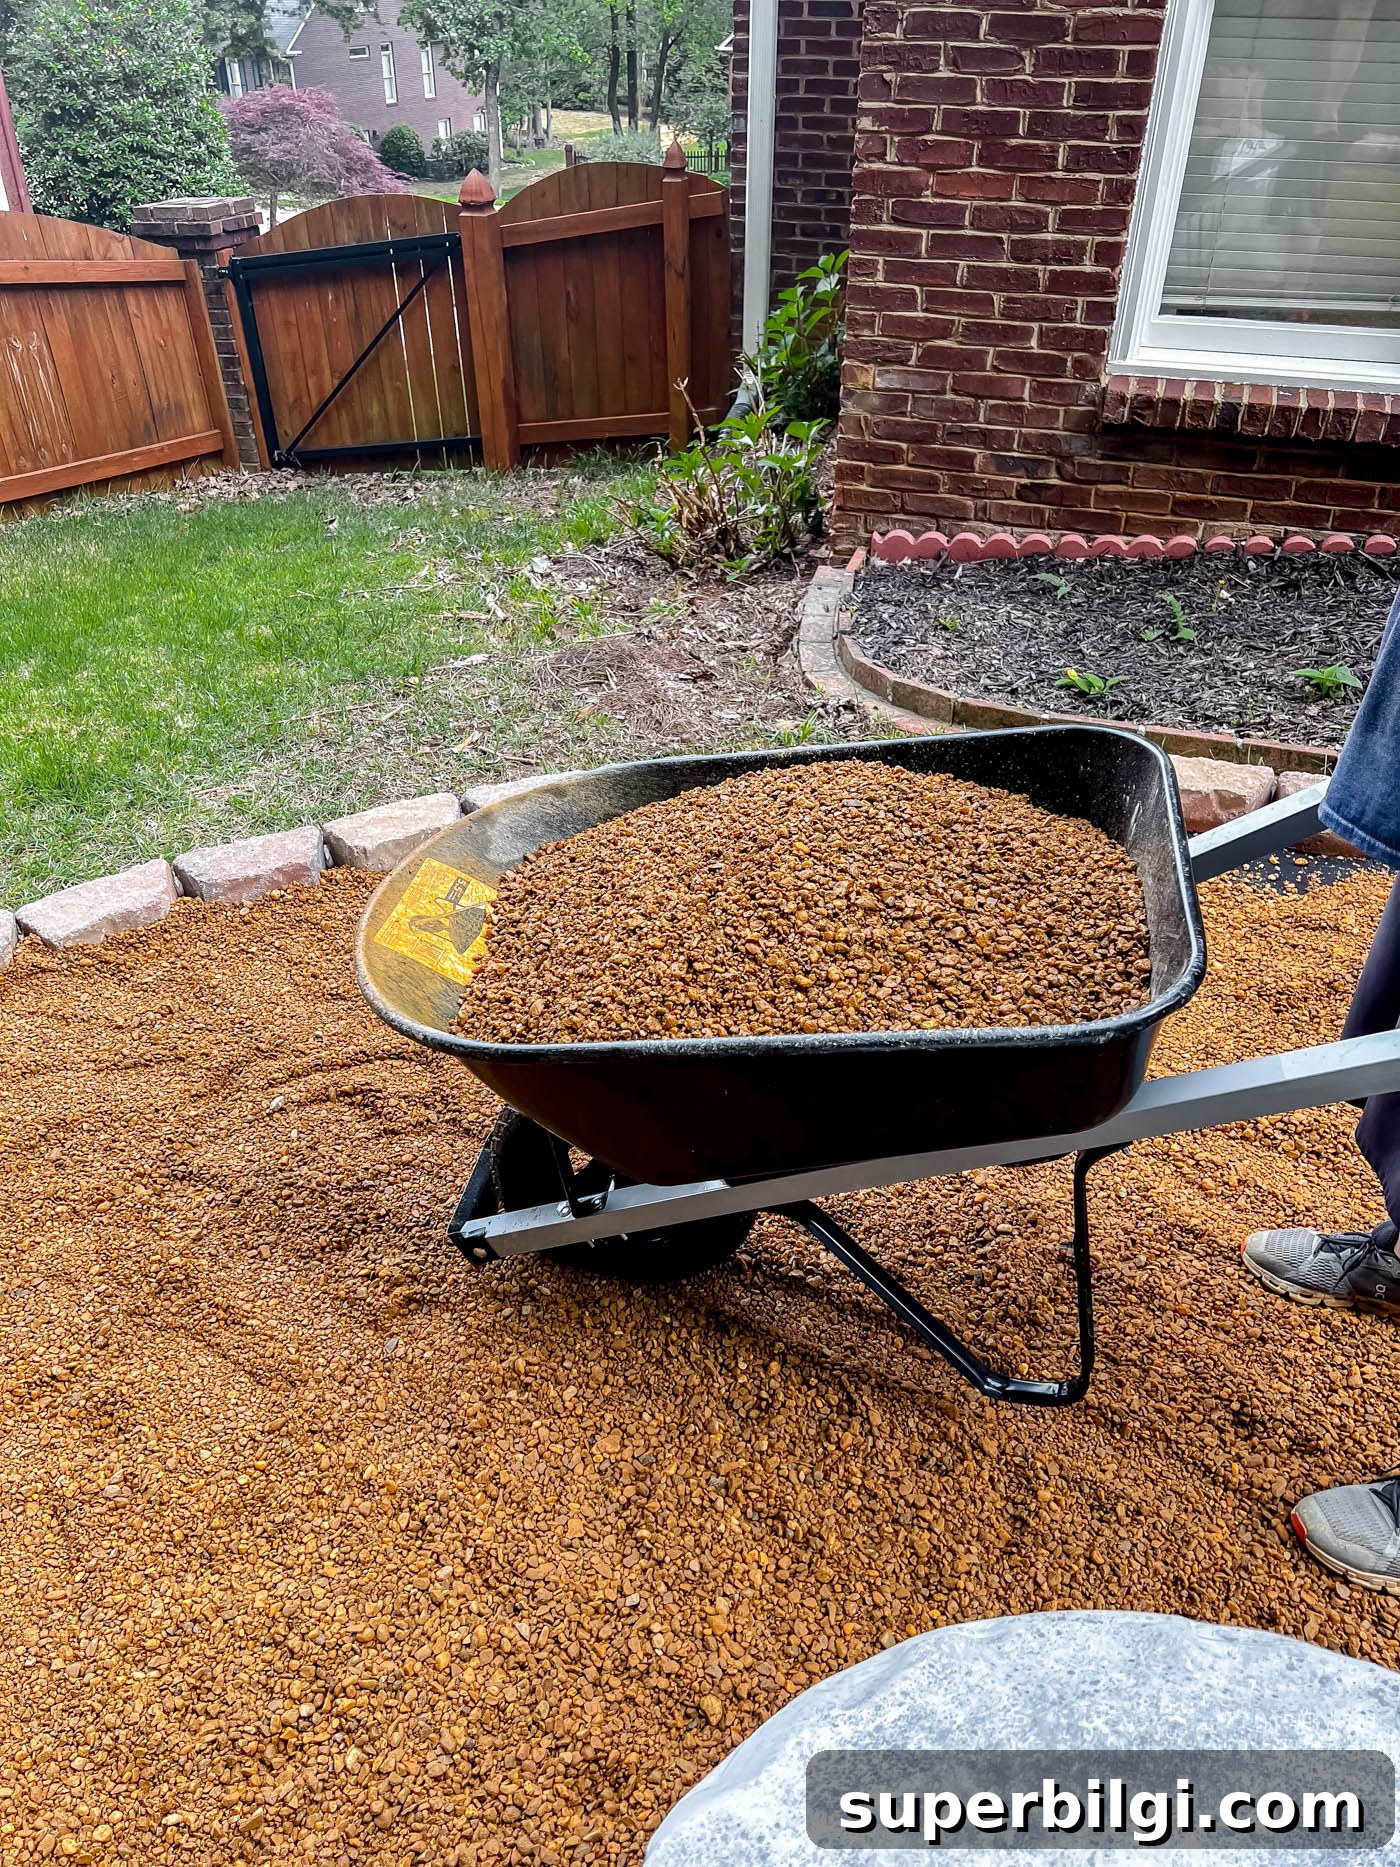
Spread pea gravel about 2–3 inches deep over the landscaping fabric. We purchased a ton of pea gravel from a local garden center, used a wheelbarrow to move it, and raked it smooth. Gravel adds a clean look and provides a durable, low-maintenance surface.
8. Add Seating and Decorate the Area
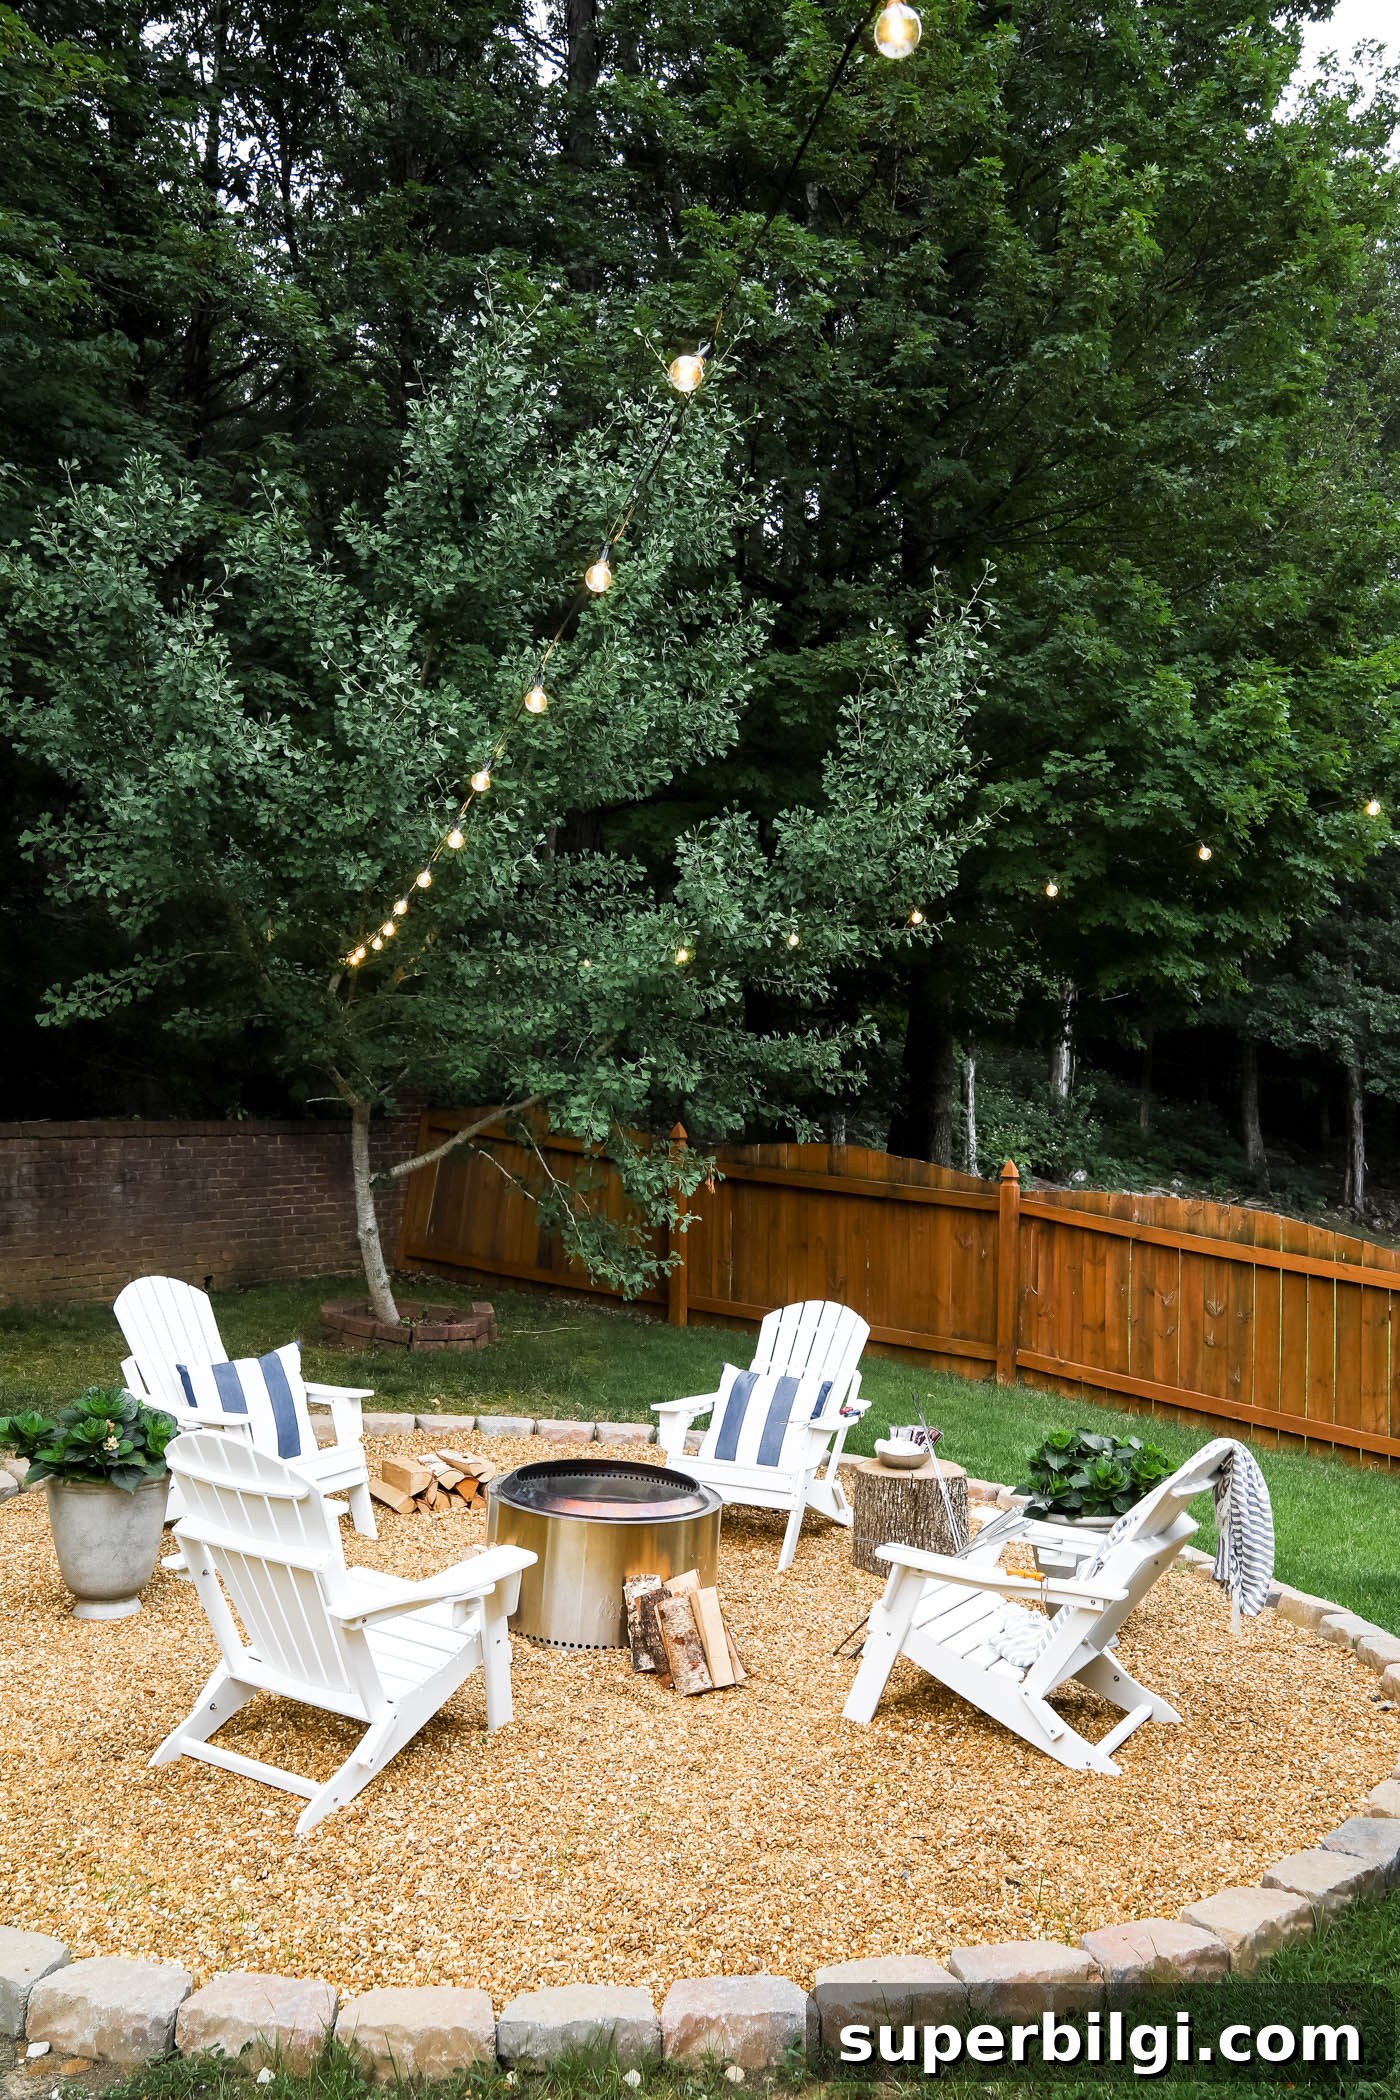
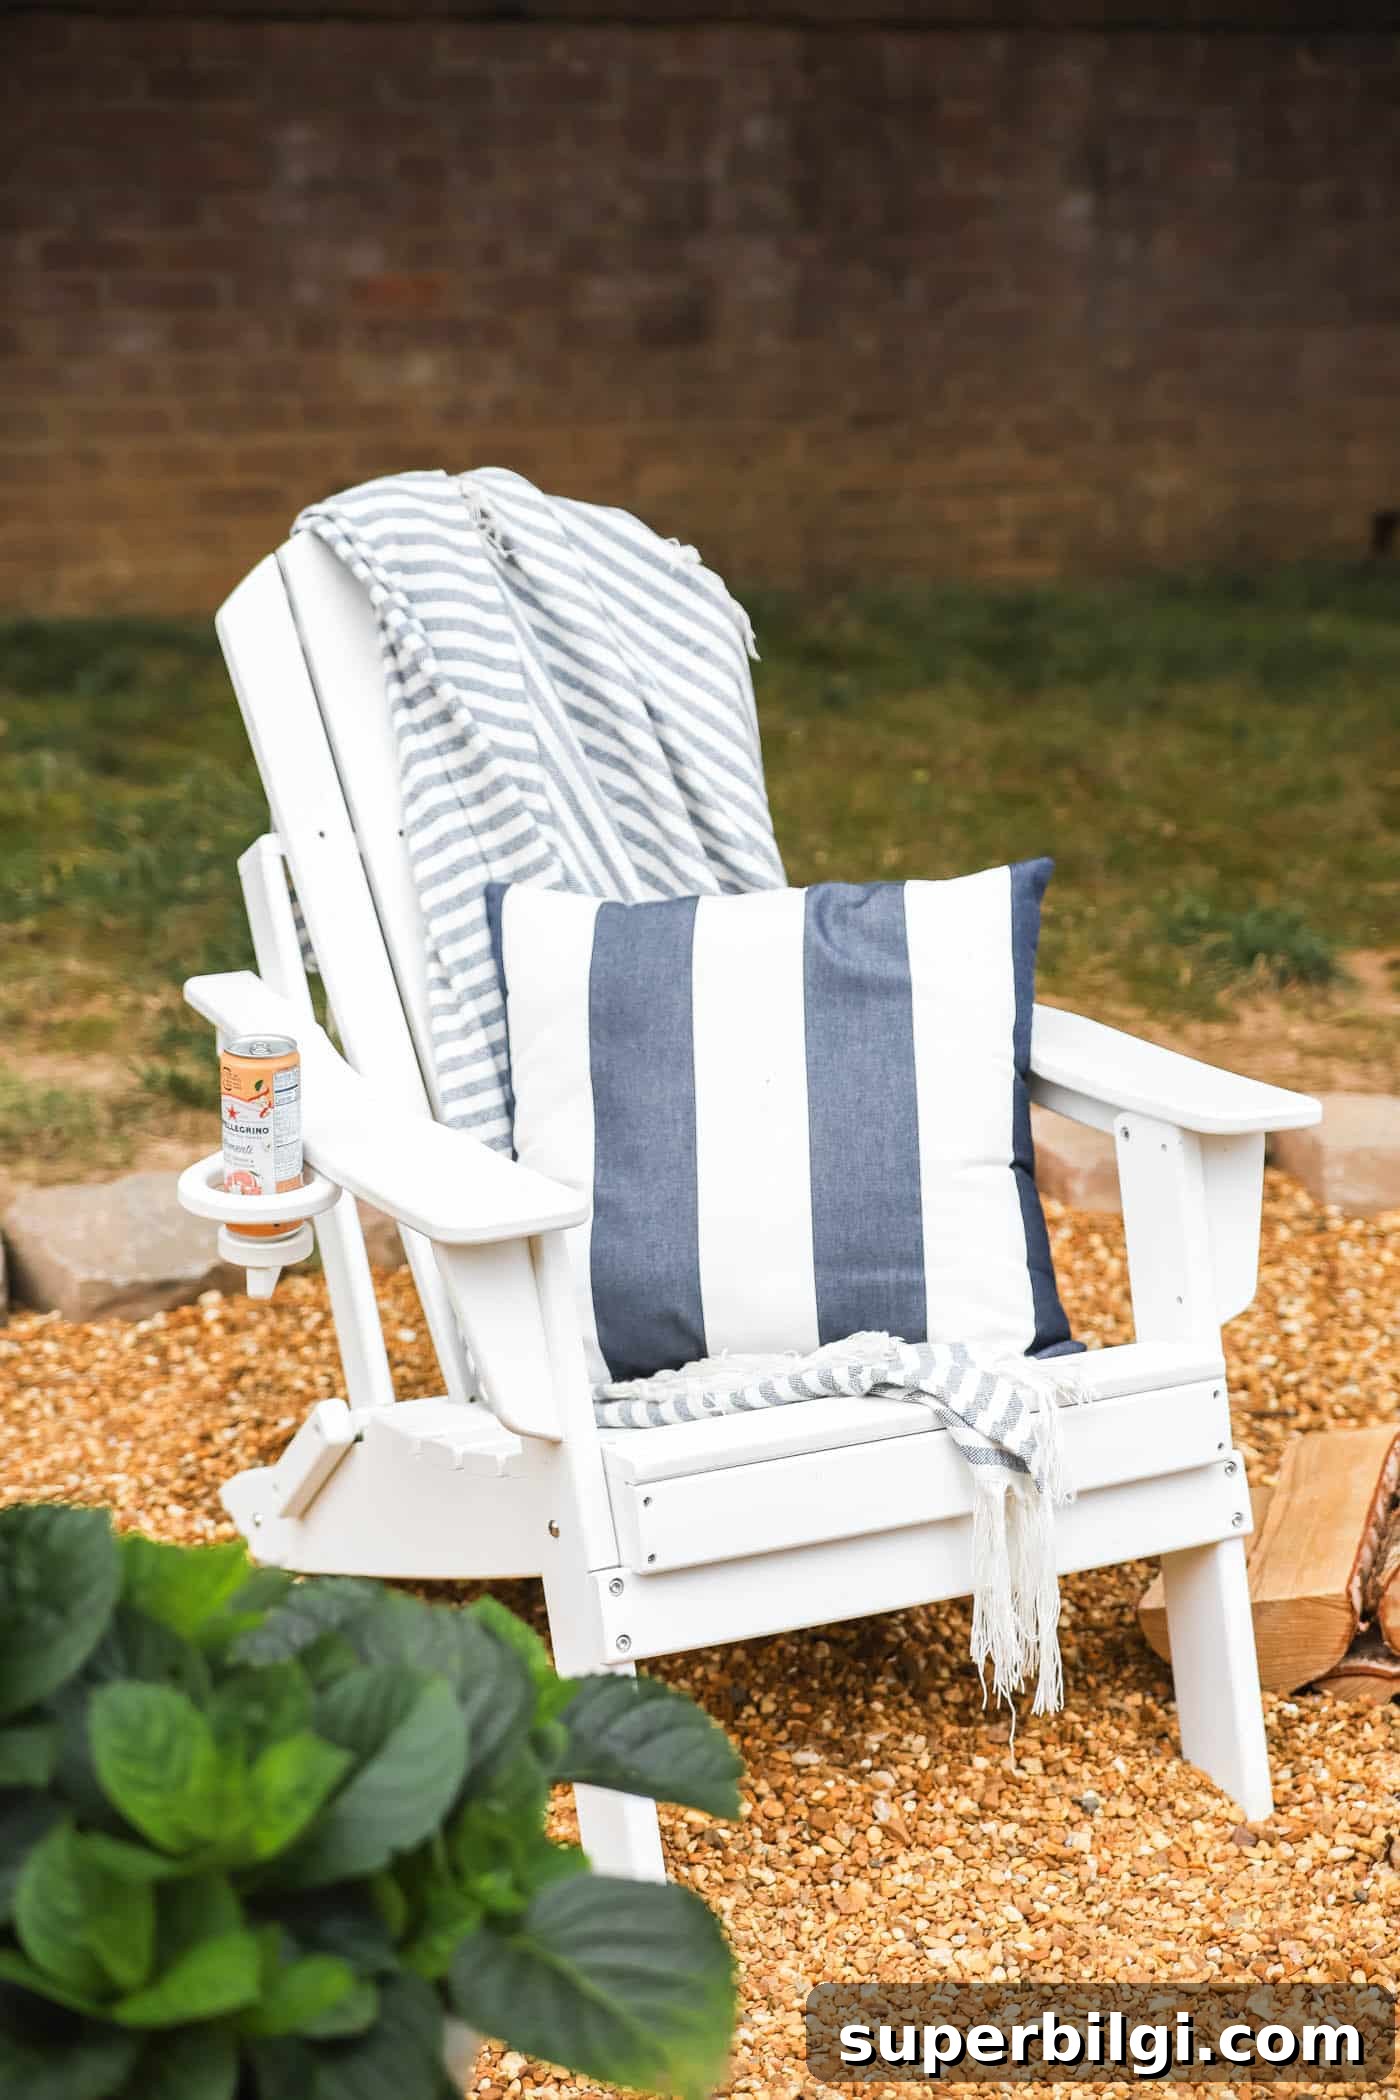
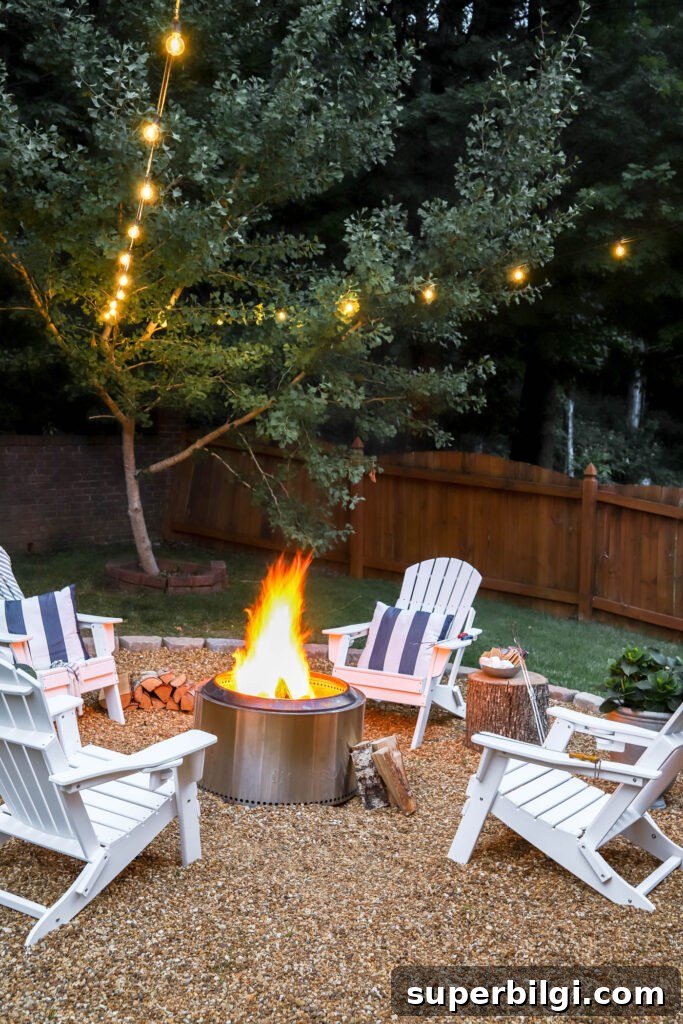
Choose durable outdoor seating—Adirondack chairs are a favorite for comfort and style. We started with four chairs and plan to add more. If you’re on a budget, build a simple bench or two. Finish with string lights (kept clear of the fire), outdoor pillows, potted plants, and side tables to create a welcoming atmosphere.
Final Thoughts
We absolutely love how our fire pit area turned out. It feels like an extra room for the house—an outdoor spot where we spend time with our dog, relax, and entertain friends. Building this space was an easy DIY with a big payoff: more family time outside and plenty of opportunities for cozy gatherings and s’mores.
Do you have a backyard fire pit area? If not, would you consider creating one in your space?
More Posts You May Enjoy:
- Gorgeous and Functional Outdoor Living Spaces
- My Haint Blue Porch Ceiling
- 12 Drool-Worthy Screened-In Porch Decorating Ideas
- How to Add Curb Appeal to Your Home
- How to Plant Flowers in a Pot, Planter or Container