
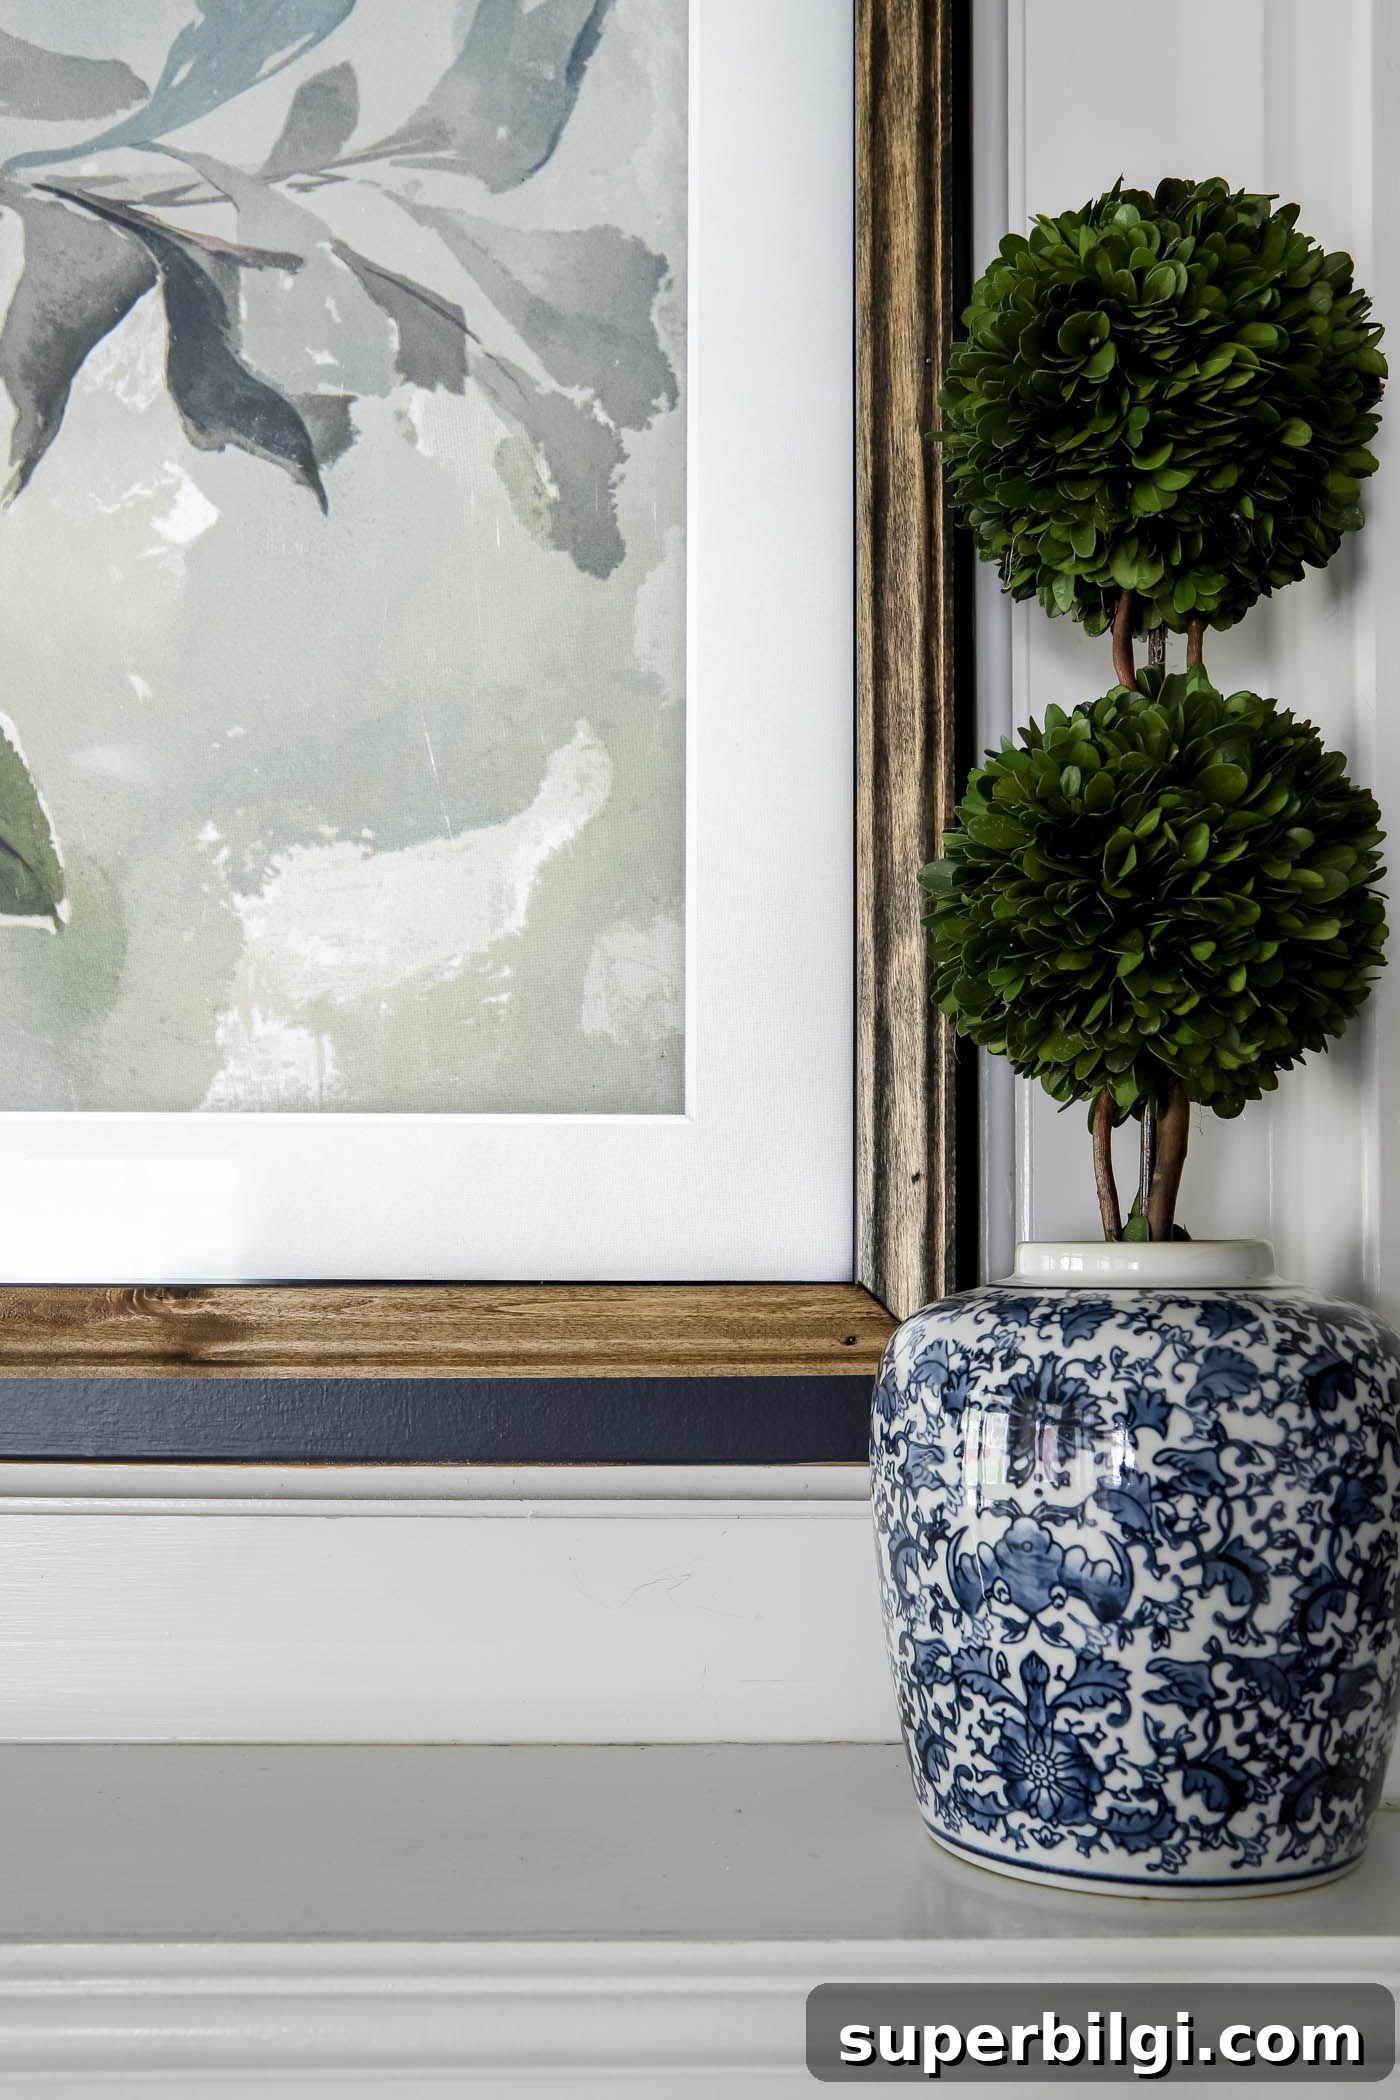
Learn how to build an attractive, low-cost frame for your Samsung Frame TV using basic tools and a little time.
The Samsung Frame TV doubles as a television and a piece of wall art when it’s not in use, but it doesn’t include a traditional decorative frame. If you want the TV to look like a framed artwork rather than just a flat screen, adding a custom frame is an easy upgrade.
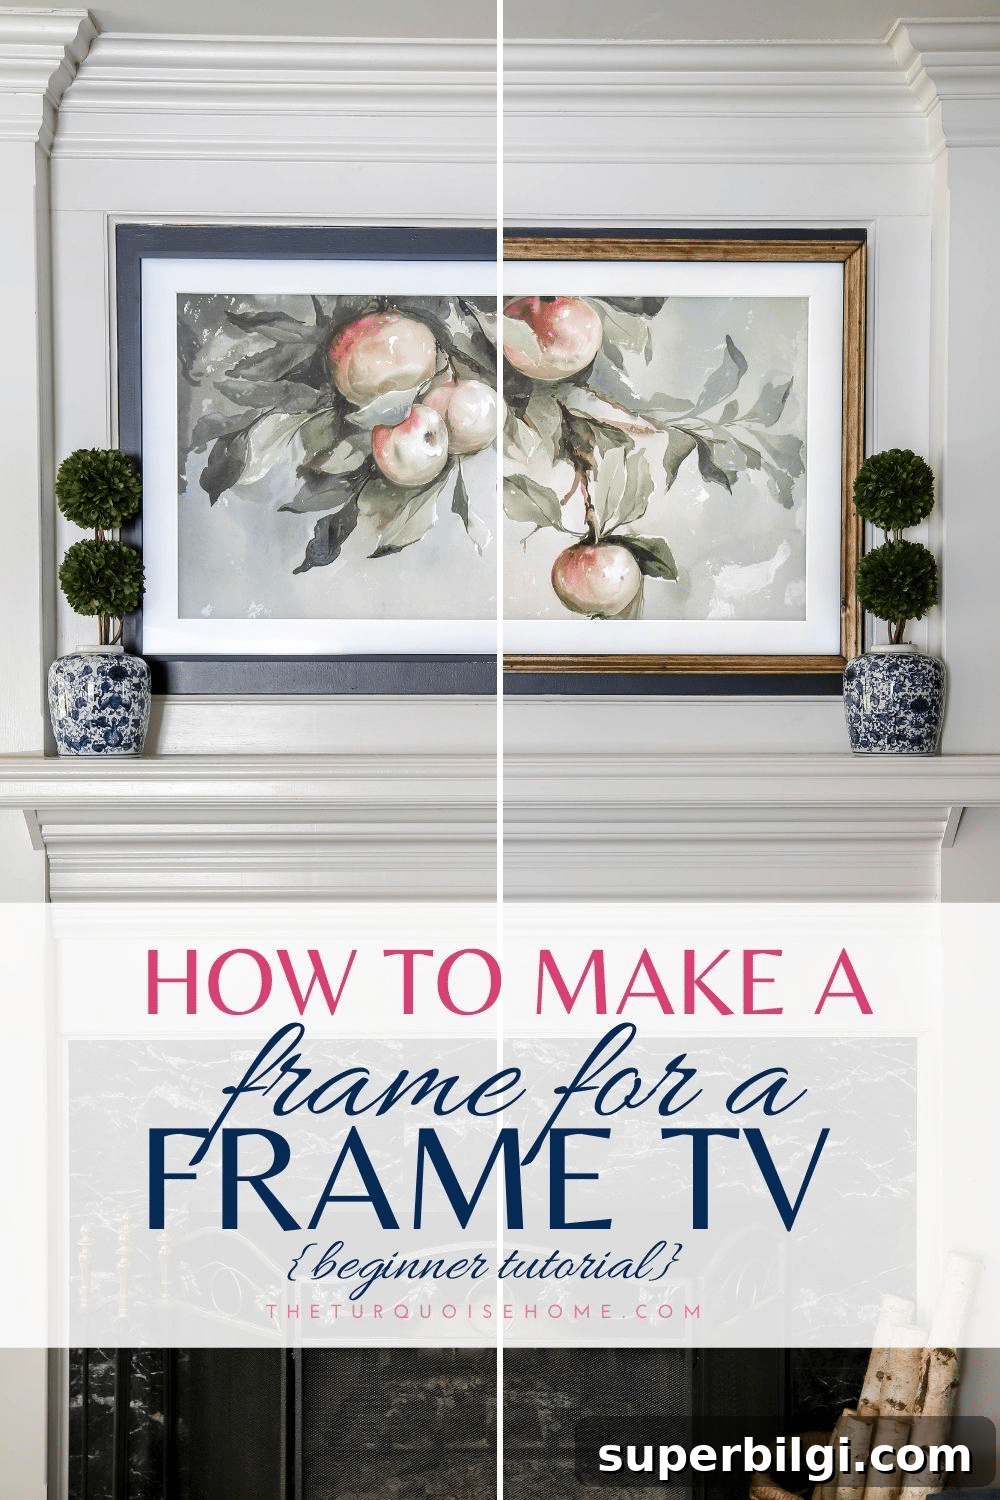
Options for Buying a Frame for the Samsung Frame TV
There are several commercial frame options designed specifically for the Frame TV. I considered a few before deciding to build my own, and each has pros and cons depending on style and wall clearance.
Modern Bezel Frames
These slim, magnetic plastic bezels made by Samsung come in multiple colors and snap directly onto the TV. They are sleek and contemporary, which suits some interiors but felt too modern for the look I wanted. Prices typically range from around $100–$200.
Decorative Wood or Metal Frames
There are more elaborate wooden and metal frames available that deliver a classic gallery look. These premium frames often cost $300 or more and usually have a wider profile. In my space the wall moulding left less than 2 inches of clearance, so most retail frames were too wide to fit.
DIY Frame
Because I wanted a narrower, stained wood profile that would fit my TV’s placement, I decided to build a frame. It cost roughly $25 in materials and gave me a custom result that matches my decor and fits the available space perfectly.
How to Make a Frame for the Samsung Frame TV
I framed a 55″ Samsung Frame TV (2020 model), so measurements below reflect that size. Adjust lengths and cut angles to suit your TV’s exact dimensions. The method is straightforward: build a solid frame foundation from 1×2 boards, attach decorative trim, and finish with stain or paint.
What follows is a practical, step-by-step guide to creating a slim, elegant frame that fits closely around the TV and reads like wall art.
What You Will Need
- 2 — 1″ x 2″ trim boards, 8 feet long
- 2 — 3/4″ x 1-1/4″ unfinished wood moulding, 8 feet long
- Miter saw (or miter box and hand saw / miter shears)
- Wood glue
- Brad nailer or finishing nails (1.5″ finishing nails work well)
- Corner clamps (optional but very helpful)
- Tape measure and pencil
- Sandpaper
- Stain or paint of your choice
- Wood putty (optional)
Steps for Making the Frame
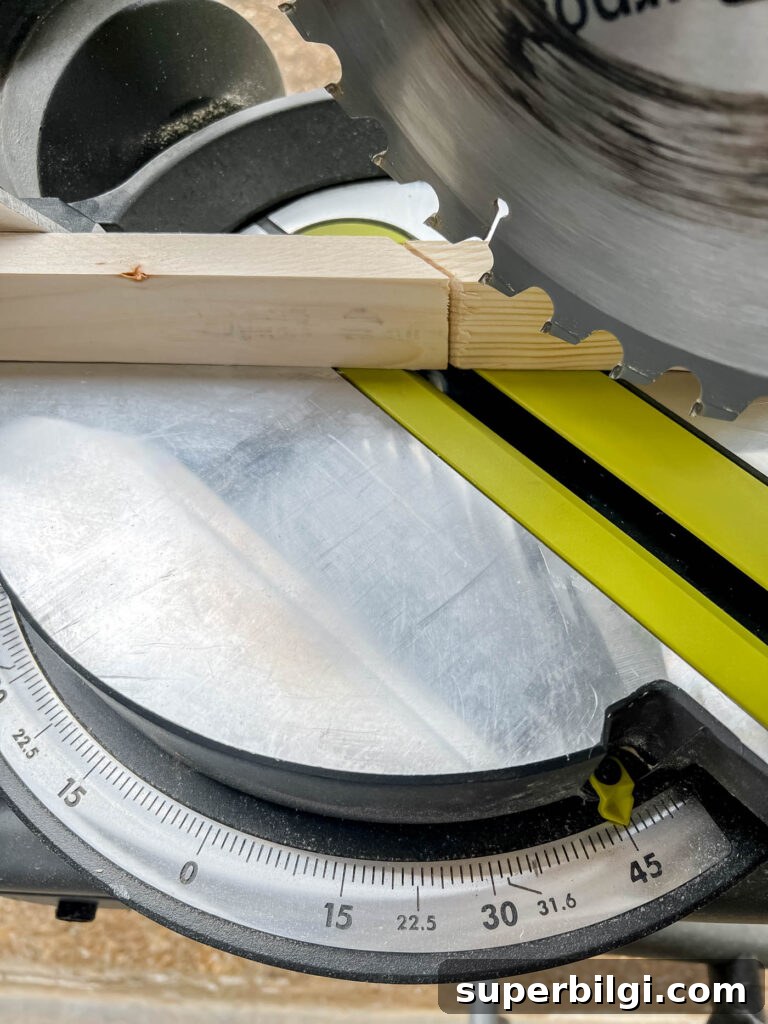
1. Cut the 1 x 2 Boards at 45°
Measure the visible area around your TV where the frame will sit and cut the 1×2 boards so their inner edges match the TV sides. Make 45-degree miter cuts so the corners will come together cleanly. Cut two longer boards for the top and bottom and two shorter boards for the sides.
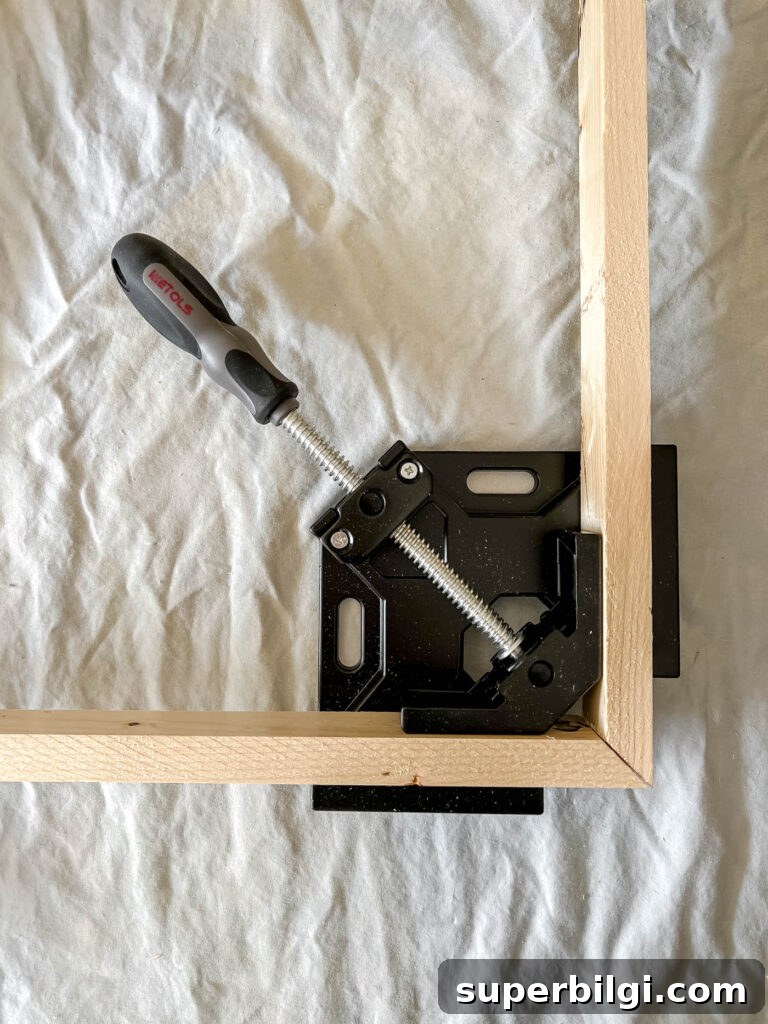
2. Clamp the Boards to Make Square Corners
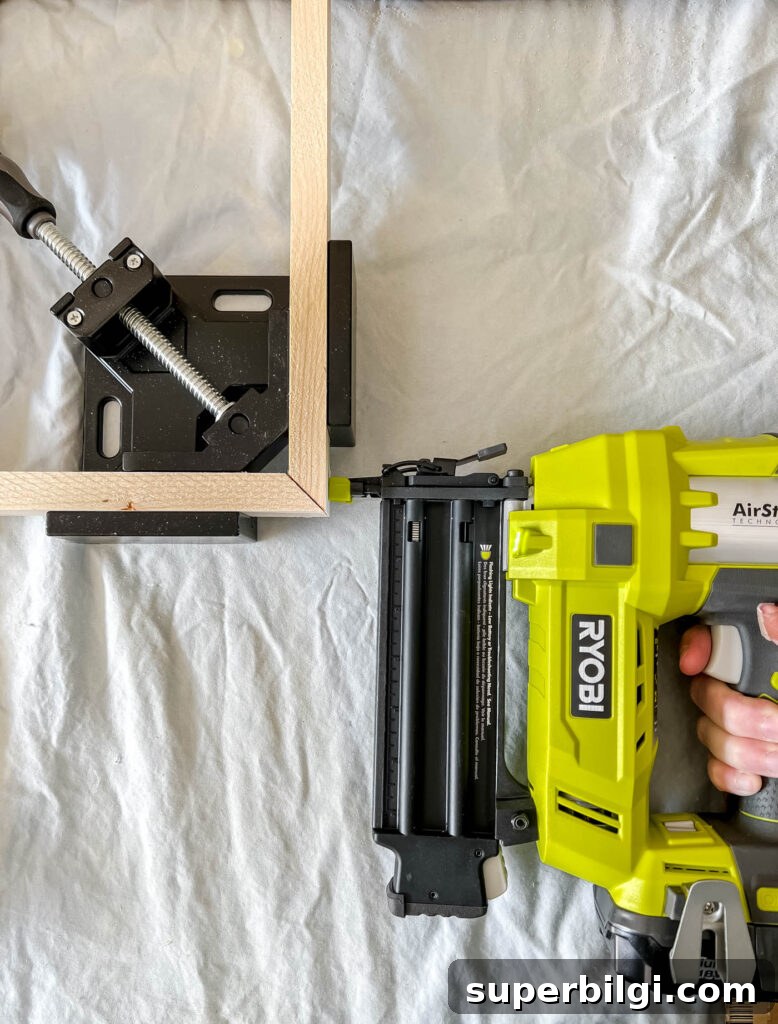
Use corner clamps or a right-angle jig to hold each mitered corner square while you assemble. Check that all four corners line up and form a true rectangle before fastening.
3. Glue and Nail the Corners
Apply wood glue to each mitered joint, clamp, and secure with brad nails or finishing nails for added strength. Nail from both faces where possible so the joint is tight. Allow the glue to dry fully before proceeding.
4. Test the Fit
Place the basic frame around the TV to confirm the fit. If it’s slightly oversized, trim a bit from the appropriate board. It’s easier to remove a small amount than to add material later.
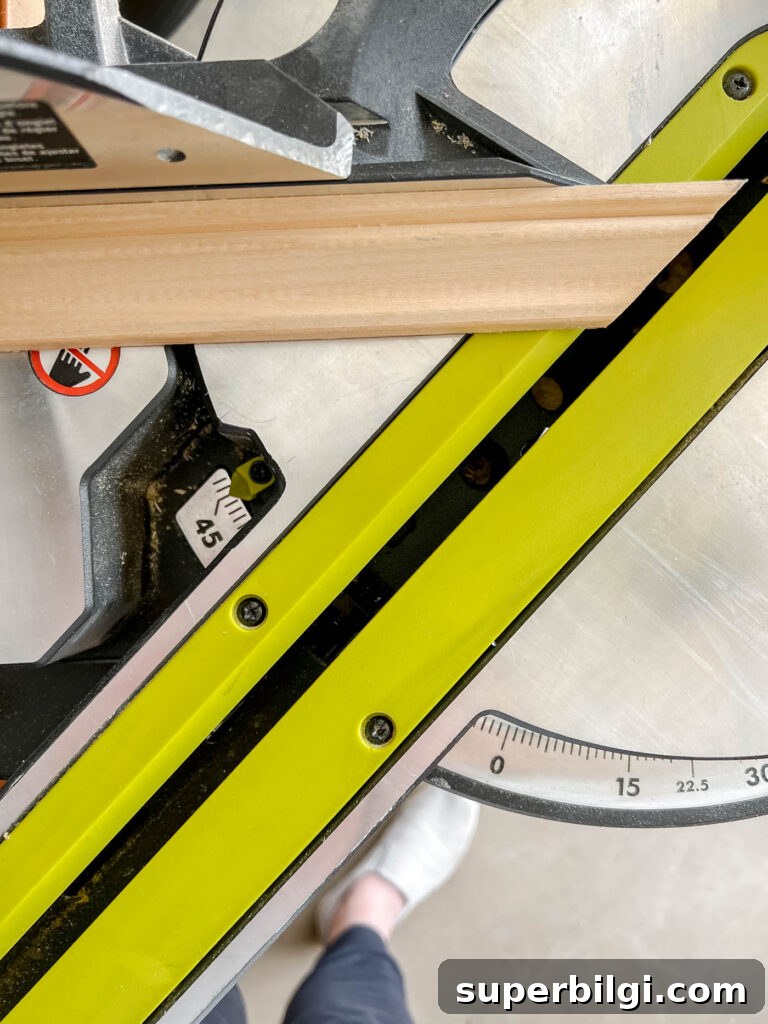
5. Cut the Decorative Trim at 45°
Cut the moulding pieces to match the lengths of the 1x2s and miter their ends at 45 degrees as well. Use the frame foundation as a guide to ensure the trim covers the frame edges properly.
6. Attach Trim to the Frame Foundation
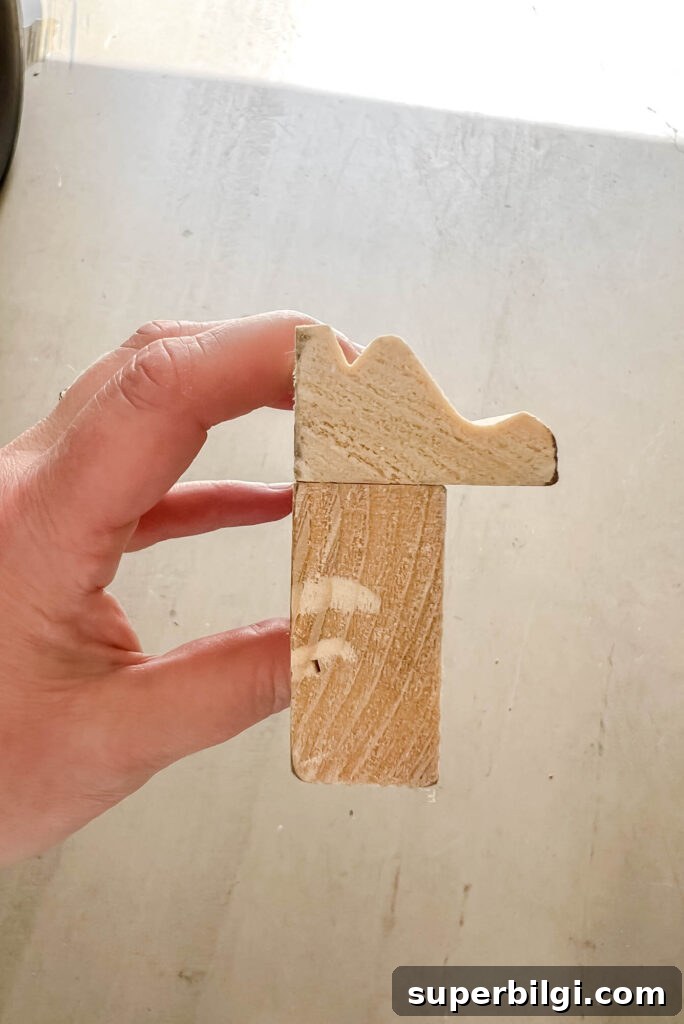
Position the tall side of the trim flush with the outer edge of the frame foundation so an inner overhang will cover the TV’s black bezel. Glue and secure the trim with 2–4 brad nails per piece, nailing from the top face into the foundation.
7. Stain or Paint
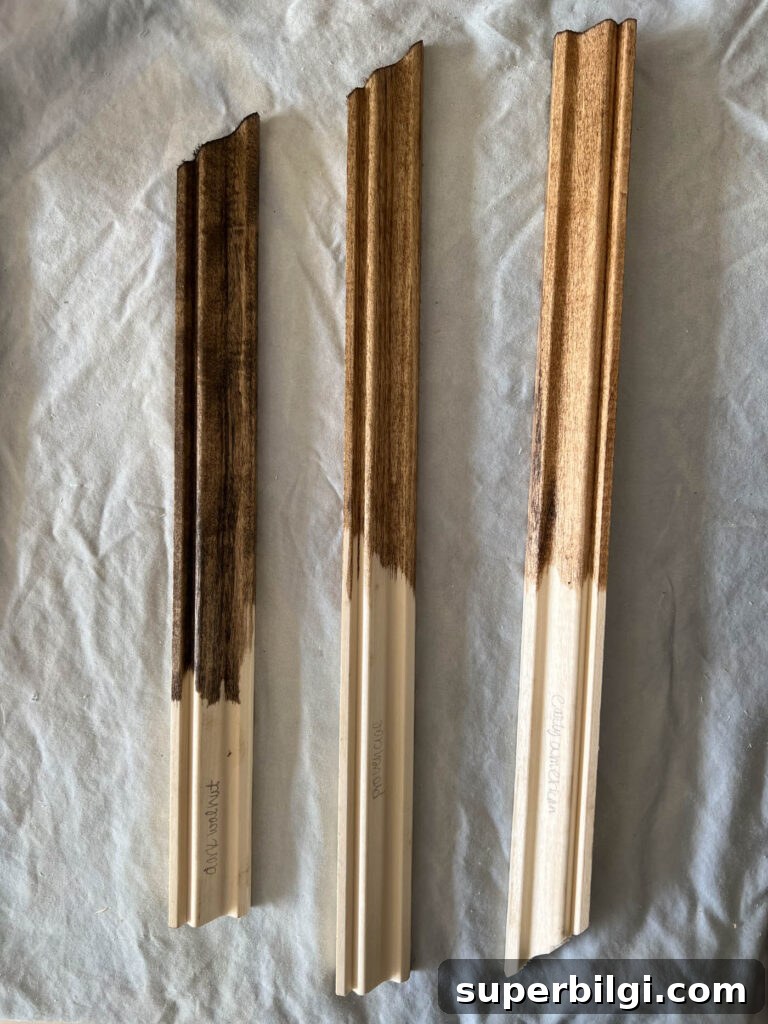
Choose a finish that complements your room. I tested several stain shades and ended up using a dark walnut to add warm wood tones next to white trim. If you plan to paint, fill any nail holes with wood putty before finishing.
8. Install the Frame on the TV
Most DIY frames of this style simply push onto the TV and fit snugly. If you want extra security, add removable mounting strips such as Command strips to the frame or to the TV edge so it won’t shift. If you frequently tilt the TV, consider a more secure fastening method.
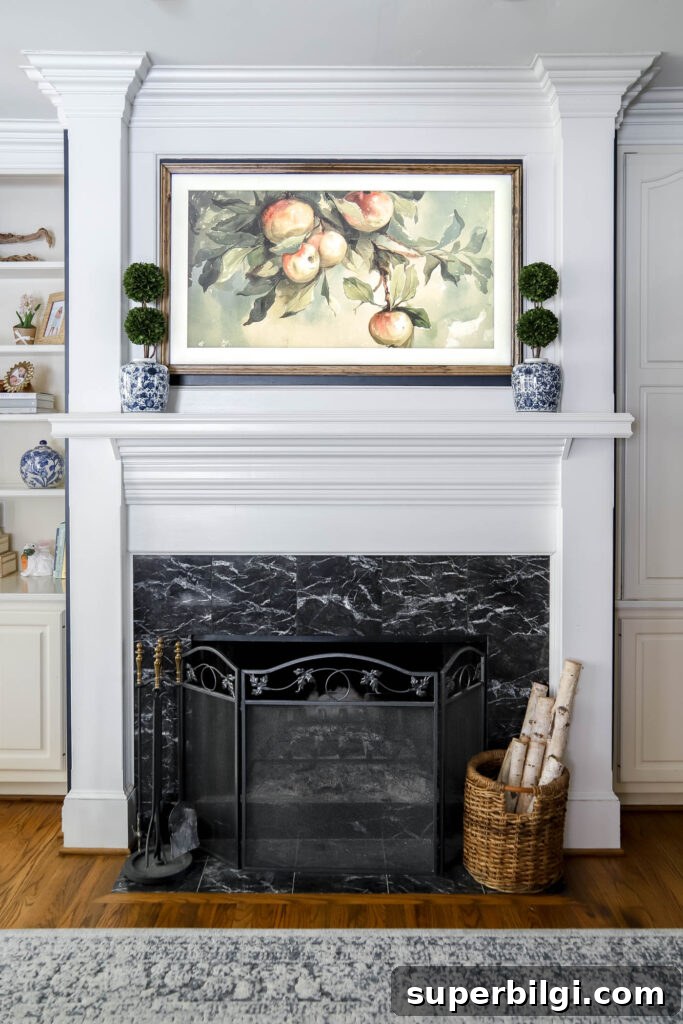
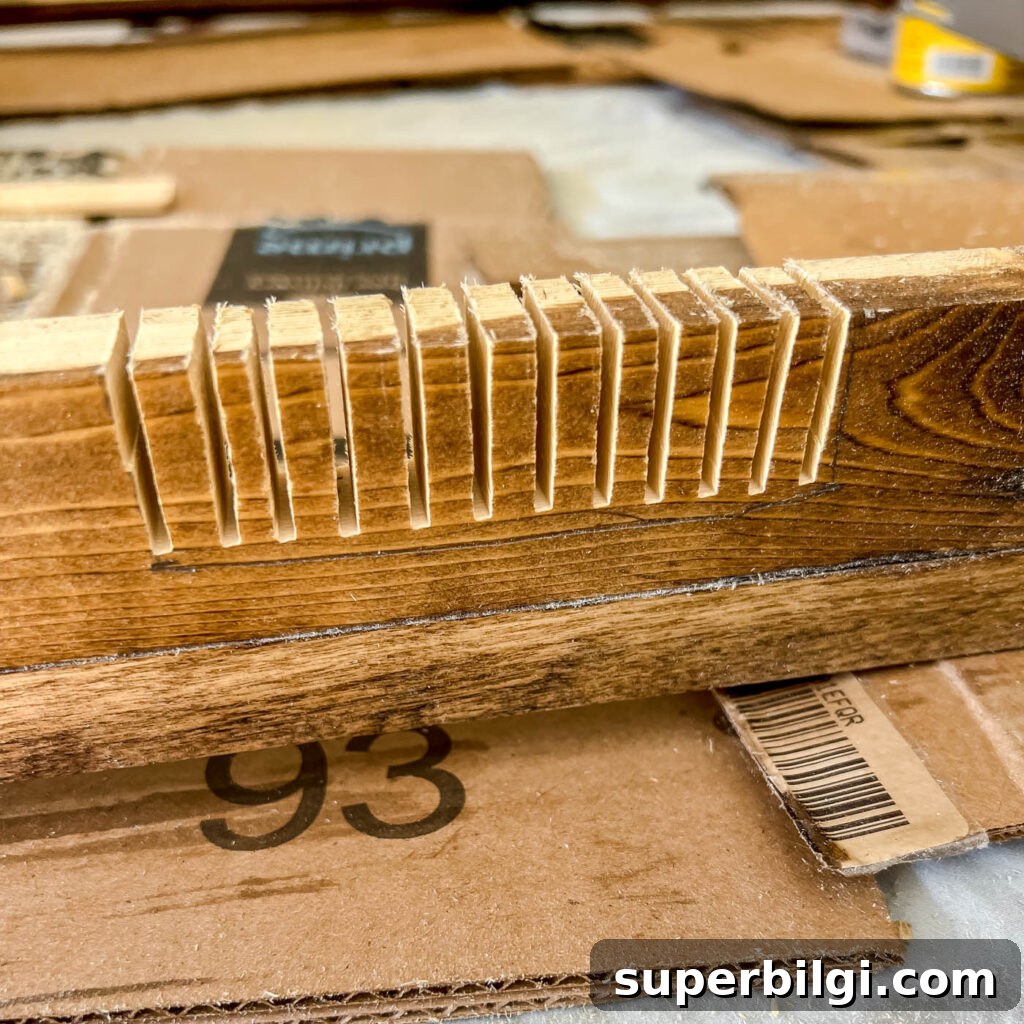
9. Optional: Notch for the Ambient Light / Motion Sensor
The Frame TV uses a bottom sensor to detect room light and motion for automatic art display. If your frame blocks that sensor, mark its location and carefully remove a small notch from the frame using a saw or chisel. Sand the cut smooth and test the sensor function; a small opening usually restores most of the original behavior.
This project was inexpensive, quick, and rewarding. With a few cuts, glue, and nails you can create a custom wood frame that turns your Samsung Frame TV into an elegant piece of wall art. The materials cost roughly $25, and the final result adds warmth and personality to the room.
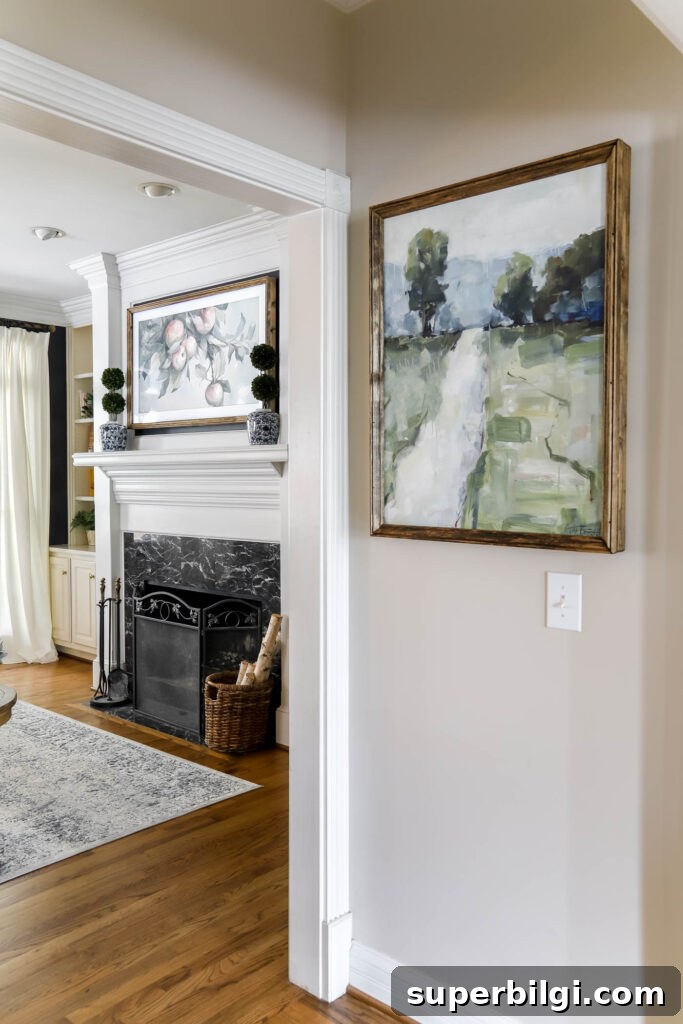
This framing method works well for TVs or canvases and can be adapted to different sizes and styles. If you enjoy DIY home projects, it’s an affordable way to achieve a custom, gallery-like look.
More posts you might like:
- DIY Picture Frame Moulding
- Beach-Inspired DIY Framed Canvas Art
- How to Frame a Canvas (for Cheap)
- How to Frame a Builder-Grade Mirror
- The Samsung Frame TV Review