
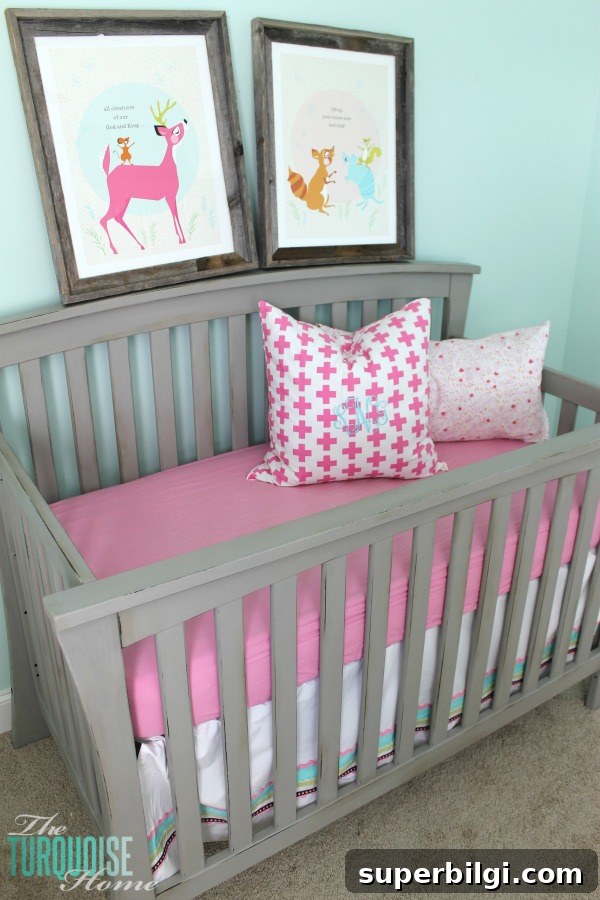
I’m finally back to finishing the baby girl’s woodland nursery. I had hoped to complete it before she arrived—I nailed down the vision and got a lot of pieces in place—but with Christmas, birthdays and, you know, having a baby, the room wasn’t finished when she was born.
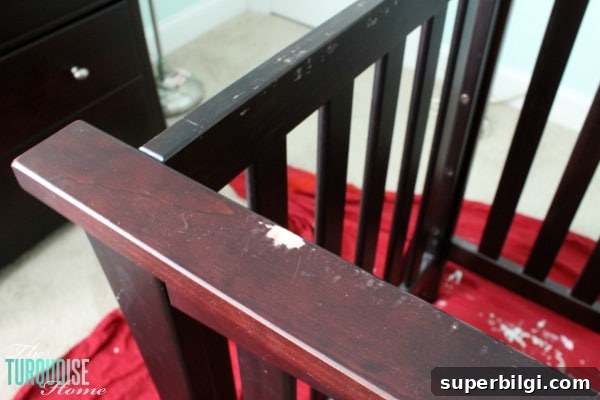
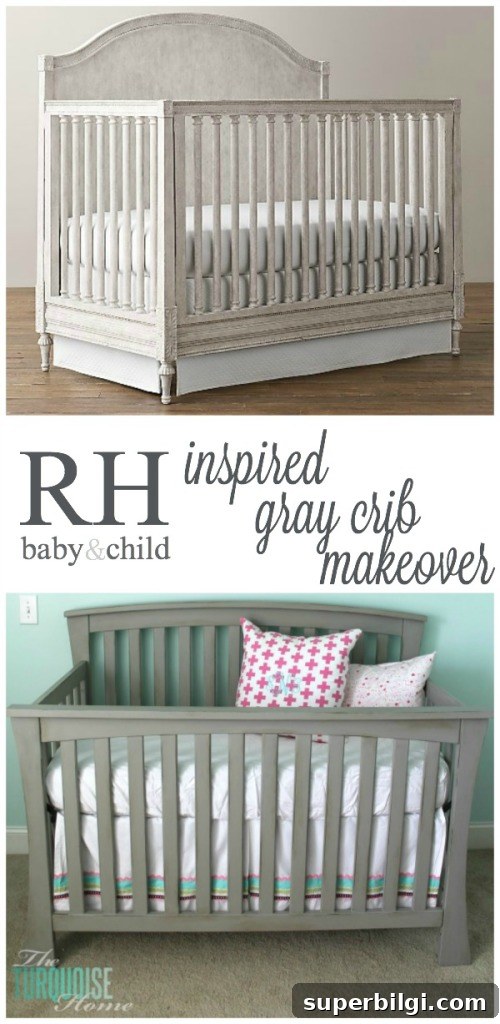
This is the crib I bought when Miss A was born, long before I knew about vision boards or planning a cohesive room. I chose a matching dresser and a dark wood crib because my husband prefers that look. The piece is well made and the lines are clean, but the dark finish never felt quite right to me—plus the rails had a few bite marks.
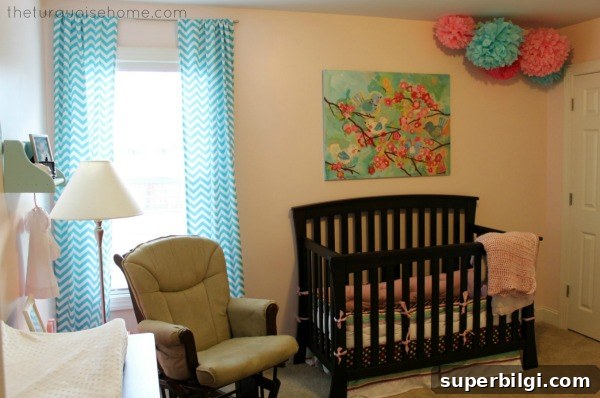
Miss A’s Pink & Turquoise Nursery
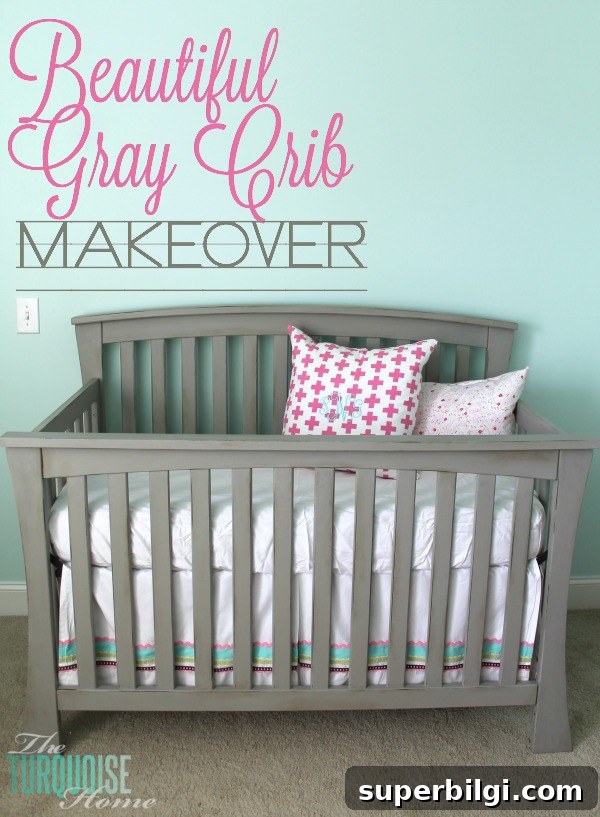
To update the crib, I used Annie Sloan Chalk Paint. I already had French Linen on hand but wanted a softer, lighter gray, so I mixed one part Old White with six parts French Linen to create a muted, antique tone perfect for a woodland nursery.
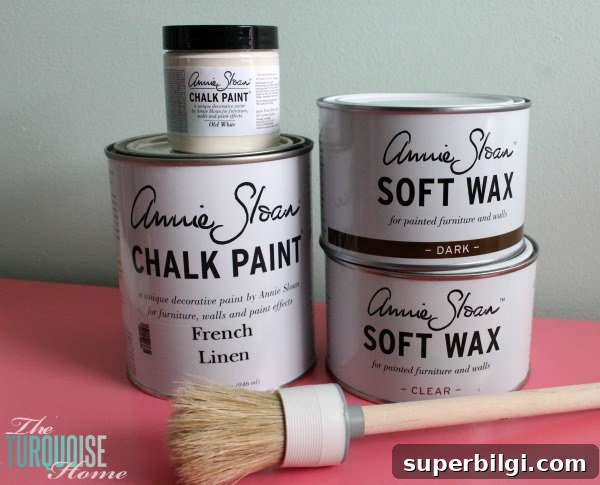
My mom helped paint the crib while she was looking after Miss A during my hospital stay. I’ve read that some people don’t find chalk paint to be a major time-saver—because you still need to wax—but I love it for the minimal prep and the creative finish options. With chalk paint you can control distressing, brush strokes, and the type of wax you apply, so the end result feels more handcrafted than a standard latex finish.
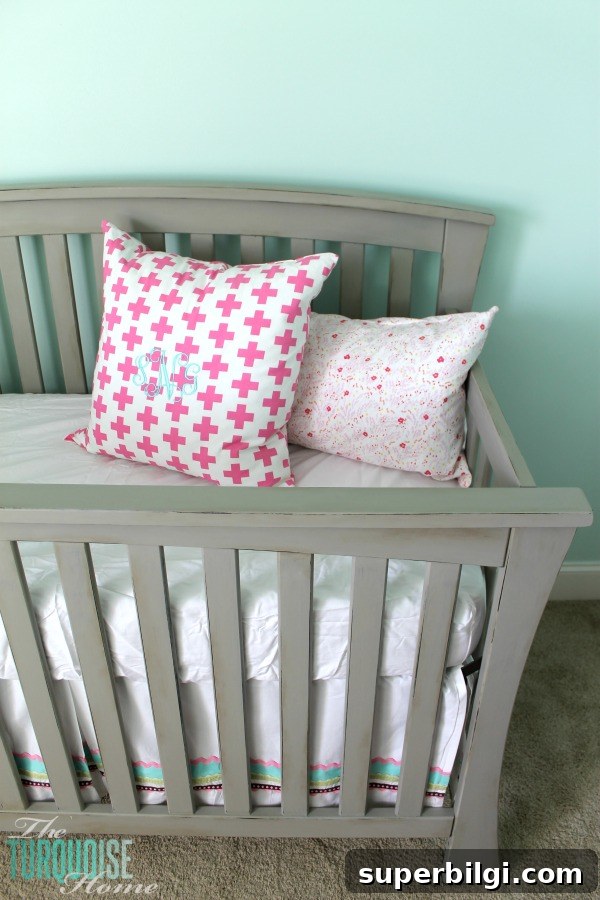
I’ve used chalk paint on furniture before and usually distress the pieces. At first I planned to keep the crib pristine, but after painting and applying clear wax I went back and added some gentle distressing. The subtle wear brings depth and character and ties in well with the woodland theme.
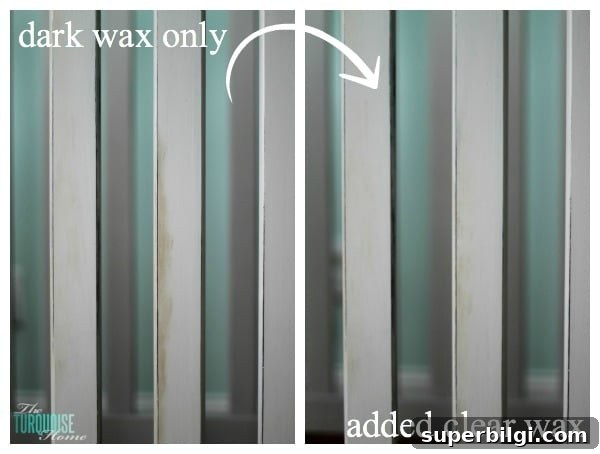
I also experimented with dark wax for the first time. Dark wax can be tricky—it’s almost an art form—so I followed the distressed areas and used a very light hand. A small amount goes a long way, and the initial application can look harsh until you blend it. I softened the look by applying clear wax over the dark wax and blending until the finish looked natural and muted.
When I created the original vision board for Baby G’s nursery, I included an antique gray crib from Restoration Hardware Baby & Child as inspiration—beautiful but far beyond my budget. The makeover I did isn’t an exact replica, but it captures the same vintage, washed-gray aesthetic at a tiny fraction of the cost.
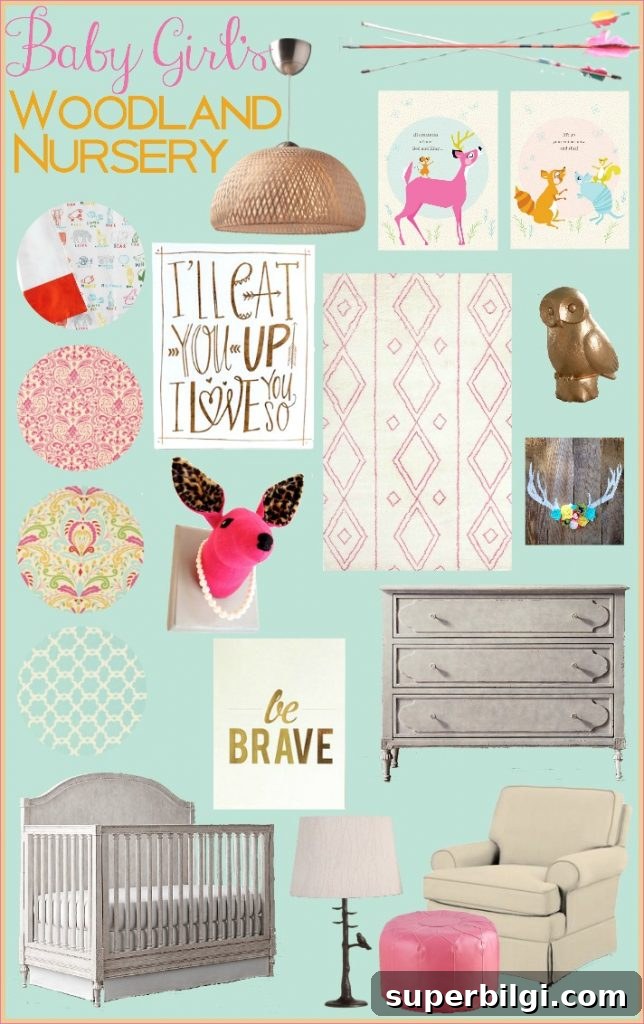
My DIY option cost about $50 (with some paint already in my stash) compared to roughly $1,200 for the high-end inspiration piece—and I’m thrilled with the result. A vision board is meant to guide the overall feel, not dictate every detail, and this crib fits the plan perfectly.
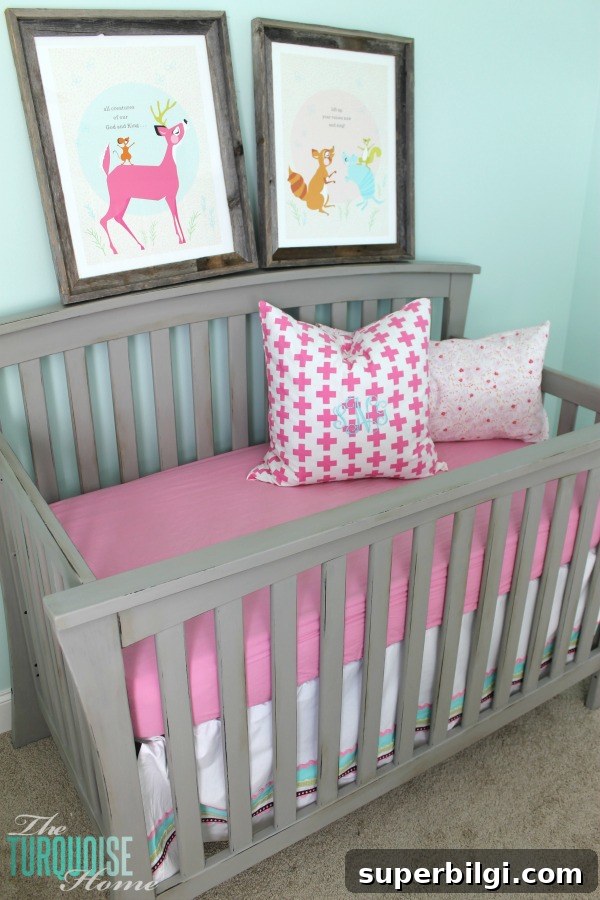
I couldn’t resist leaning two framed pieces of art next to the crib and taking a quick photo. I don’t yet know where they’ll hang, but I love how the frames and crib finish play together—those rustic wood frames echo the crib’s softened gray and give the space a warm, collected look.
Next on my list is painting and waxing the changing table/dresser and tackling several smaller projects to complete the nursery. Now that Baby G is approaching a month old, I’m feeling ready to try moving her into her own room—when Miss A did that at about four weeks, she began sleeping longer stretches, so I’m hopeful for similar success with Miss G.
Update: I was initially concerned about using chalk paint on a baby’s crib. The Annie Sloan product information addresses this topic: chalk paint is considered safe for children’s furniture as long as you allow the paint and wax to cure fully for 4–6 weeks before using the item. Also note that pregnant women should avoid applying wax; I waited until after delivery to wax the furniture.
More Posts You Will Love:
- Beautiful Room Decor Ideas for Girls
- DIY Bookshelf Ledges for the Nursery
- Benjamin Moore Lido Green {nursery progress}