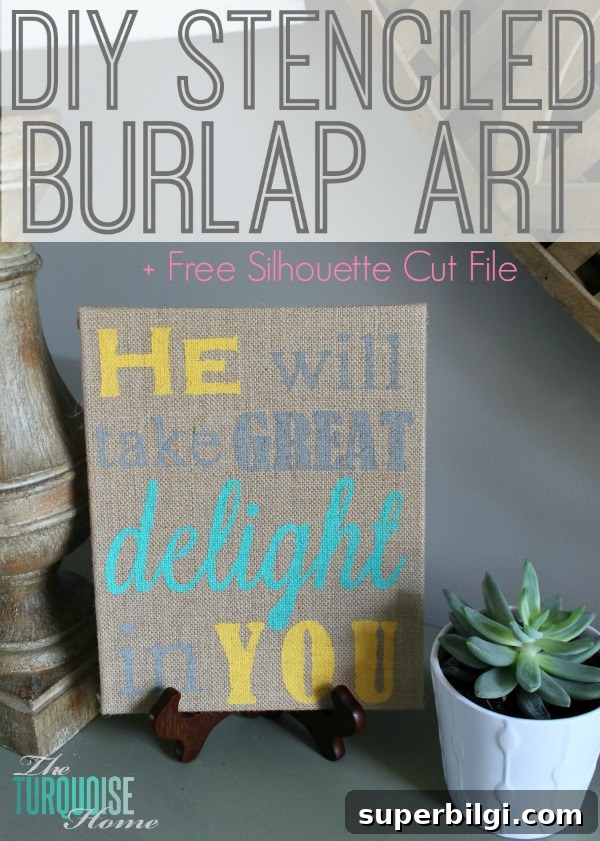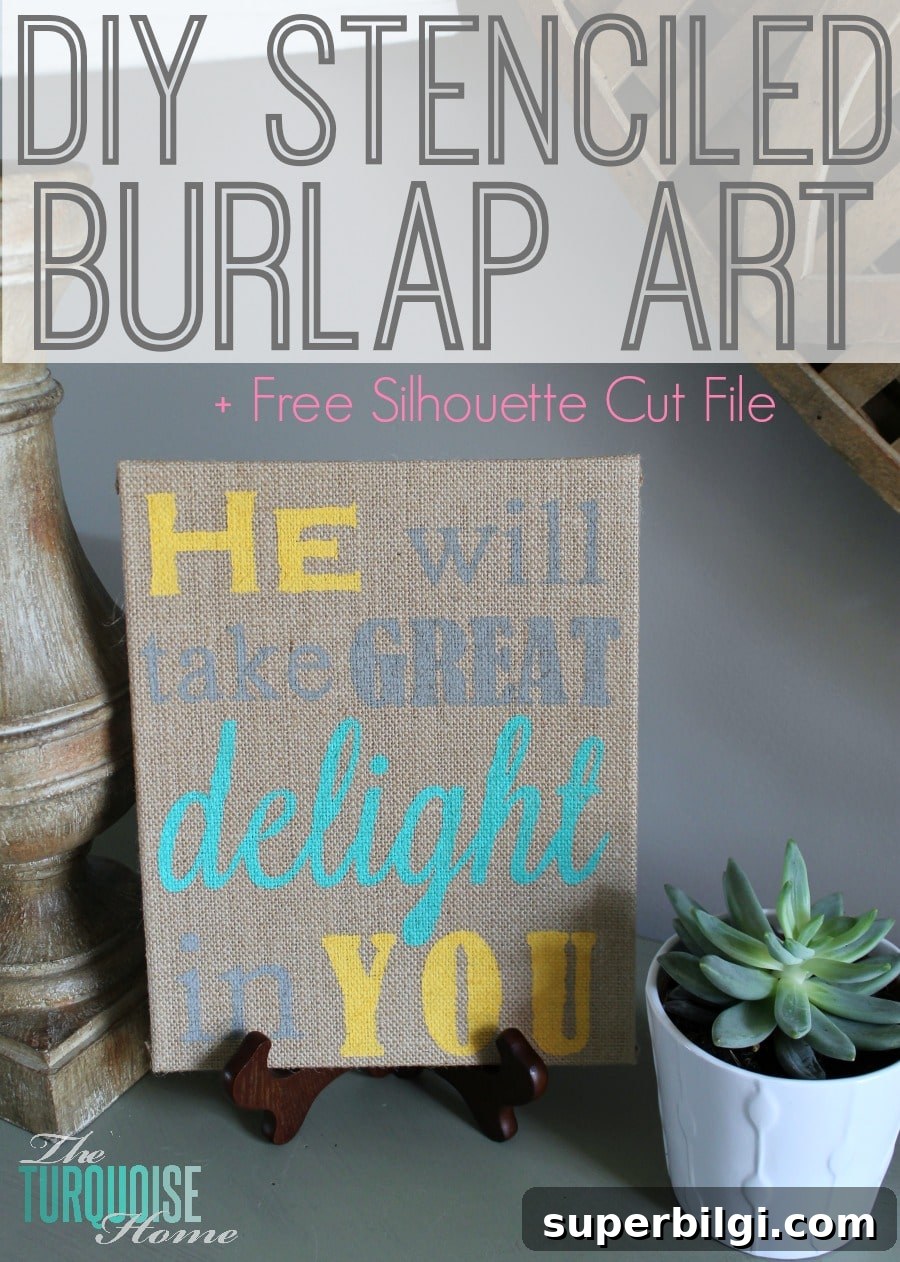
This simple tutorial shows how to create DIY stenciled burlap art using a Silhouette machine (or pre-made stencils) in a few easy steps.
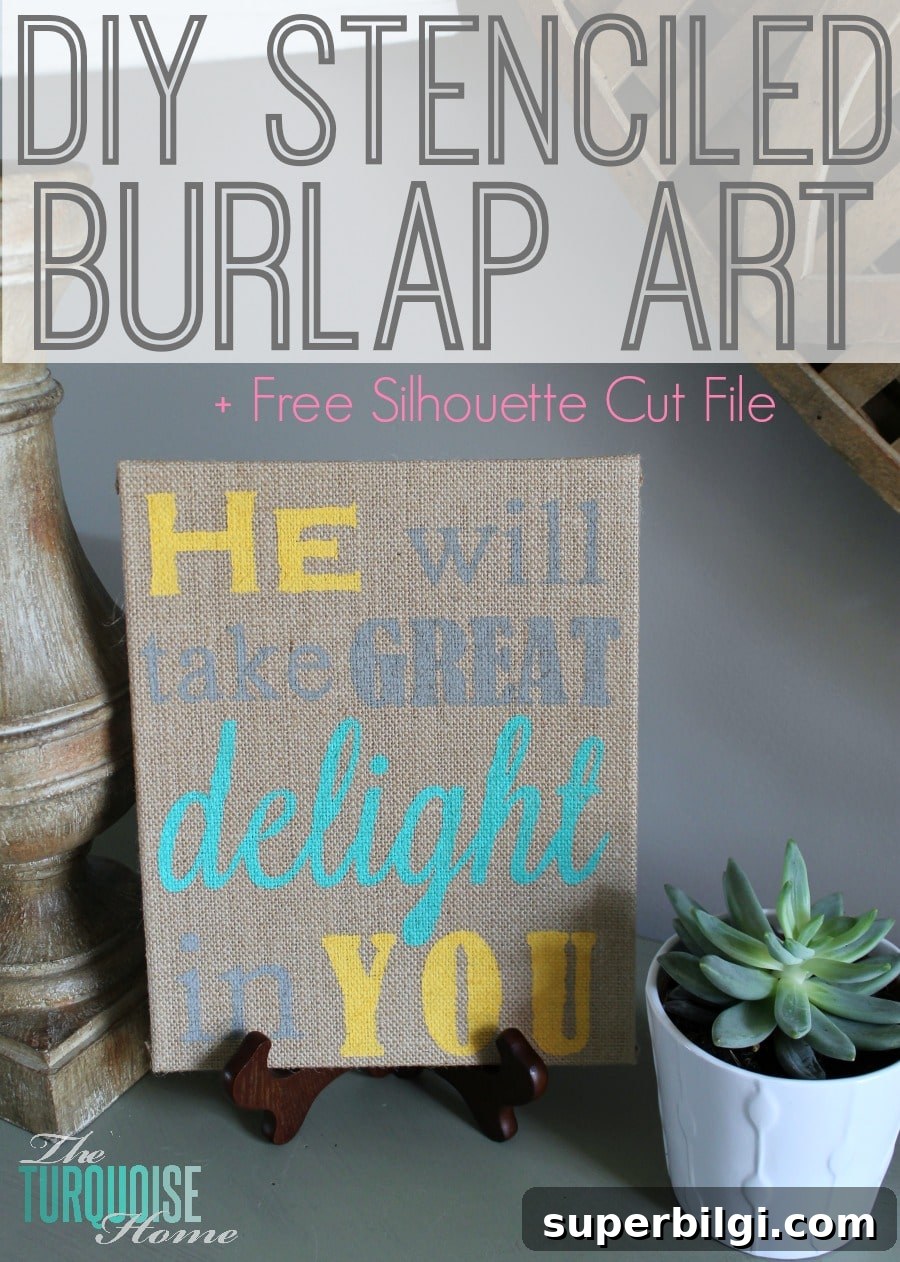
I recently created an easy craft project for about 150 women at a church conference, and I wanted to share the straightforward process so anyone can recreate it. This project is budget-friendly, approachable for all skill levels, and produces charming results suitable for gifts, home décor, or group craft events.
After a busy stretch when I had to slow down and rest, I returned to finish and photograph this tutorial. The craft centers on stretched burlap panels and simple stenciling techniques that yield crisp, professional-looking lettering and designs.
Supplies for DIY Stenciled Burlap Art
- Stretched burlap panels (available at major craft stores; stretched burlap canvases and panels work beautifully)
- Stencil blanks or pre-made stencils (blank stencil material is sold at many craft stores)
- Silhouette cutting machine (optional — you can use pre-made stencils if you don’t have a cutter)
- Acrylic craft paint in your chosen colors
- Foam brushes or stencil brushes
- Paper plate or palette to remove excess paint
- Repositionable spray adhesive to hold stencils in place while painting (available at craft stores)
How to Make DIY Stenciled Burlap Art
1. Plan and design your stencils
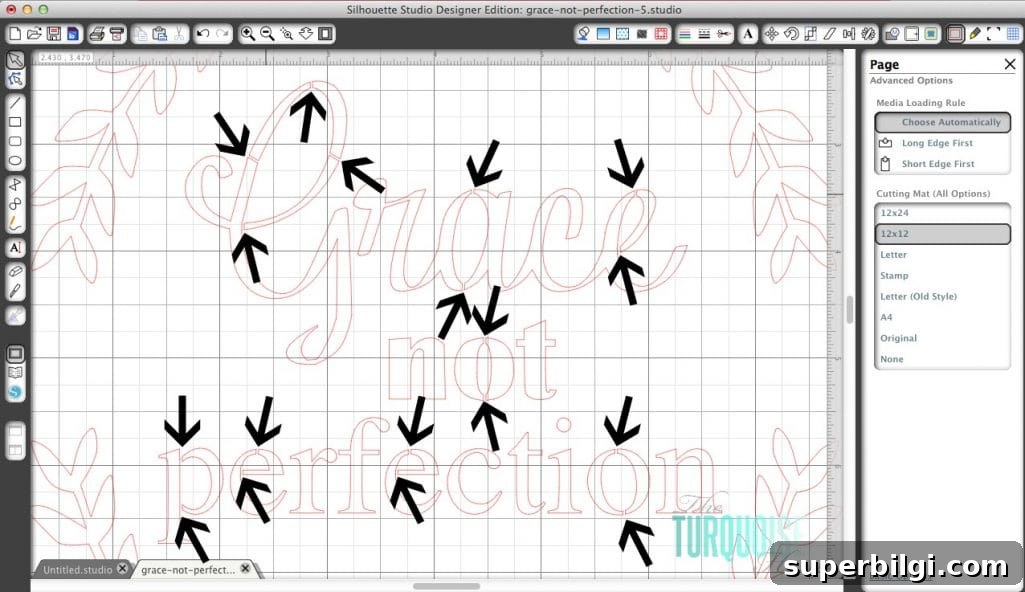
Start by choosing the phrases or words you want on your burlap panel. I designed three different stencils for the event and found that some fonts require small adjustments so the inner parts of letters (like the center of an “o” or “a”) stay connected to the stencil. Planning these bridges before cutting prevents loose pieces and makes the stencils easier to use.
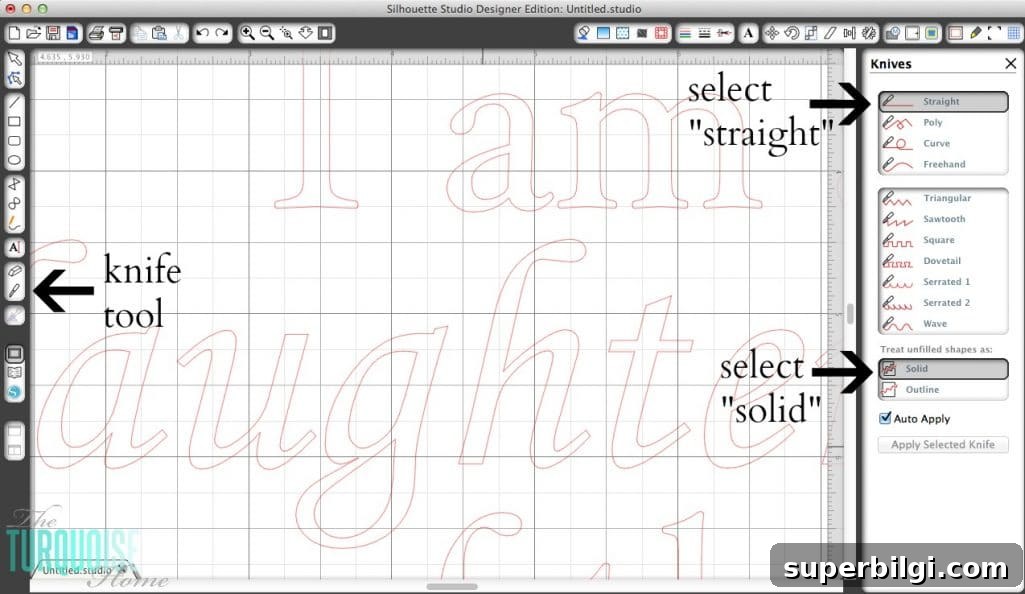
2. Turn any font into a stencil
If you’re using a cutting machine with design software, use the knife or cut tool to create small bridges in letters that have enclosed counters (a, o, d, g, etc.). Cut lines should be straight and solid so inner shapes are held in place by the bridges. If you’re not using software, choose stencil-friendly fonts or buy pre-made stencils.
3. Cut the stencil
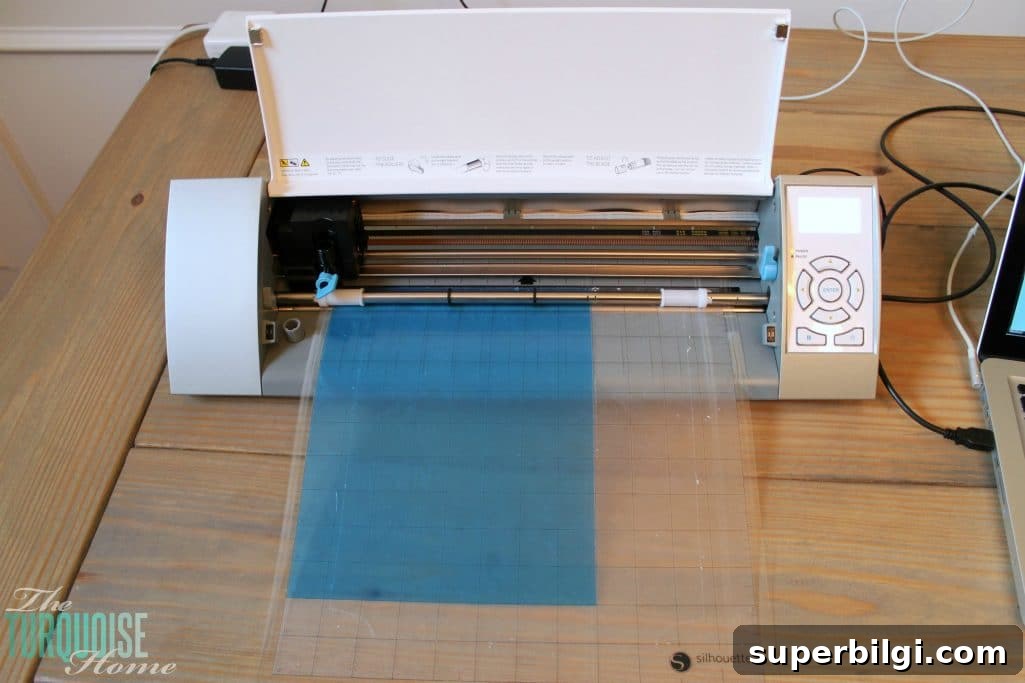
Load your stencil blanks into the cutter and run the design. Because stencil materials vary by brand and thickness, test a sample cut on cardstock or a spare piece of stencil material first to dial in blade settings and avoid wasting blanks. Thicker materials may require a double-cut or slower speed; smaller or thinner blanks cut more easily.
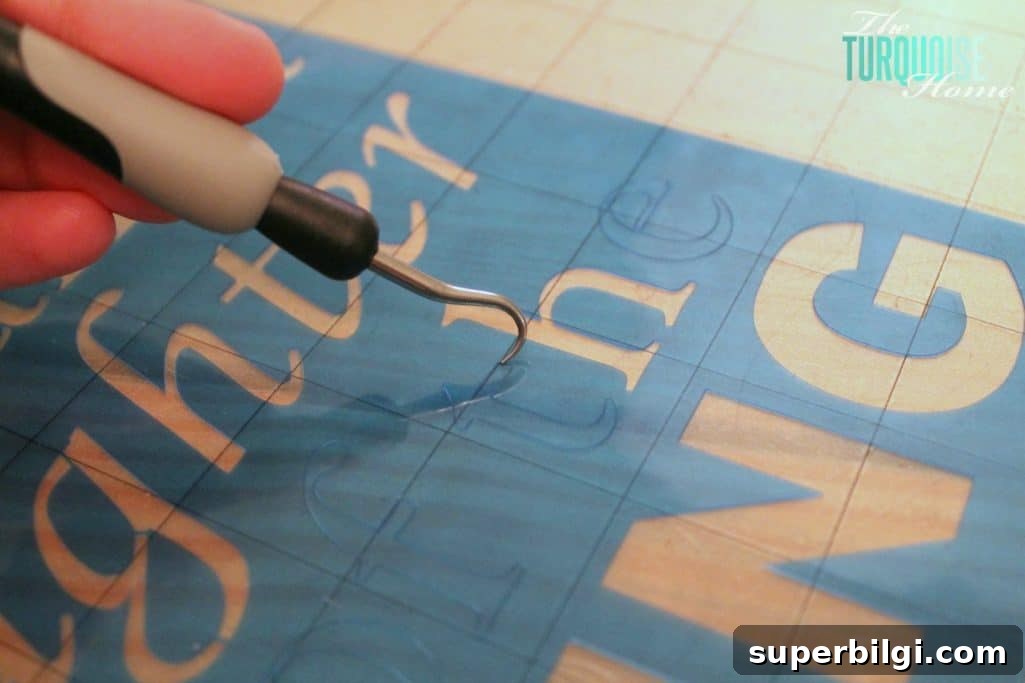
4. Weed the stencil
Remove the excess material from around and inside the letters so only your stencil areas remain. For large batches this can take time, so organize a comfortable work area and use weeding tools to speed the process.
5. Apply repositionable adhesive to the back of the stencil
Lightly spray the back of your stencil with a repositionable adhesive so it will cling to the burlap without shifting. This prevents paint bleed and keeps edges sharp during painting. Allow the adhesive to become tacky before placing the stencil.
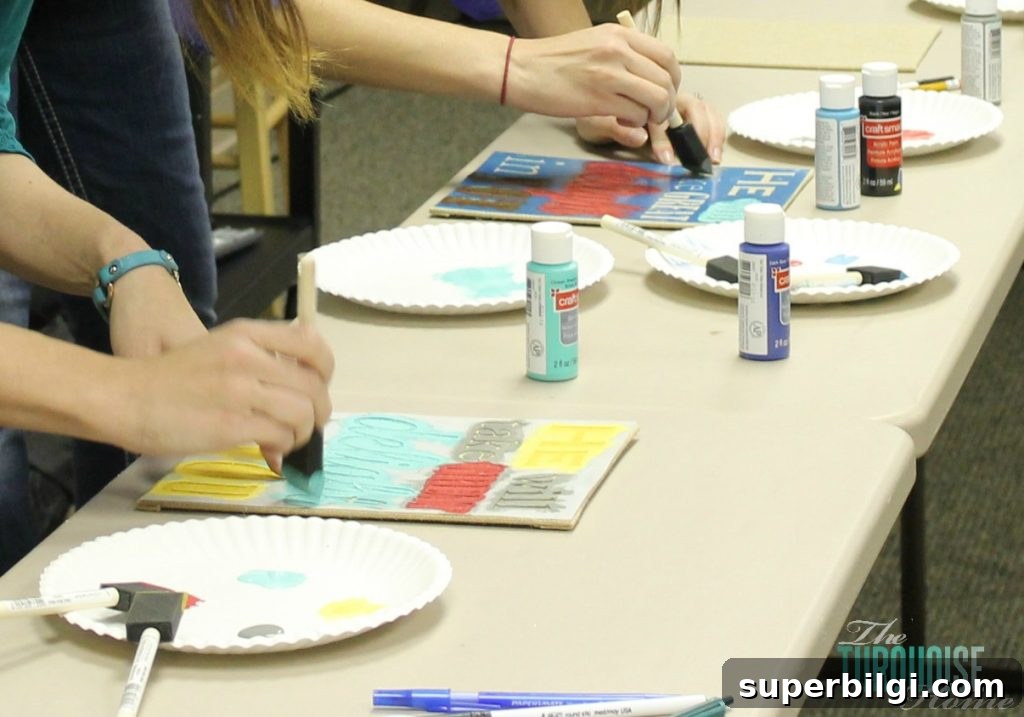
6. Position the stencil and paint
Place the stencil carefully on the stretched burlap panel and press down to secure. For crisp lines use a small amount of paint on a foam brush or stencil brush — dab off excess on a paper plate first. Use an up-and-down dabbing motion rather than brushing side-to-side to avoid pushing paint under the stencil. Build up thin layers until you reach full coverage.
Tip: Less paint and multiple light layers give cleaner results than one heavy coat.
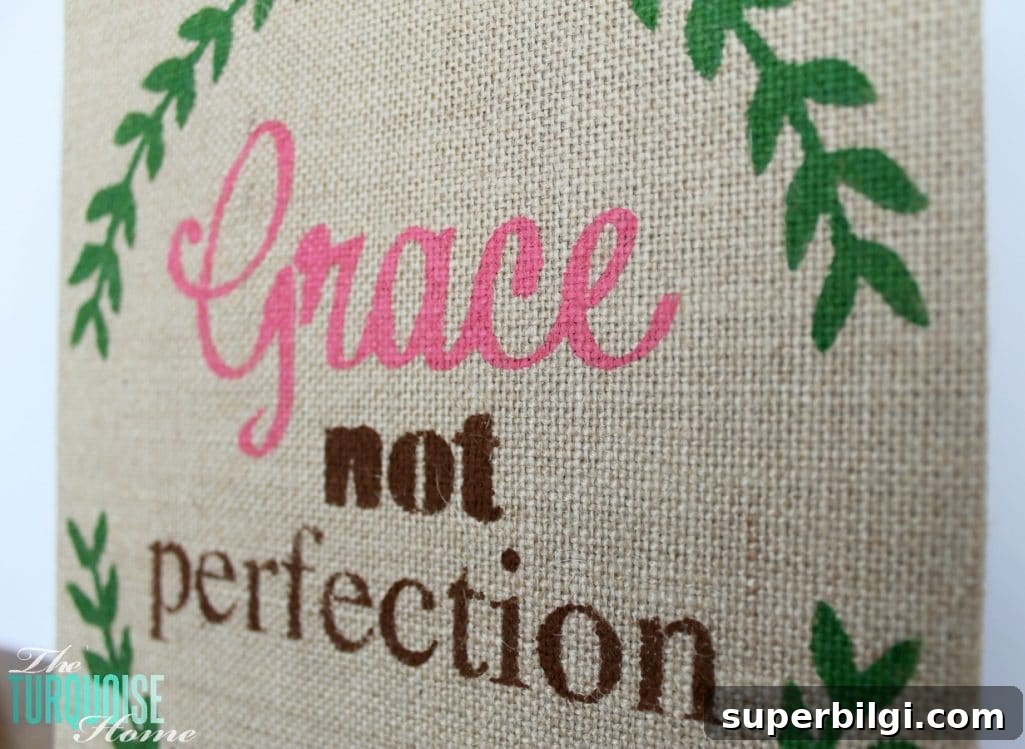
7. Remove the stencil and let the paint dry
Carefully lift the stencil straight up to avoid smearing the paint. Allow the paint to dry fully before handling or displaying. The finished panels look lovely grouped as a gallery wall or used individually as thoughtful gifts.
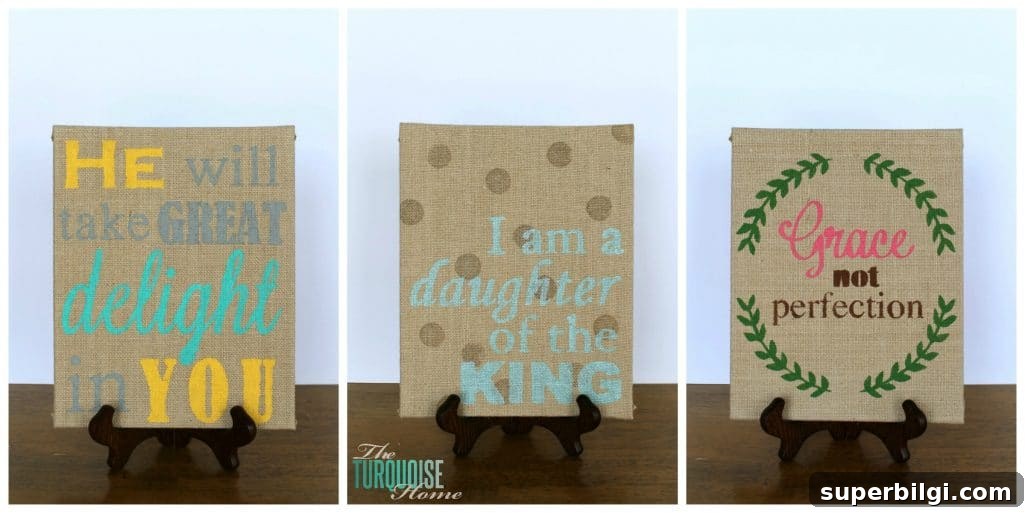

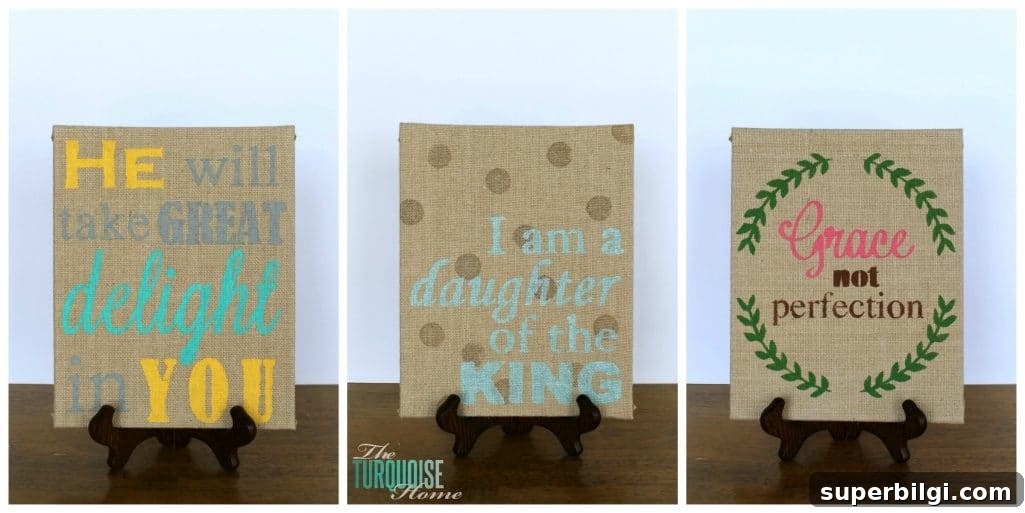
For reference, some of the stencil designs used for this project include: “I am a Daughter of the King,” “Grace Not Perfection,” and “He will Take Great Delight in You.” If you’d like to create similar designs, look for stencil cut files or create your own in design software and follow the same cutting, weeding, and painting steps.
Have you stenciled on burlap before or used a cutting machine? Share any tips or favorite materials you use — small adjustments to technique and material can make a big difference in the final result. Feel free to save or pin this tutorial for later reference.