
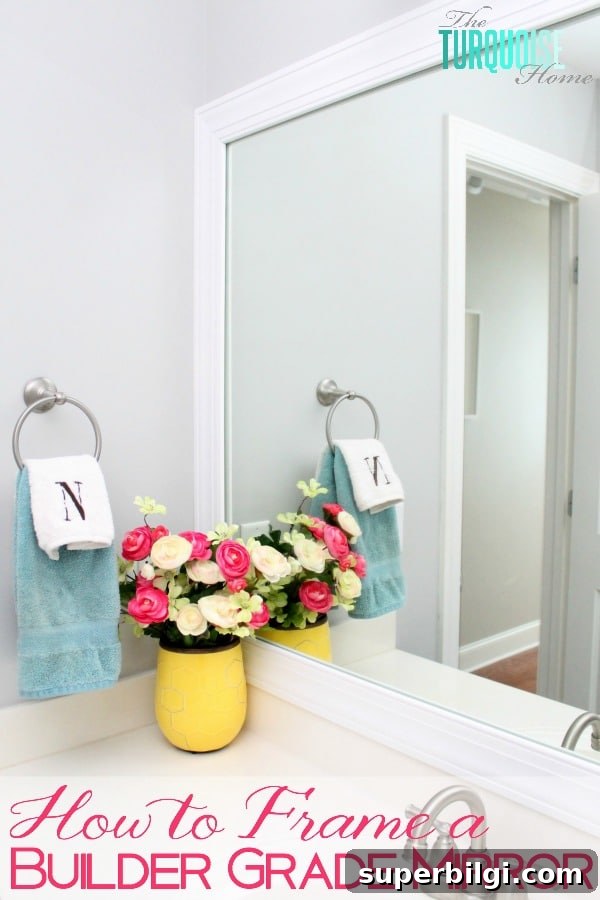
Turn a plain builder-grade mirror into a stylish focal point with a DIY mirror frame for under $20 and about 2 hours of work.
Hello, friends! I spent a sunny morning in the garage finishing a small project that had been on my to-do list for years. My kids were happily occupied, the weather was perfect, and I finally checked this one off the list.
I’d had the materials for months but kept postponing the build. Recently I decided to finish those lingering projects, and this mirror frame was the first. It’s a simple, affordable upgrade that dramatically improves the look of a builder-grade mirror.
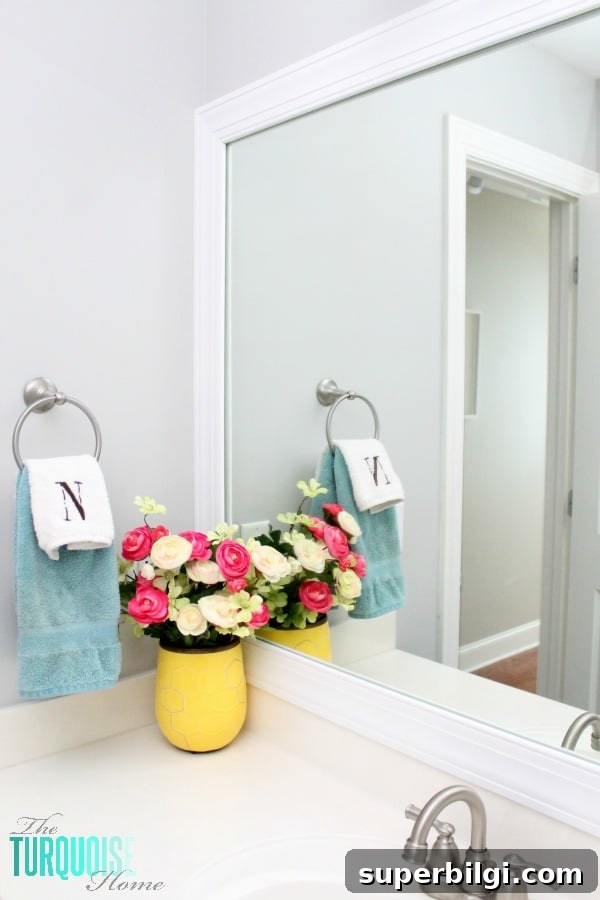
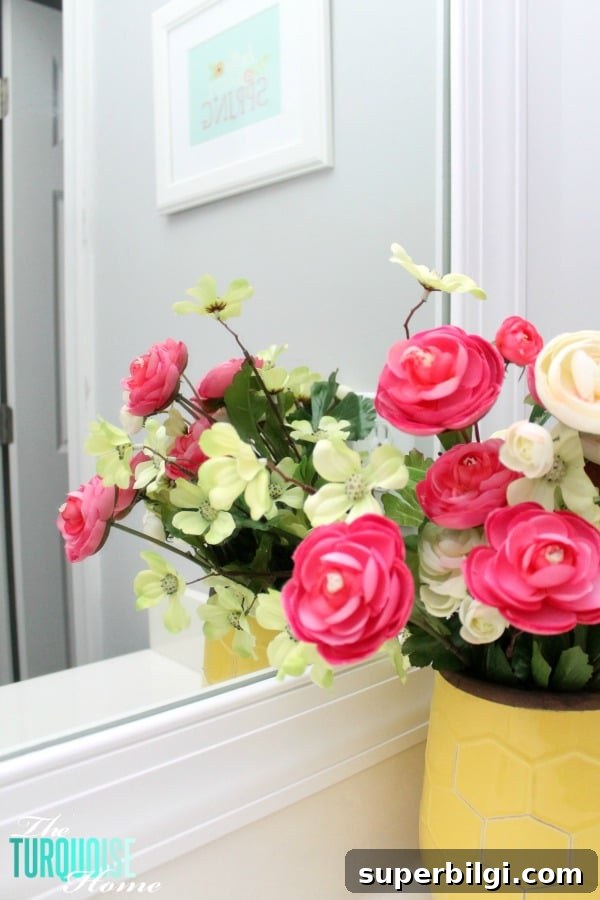
This project is basic, and many DIYers have done it before, but it’s such an effective transformation that I wanted to tackle it myself and share the process. Framing a builder-grade mirror is an easy way to customize your bathroom or hallway without replacing the mirror.
Tools and materials for a DIY mirror frame
- Interior trim molding long enough to cover the perimeter of your mirror
- Miter saw or hand saw and miter box
- Wood glue
- Duct tape or painter’s tape
- Spray paint in your desired color
- Chisel and hammer (for notching if your mirror has retaining clips)
- Clamps or heavy objects to hold joints while glue dries
How to frame a mirror: step-by-step
Step 1. Measure the mirror perimeter
Measure each edge of the mirror carefully. If you want the frame to overlap the mirror edge, add a couple of extra inches to each side. If the mirror runs right up to the wall, plan for the frame to sit entirely on top of the mirror surface.
Step 2. Choose interior trim molding
Select a casing profile you like—anything from a simple flat board to a more decorative interior molding will work. The important thing is that the back of the molding is flat so it sits flush against the mirror.
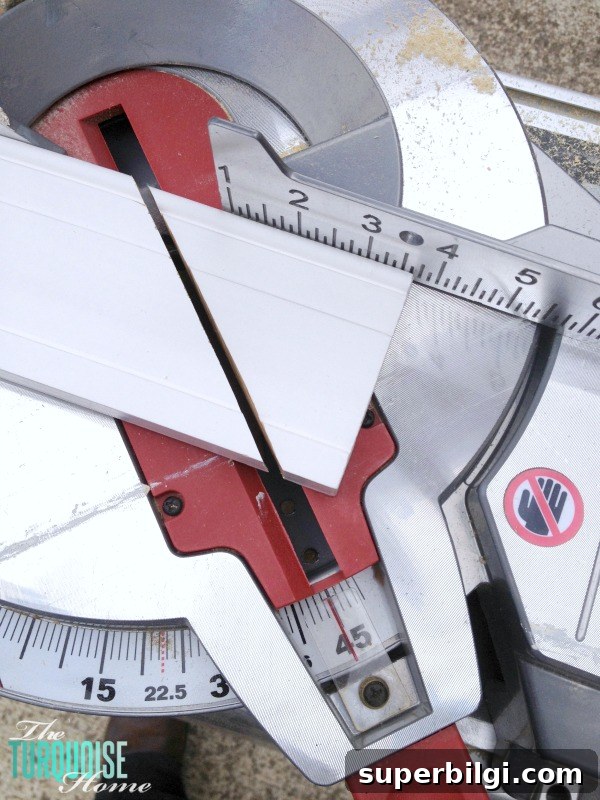
Step 3. Cut your trim with 45° miters
Measure and mark the lengths you need, then cut the ends at 45° to form clean mitered corners. A miter saw gives the easiest, most precise cuts, but a hand saw with a miter box will do the job for a small budget project.
Step 4. Locate the mirror clips
If your mirror is held with metal clips or brackets, mark where those clips sit so the frame won’t interfere. I used a bit of chalk rubbed on the clips, then placed the frame pieces on top of the mirror—where the chalk transferred showed me exactly where the molding would hit the clips.
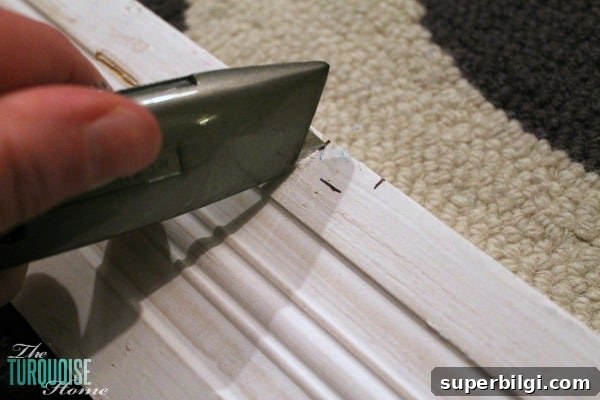
Step 5. Notch the back of the trim for clips
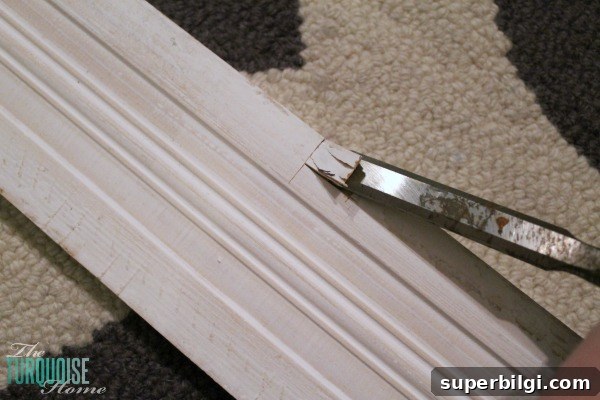
Mark the area to remove on the back of the molding, then score the outline with a utility knife. Use a chisel and hammer to remove a shallow notch large enough for the clip to fit. This allows the frame to lie flush against the mirror without removing any hardware.
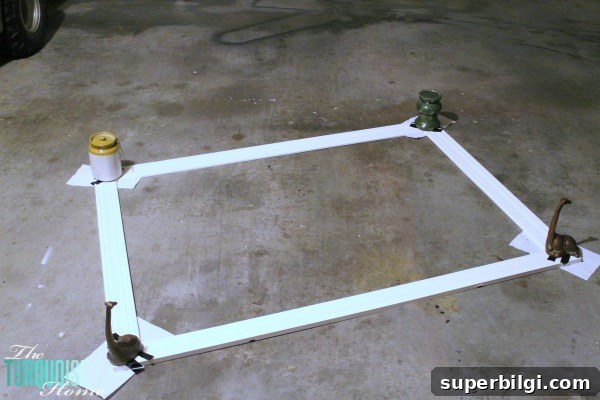
Step 6. Join the corners
There are several ways to join the mitered corners: glue and clamps, pocket screws, or brad nails. I tried a few methods; ultimately wood glue and tape clamps (plus sitting heavy objects on the corners) held the joints together perfectly overnight. If you use glue, make sure the joints are flush and fully supported while drying.
Step 7. Paint or finish the frame
Spray paint gives a smooth, even finish for thin molding. Paint the back edge first (it will be visible in the mirror’s reflection) and then paint the front. Allow the paint to dry thoroughly before placing the frame over the mirror.
If your mirror spans the full width of the wall, build the frame slightly narrower than the wall opening so it will fit easily. I made mine the same size as the mirror and had to press it into place; next time I’d leave a small gap for easier installation.
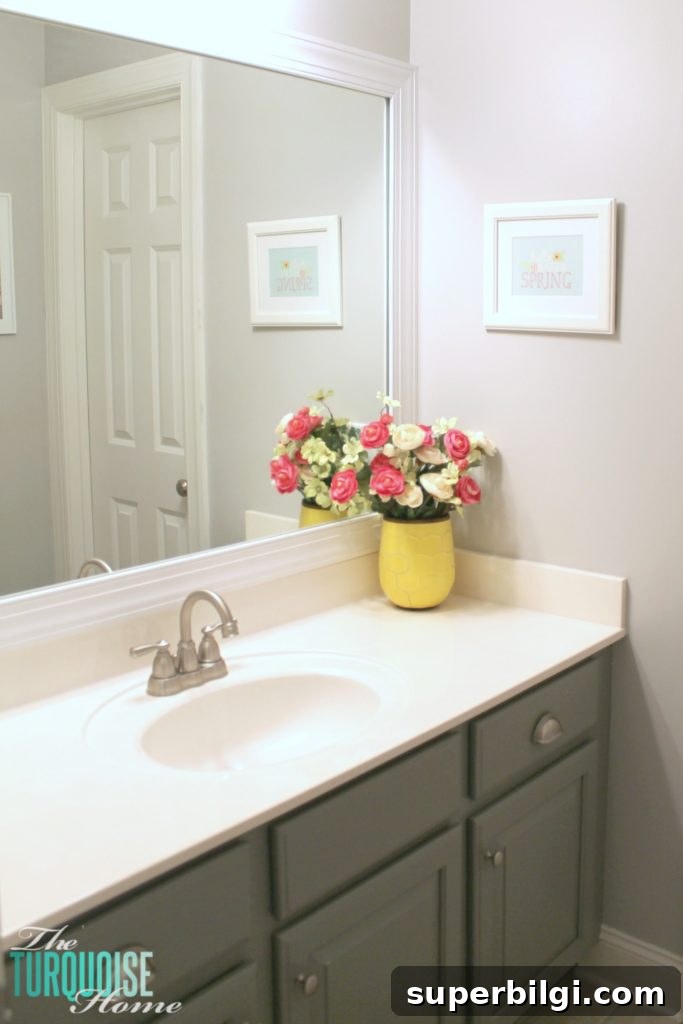
For a non-permanent installation, consider removable options like heavy-duty adhesive strips or command-style strips so the frame can be removed by a future homeowner. Others use hot glue or construction adhesive for a permanent bond.
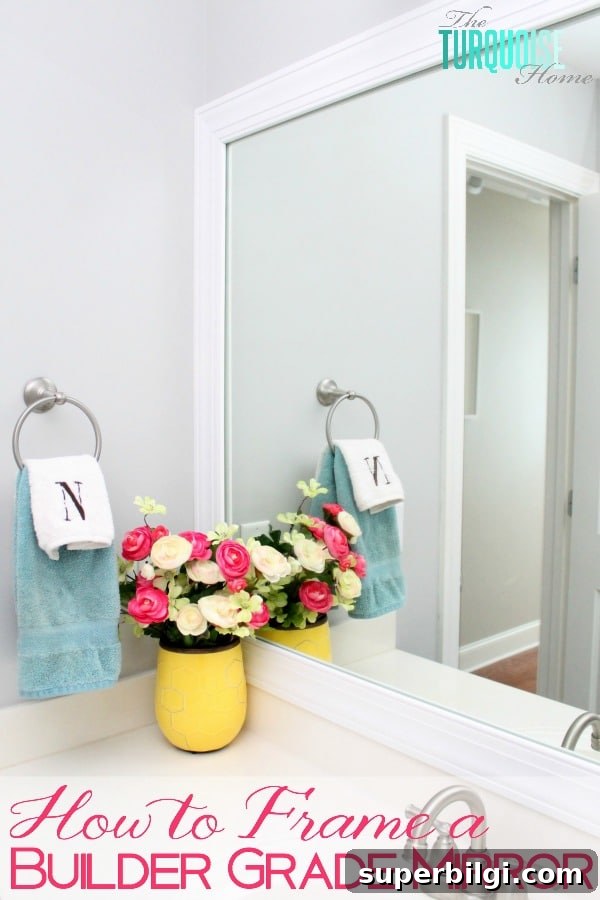
Have you framed a mirror before? If it’s on your to-do list, this is a great starter project—budget-friendly, quick, and high-impact.
More posts you might enjoy:
- 5 Must-Have Tools for the DIYer
- DIY Frame for a Flat-Panel TV
- DIY Picture Frame Molding