
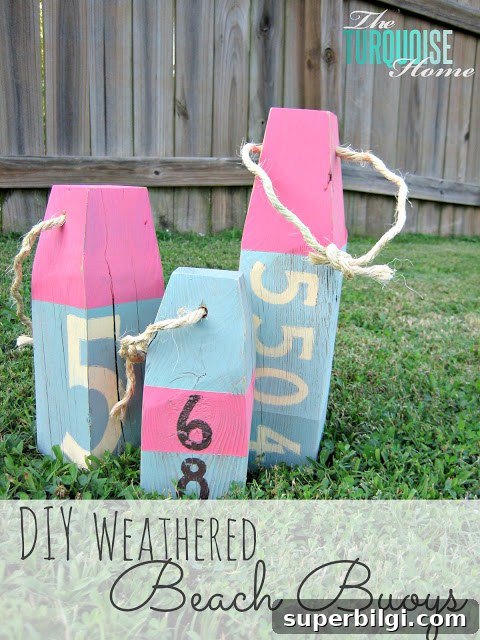
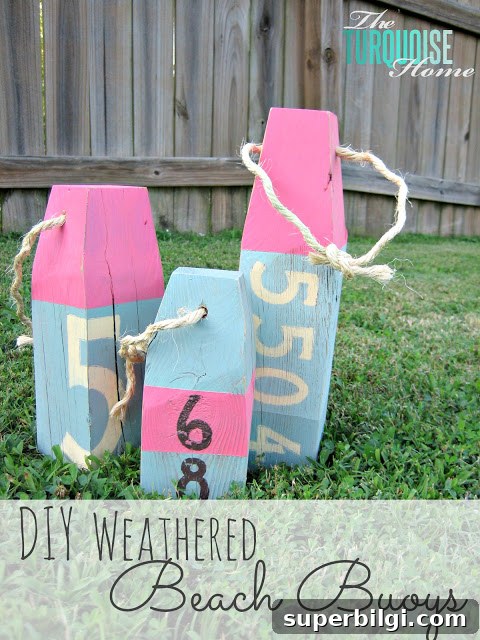
DIY Weathered Beach Buoys — Affordable Lake House and Beach House Decor
While flipping through a Pottery Barn catalog, I noticed a set of decorative beach buoys that would look perfect in a lake house or beach house. Instead of buying them, I decided to make my own weathered buoys for a fraction of the price. The result gives the same coastal charm and vintage feel as the store version, but cost me only a few dollars in materials.
In my neighborhood people often leave usable items at the curb the night before trash pickup. One evening I spotted a stack of good 4×4 posts next to the trash and—after asking the homeowner—rescued them for this project. If you’re hunting for inexpensive, reclaimed wood for DIY coastal decor, this is an easy way to get started.
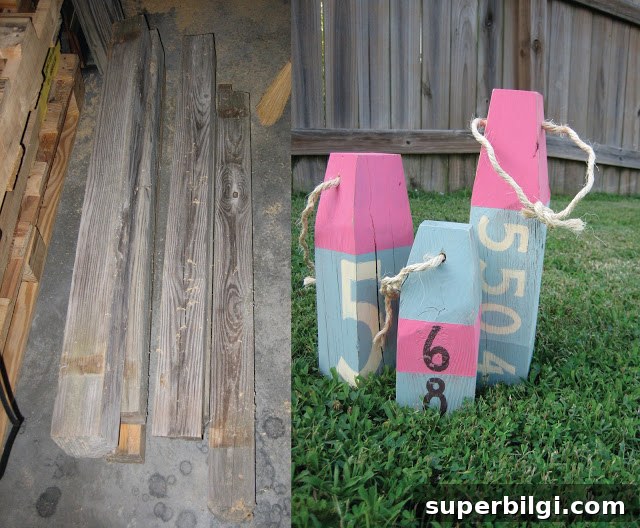
Materials and Tools
What I used:
- 4×4 wood posts (reclaimed or new)
- Paint in several colors (leftovers work fine)
- Sisal rope for hanging
- Drill with a bit to match rope diameter
- Miter saw (a circular saw or handsaw will work)
- Sandpaper or a power sander
- Stencil or printed numbers for tracing
- Small paintbrushes
Cost breakdown: I spent just $11 total on supplies (mainly the rope and one small can of pink paint). Pottery Barn’s similar buoys were listed around $60, so this is a much more budget-friendly option.
Step-by-Step: How to Make Weathered Beach Buoys
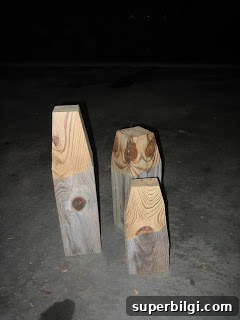
1. Cut the posts to size. Start by cutting the 4×4 into several different lengths to create visual interest—small, medium and large buoys look best grouped together. I used a miter saw to cut the tops at a slight angle for a more buoy-like shape. If you don’t have a miter saw, a circular saw or even a handsaw will do the job.
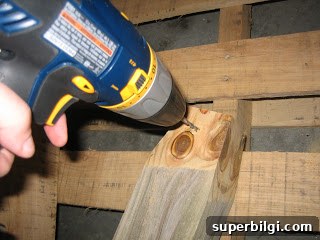
2. Drill the hanging holes. Drill a hole straight through the top of each piece large enough to thread the sisal rope. Make sure the holes are centered so the weight hangs evenly.
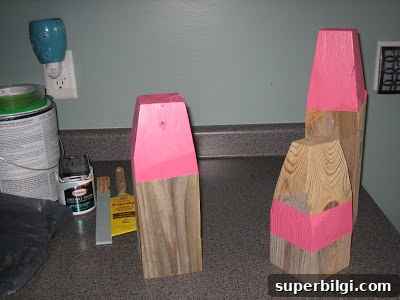
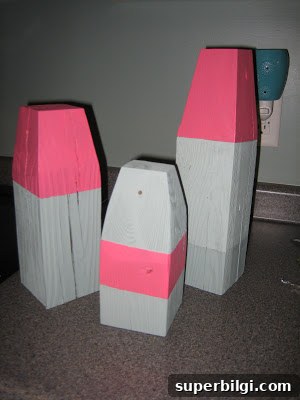
3. Paint the base colors. Choose colors that complement your coastal palette—pinks, turquoises, yellows and weathered neutrals work particularly well. I used leftover paints: Valspar Hint of Cherry for pink, Benjamin Moore Wythe Blue and Stratton Blue for turquoise shades, Restoration Hardware Butter for yellow, and some brown craft paint I had on hand. Apply two thin coats for even coverage.
4. Add numbers and detail. Print or draw the numbers you want on paper, trace them lightly onto the buoys, and then paint them directly onto the wood. Use a small brush for crisp edges. You can pick meaningful numbers such as house numbers or random nautical-style digits for that authentic buoy look.
5. Distress and finish. Lightly sand edges and painted surfaces to create a weathered, sun-bleached appearance. Focus on corners and raised grain where natural wear would occur. This step gives the buoys a convincing aged look without heavy treatments.
6. Thread the rope. Feed the sisal rope through the drilled holes and knot it securely on the underside. Leave enough rope for hanging or draping the buoys as a decorative cluster. Sisal adds texture and reinforces the nautical theme.
Styling Tips for Beach House Decor
Group buoys of varying heights and colors together on a mantel, a porch post, an entry table, or hang them from hooks on a wall. Pair them with driftwood, weathered frames, or glass floats for layered coastal styling. Because these buoys are lightweight, they’re easy to reposition seasonally or move between a lake house and beach house.
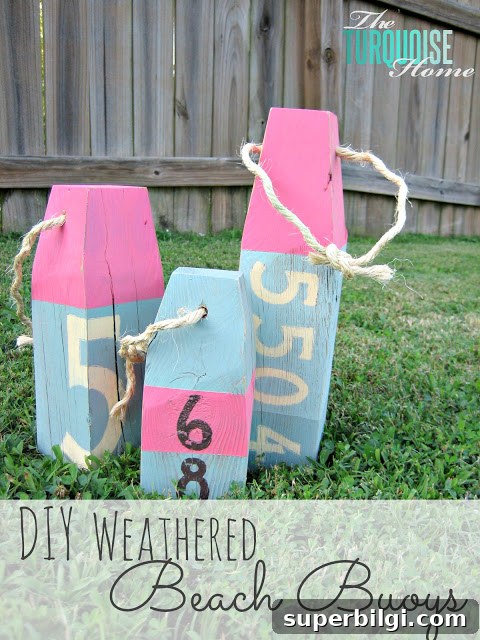
This DIY project gives you distinctive, handcrafted buoys that look like authentic, weathered coastal decor without the high price tag. With basic tools, reclaimed lumber and a few paint colors, you can create personalized beach house accents that reflect your style. What do you think of these homemade buoys?