
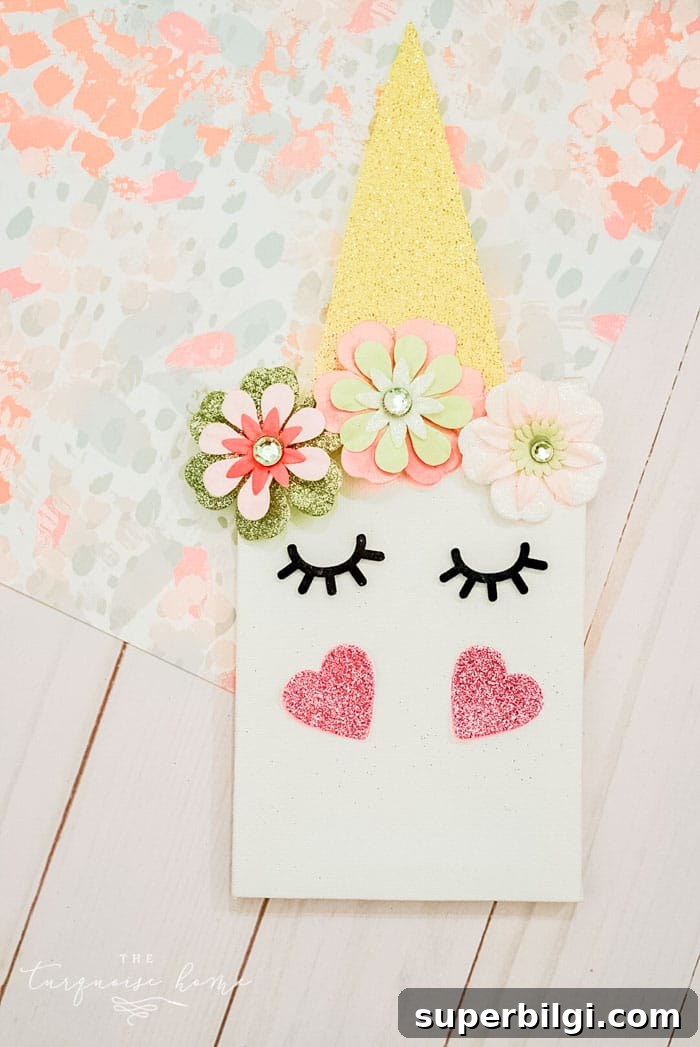
Create a cute and easy unicorn craft in just five simple steps. This quick project is ideal for kids, adults who enjoy crafting, classroom activities, or cheerful seasonal décor.
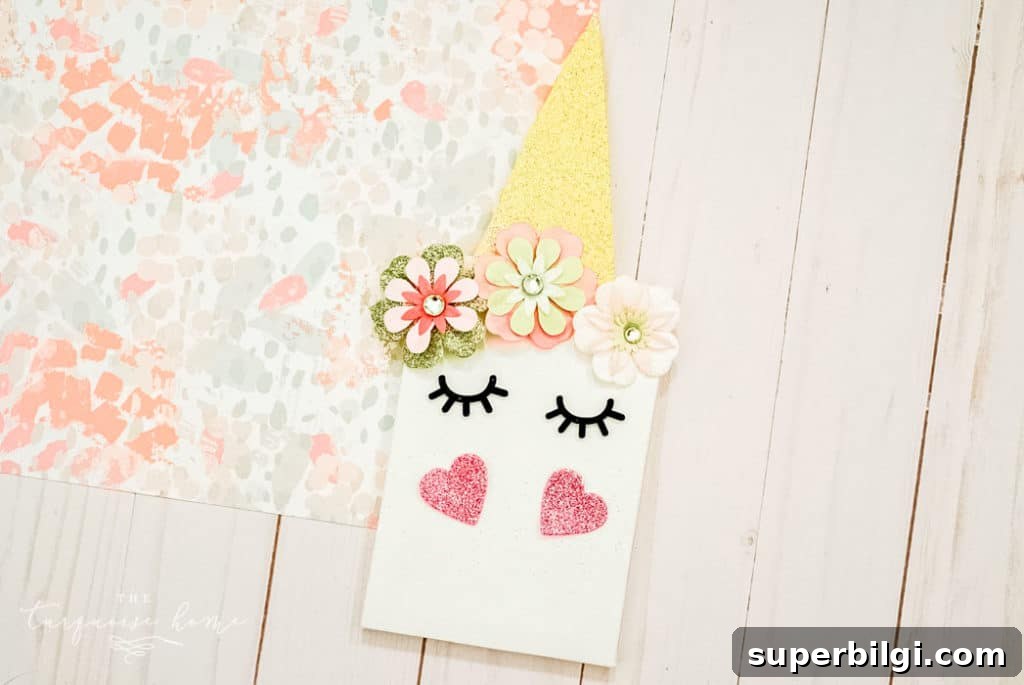
Unicorns are a whimsical and timeless motif that kids love and adults can appreciate for their playful charm. This small canvas unicorn is fast to assemble, affordable, and makes a lovely handmade gift or a bright accent for a child’s room, party favors, or seasonal displays like Valentine’s Day.
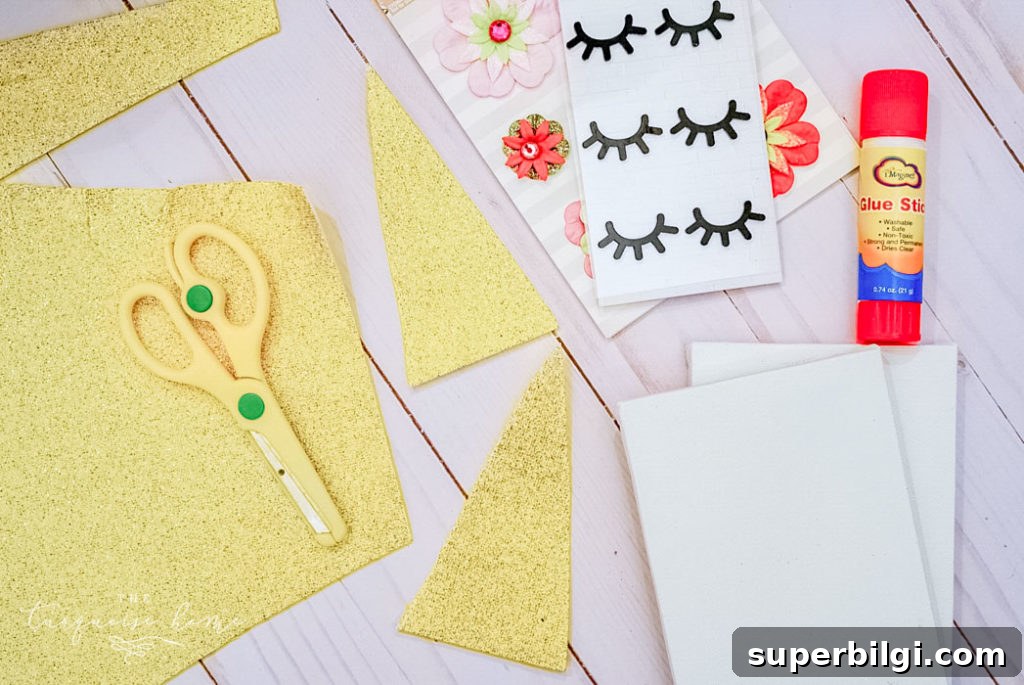
Supplies for DIY Canvas Unicorn Craft
- Sticker eyelashes
- 3D sticker flowers with brads
- Mini canvas (5×7)
- Glue stick or craft glue
- Glitter heart stickers or small heart embellishments
- Gold glitter paper (for the horn)
- Scissors
Steps for DIY Canvas Unicorn Craft
Before you begin, gather all your materials and set up a clean workspace. If you are crafting with children, place a protective mat or scrap paper under the canvas to catch any stray glue or glitter.
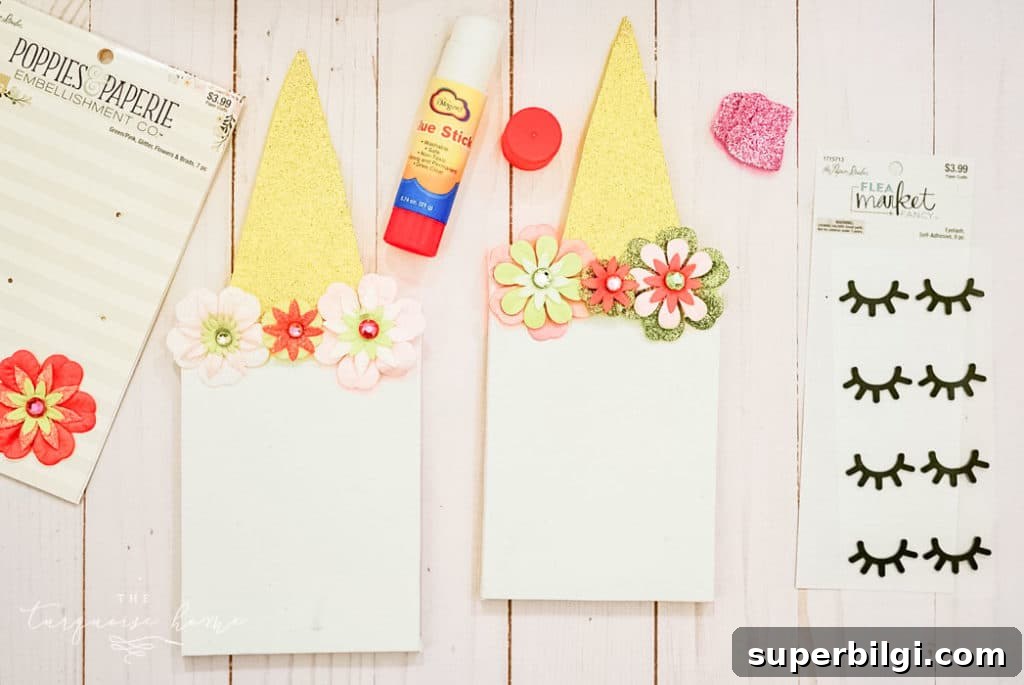
1. Cut the horn: Use the gold glitter paper to cut a simple triangular or tapered cone shape for the unicorn horn. Size it to fit nicely on your mini canvas.
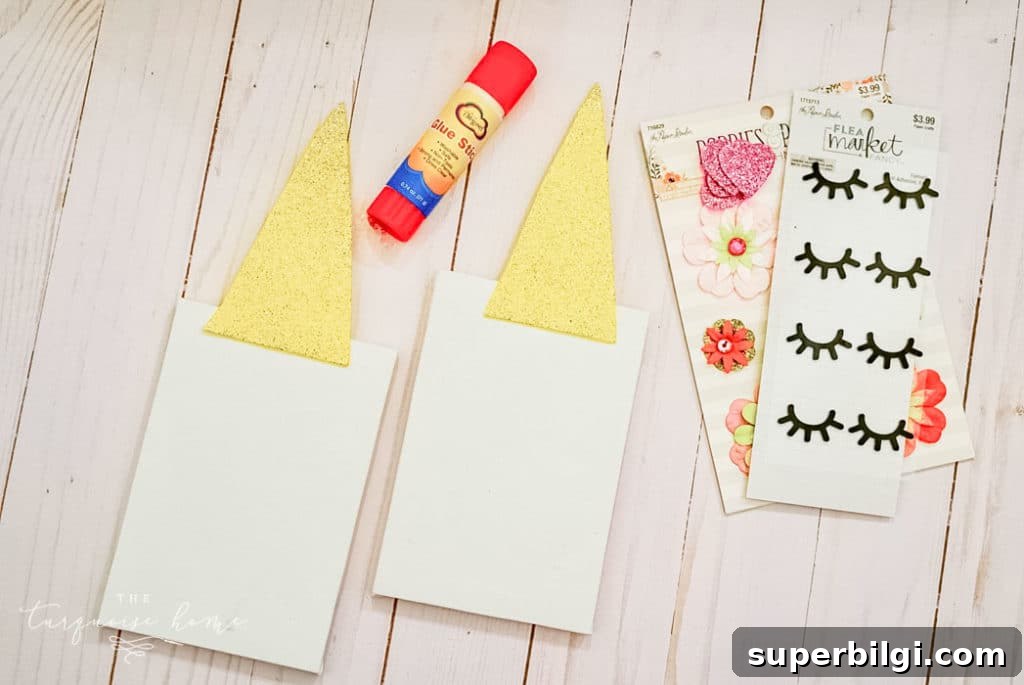
2. Attach the horn: Apply glue to the back of the cut horn and press it firmly onto the mini canvas. Hold for a few seconds so it bonds well.
3. Add the flowers: Arrange the 3D sticker flowers around the base of the horn to create the unicorn’s mane. Position them so they slightly overlap the horn for a cohesive look. Use brads or glue as needed to secure heavier embellishments.
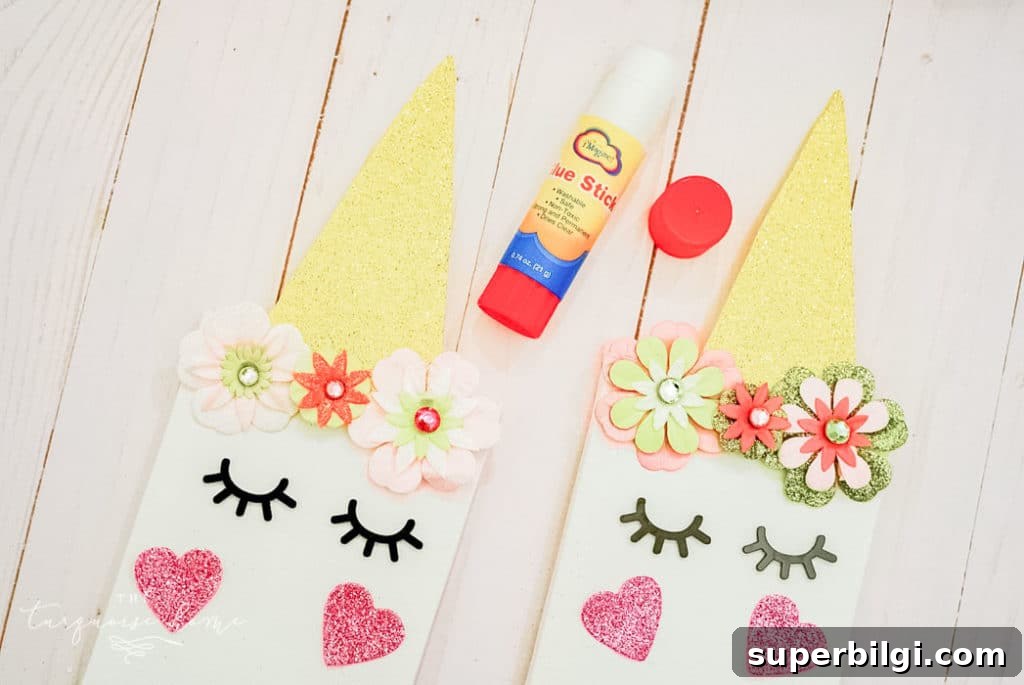
4. Add the face details: Stick on the eyelashes for eyes and place two small glitter hearts or rosy stickers as the cheeks. Adjust spacing so the face looks balanced and cute.
5. Final touches: Let the glue dry completely. Once dry, your mini canvas unicorn is ready to display on a shelf, desk, or wall. You can attach a small adhesive hook or easel stand if you want to hang or prop it up.
Why this craft works so well
This project is simple, requires minimal supplies, and is adaptable for many ages. The small canvas size keeps the craft manageable for little hands, and using stickers and pre-made embellishments speeds the process. It’s perfect for classroom craft time, party activities, or as a quick homemade gift that looks polished without hours of work.
Tips, variations, and safety
- Variation ideas: Swap gold glitter paper for patterned cardstock, holographic paper, or painted cardstock to change the look of the horn.
- Color choices: Mix pastel or bright flowers to match a room theme or party colors.
- For younger children: Pre-cut the horn and arrange the flowers in advance so younger kids can focus on sticking and decorating.
- Adhesive advice: Use stronger craft glue for heavier embellishments; glue sticks work well for paper pieces and stickers.
- Safety: Supervise scissors and small embellishments around young children to prevent choking hazards.
Display and gift ideas
Tiny canvas unicorns make charming party favors, handmade gifts, or seasonal decorations. Create a set in matching colors for a themed display, or personalize each one with initials or small tags to give as party thank-you gifts. They also make a sweet addition to a nursery or child’s bedroom wall gallery.
I’d love for you to pin this image below if you liked this craft!
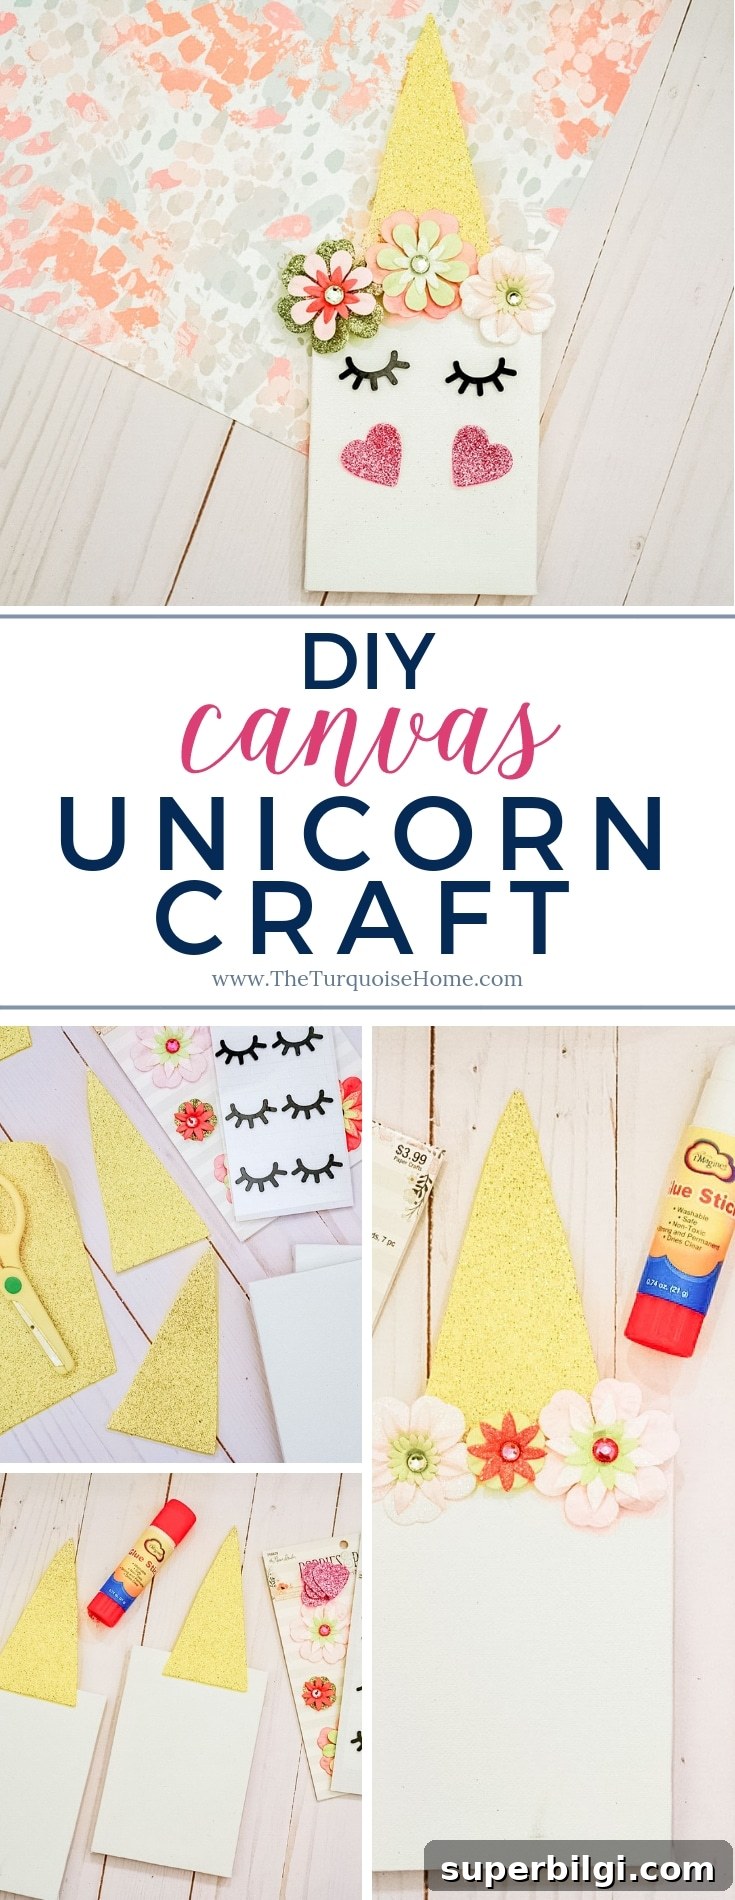
This simple unicorn canvas is a delightful project that comes together quickly and looks fantastic when finished. I’ll be hanging ours in my daughter’s room, and it’s sure to bring a smile to anyone who sees it.
More posts you will love:
- Mason Jar Lid Pumpkin Craft
- 5 Craft Supplies to Throw Away Today!
- Tissue Paper Stained Glass Valentine’s Kid Craft
- Organized Arts & Crafts Storage Ideas
- How to Dry Orange Slices for Decorations and Crafts