
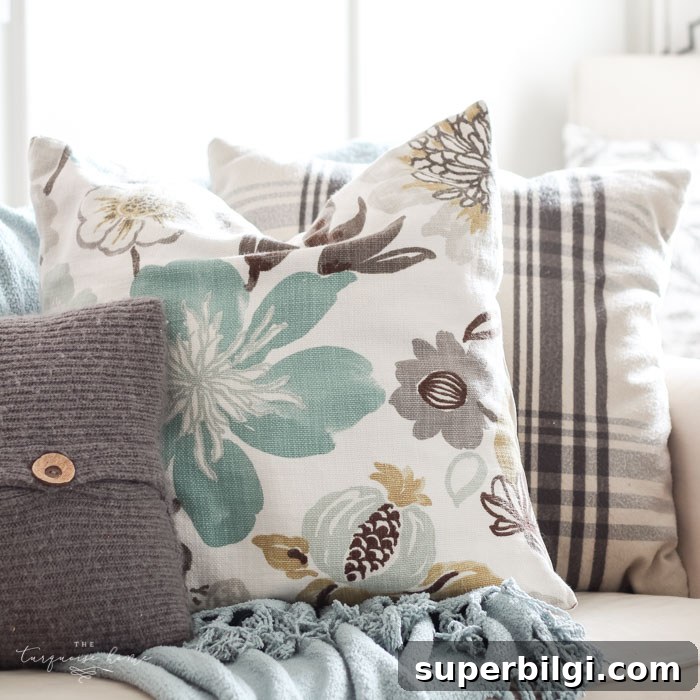
These super-easy DIY throw pillow covers are one of the simplest sewing projects you can tackle. If you can sew a straight line, you can make your own pillows!
I love being able to bring an expensive-looking piece of fabric into my home without breaking the bank. I’ve even made pillows from painted drop cloths and other budget-friendly materials. Throw pillows are one of the most affordable, high-impact ways to update your décor for every season.
This post originally contained affiliate links for convenience.
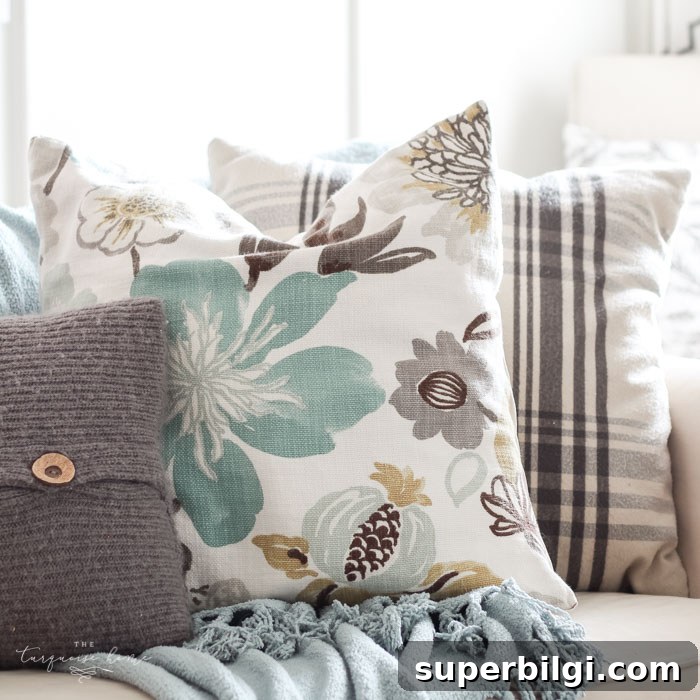
When I first discovered a beautiful Braemore fabric, I considered making curtains, but the $30-per-yard price tag made me pause. Instead, I used a yard for two envelope-style throw pillow covers. This turned out to be one of the easiest sewing projects I’ve done—perfect for beginners. If you want a quick, satisfying craft that immediately improves your living space, start here.
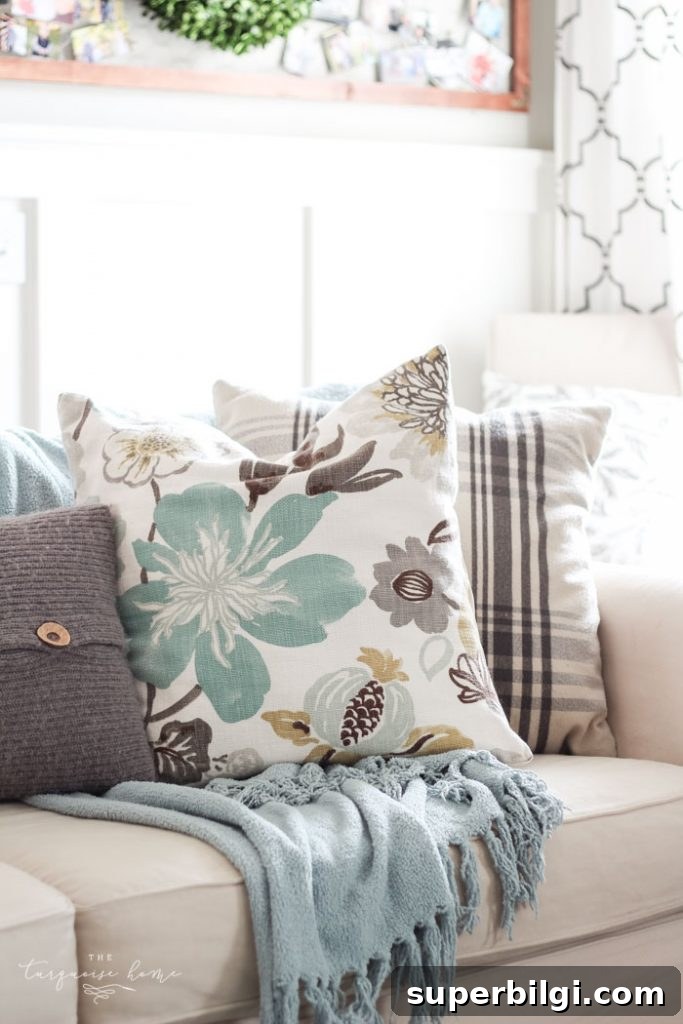
Seriously—I now want to make throw pillows for every room. They’re quick, portable, and the results feel luxe.
Supplies Needed for an Easy DIY Pillow Cover
- Fabric for the front and back. A yard of a patterned fabric plus a yard of a neutral fabric is enough for two matching pillows, depending on size.
- Measuring tools: a fabric tape measure or a transparent ruler. A cutting mat is optional but helpful.
- Scissors or a rotary cutter for clean edges.
- A basic sewing machine (or hand-stitching skills if you prefer).
How to Make an Easy DIY Pillow Cover
1. Decide on the size
Start by choosing the final finished size of the pillow cover. I used Euro inserts (26 x 26 inches) and cut my fabric to 26 x 26 inches. Cutting the fabric the same size as the insert gives a slightly snug fit once the seams are sewn, so the finished pillow looks full and plump.
2. Measure your fabric
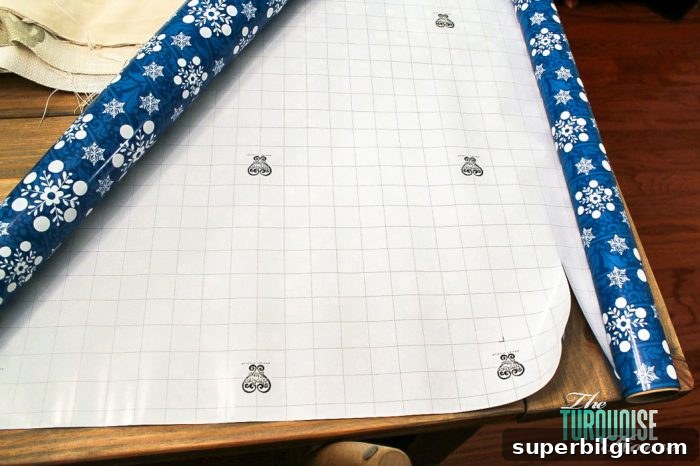
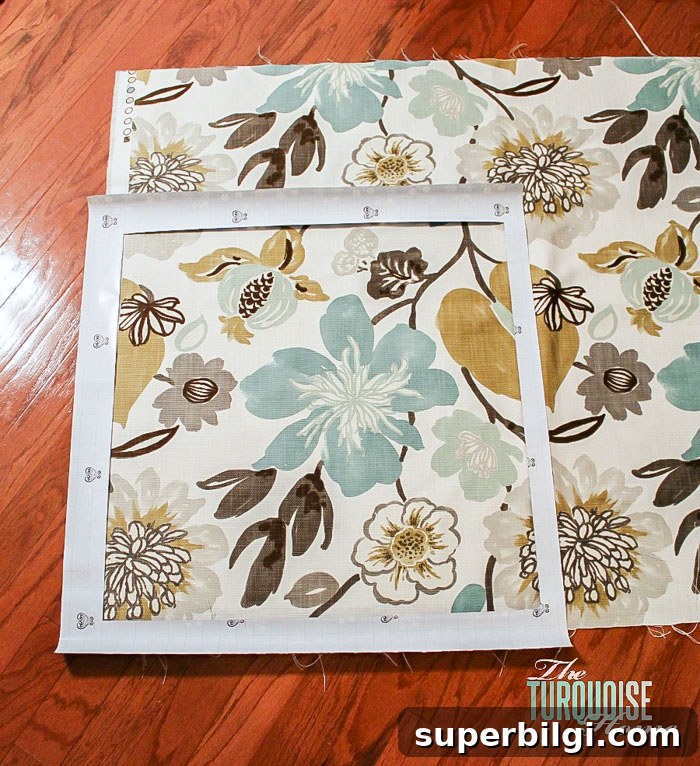
If you’re working with a patterned fabric, plan where the main motif will sit on the front panel. I used a sheet of grid-patterned wrapping paper as a makeshift template to ensure my squares were even, but a tape measure or transparent ruler works best. Lay out the fabric flat and double-check pattern placement before cutting.
3. Cut your fabric
Cut one front piece to your chosen dimensions (for my Euro pillow that was 26 x 26 inches). For the back, cut two overlapping pieces that will form the envelope closure: one piece slightly shorter so the two overlap. I cut one back piece 26 x 20 inches and the other 26 x 16 inches. This leaves a generous overlap in the center back and provides room for hems.
4. Iron your fabric
Press all pieces with an iron to remove wrinkles. Ironing makes accurate folding and sewing much easier and helps you get crisp seams and a polished finished pillow.
5. Sew the edges
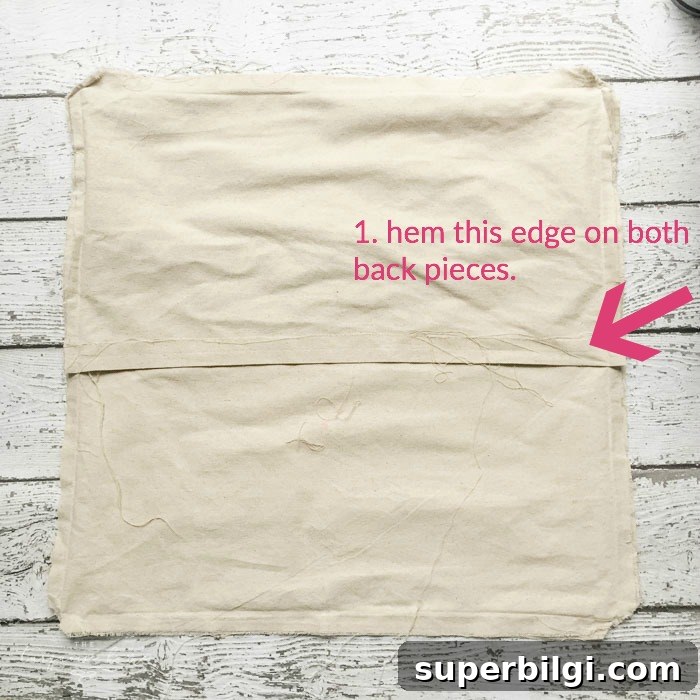
Start by hemming the long edges of the two back pieces—the ones that will overlap. Fold each long edge in by about 1 inch, press, fold again, and then stitch the hem. Place the front piece face-up, then position the two back pieces on top with the hemmed edges overlapping and facing up. Pin all layers together so everything stays square, then sew around the perimeter with a 1-inch seam allowance.
6. Trim the corners
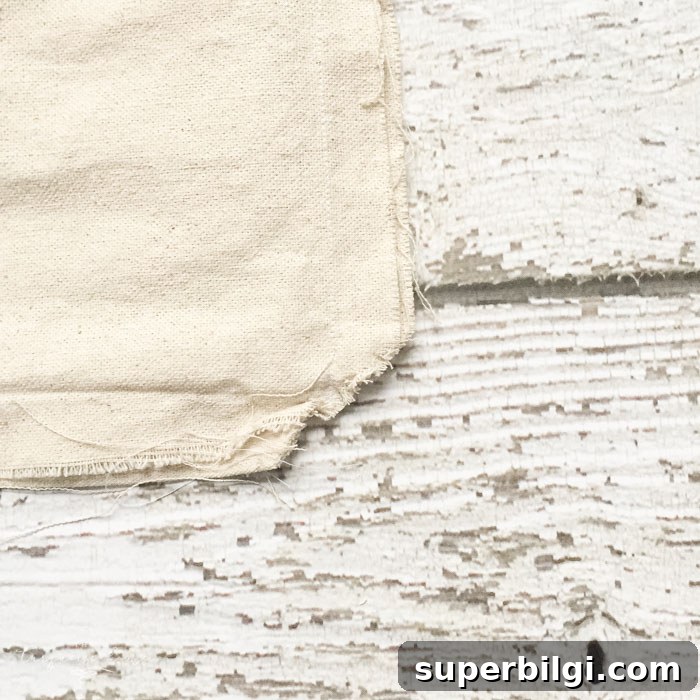
Trim the excess fabric from each corner without cutting into the stitching. Trimming corners reduces bulk and helps produce sharp, neat points when you turn the pillow right-side out.
7. Turn it inside out, stuff it, fluff it, and enjoy
Turn the cover right-side out, push out the corners with a blunt tool (a chopstick or the end of a knitting needle works well), insert your pillow form, and fluff. You’ll have a neat envelope-style pillow cover that you made yourself.
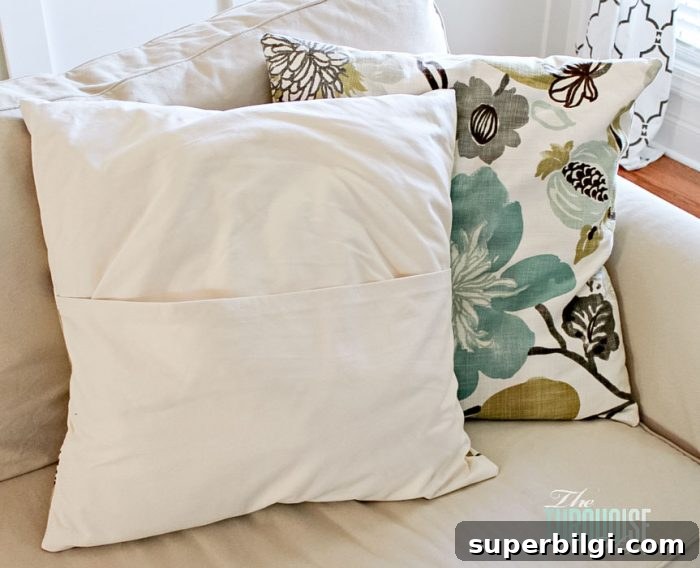
What makes this project ideal for beginners is the simplicity: it’s small and mostly involves straight-line sewing. Once everything is cut and pressed, sewing typically takes only 10–20 minutes per pillow. It’s a perfect one-nap-time project and a great way to experiment with different fabrics and textures.
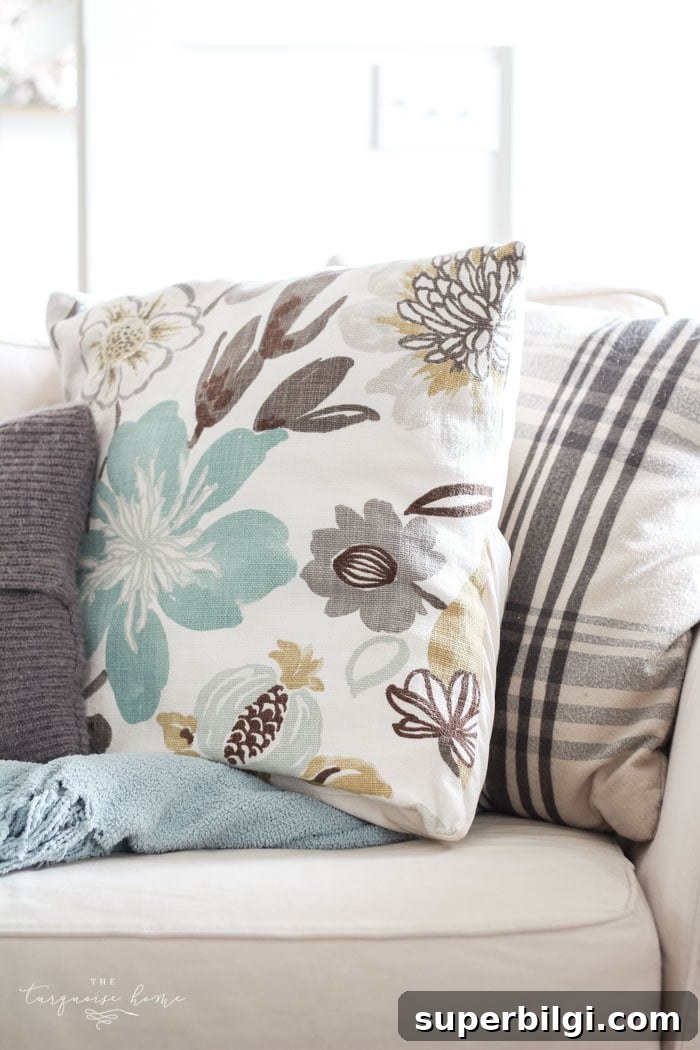
I’m thrilled with how mine turned out—I already want more fabric to make pillows for every room. Mixing patterned fronts with neutral backs gives a custom, coordinated look without a lot of cost.
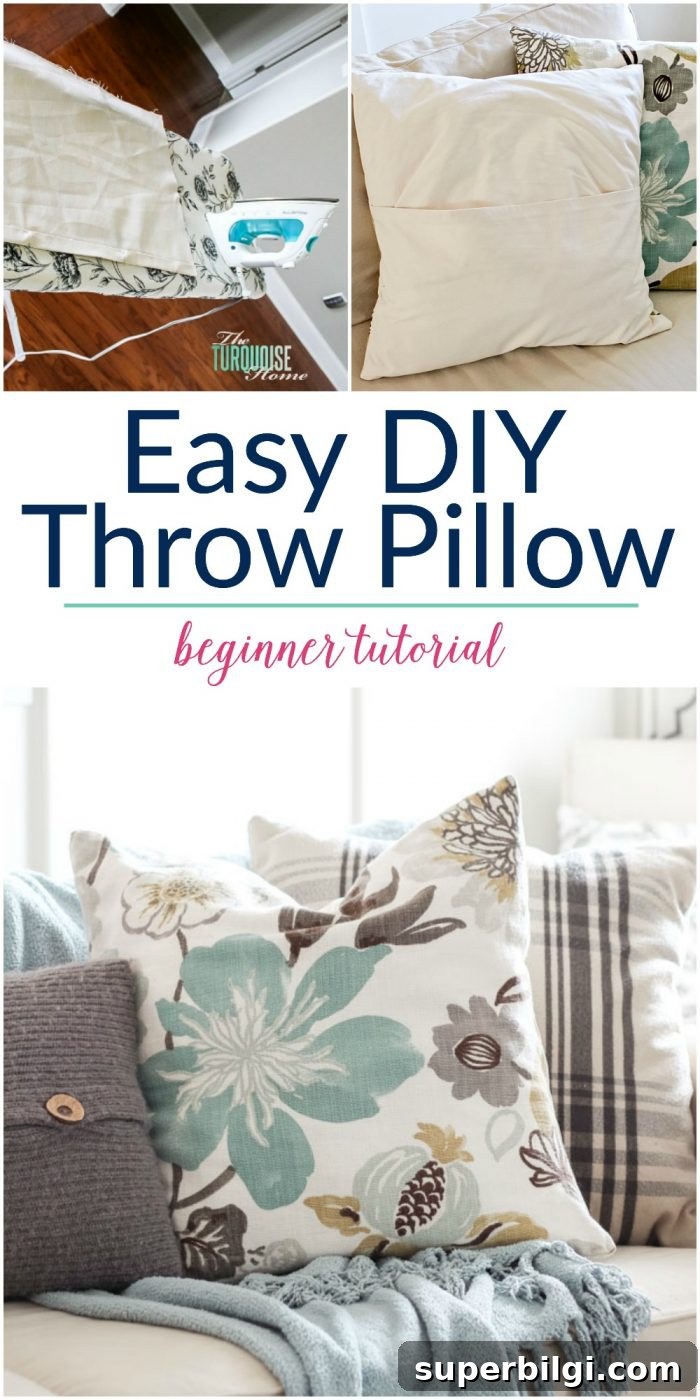
Have you ever made throw pillows? If so, what tips or shortcuts do you use? Share ideas and variations—there are so many easy ways to personalize this basic project.
Read the other living room makeover posts
- Living Room Makeover Part 1: Paint
- Living Room Makeover Part 2: More Paint
- Living Room Makeover Part 3: Caulking and Spackling
- Living Room Makeover Part 4: Blue Accessories
- Living Room Makeover Part 5: Gallery Wall
- Living Room Makeover Part 7: Final Reveal
More favorite posts you will love:
- DIY Utility Sink Skirt
- Home Decor 101: How to Choose and Style Sofa Pillows
- DIY Easy Pleated Curtains: from sloppy to structured