
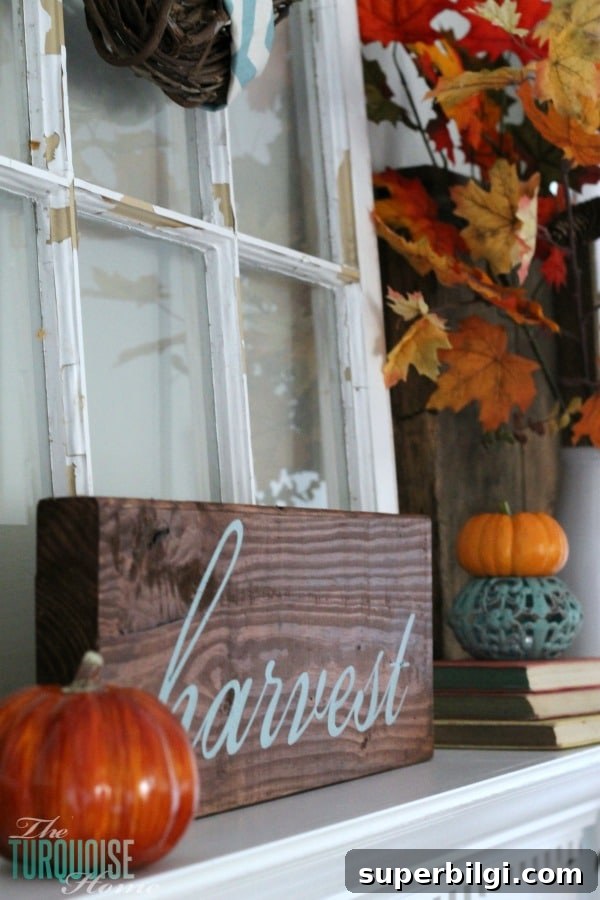
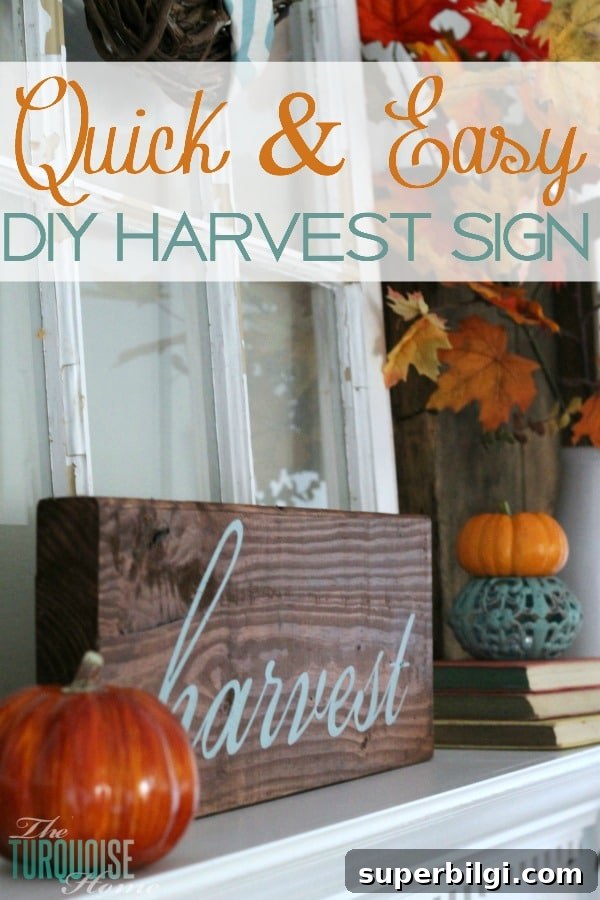
My DIY “Harvest” sign took less than two hours from start to finish. It was easy—thanks to a bit of luck and a few tools and supplies I already had on hand.
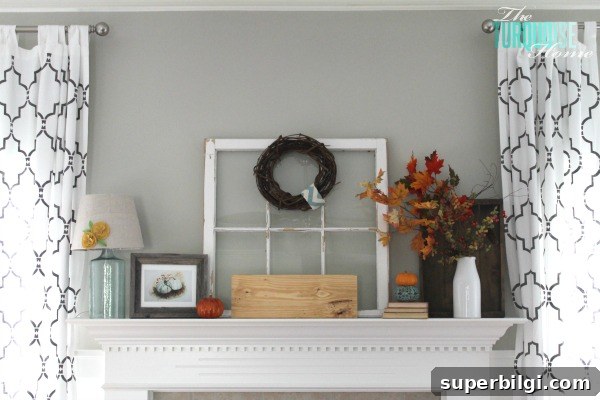
While working on my mantel update (I documented the full process elsewhere), I knew I wanted a central piece that would anchor the whole vignette. Because I save most of my scrap wood from past projects, I went into the garage and pulled out a board that seemed like it would fit. It was the perfect size—score!
I needed to turn that plain board into a pretty fall sign—and fast. It was a preschool drop-off day and I had about an hour and a half before pickup, so the project needed to be quick and simple.
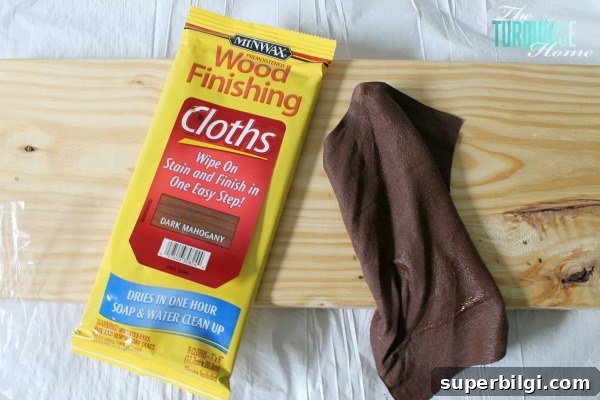
I remembered I had Minwax stain cloths in dark mahogany left over from another project. These single-use stain wipes are great for small pieces because they’re low-odor, easy to use, and clean up with water—no mineral spirits required.
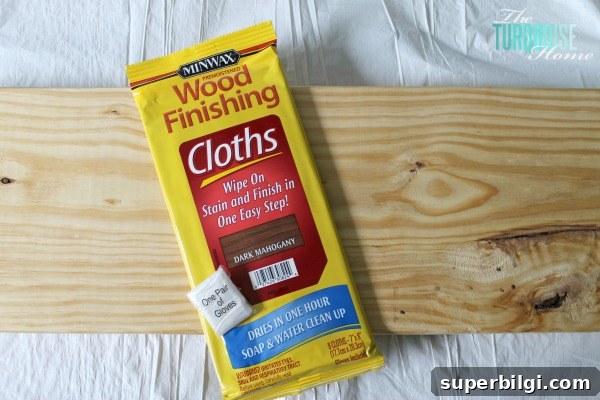
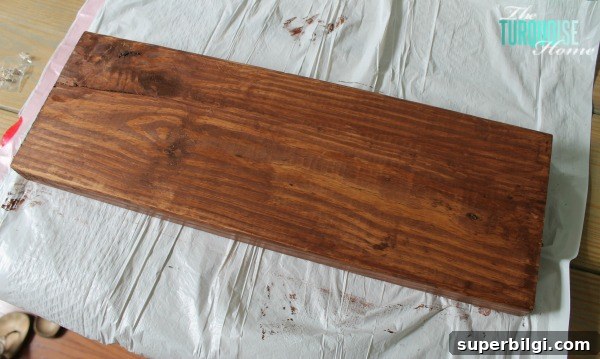
The package even included one pair of plastic gloves, which made the process mess-free. I followed the wipe directions: apply, work it into the wood, then wipe off the excess. Within minutes the board was stained and I set it aside to dry; it took about 30 minutes to be ready for the next step.
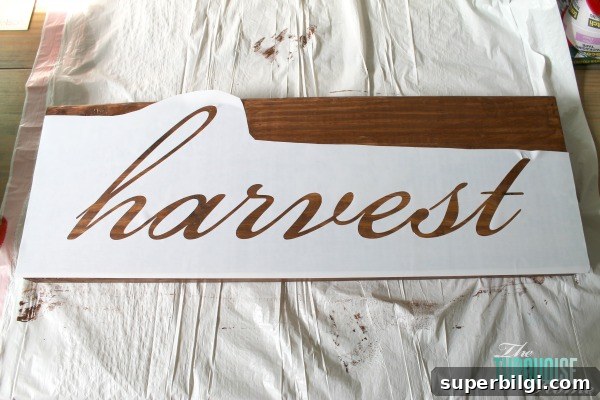
While the stain was drying, I created a stencil for my word in Silhouette Studio and cut it from contact paper. I used Bickham Script Pro for a cursive “harvest” look—large, flowing letters that would read well from across the room. If you’re familiar with cutting stencils on a craft cutter, this is a quick way to get crisp letters every time.
After the stain cured, I applied the contact-paper stencil to the board and sealed the edges with a thin coat of Mod Podge. Using Mod Podge as a sealing layer prevents paint bleed under the stencil and helps achieve cleaner edges—especially with script fonts.
Once the Mod Podge was dry, I painted the letters with Stratton Blue (a Benjamin Moore color I used elsewhere in my home). I applied one even coat, then removed the stencil while the paint was still slightly tacky to avoid lifting any dried paint. The result was a clean, hand-painted appearance without needing to freehand the lettering.
The whole project stayed simple: stain the board, apply stencil, seal with Mod Podge, paint, then peel off the stencil. Because I used materials I already had—scrap wood, stain wipes, contact paper, Mod Podge, and leftover paint—the cost to me was zero. It’s always satisfying when a quick DIY uses up leftovers instead of adding a trip to the craft store.
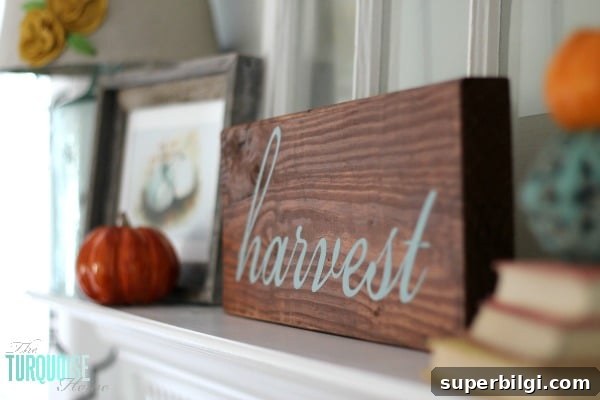
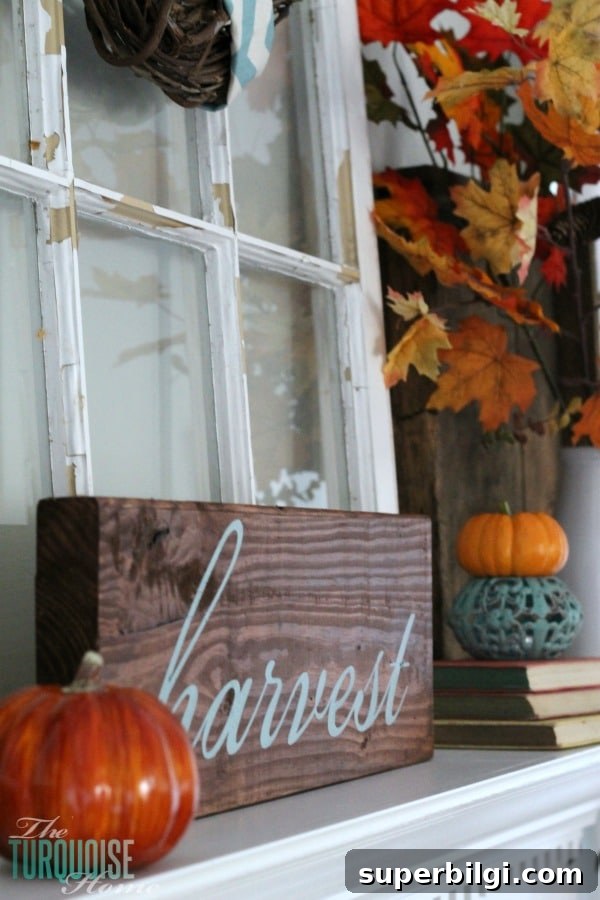
The finished sign is now the focal point of my mantel. I love that it ties the colors and textures together and that it was made quickly with materials on hand. For a seasonal accent that’s affordable and fast, this technique is hard to beat.
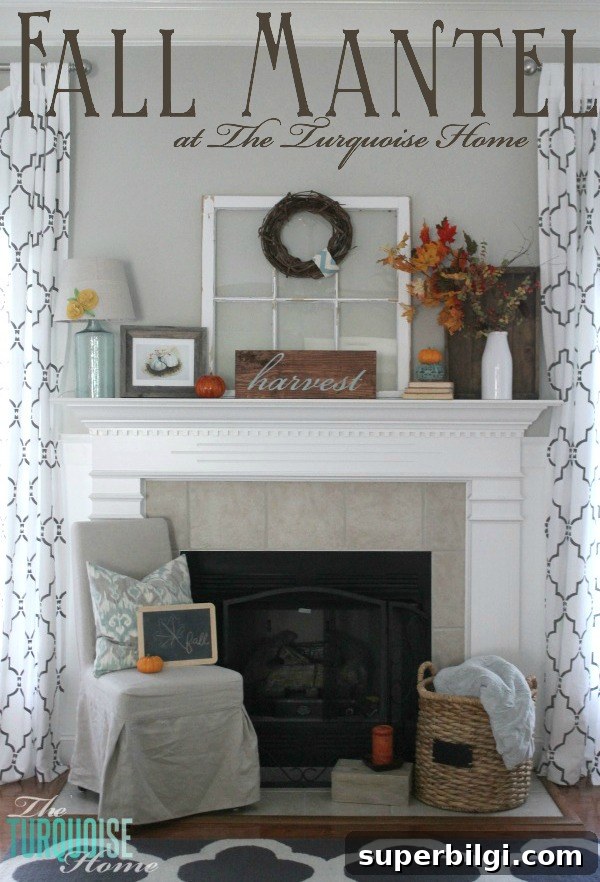
Turquoise & Orange Fall Mantel inspiration.
Quick Tips for Recreating This DIY Harvest Sign
- Use scrap wood to keep cost low and give a rustic, authentic base.
- Choose low-odor stain wipes for fast, mess-free staining—especially helpful when working indoors.
- Cut your stencil from contact paper for easy application and crisp edges.
- Seal stencil edges with a thin layer of Mod Podge to prevent paint bleed.
- Peel the stencil while paint is slightly tacky for the cleanest results.
More project ideas you might enjoy:
- A Farmgirl Flowers fall tablescape
- How to make a large wooden sign
- DIY frame for a Frame TV