
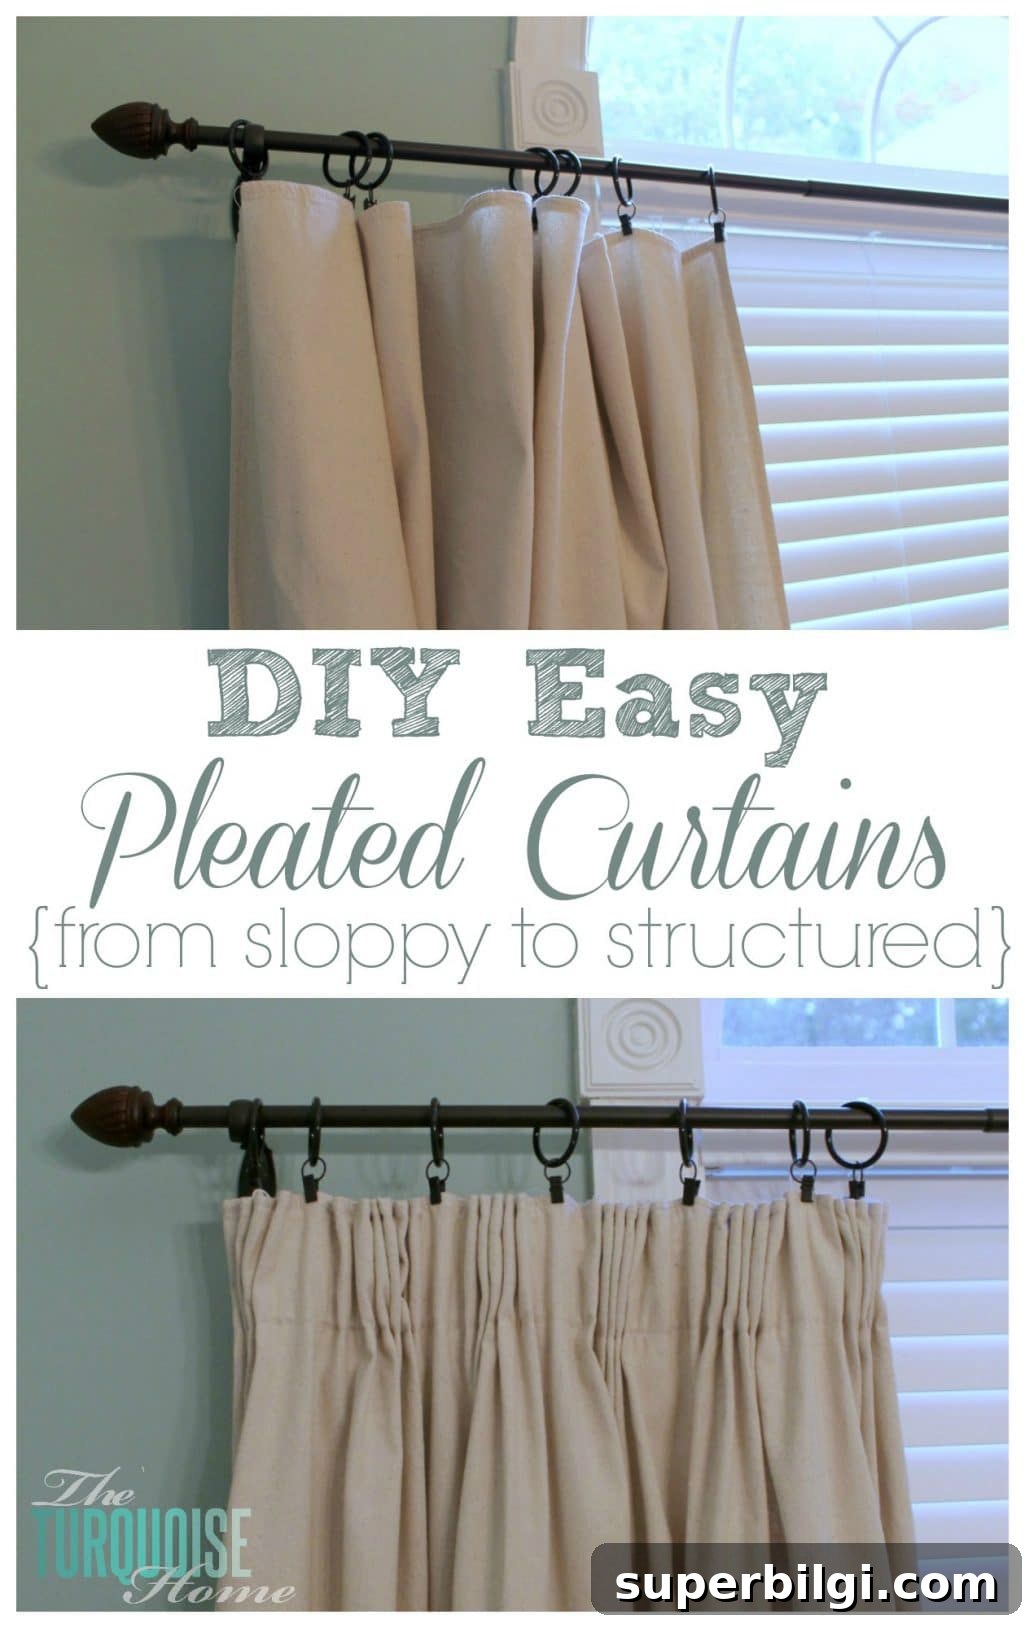
This affordable, simple pleater tape will turn ordinary curtains into neat, custom-looking pleated curtains in no time.
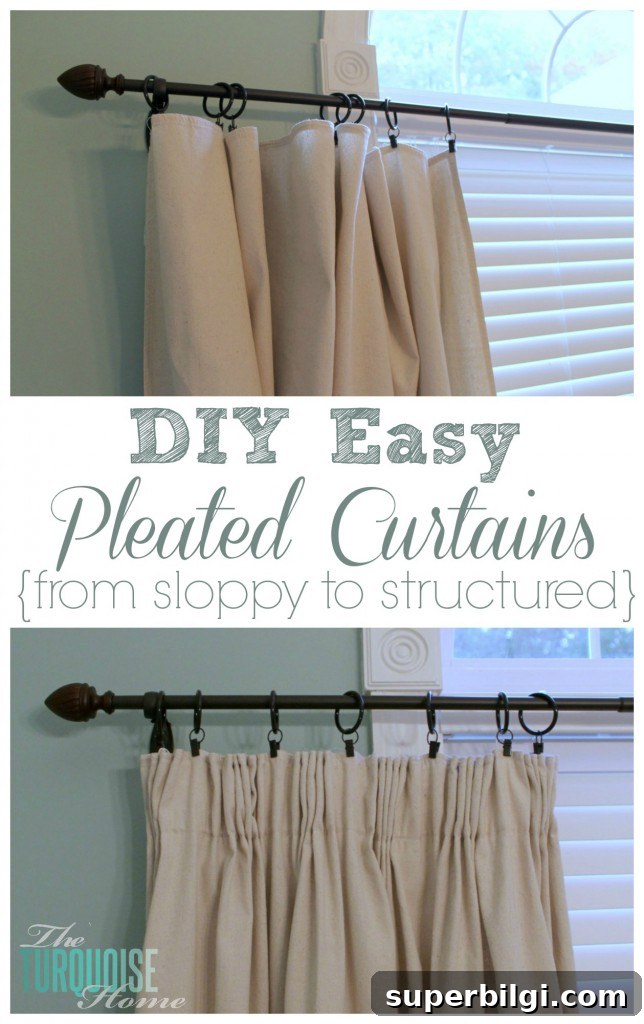
After I made my drop cloth curtains, I realized the tops could use a bit more structure. The canvas drop cloths are fairly heavy, but they don’t hang as crisply as I wanted when attached with clip rings. I decided to try pleater tape to give the heading a cleaner, more tailored look without complicated sewing.
If you’re a skilled seamstress, forgive my shortcuts—I might not be using the tape exactly as a pro would, but the result is attractive and easy to achieve, so I’ll share the method that worked for me.
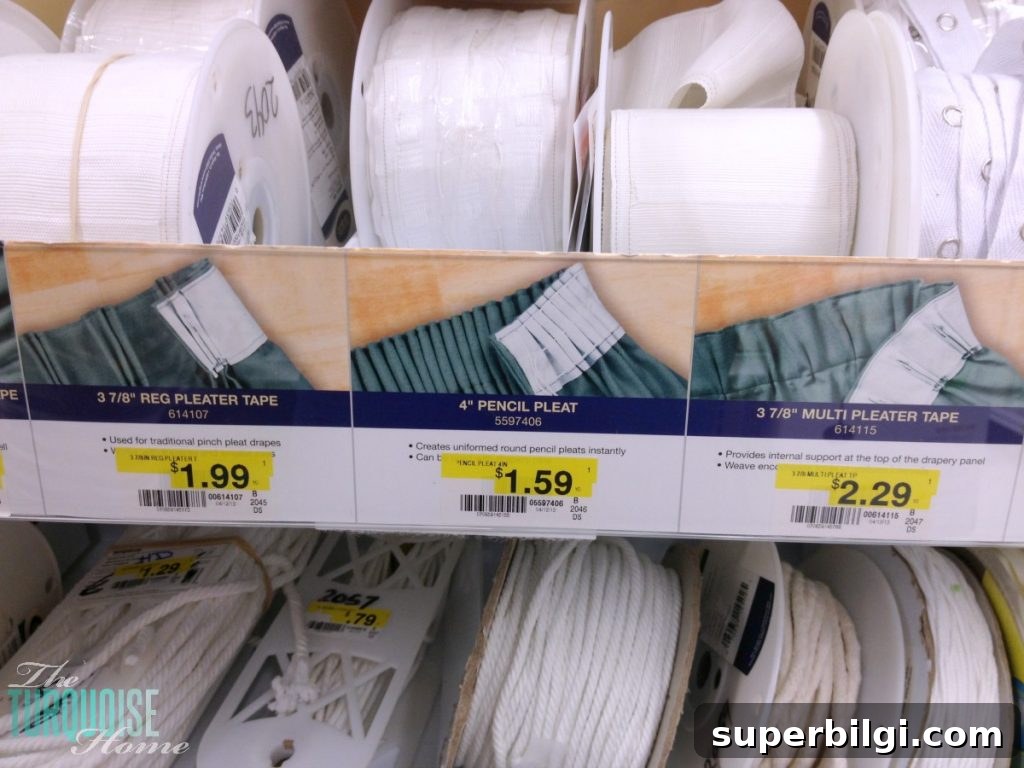
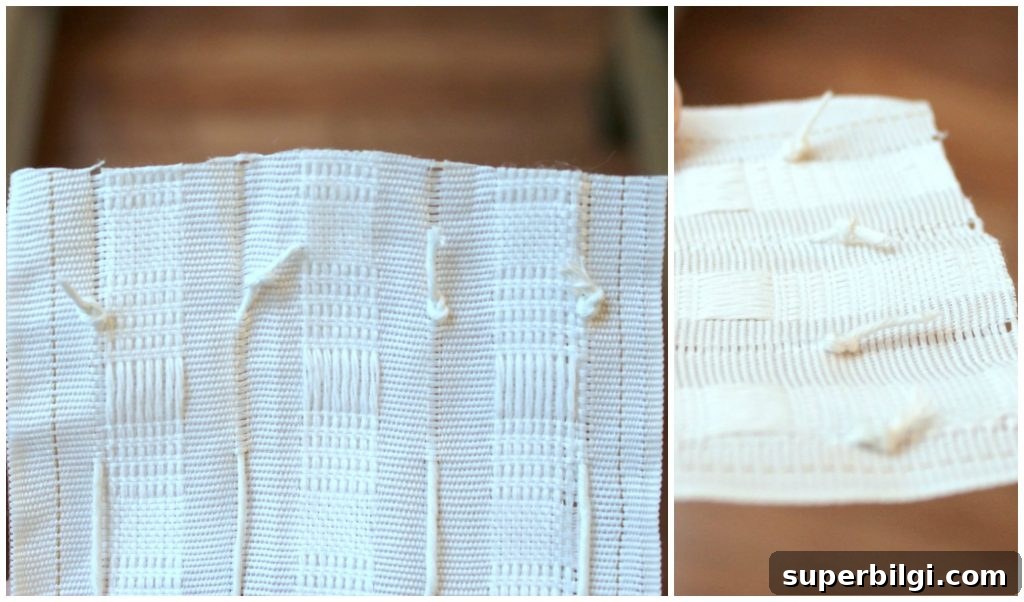
Pleater tape is a narrow strip with channels for cords that, when pulled, form uniform pleats at the top of a curtain. I picked mine up at a fabric store for about $1–$2 per yard, but it’s widely available in different styles and widths depending on the fullness and pleat type you want.
Start by laying the pleater tape along the top edge of the curtain, positioned below the top hem so the tape won’t show. Pin the tape in place and trim any excess from the ends. Take care to keep the tape straight and aligned with the curtain edge for best results.
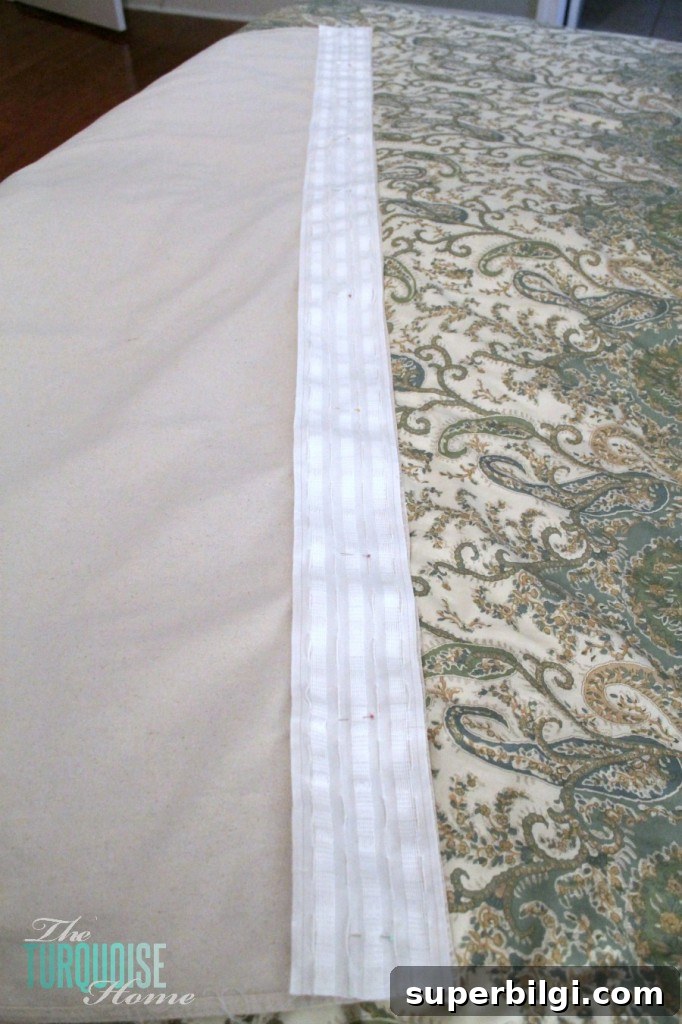
Before you sew, secure the cord ends that run through the tape so they don’t slip back into the channels. I simply tied knots at both ends, which holds the cords while you work and lets you adjust tension later.
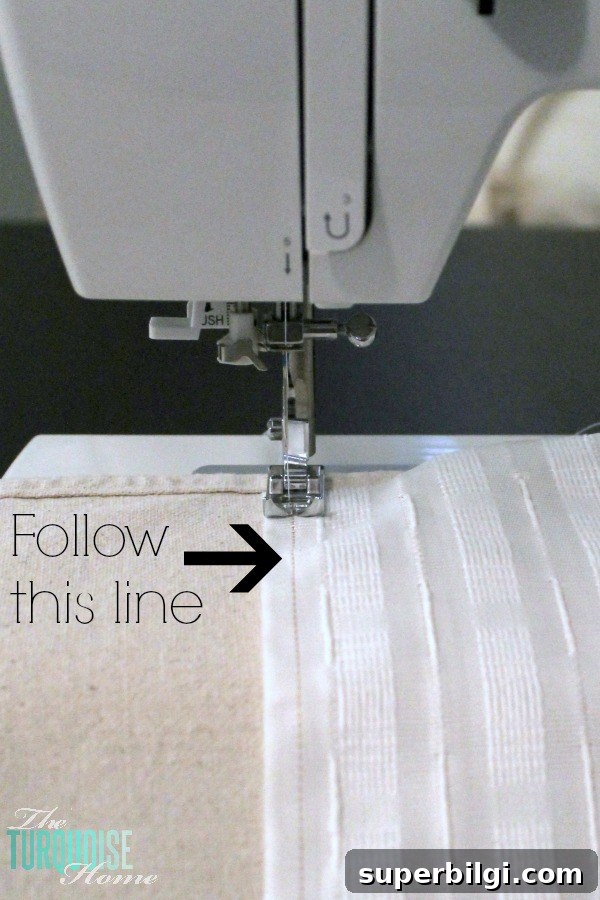
Sew the tape to the curtain along the top and bottom edges of the tape. Most pleater tapes have a faint guideline to follow with your machine; use that line to keep your stitching reasonably straight. Even if your stitching isn’t perfect, the pleats will cover minor imperfections.
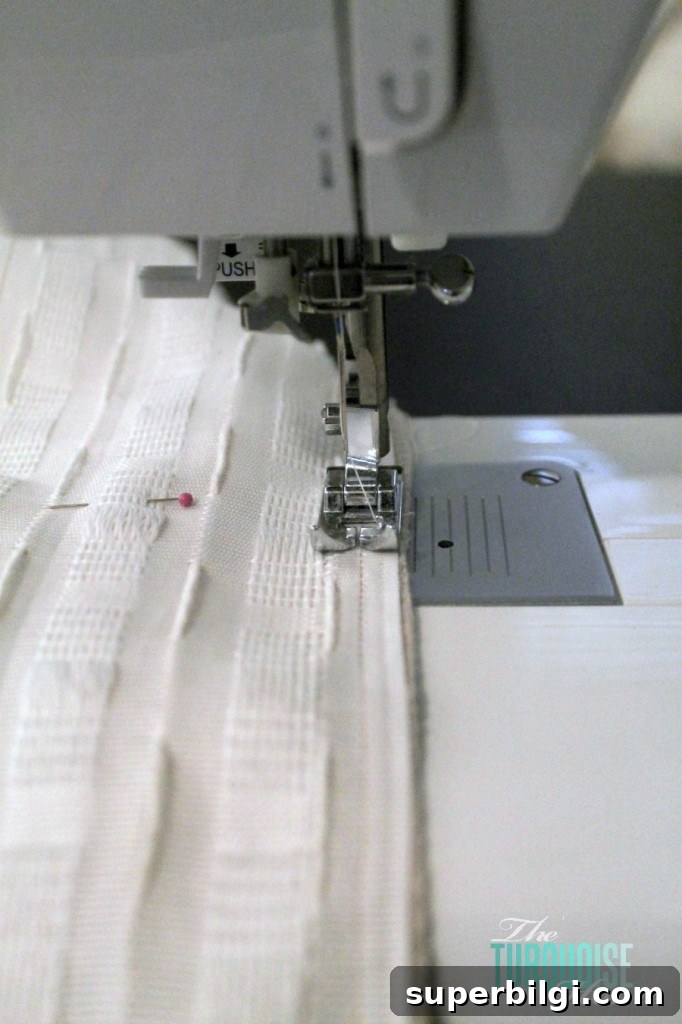
I admit sewing straight lines is not my strongest skill—cutting straight is easier for me—so I didn’t stress over perfection. The tape still performed exactly as intended.
Once stitched in place, start pulling the cords through the tape. My tape had four cords; I drew each cord from one end to the other, gathering the fabric as I went. Pull slowly and evenly to form consistent pleats.
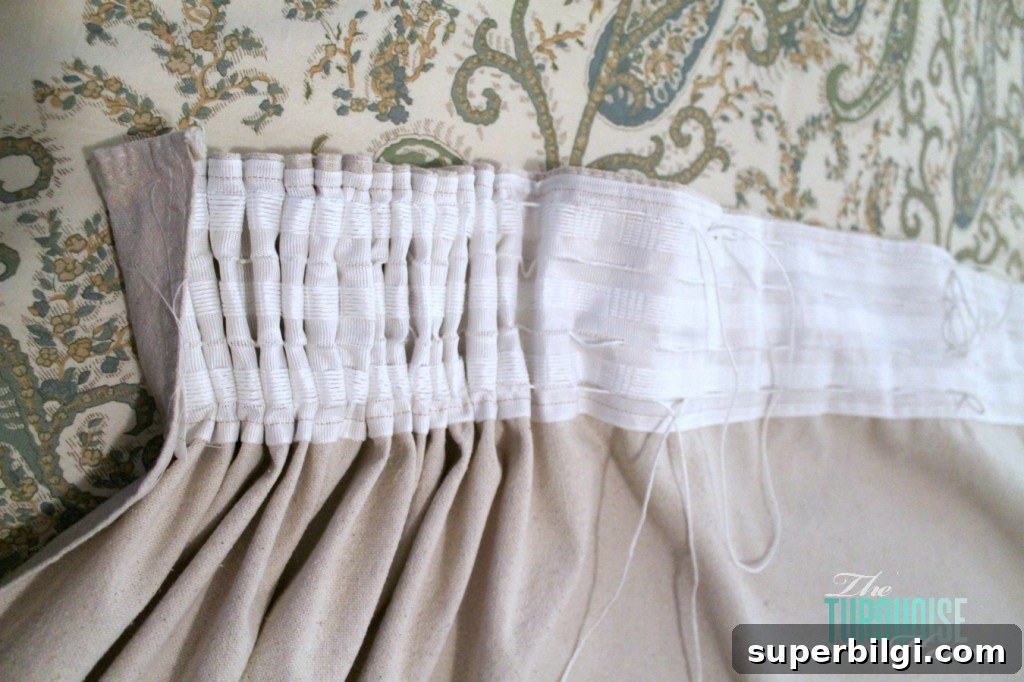
At first the curtain looked heavily pleated—more than I wanted—but that’s easy to adjust. Work along the header, sliding and spacing the pleats until the folds look balanced and match the style you’re going for. Some pleater tapes create deeper, formal pleats while others give a softer, casual fold; choosing the right tape will influence the final look.
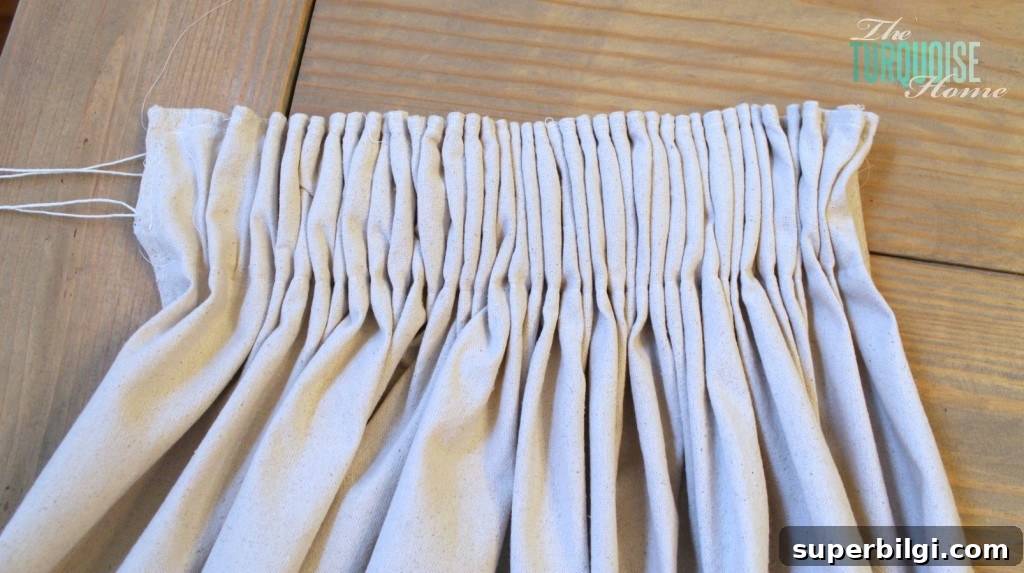
After adjusting the pleats, secure the cord ends with knots or stitch them into place so the gathers don’t loosen. Trim any excess cord and refasten the curtain rings to hang the panel. I discovered that a different style of pleater tape in the next bin over would have given me the looser look I ultimately wanted, but experimenting helped me learn what style suits my fabric.
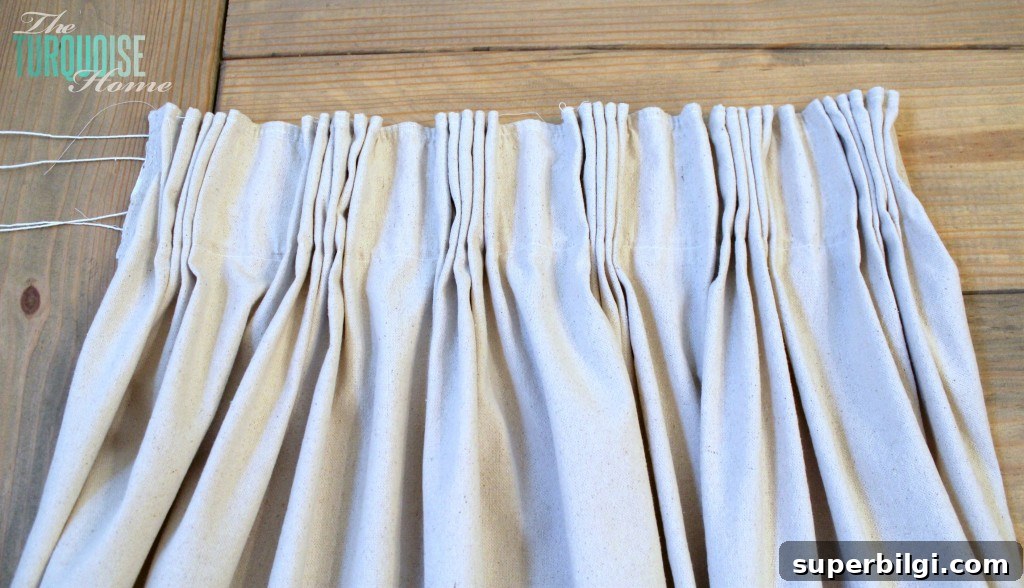
I love the finished result. The header isn’t perfectly uniform, but that slight imperfection adds charm and suits my casual, lived-in decor. If you prefer precise, tailored pleats, take your time with the spacing and choose tape designed for pinch pleats or goblet pleats.
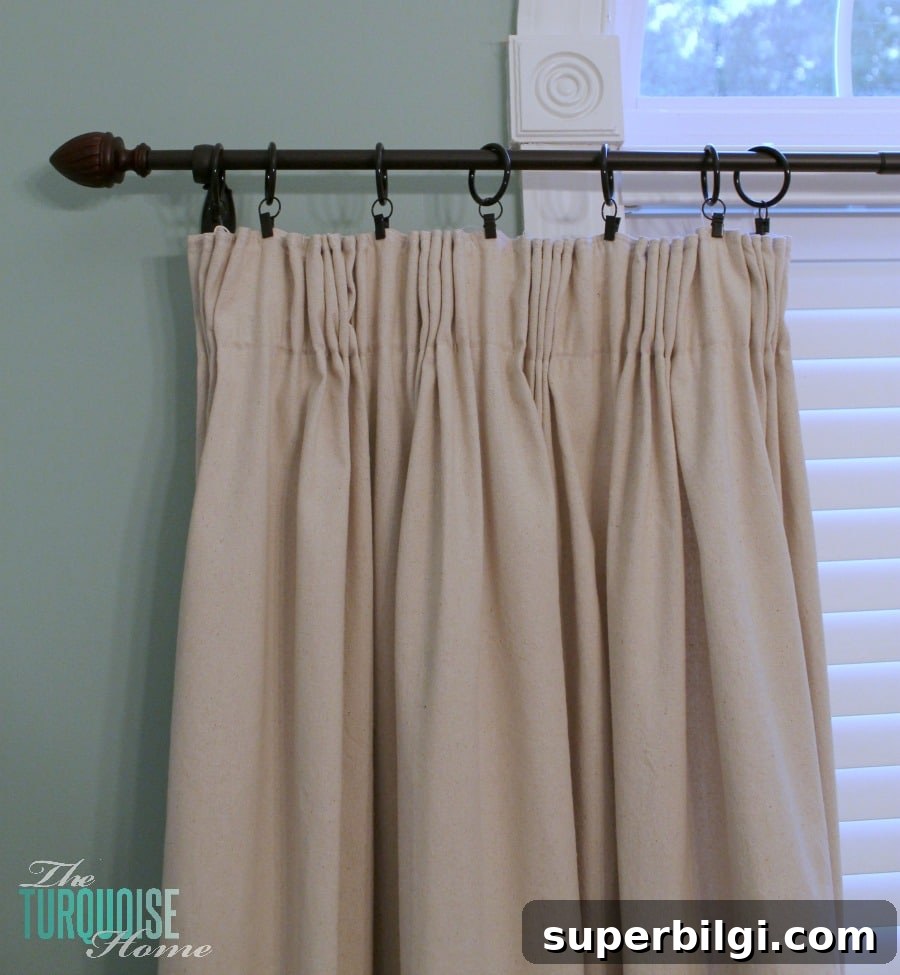
The whole process is quick, inexpensive, and beginner-friendly. Pleater tape lets you transform plain panels into structured, attractive curtains without complex patterning or advanced sewing skills. It’s a great option when you want a polished look with minimal effort.
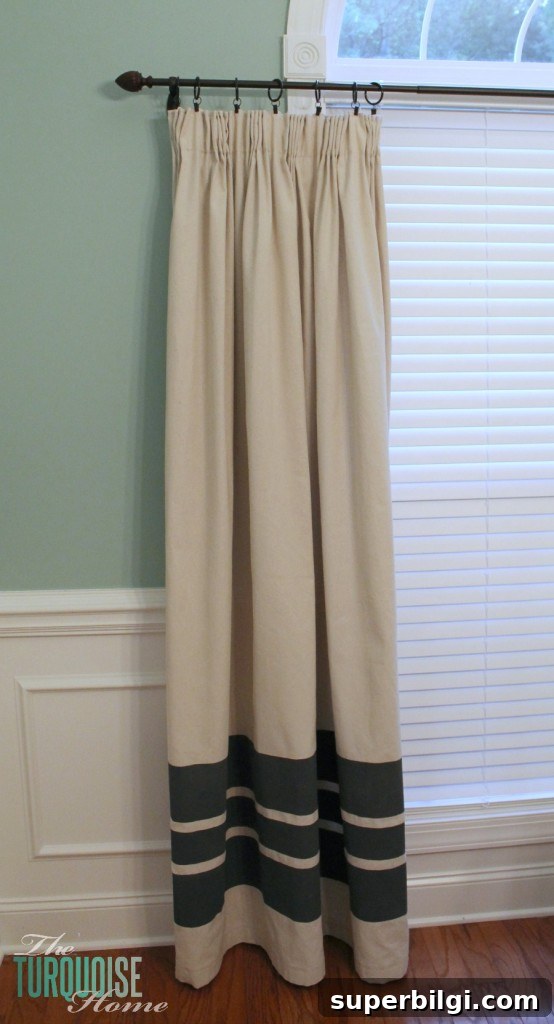
Give it a try—this method makes updating curtains fast and satisfying. If you have sewing tips, preferred tape brands, or different pleating techniques, feel free to share your experience in the comments.
Have you ever used pleater tape before?