
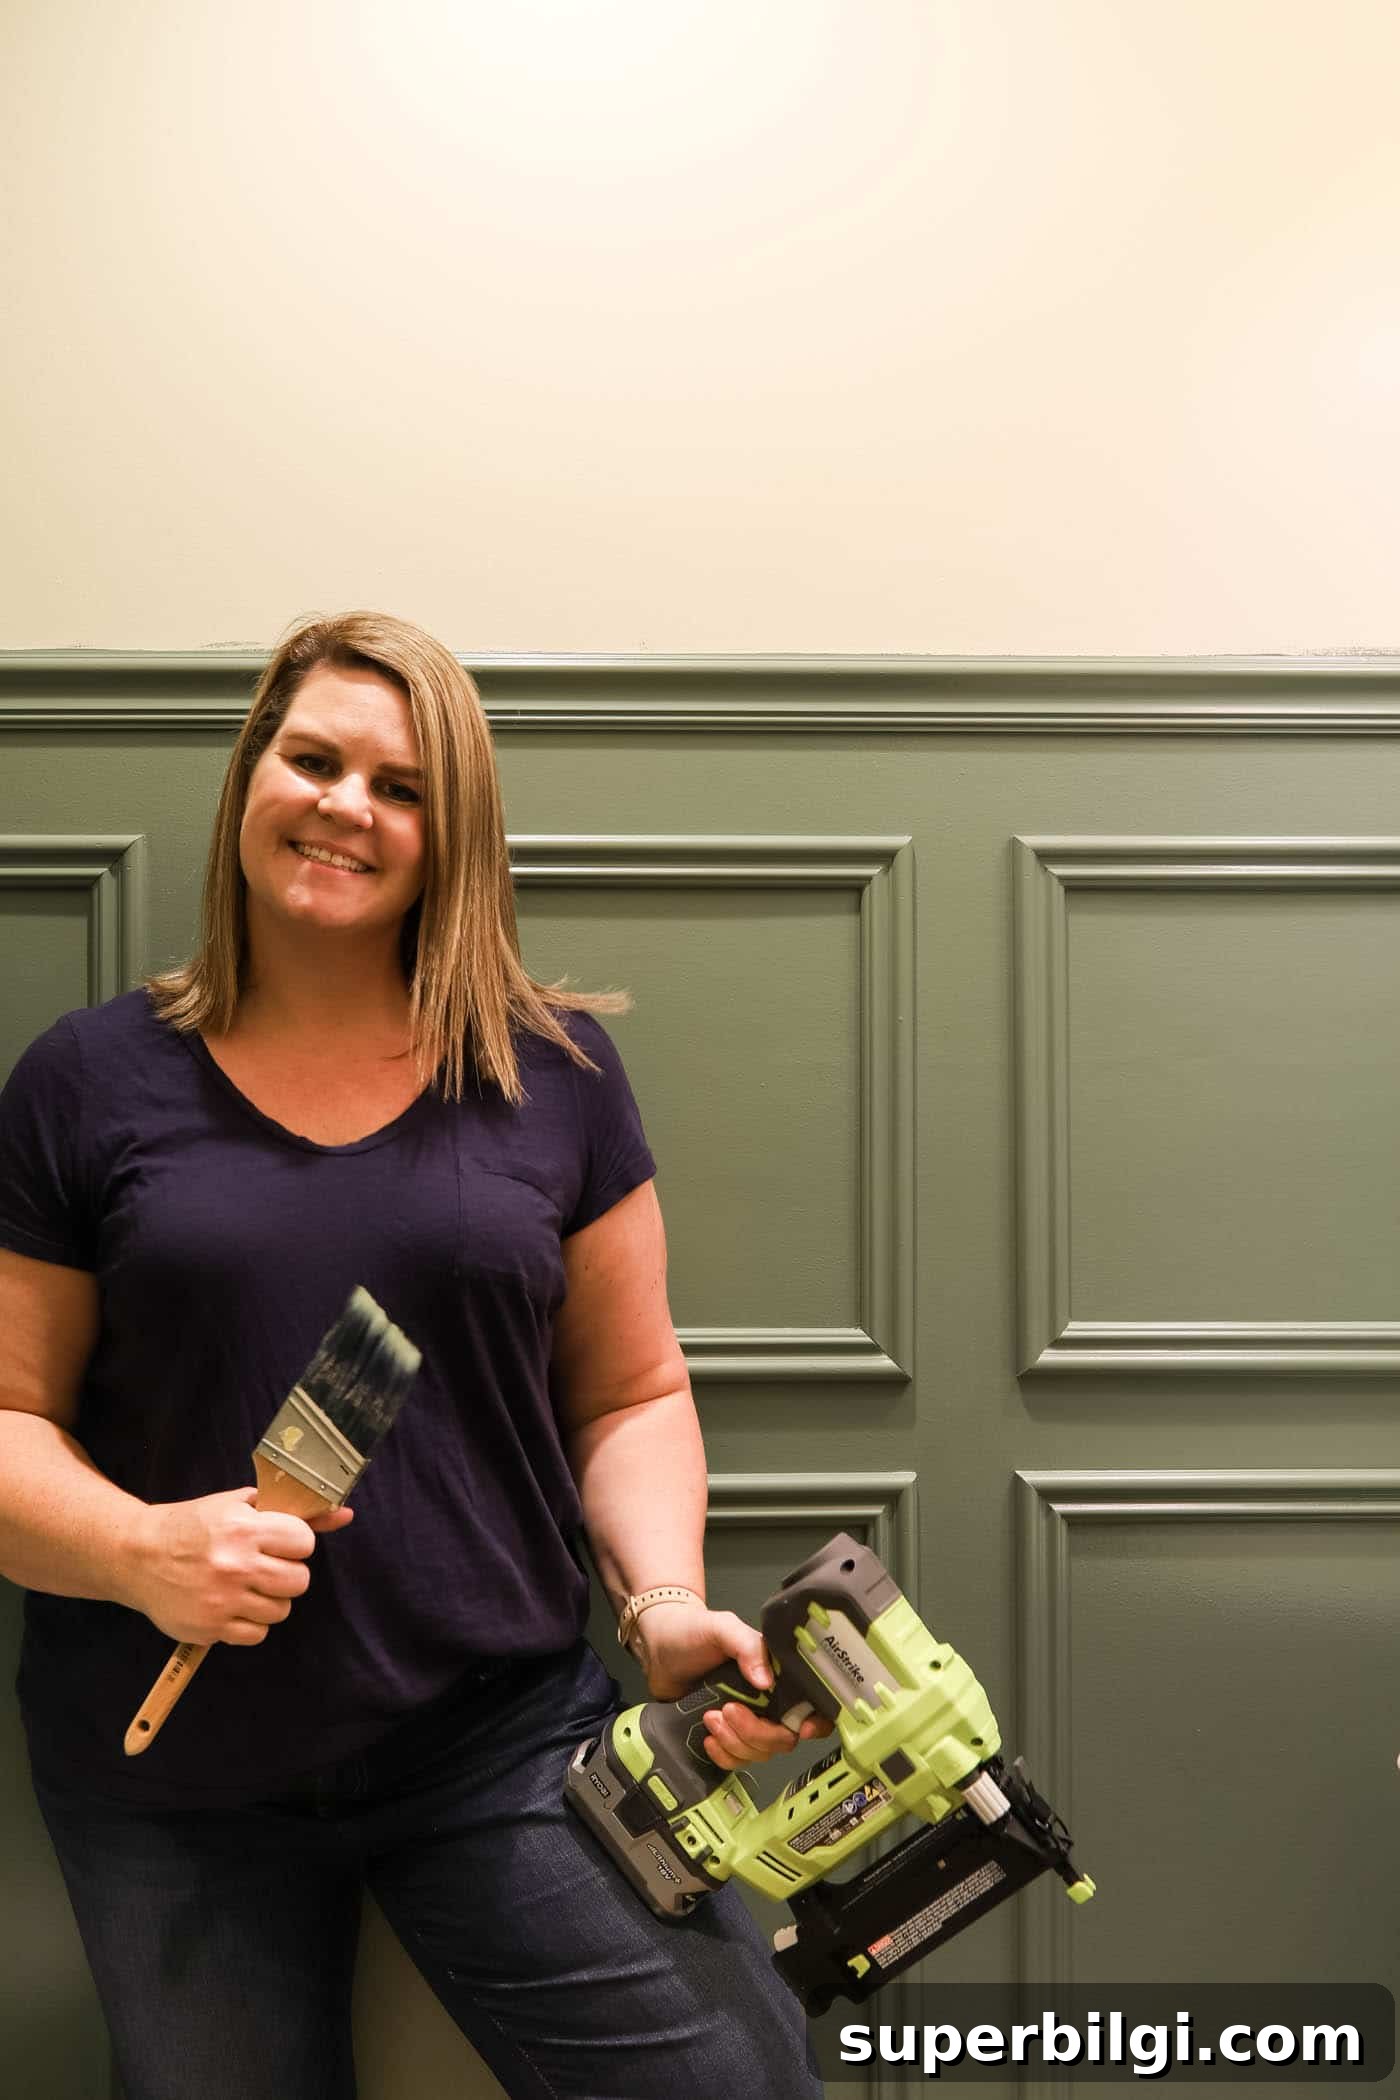
Adding DIY picture frame moulding or a chair rail instantly brings character to a room—and it’s a perfect beginner DIY project.
I love making a small powder room feel special. My hall bathroom is tiny, but a well-planned picture frame moulding treatment gives it the architectural detail it needed to feel finished and intentional.
The Planning Phase
Planning the moulding often takes longer than the installation. Taking the time to plan your layout will save you cutting and fitting headaches later. Browse photos for inspiration and decide the style and rhythm you want before you make any cuts.
Consider these planning decisions:
1. How many vertical rows of boxes will you have?
Dividing a wall vertically into thirds tends to be the most visually pleasing. Many trims occupy the bottom third or the bottom two-thirds of a wall. For a small bathroom, a lower treatment often looks balanced; in larger rooms you can go taller.
2. How many boxes horizontally?
Smaller walls typically only need one box across, while longer walls can be divided into two or three boxes to create a repeating rhythm. On one side of my bathroom I used a single box, and on the longer wall I divided the space into thirds.
3. One large box or stacked boxes?
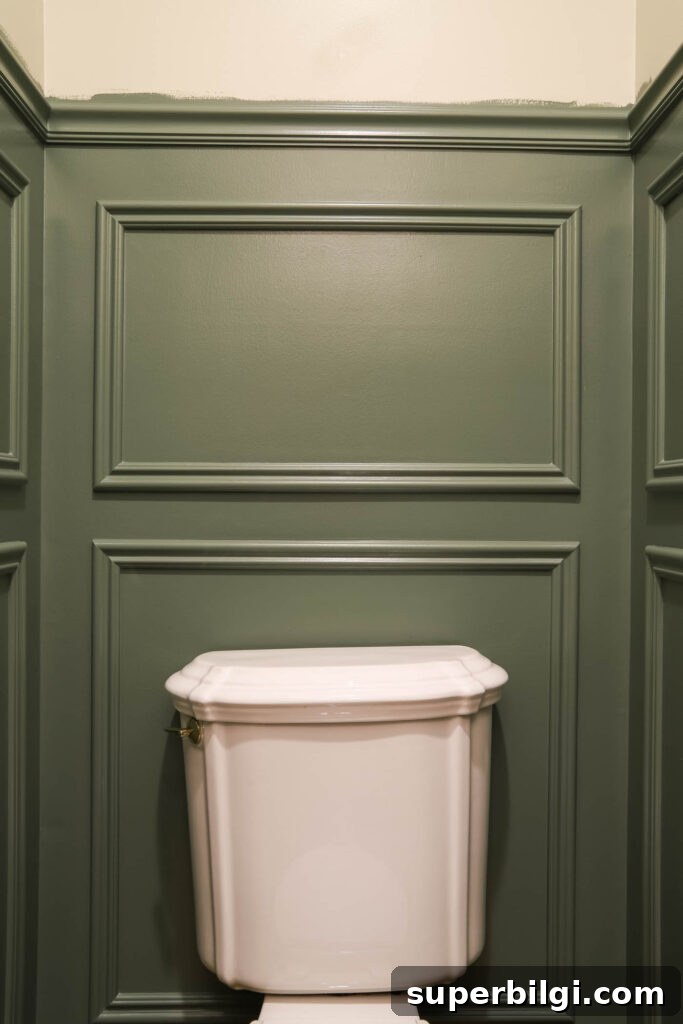
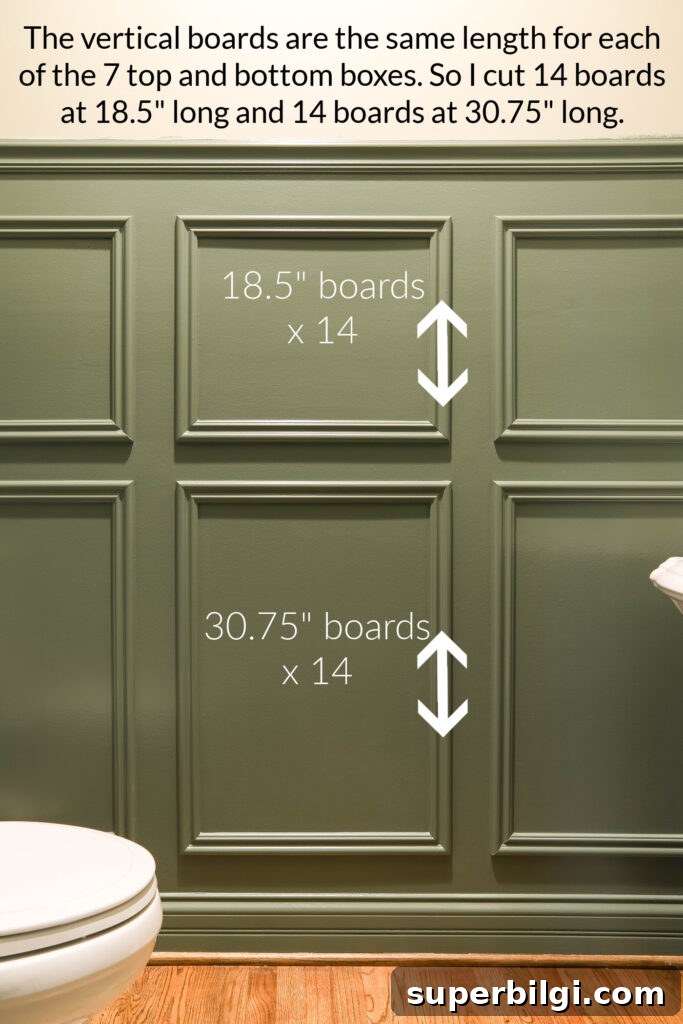
You can choose one large rectangle or stack smaller boxes. I used two stacked boxes: a larger lower box with a smaller one above it. This proportion looked right for my ceiling height and the sink and mirror placement.
4. Spacing between trim pieces
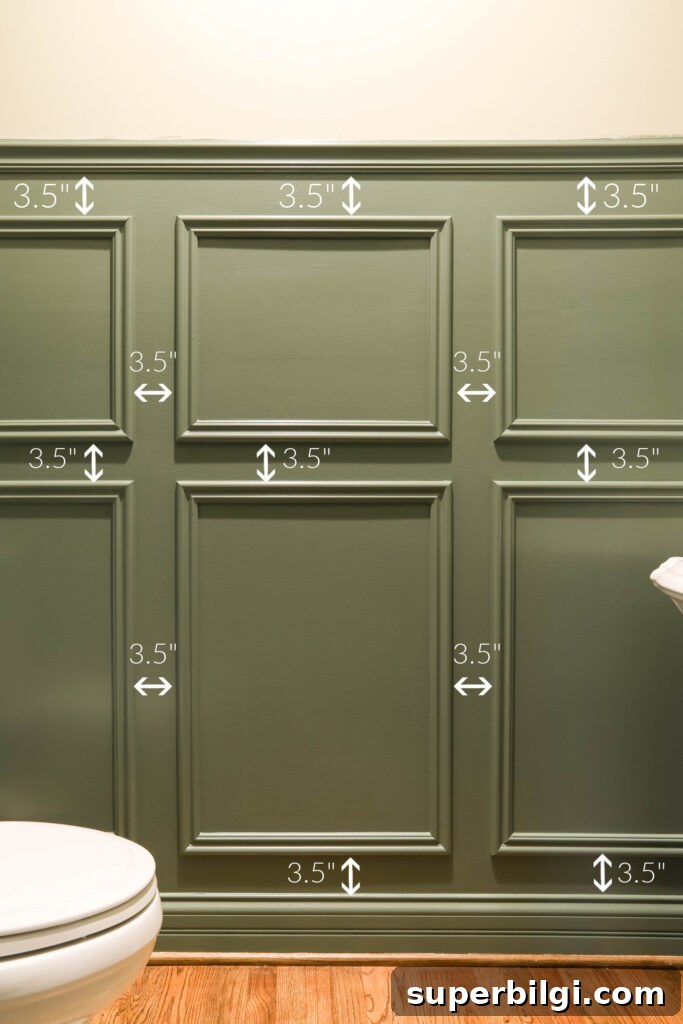
This is the most important dimension. Keep the spacing consistent across the entire room to maintain a uniform look. In my tiny powder room I used 3.5 inches between trim elements; in larger spaces 4–6 inches usually works better.
5. Choose a trim style
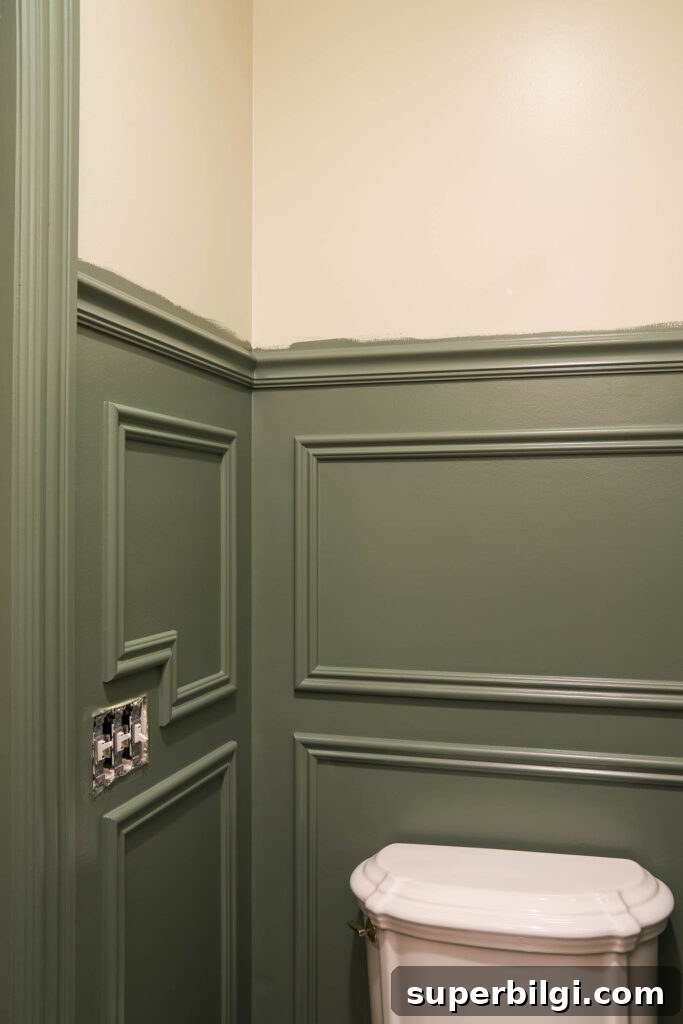
Select moulding that matches your home’s style. Simple boards suit modern or farmhouse spaces, while more ornate chair rail moulding pairs well with traditional interiors. I chose a classic chair rail profile to match my house.
6. Plan around obstacles
Account for fixed fixtures like the toilet, sink, switches, and outlets. Decide whether your trim will return into those openings or you’ll cut around them. I set my heights so the moulding sits neatly around the toilet and sink and cut around electrical plates.
This post originally included product recommendations and affiliate disclosures for convenience.
Supplies Needed for DIY Picture Moulding
- Laser level (or a reliable hand level)
- Tape measure
- Pencil
- Miter saw or miter box and saw
- Brad nailer and finishing brad nails
- Spackling compound
- Paintable caulk and caulk gun
- Nail punch
- Decorative trim (chair rail for top and smaller moulding for frames); primed boards save time
- Paint and quality paint brush
How to Install Picture Moulding on the Wall
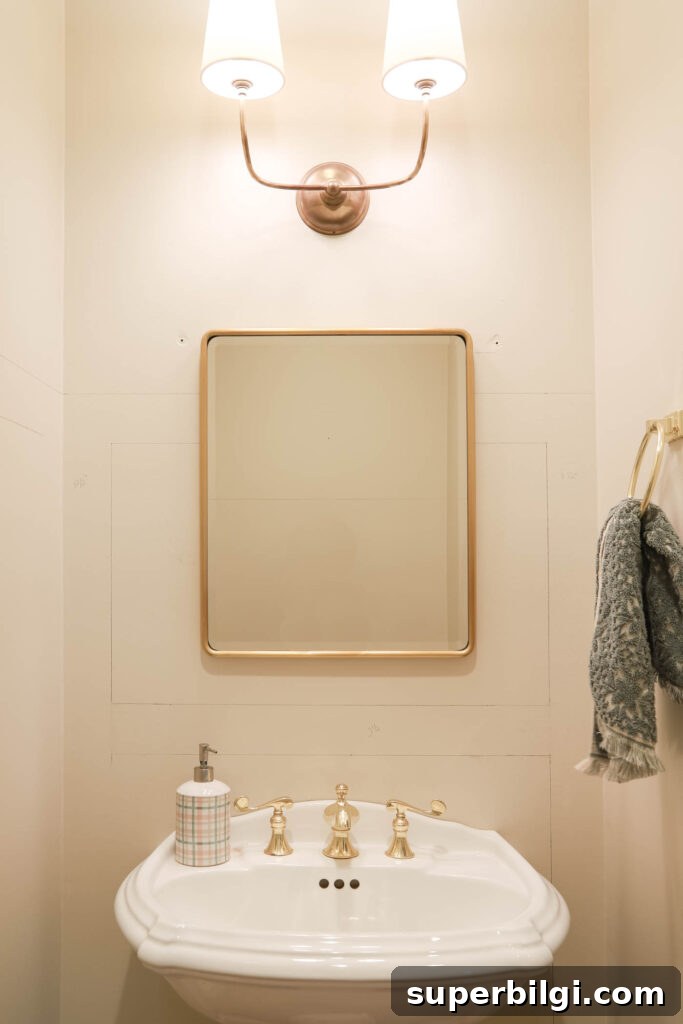
1. Draw your boxes with a level and pencil
Before you cut any trim, draw the boxes on the wall. Use a laser level or a straight edge to mark each horizontal and vertical line. This helps you see how the boxes clear fixtures and ensures your spacing stays consistent. I used 3.5 inches between the profiles for this small room.

2. Measure and buy your trim
Record all measurements carefully and calculate total board footage, including extra for waste. Wasted material from miter cuts can add up, so buy a bit more than your raw layout suggests.
3. Make a cut list
Group identical pieces to save time. Vertical pieces are often the same length for matching stacked boxes; horizontal top and bottom pieces repeat across similar boxes. A clear cut list reduces mistakes.

4. Cut the trim
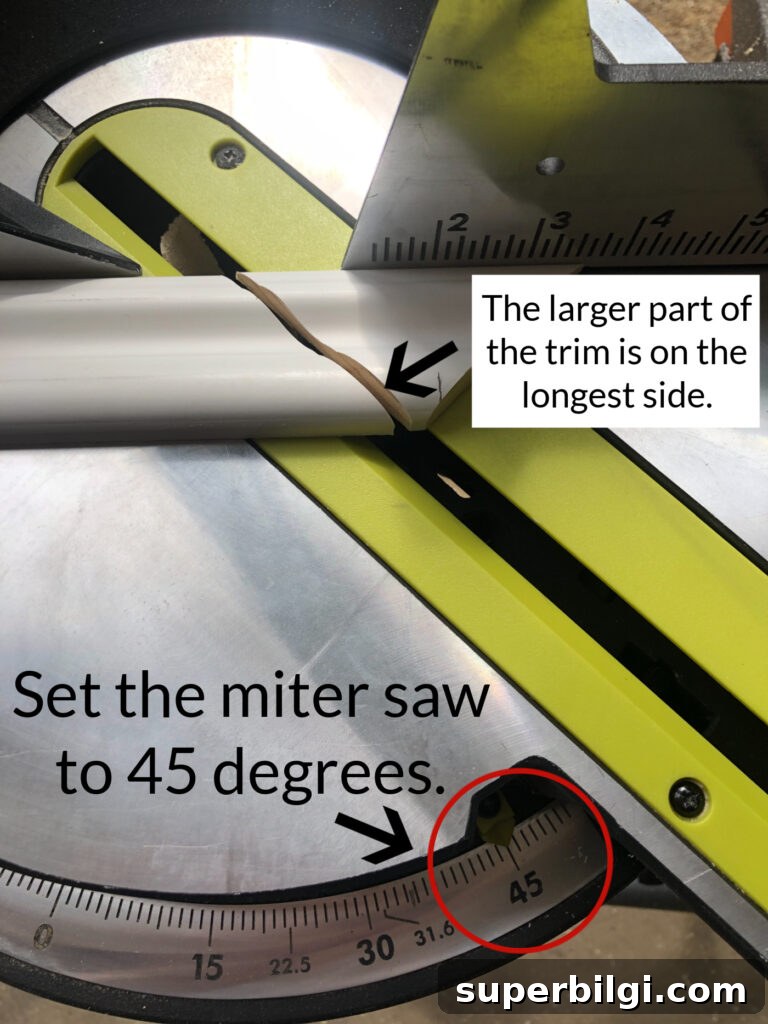
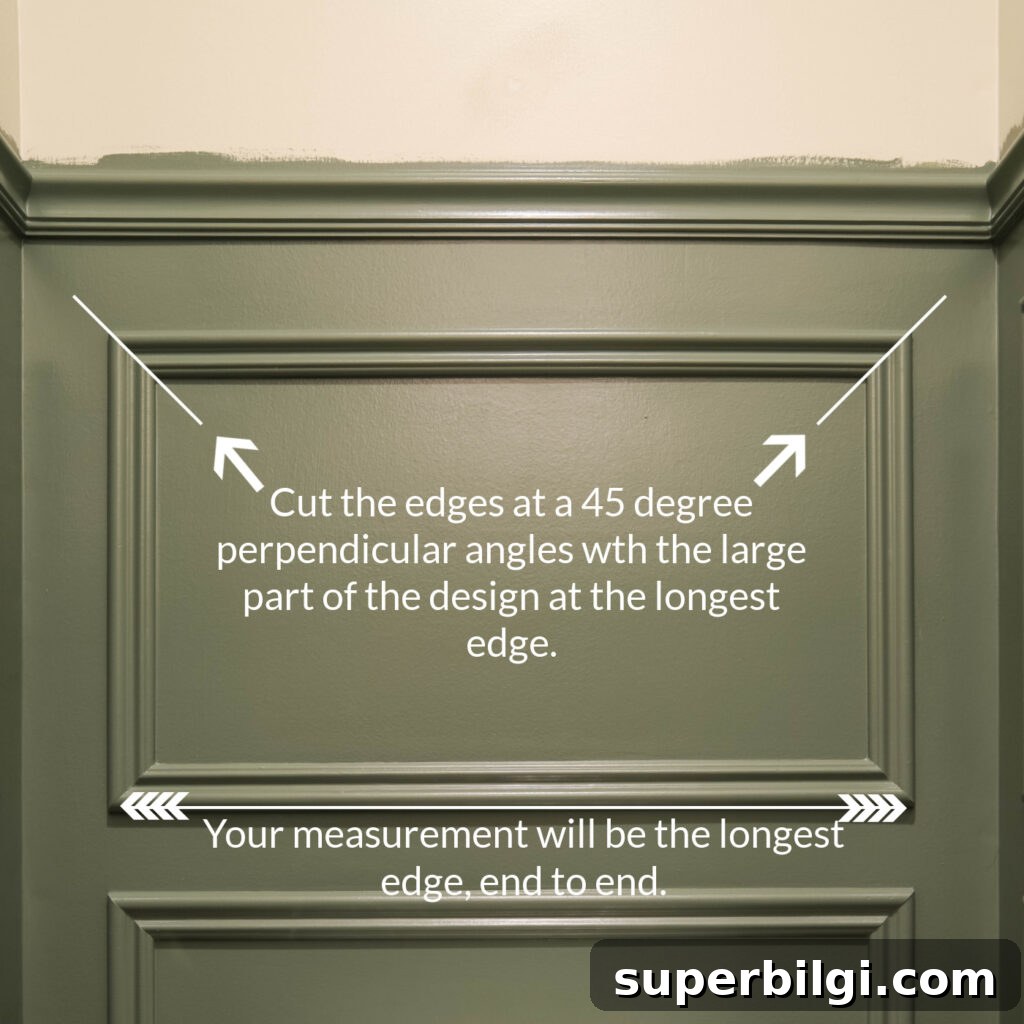
Cut pieces at 45-degree miters so the decorative face remains on the outside edge of the frames. Cut in batches and label an original piece as a template to ensure each repeated cut matches perfectly.
5. Install the picture frame moulding
Attach trim to the wall with a brad nailer. Position each piece on your pencil lines and check for level before nailing. Start with the top piece, then one side, the bottom, and the remaining side. Limit nails to 3–4 per board to reduce the amount of spackling later.
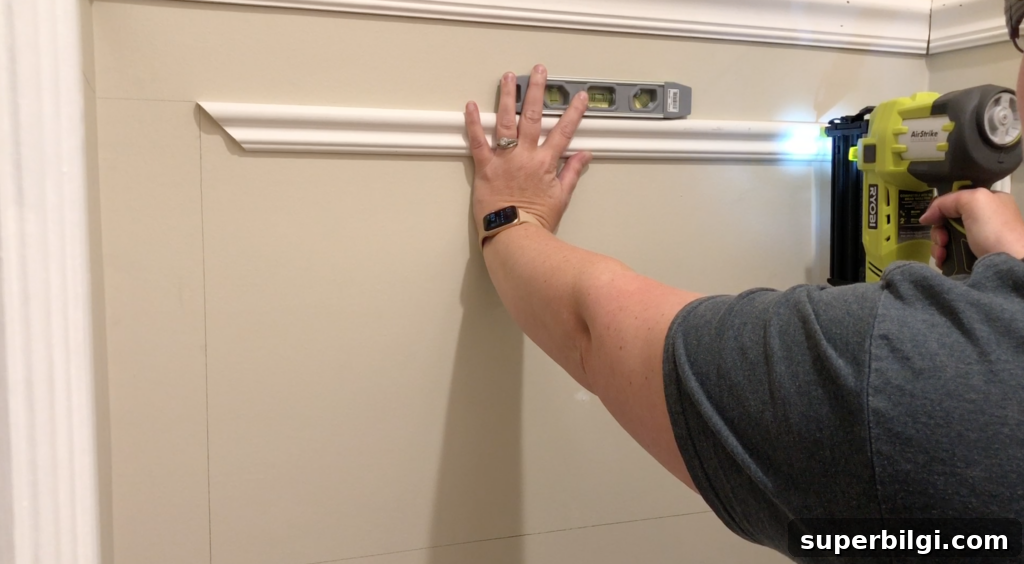
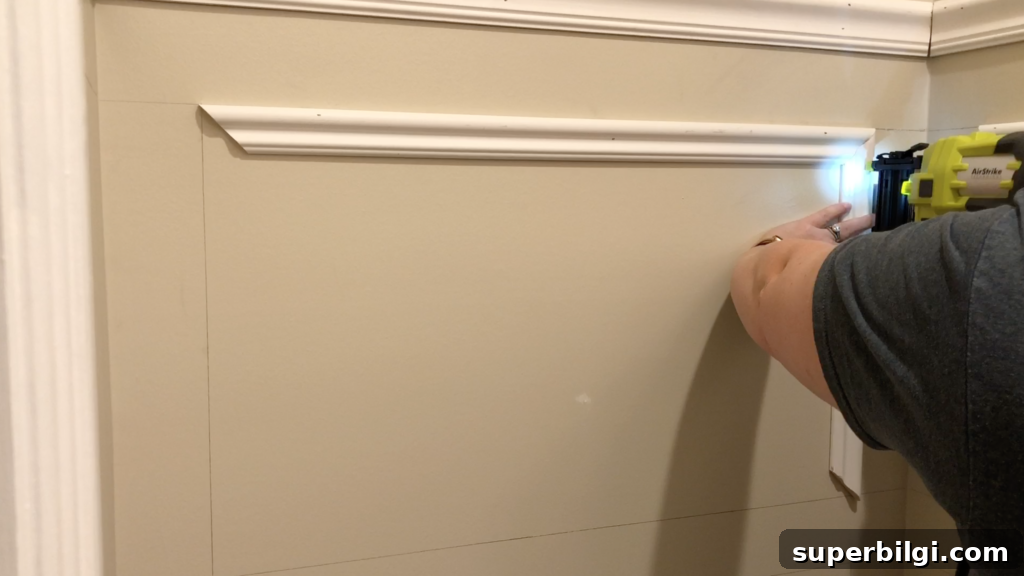
Check for square and level as you progress to keep each rectangle true and tidy.
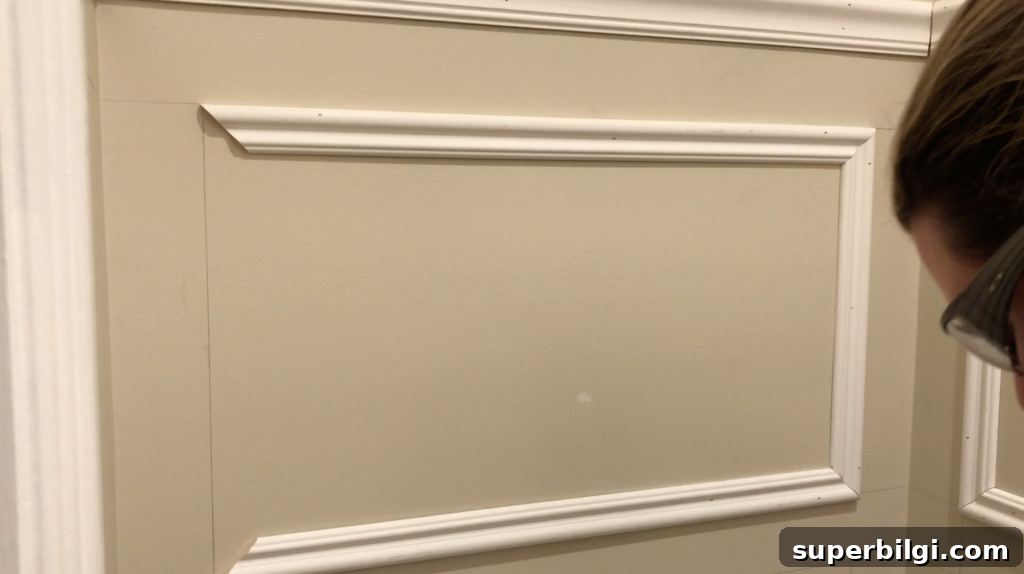
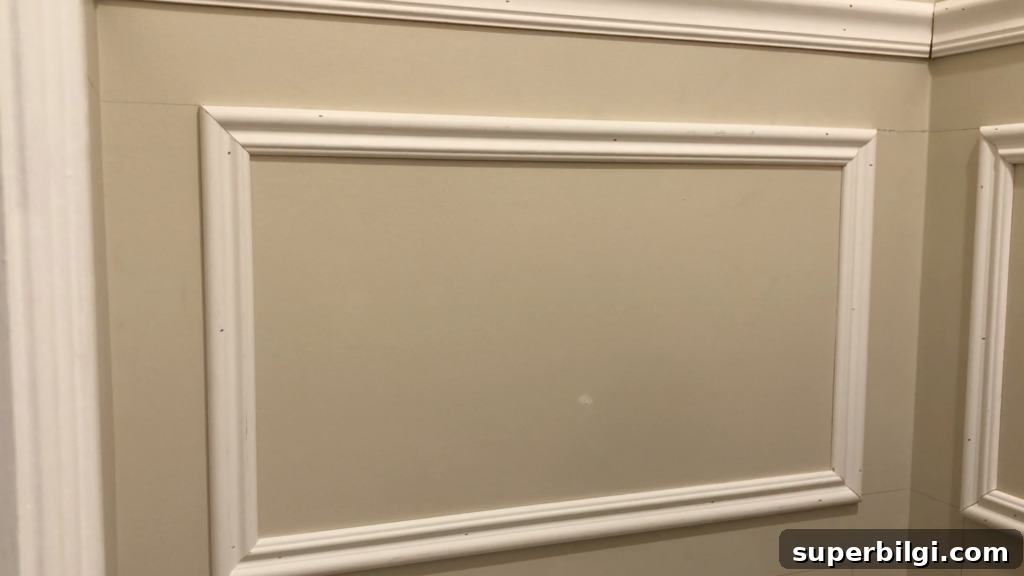
6. Drive in any extended nails with a nail punch
Use a nail punch to sink any protruding nails below the trim surface so they can be filled cleanly.
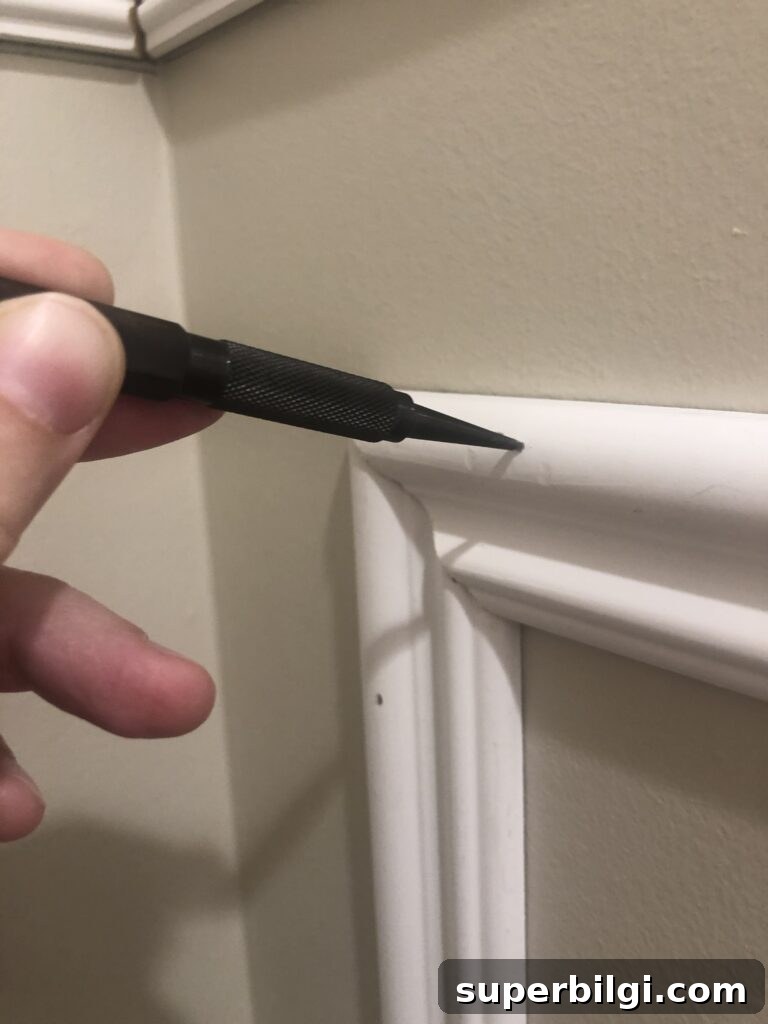
7. Fill nail holes with spackling
Smooth a small amount of spackling into each hole with your finger, removing excess while wet. Once it dries, wipe or lightly sand any remaining high spots for a seamless finish.
8. Caulk the seams
Apply paintable caulk between the trim and the wall and in the trim corners. Smooth the bead with a damp finger or cloth before it skins over. Proper caulking makes the moulding read as one integrated piece and hides small gaps.
9. Paint
Decide whether to paint the wall first or paint everything at the end. For large spaces, painting the wall first can make layout easier; for a small powder room, painting everything after installation is often simpler. Use a durable finish in bathrooms—satin or semi-gloss cleans up more easily.
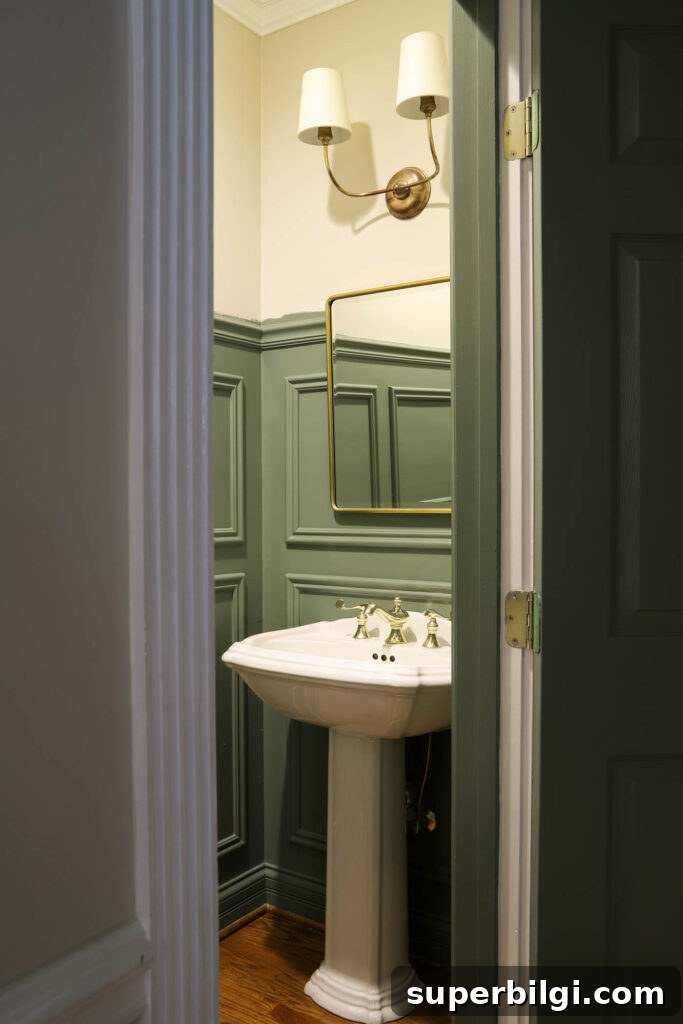
Step back and admire your handiwork. A well-executed moulding treatment elevates a small space and adds real architectural interest.
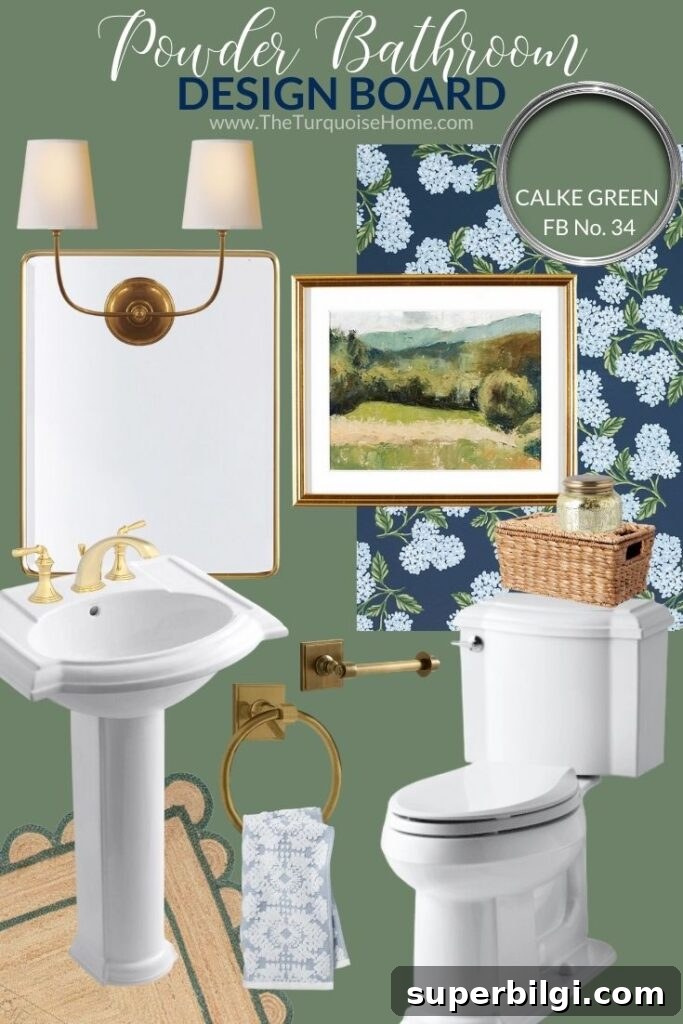
If you want to continue the design, I created full powder room plans including wallpaper and lighting ideas. Wallpaper can be a dramatic next step for a small bathroom.
This is an excellent project for a beginner: it’s straightforward, requires only a few tools, and delivers a big visual payoff. If you try it, consider sharing your results and any questions you have—seeing others’ projects is always inspiring.
More posts you might enjoy:
- Under the Bathroom Sink Storage
- How to Create Big Style in a Small Bathroom
- Modern Bathroom Light Fixtures
- How to Organize a House With No Storage
- Blue & Green Traditional Powder Room Reveal