
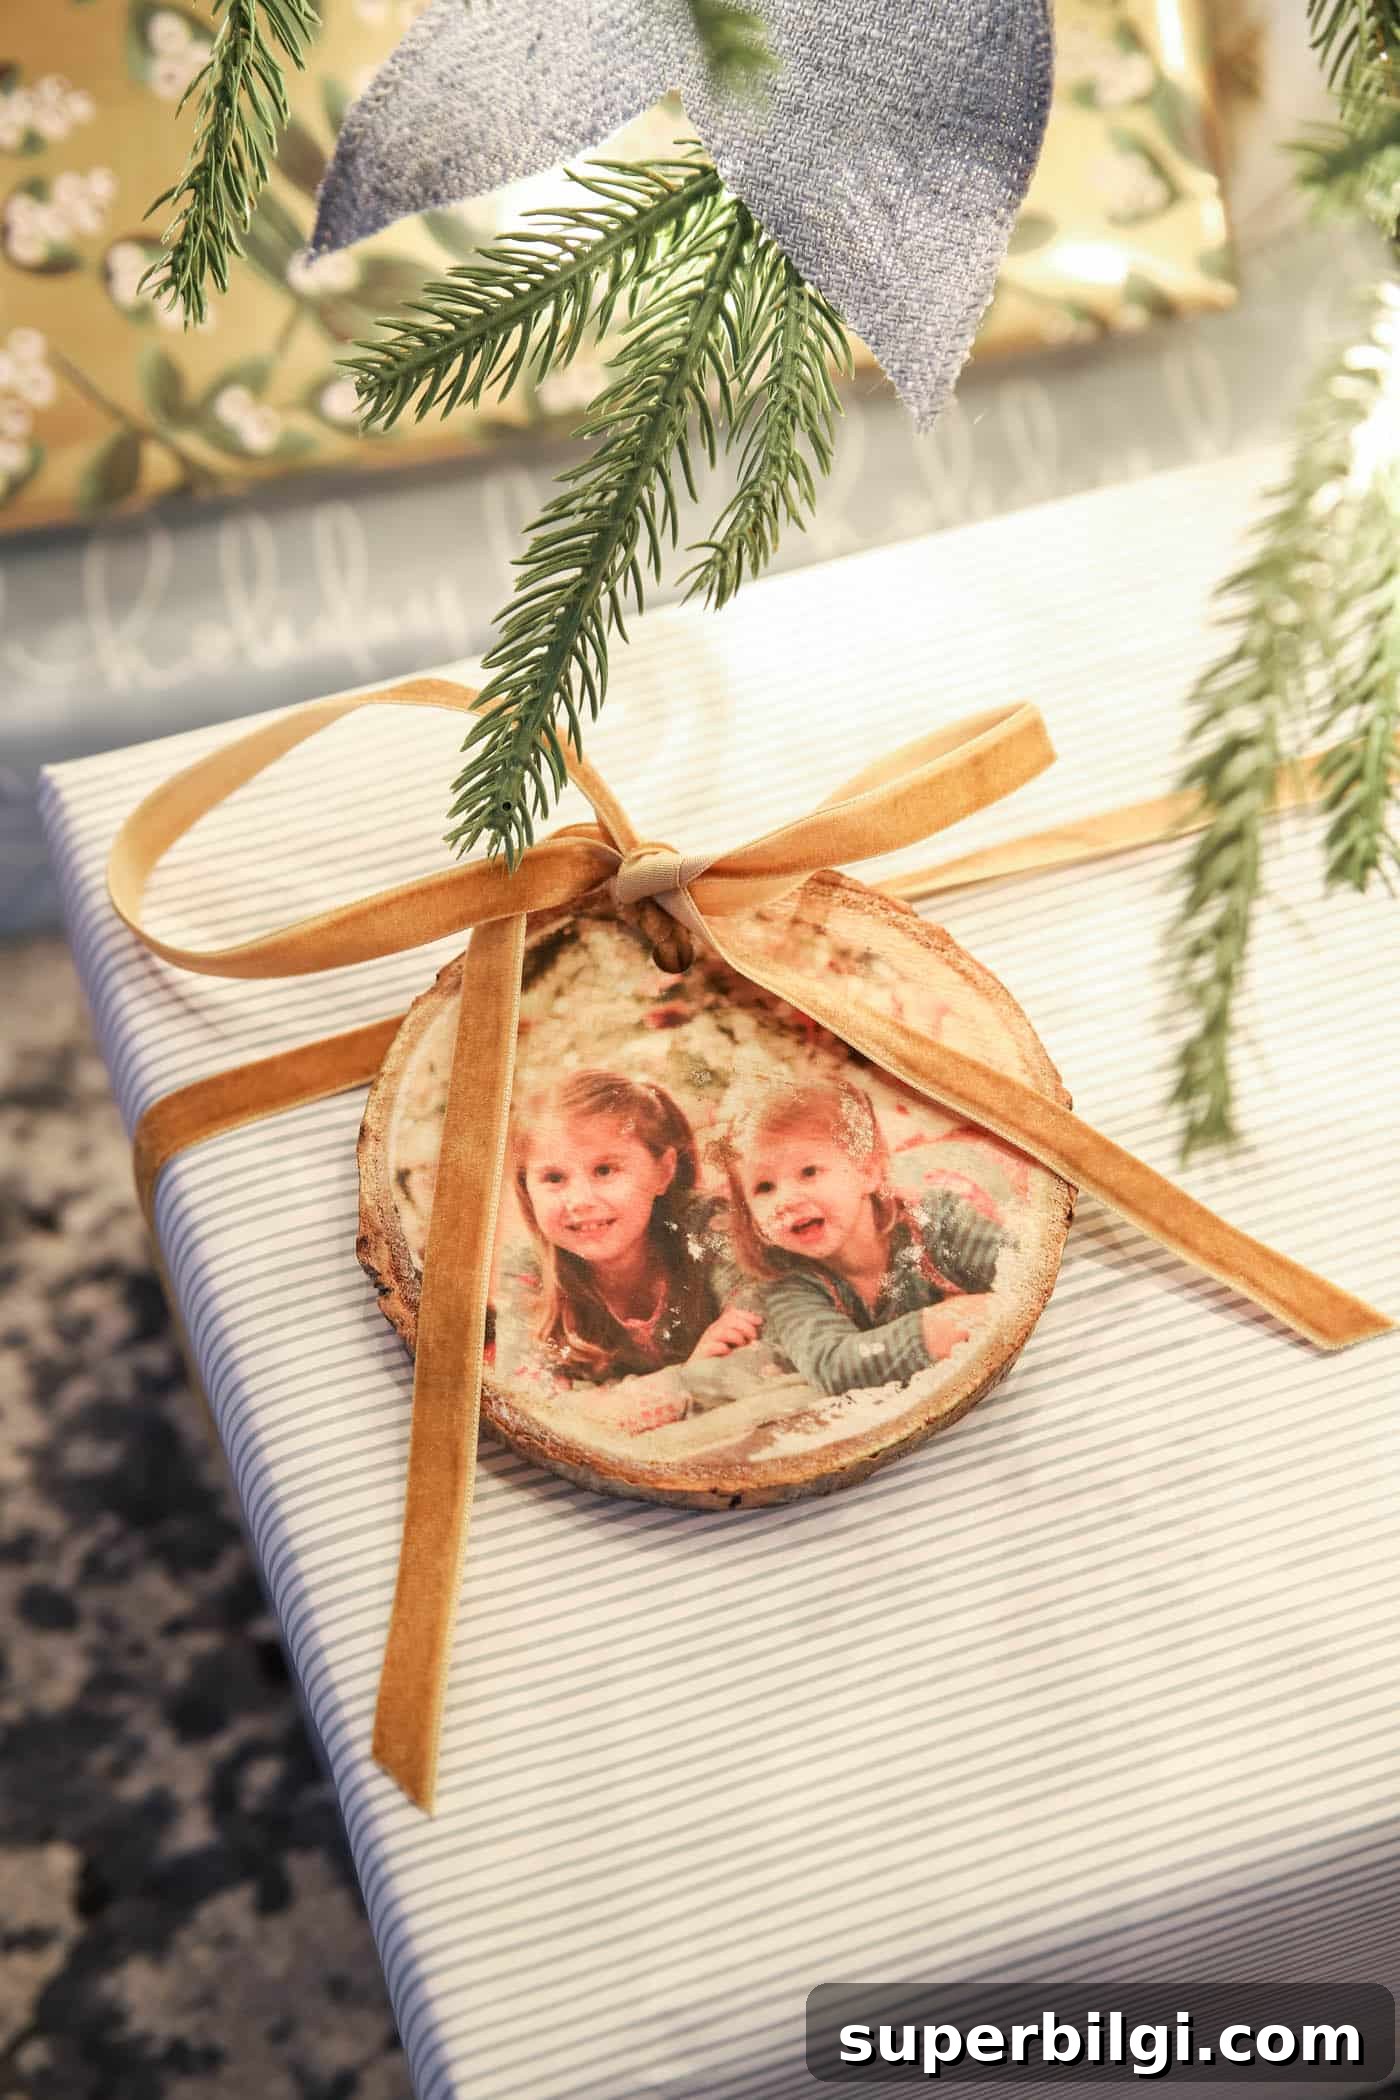
Ever wondered how to make a personalized gift that feels rustic, cozy, and heartfelt? This Mod Podge photo transfer to wood project is one of my favorites. It’s budget-friendly, simple enough for a weekend DIY, and turns your favorite memories into beautiful personalized wood decor.
I recently found a fresh way to use photos and free printables at home. Transferring an image to wood creates a warm, vintage look that works beautifully for farmhouse-style decor or sentimental gifts. This straightforward Mod Podge transfer method is inexpensive and highly customizable.
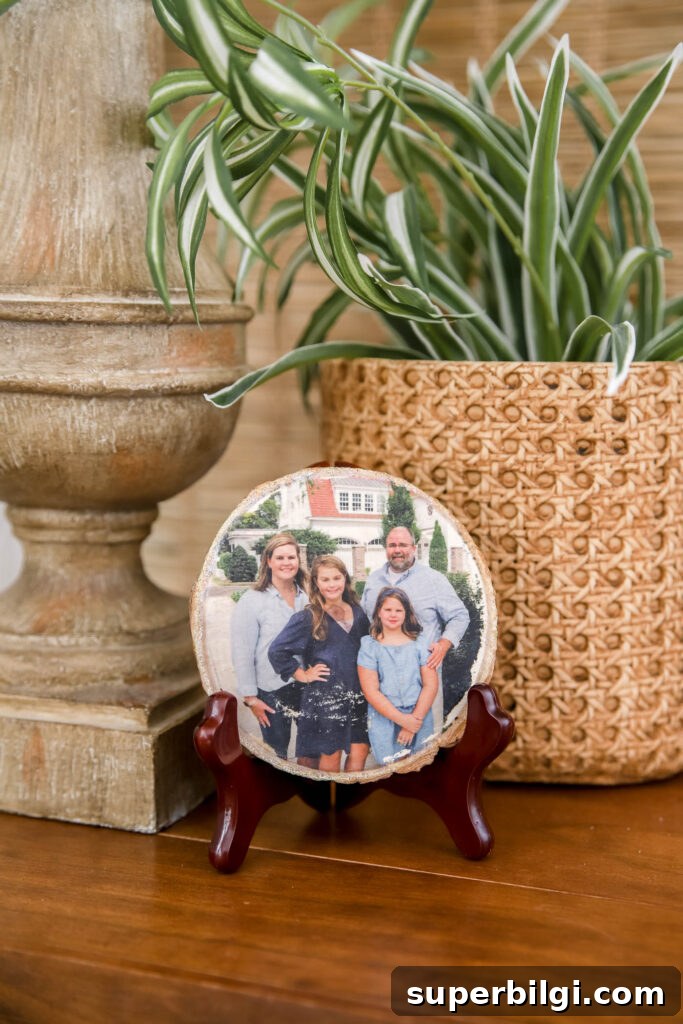
This process takes six simple steps. The only challenge is allowing enough drying time, so plan ahead a bit and you’ll end up with a gorgeous piece of decor—perfect for gifting or keeping in your home.
What is a Mod Podge Photo Transfer?
A Mod Podge photo transfer uses Mod Podge medium to move a laser-printed image onto a wood surface. The result is a slightly distressed, vintage-style image embedded in the grain of the wood. It’s ideal for personalized signs, ornaments, gift tags, and other handmade decor.
Supplies You’ll Need
- Original Mod Podge (matte or gloss; matte is recommended)
- Laser printed photo or image (mirror the image if direction matters)
- Unfinished wood surface—round wood slices, plaques, or blocks
- Scissors
- A burnishing tool (credit card or old gift card)
- Foam brush or small craft brush
- Wash cloth or paper towel
- Hair dryer (optional, to speed drying)
- Drill for hanging holes (optional)
Steps to Transfer a Photo to Wood
1. Gather Your Supplies
Choose the wood pieces you want to use. I like slices with rough bark edges for a rustic look, but any unfinished wood will work. Gather your Mod Podge, brush, and a cloth or sponge. You’ll also need the printed photo prepared in the next step.
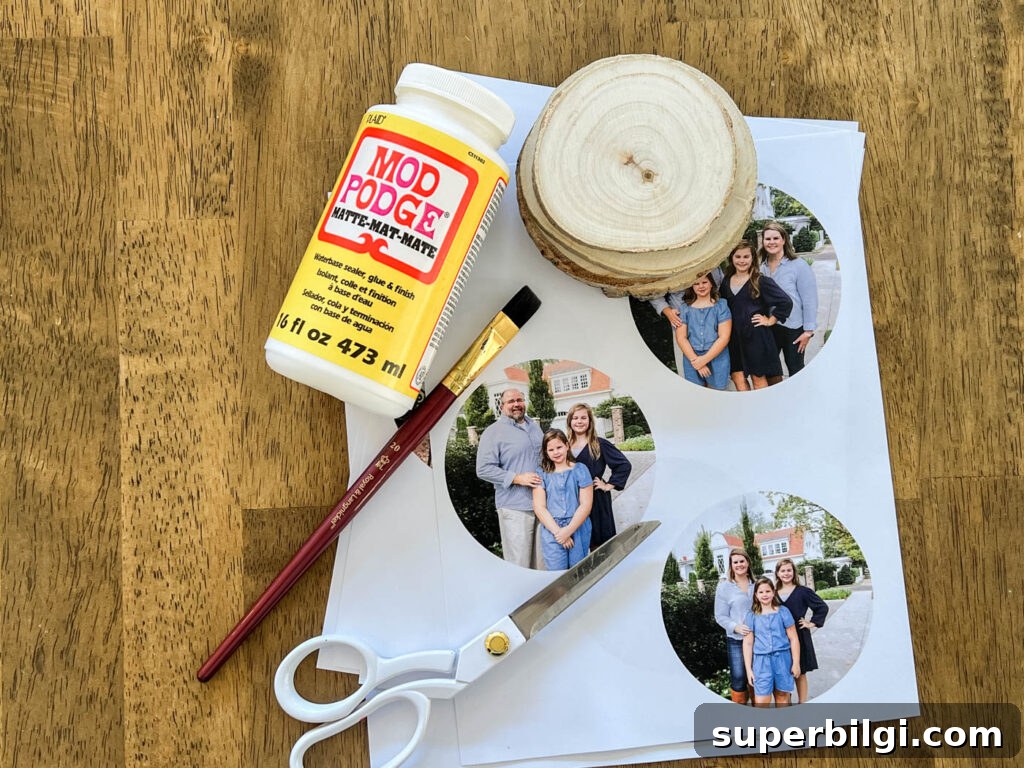
2. Choose and Print Your Image
Important printing tips:
- Mirror the image if the direction matters (text or directional designs must be reversed).
- Resize the image to fit your wood surface before printing.
- Use a laser printer—inkjet prints won’t transfer properly.
- Print on regular, thin printer paper (around 22 lb) so it rubs away easily during removal.
- Cut out the printed image neatly with scissors.
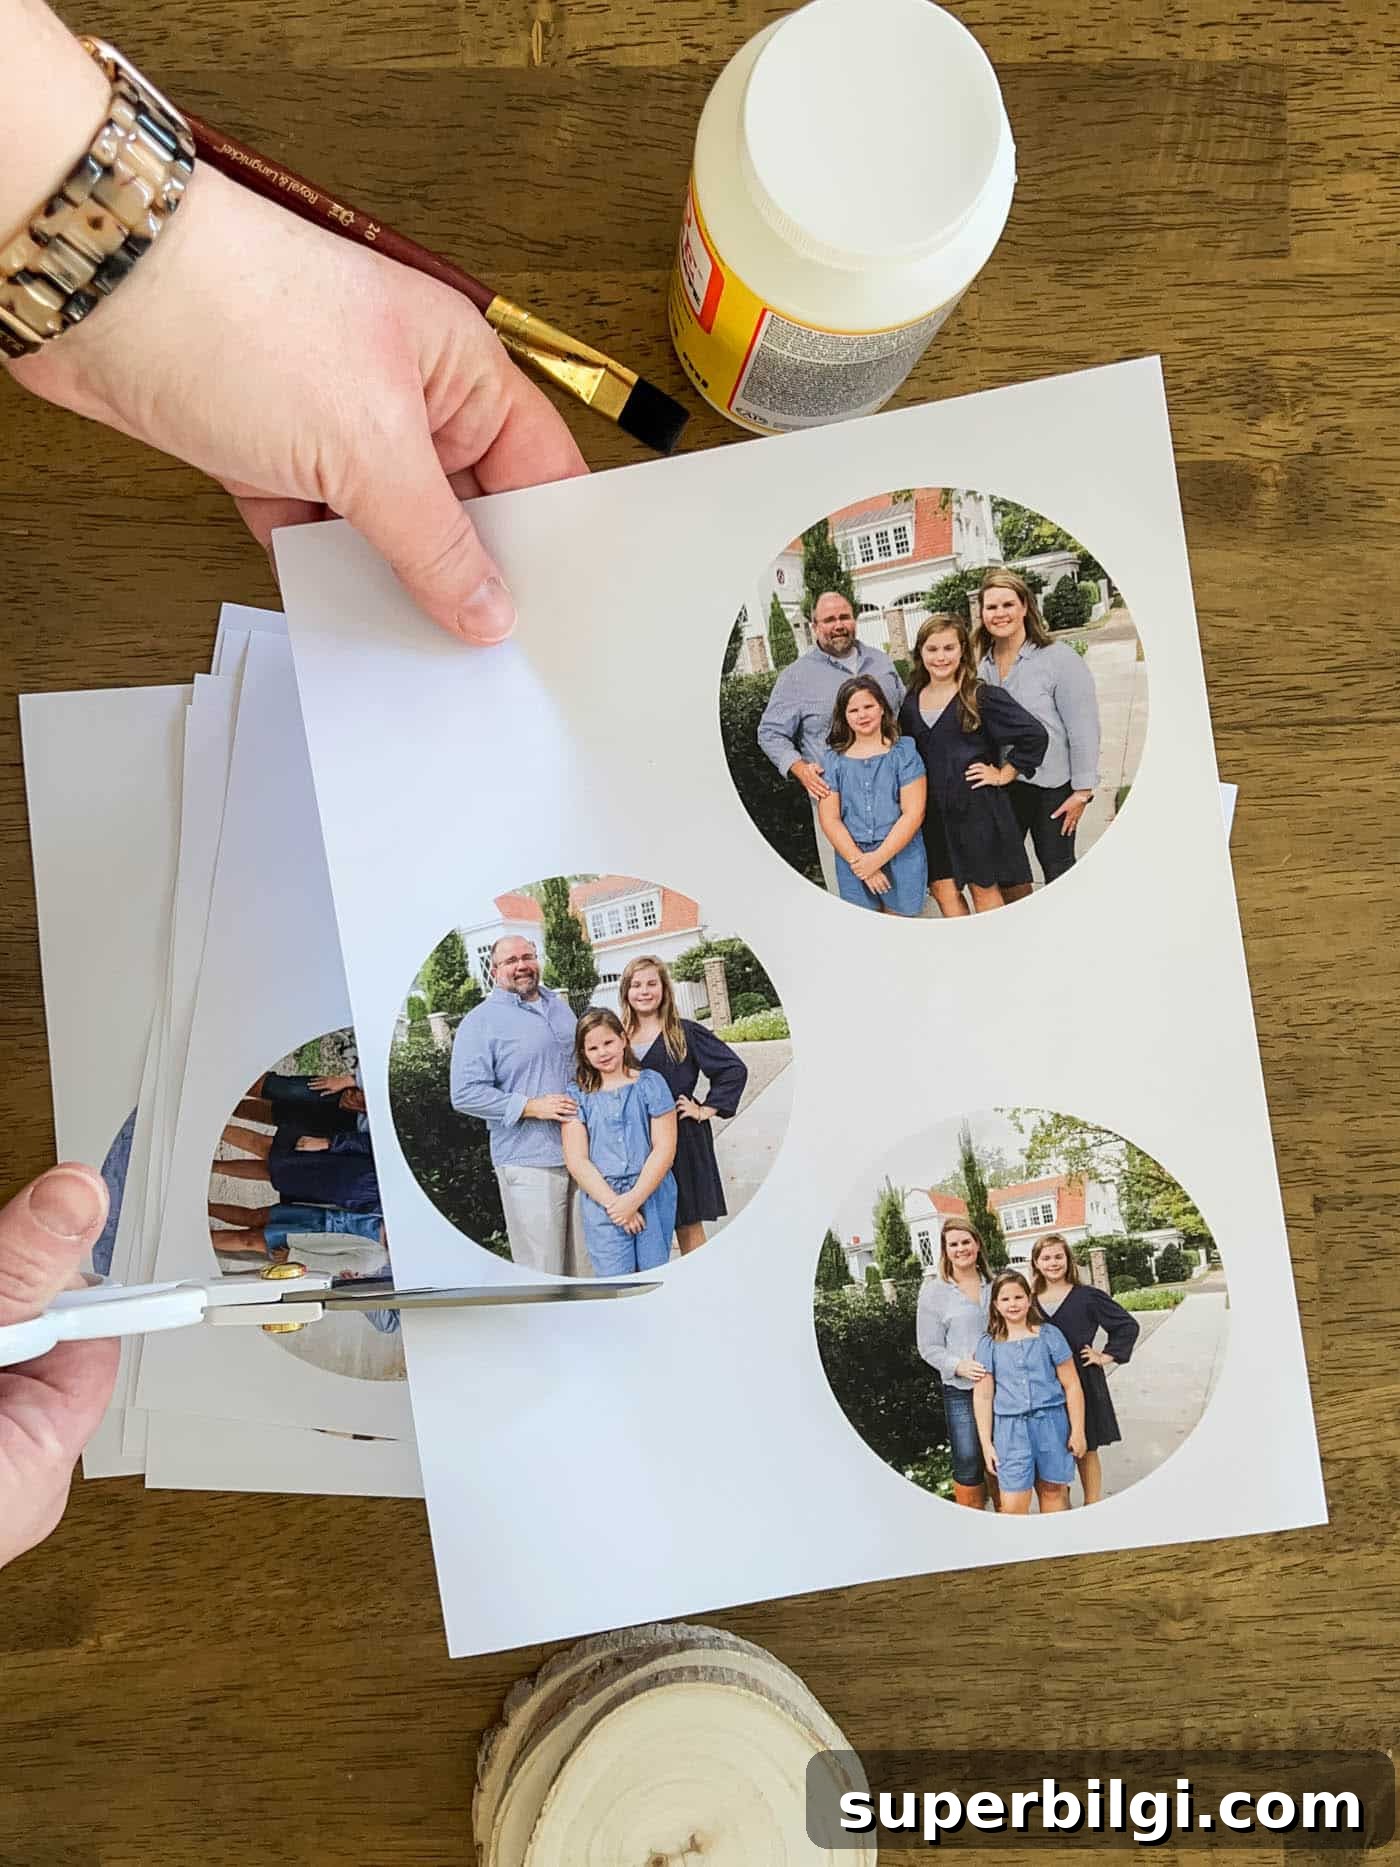
3. Adhere the Photo to the Wood with Mod Podge
Brush a medium, even layer of Mod Podge onto the wood—fully covered but not gloppy. Place the printed image face down onto the wet Mod Podge.
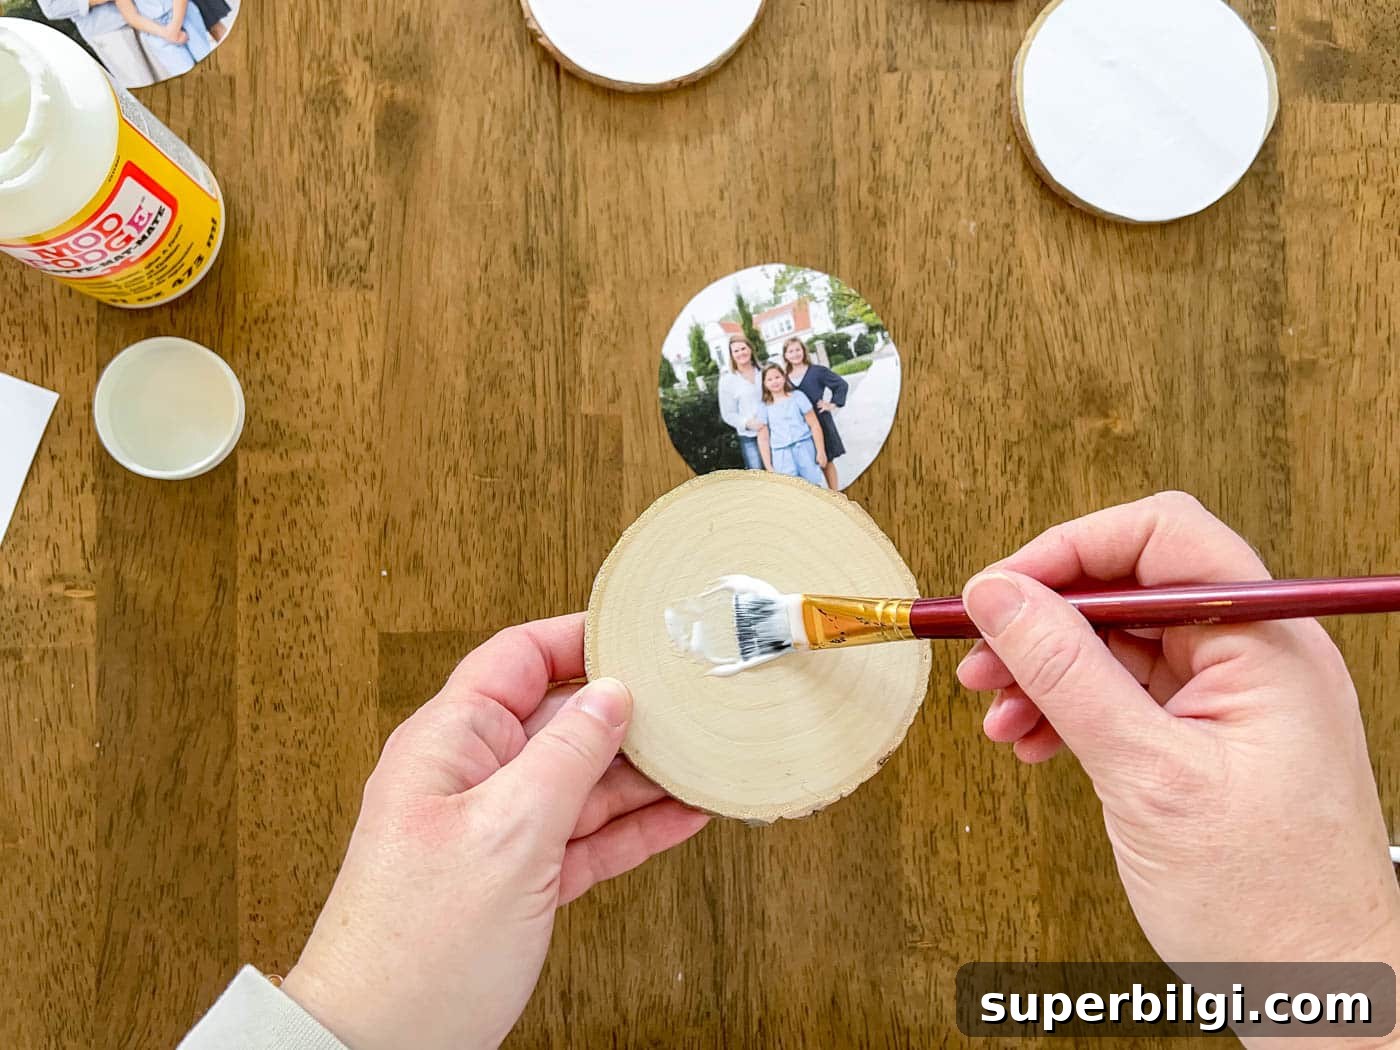
Use your fingers or a credit card to press and smooth the paper, working out air bubbles and ensuring full contact. Any trapped air prevents the image from transferring in that spot.
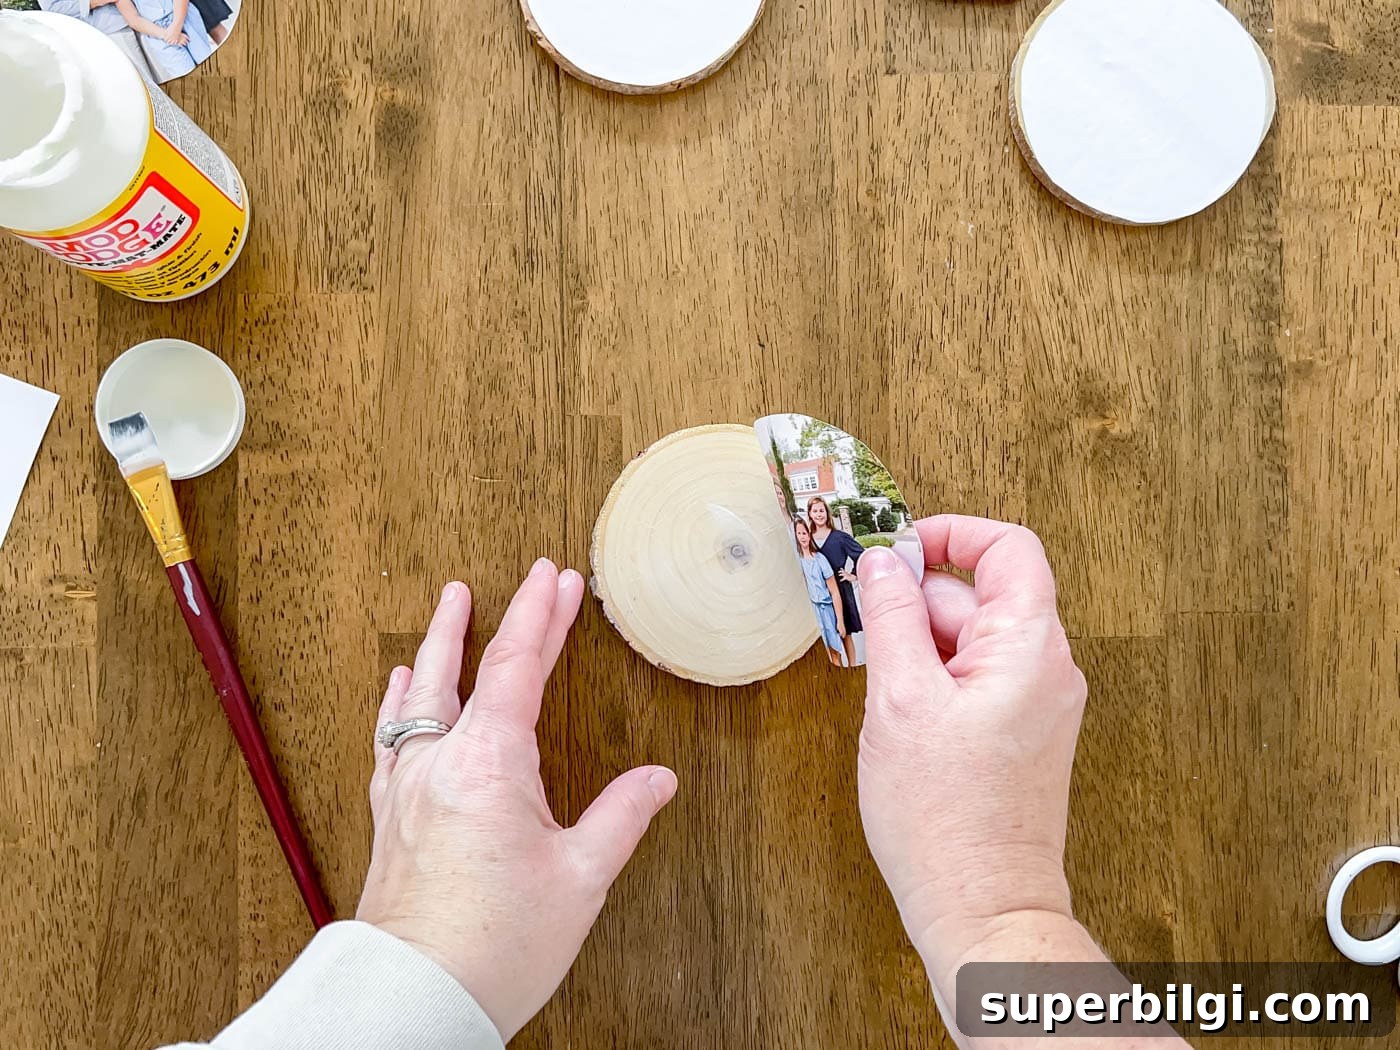
4. Allow the Mod Podge to Dry Completely
Traditional instructions recommend drying 24–72 hours; I typically let projects dry around 48 hours for best results. If you’re short on time, you can carefully speed the process with a hair dryer on medium heat for a few minutes, then let the piece cool fully before continuing.
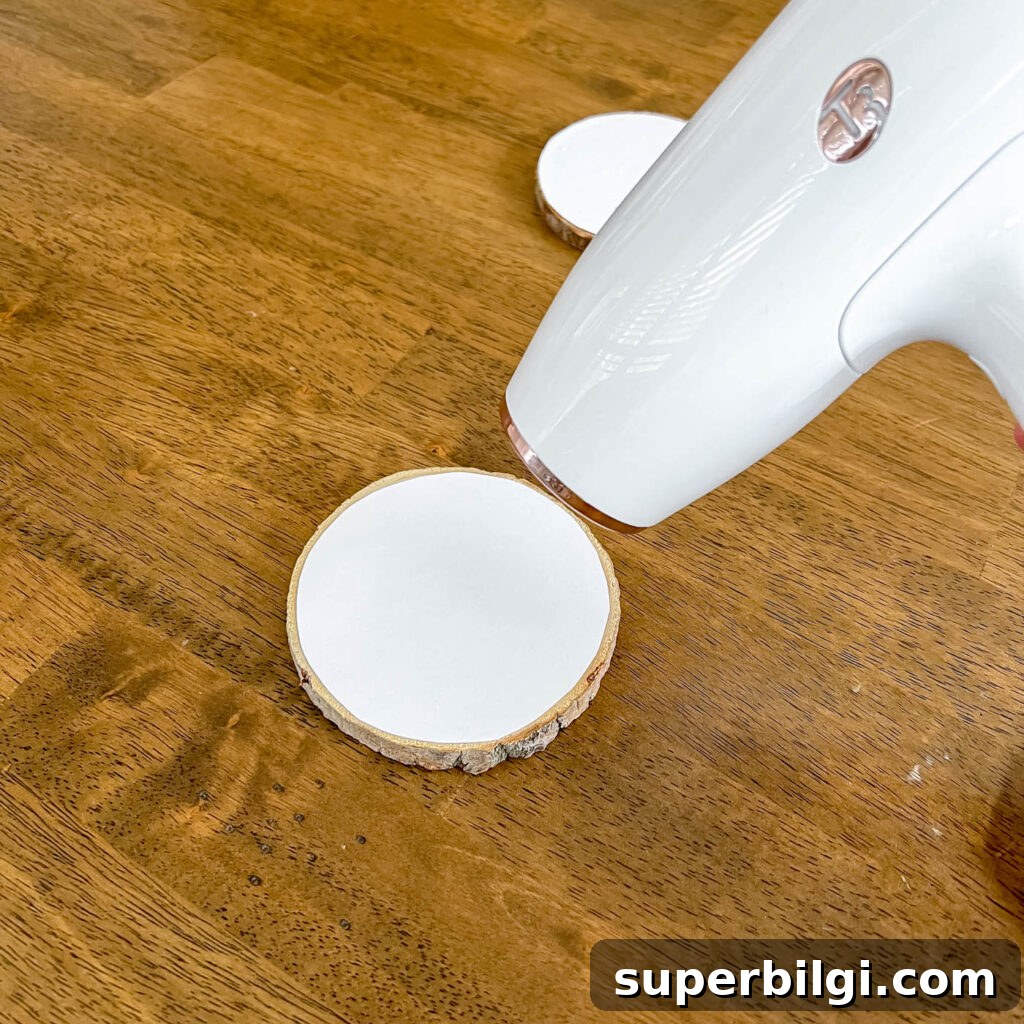
5. Rub Away the Paper Backing with a Damp Cloth
Once dry and cool, wet a washcloth or paper towel and wring out the excess so it’s damp, not dripping. Gently rub the paper surface away in small sections. Go slowly—rub too aggressively and you may remove part of the transferred image. You’ll likely need to make several passes to remove all paper fibers; run your fingers over the surface to detect remaining paper.
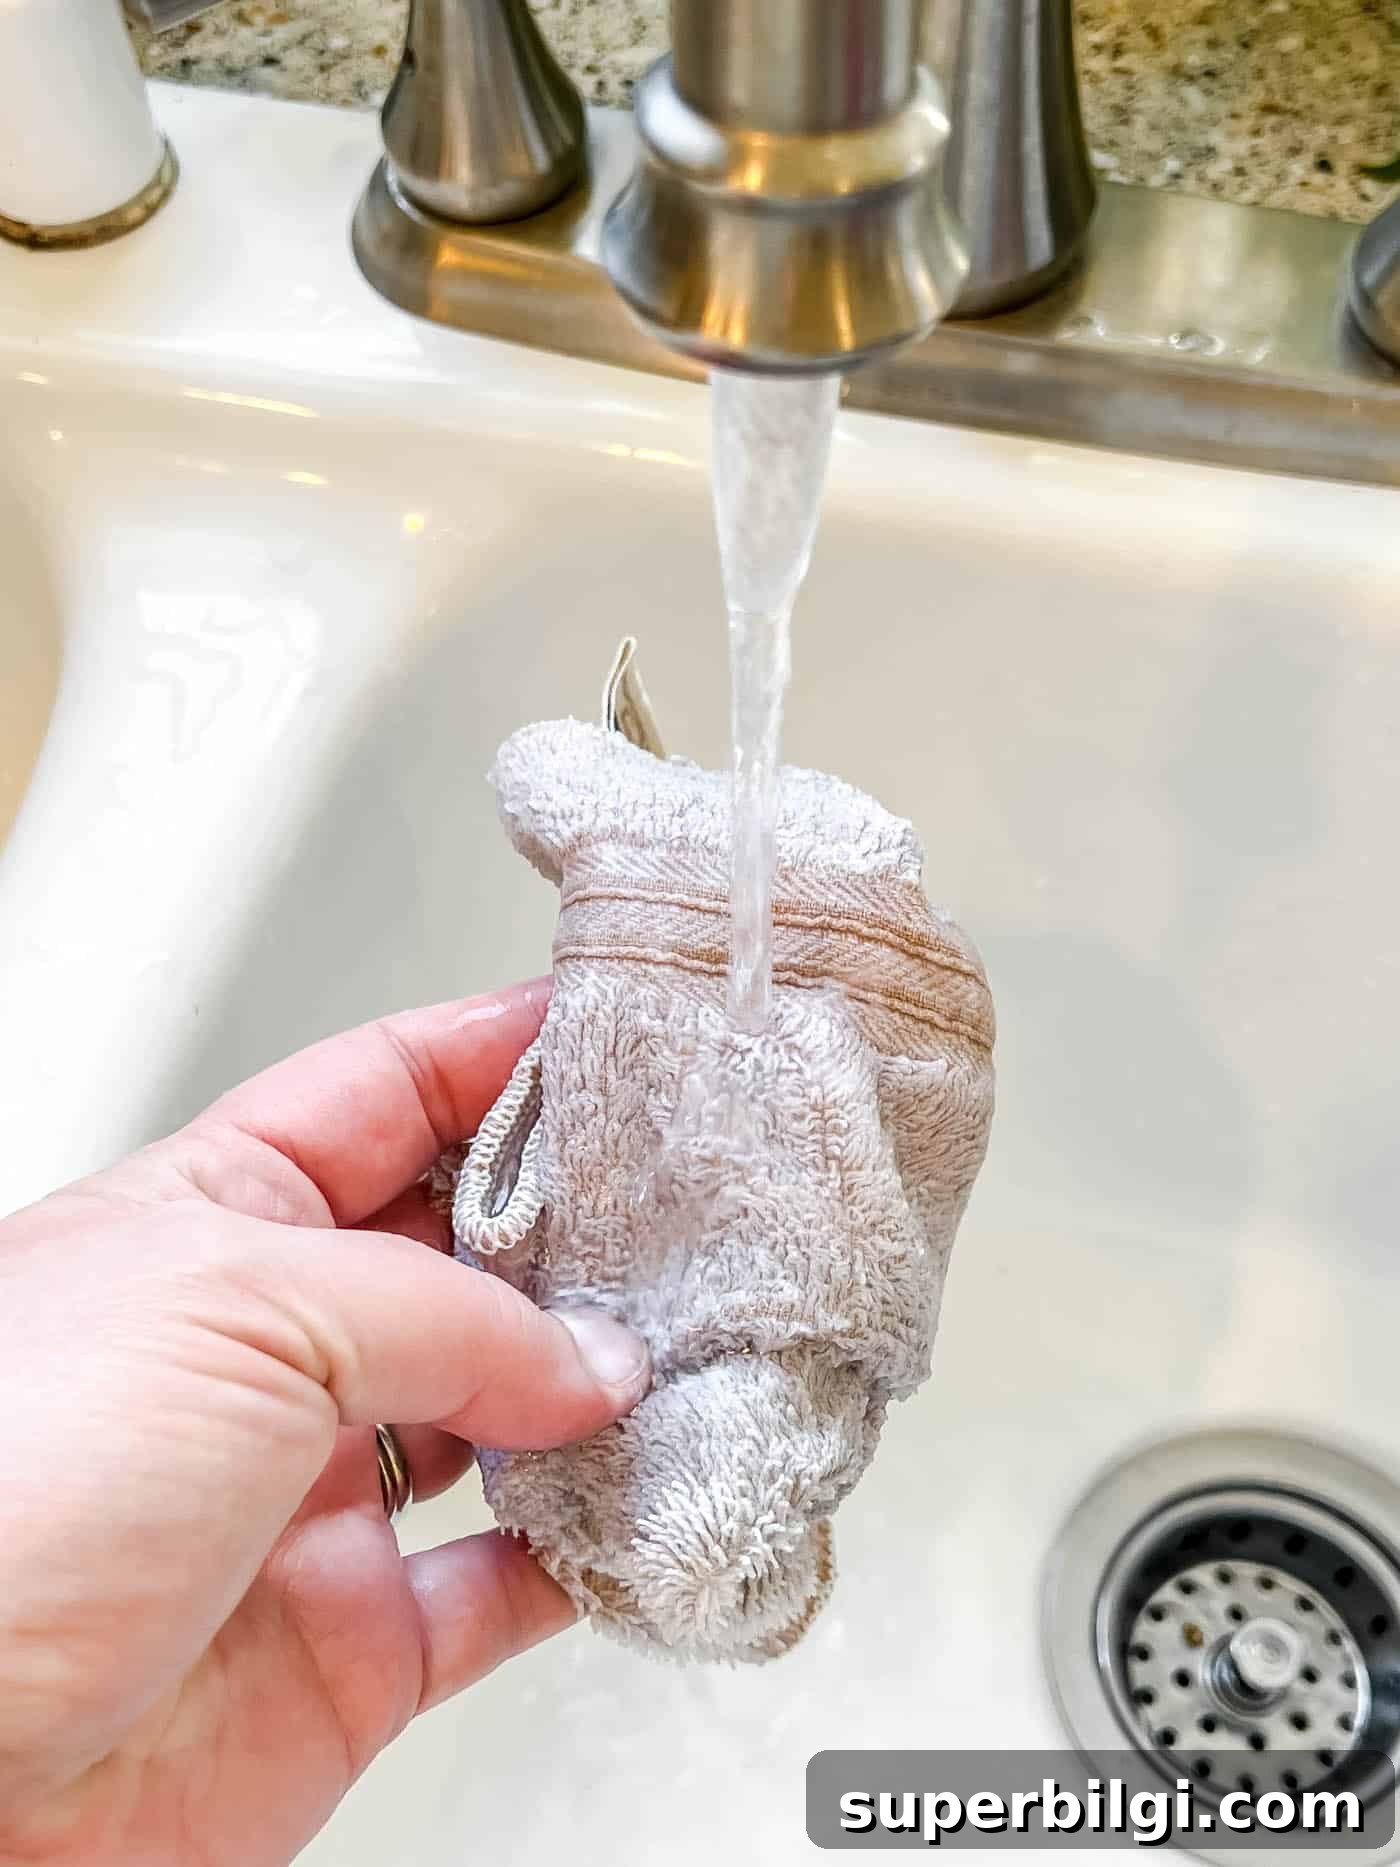
6. Use Mod Podge as a Sealer
After the paper is completely removed and the image looks right, apply a thin topcoat of Mod Podge to seal and protect the surface from dust and moisture. A sealed piece will stay looking great for years.
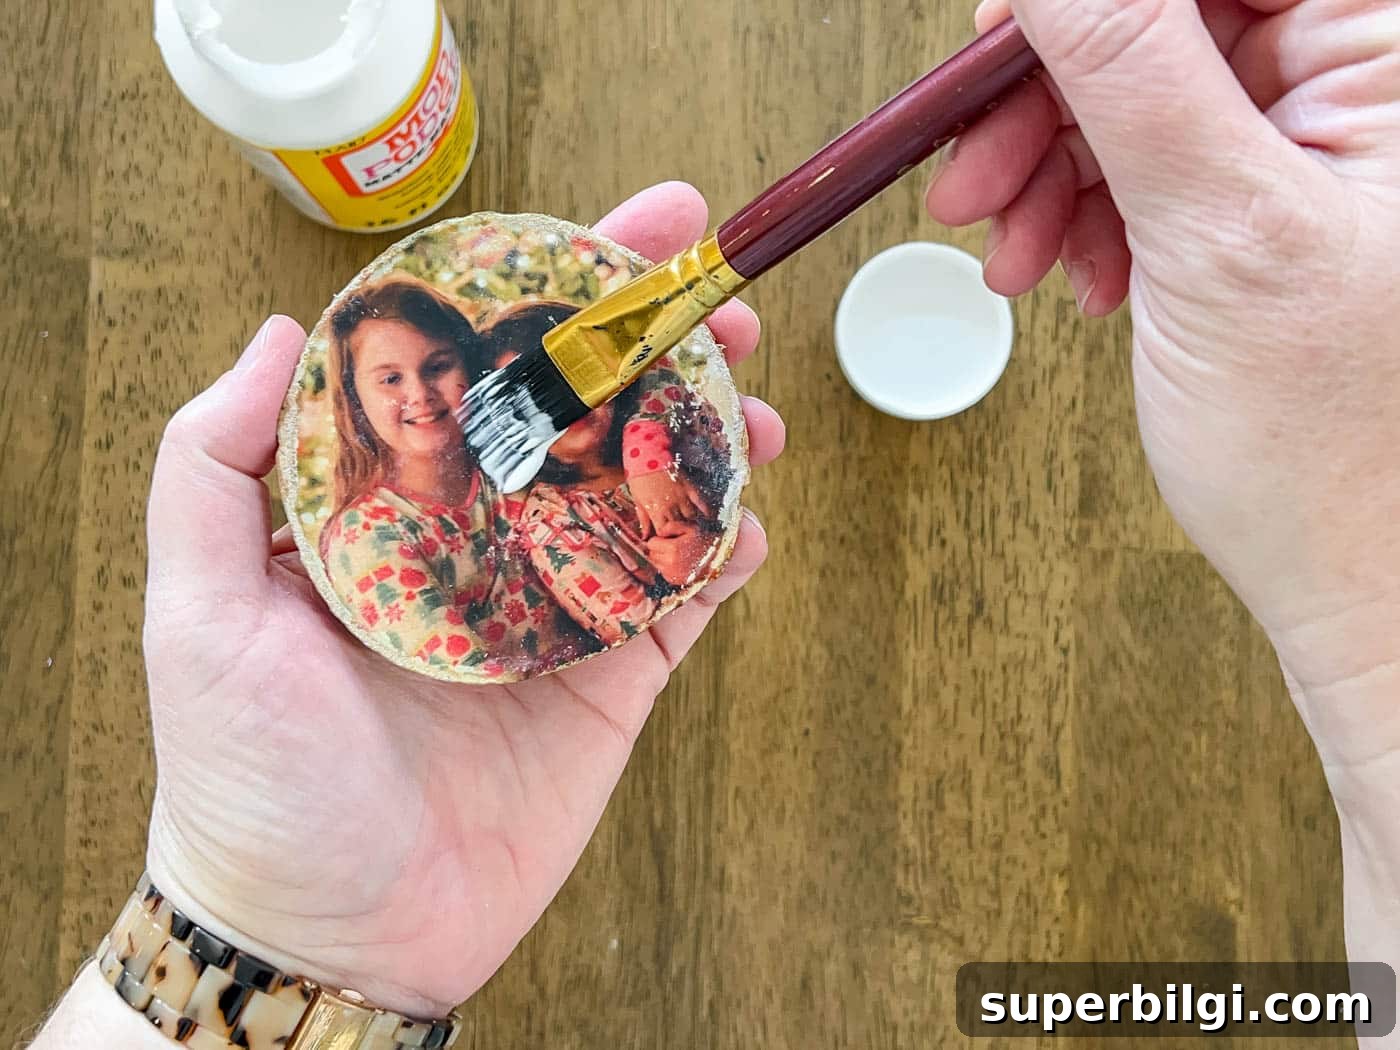
The final result is a charming, handmade keepsake. This project is simple enough for kids to help with and opens up lots of creative possibilities.
FAQs about the Mod Podge Photo Transfer Process
Question: Can I use Mod Podge Photo Transfer Medium or the original Mod Podge?
Answer: Use the original Mod Podge medium for wood transfers. The Photo Transfer formula is intended for fabric and may not work the same on wood.
Question: What kind of printer do I need?
Answer: A laser printer is required. Inkjet ink will smear or dissolve in the medium and won’t transfer cleanly.
Question: Do I need photo paper?
Answer: No—regular thin printer paper is better. Thicker photo paper or cardstock is harder to remove and will make the transfer process difficult.
Ideas for Displaying Photo Transfers on Wood
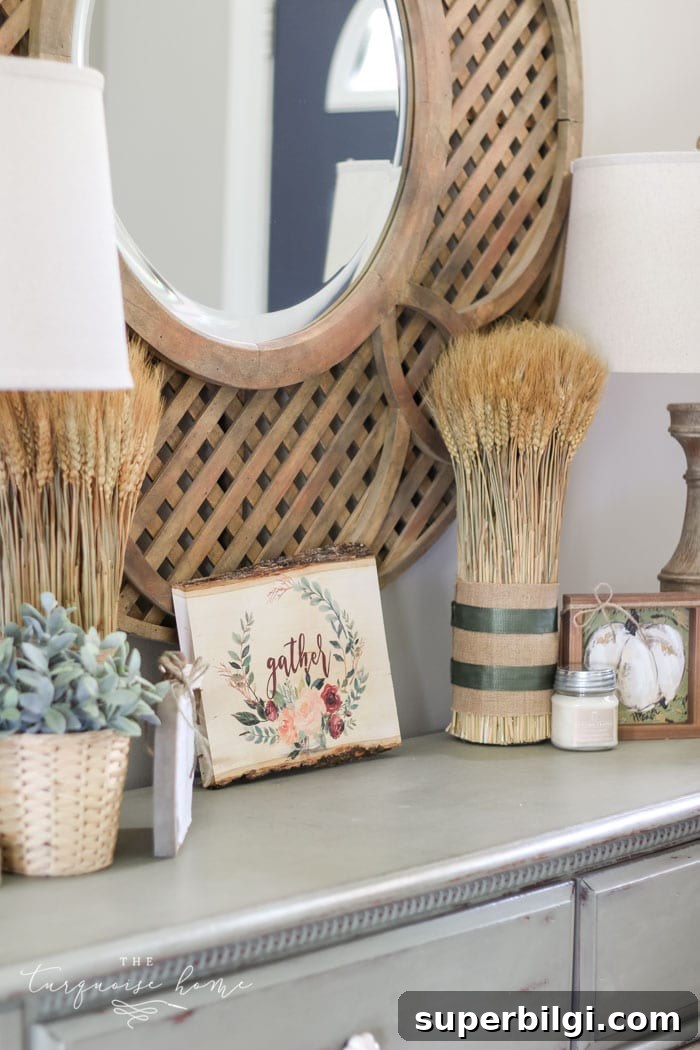
1. Decorative Plaque
Create a wall plaque using a favorite photo or printable. If your design contains words or a specific direction, remember to print a mirrored version so it reads correctly after transfer.
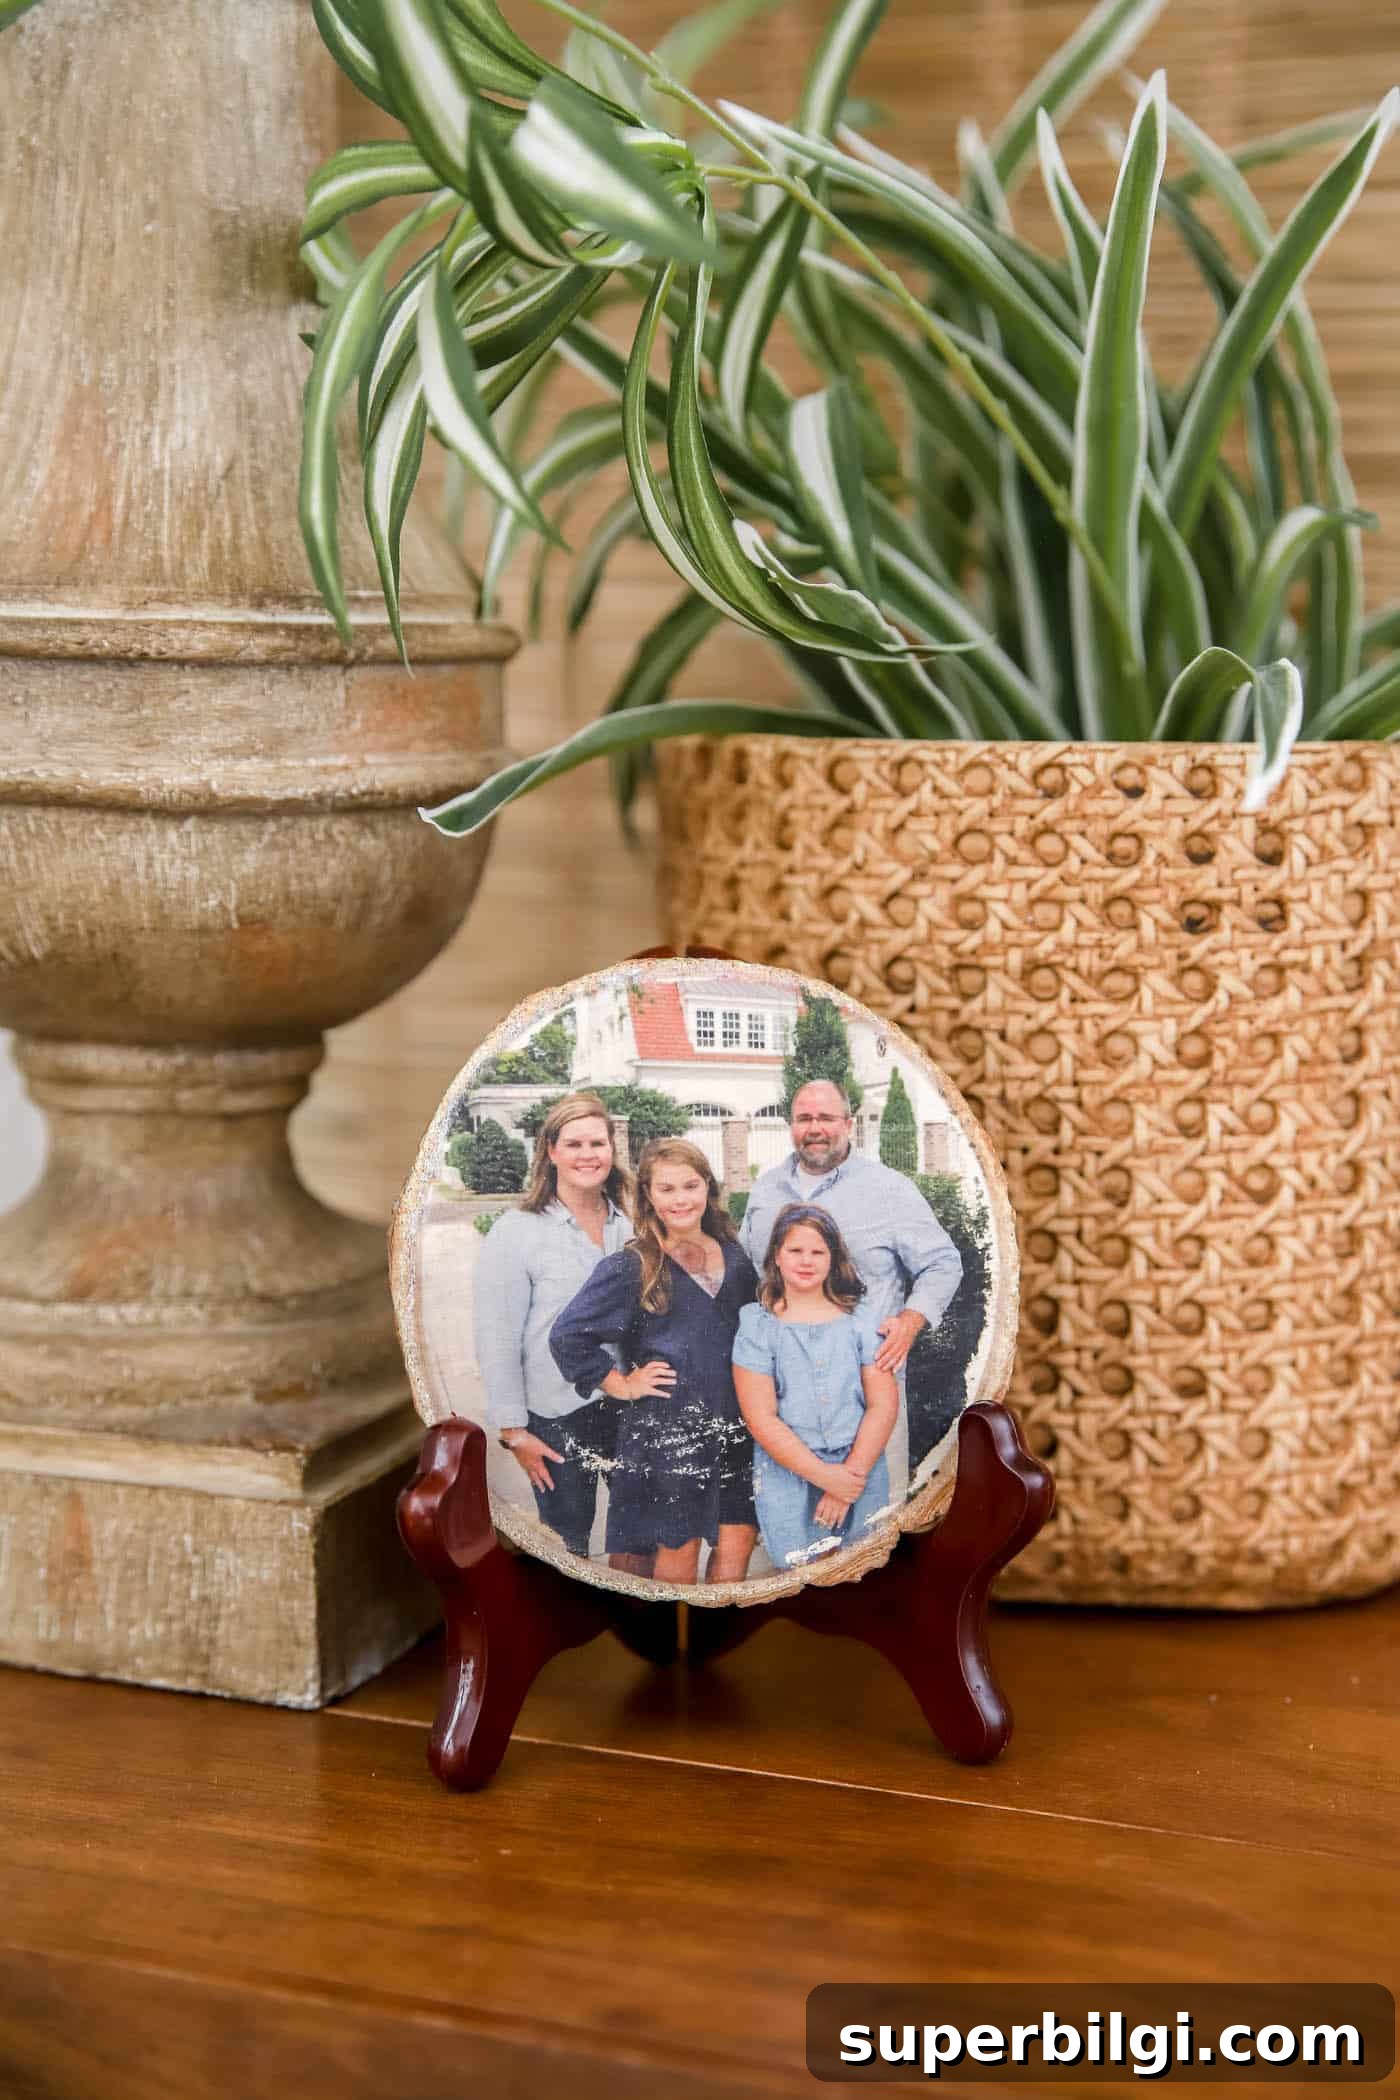
2. Stand Display
Place a finished wood slice in a small display stand for a mantel, shelf, or desk accent. This works well with circular slices and small plaques.
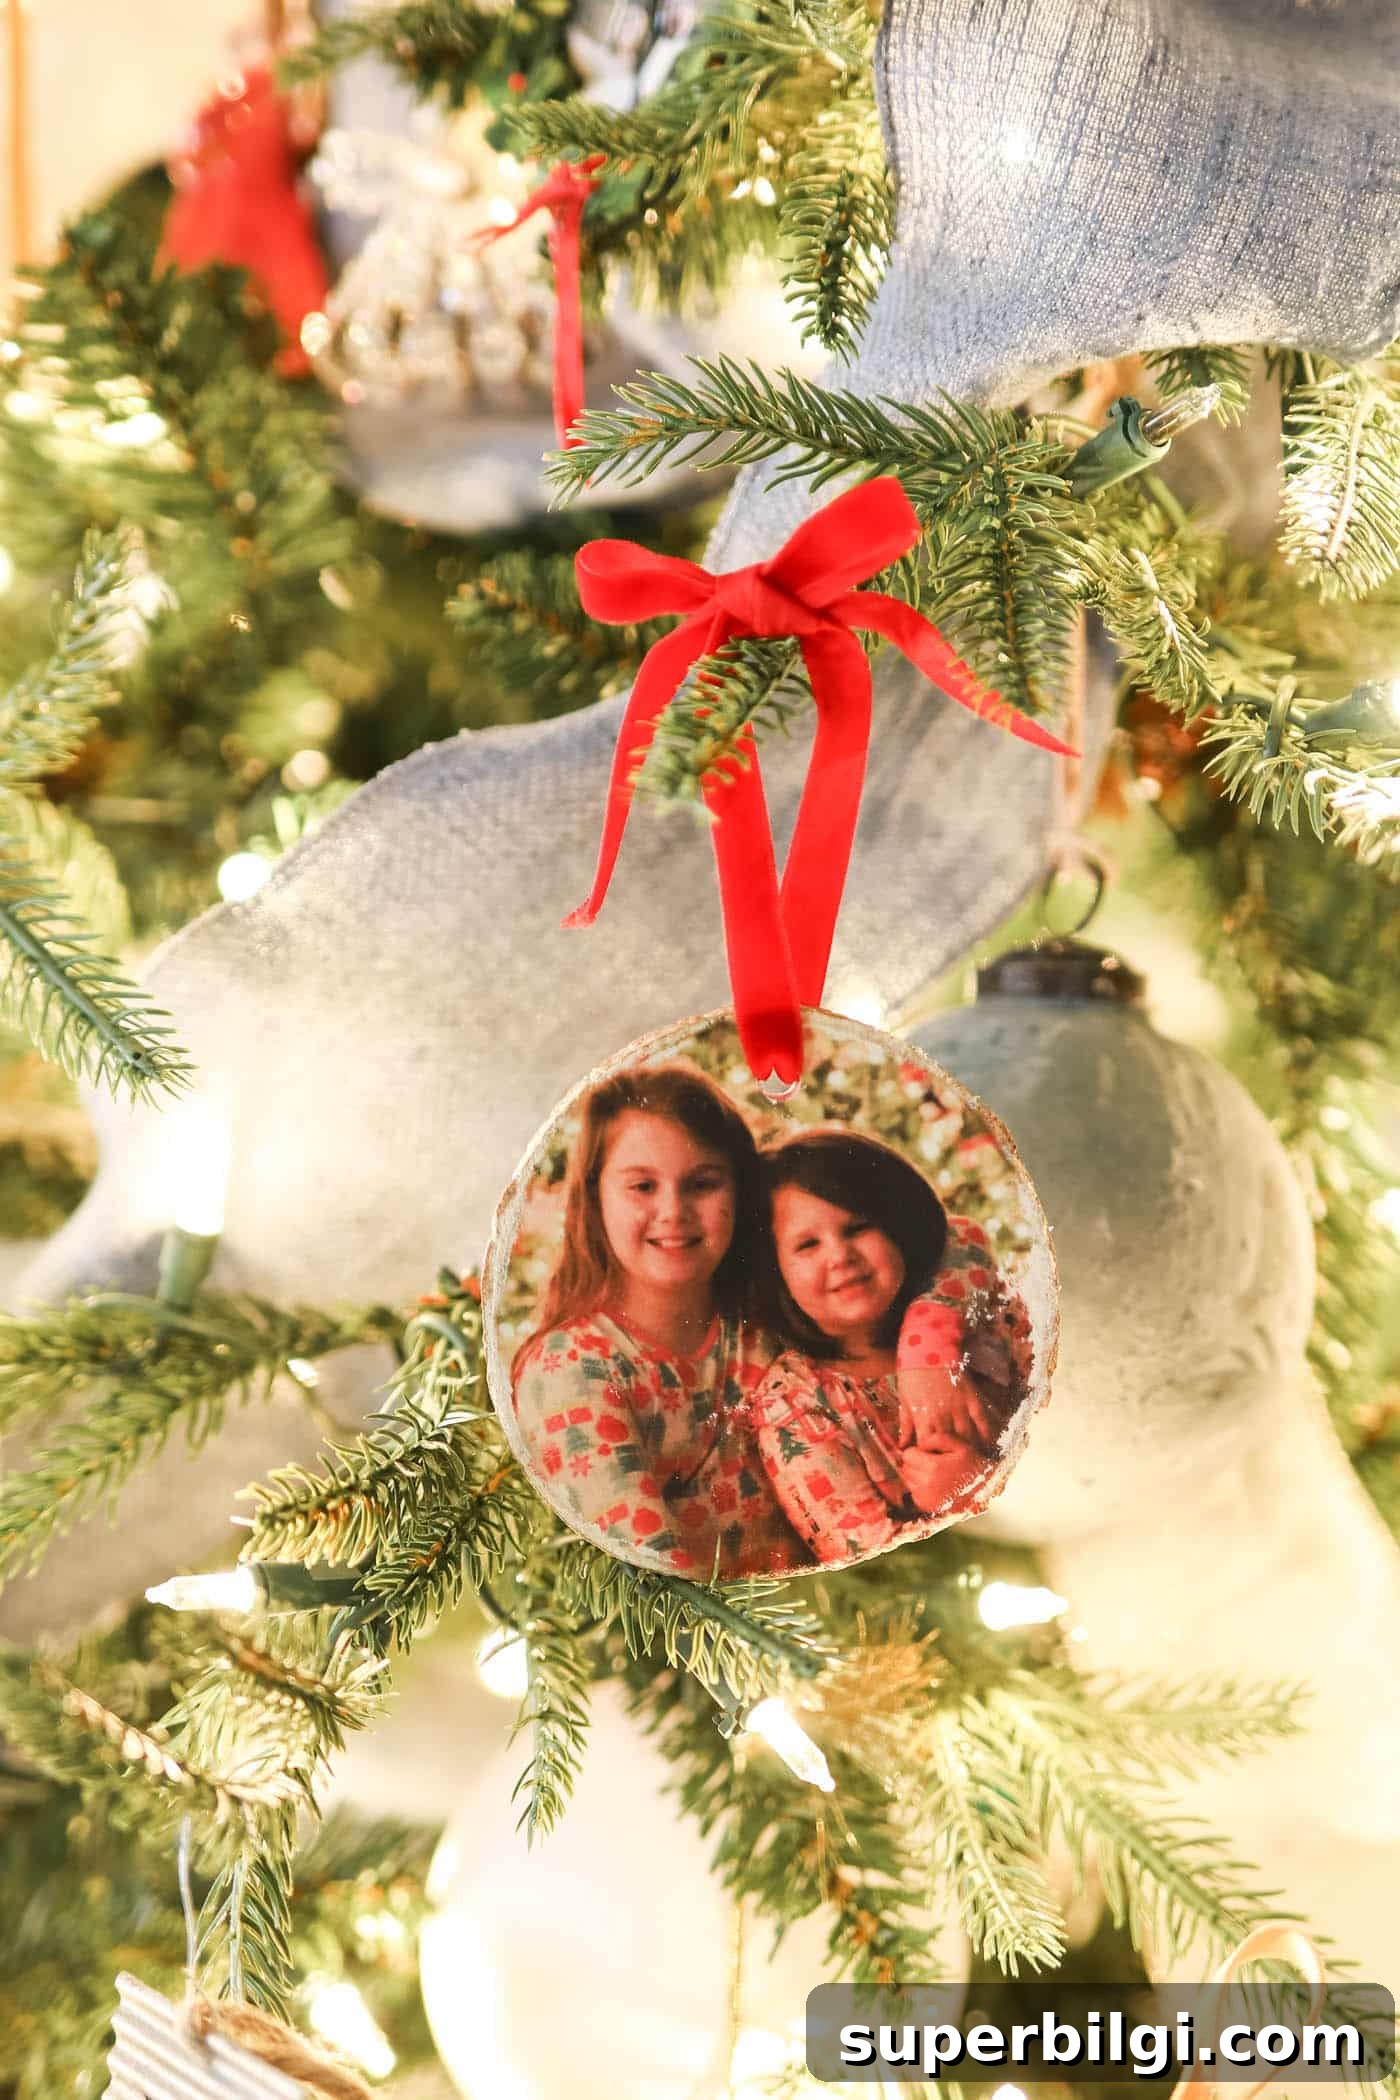
3. Christmas Ornaments
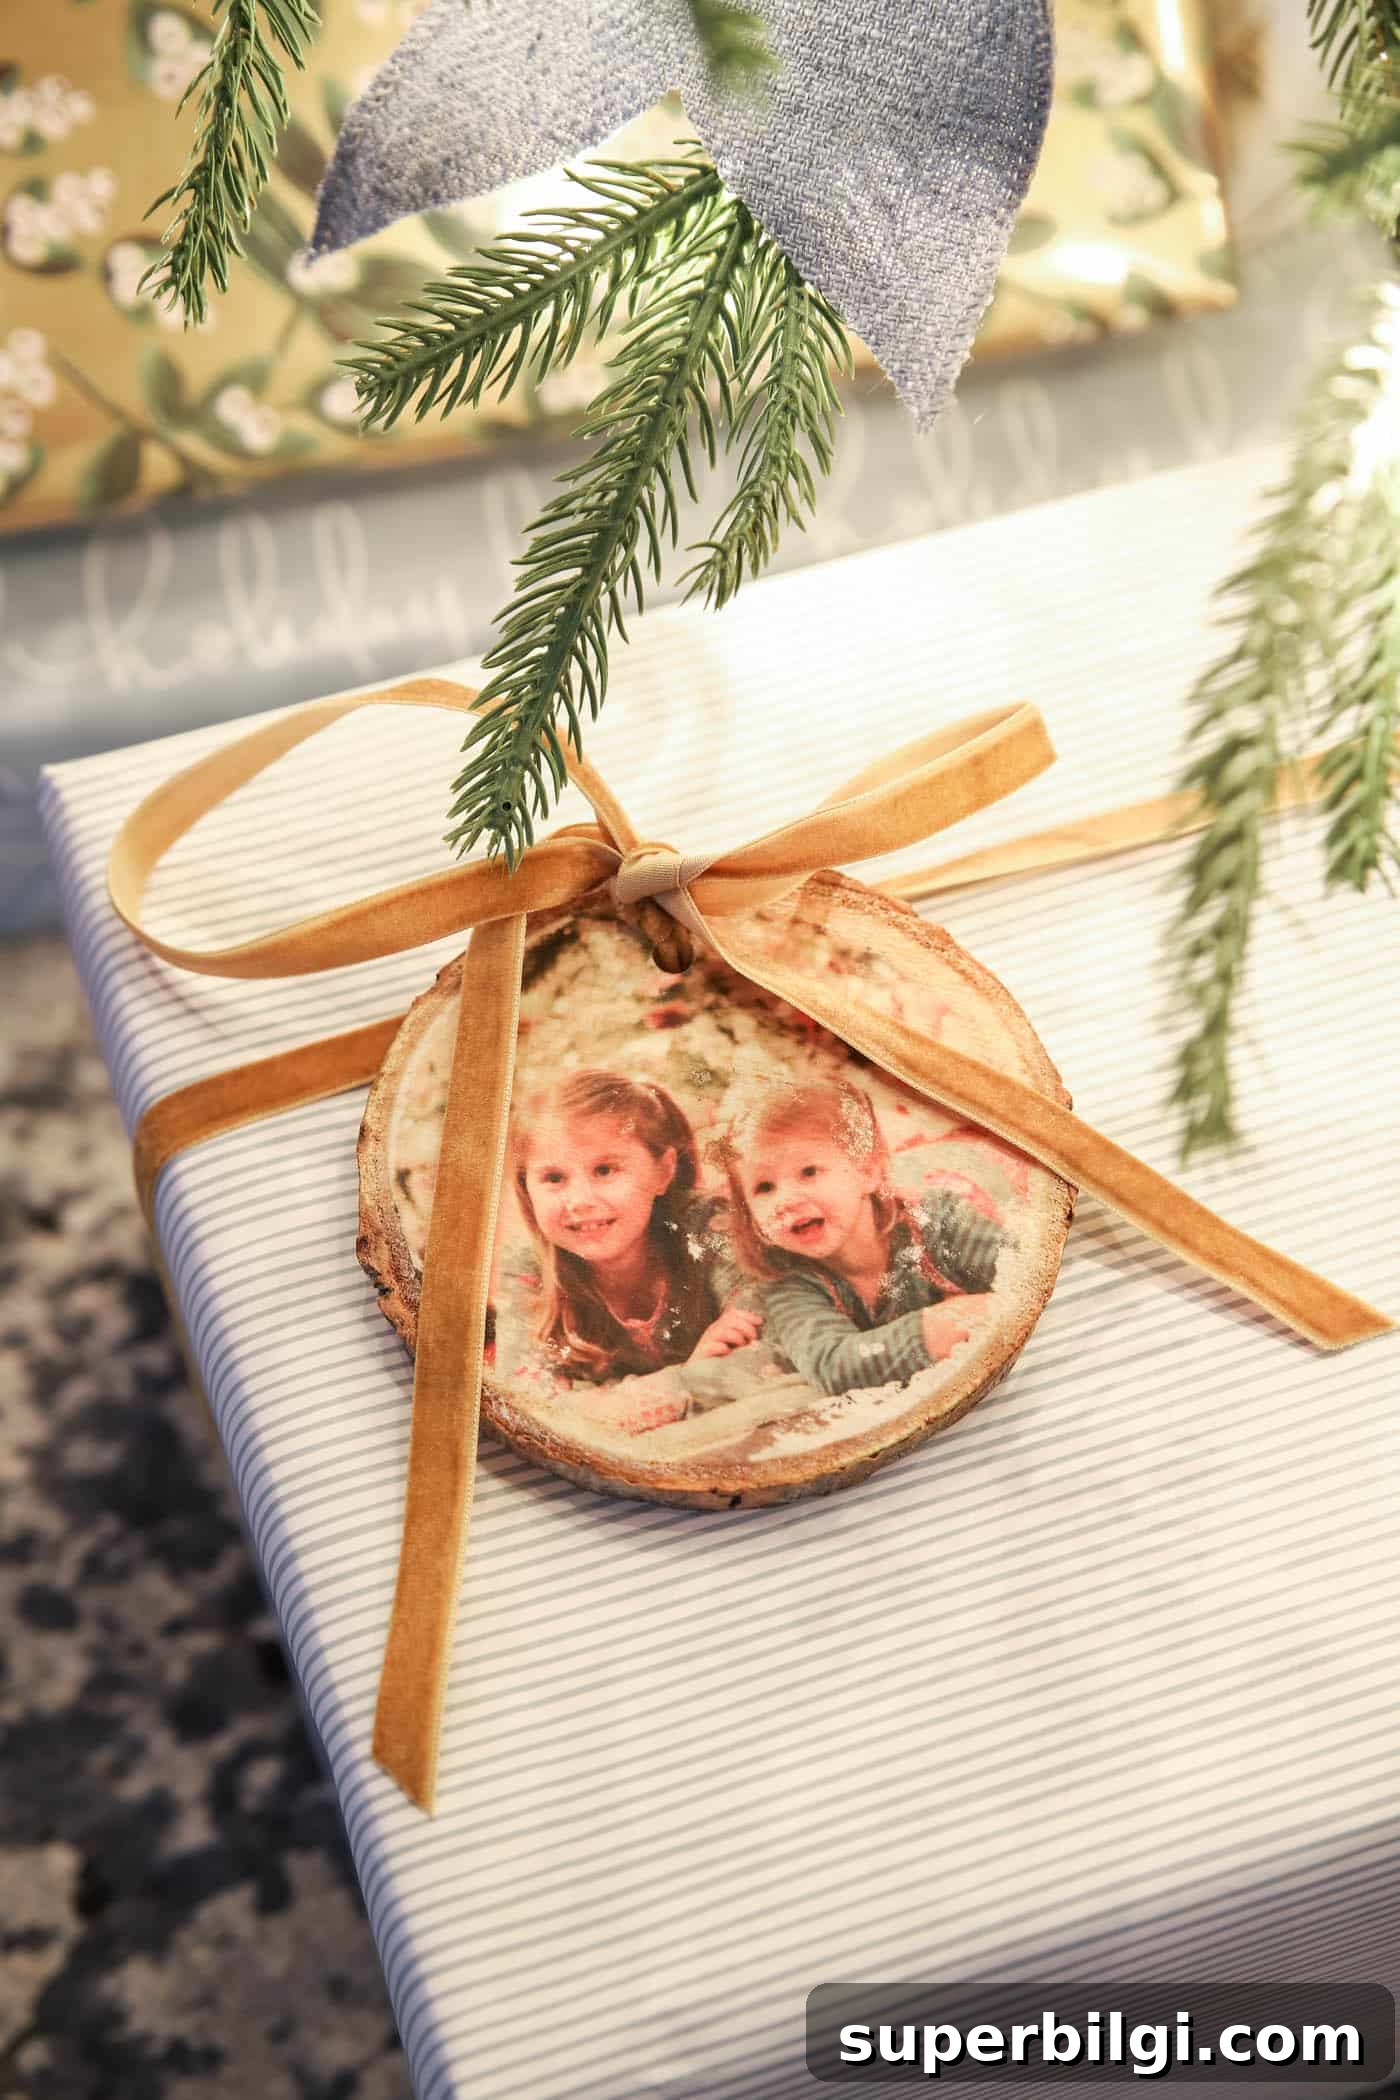
Drill a small hole near the top of a wood slice and thread ribbon or twine to hang a personalized ornament. These make heartfelt gifts for grandparents and family members.
4. Personalized Gift Tags
Transfer a small portrait to a wood slice and tie it to a present as a unique, reusable gift tag. It makes every gift feel extra special and personal.
I hope this Mod Podge photo transfer tutorial inspires your next cozy DIY. If you try it, I’d love to see your projects—share photos on social media or keep them as thoughtful handmade gifts for friends and family.
More craft ideas to try:
- How to make a pillow using iron-on transfer paper
- Customize a cute DIY doormat
- String art Christmas stocking holders
- DIY large art on a budget using engineered prints
- No-sew monogrammed burlap garden flag with Mod Podge