
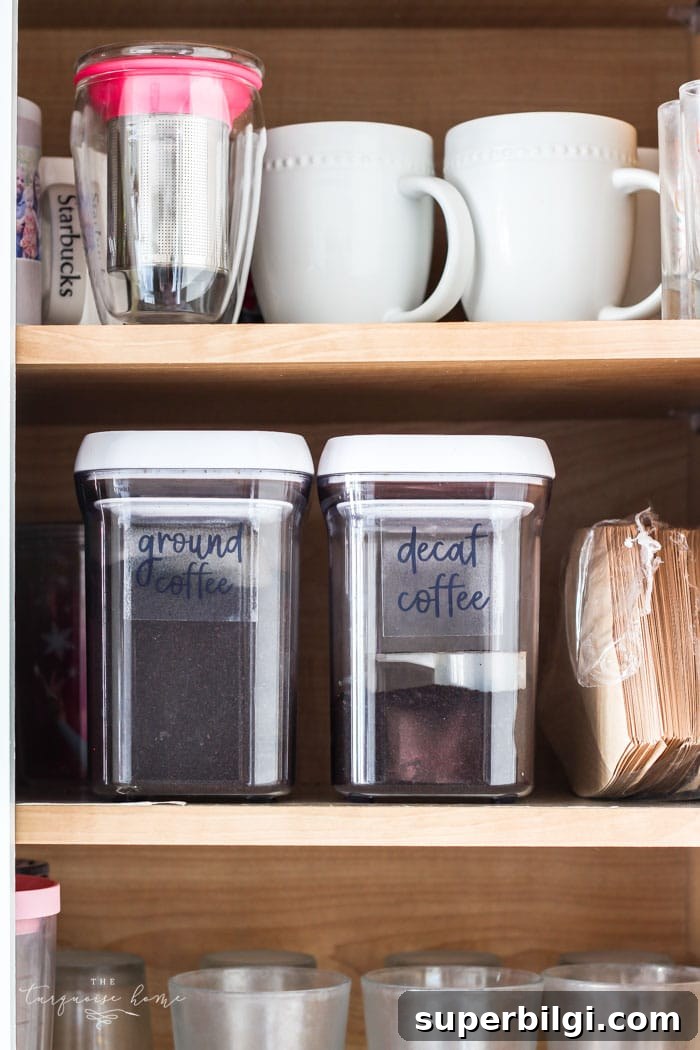
Learn how to create professional-looking DIY pantry labels using a Silhouette machine or a simple home printer with clear self-adhesive paper. You can also buy pre-made stickers if you prefer.
Over the past couple of days I organized both the fridge and the pantry. I fell in love with clear storage bins that group similar items together — now I can see everything at a glance and everything is sorted by food type. That alone felt like a big win.
Still, a bin labeled simply “rice & pasta” won’t tell me how old the contents are or when they’ll run out. That’s a problem when more than one person uses the kitchen and when my memory is, well, short. Labels solve that problem: they tell everyone exactly what’s inside and often include dates or other useful notes.
Welcome to Day 19 of the 30 Days to Less of a Hot Mess Challenge. We’re decluttering, reorganizing, and creating a home that works for the whole family. If you’re new to the challenge, consider starting from Day 1 for a full reset. Some product mentions are for convenience and clarity.
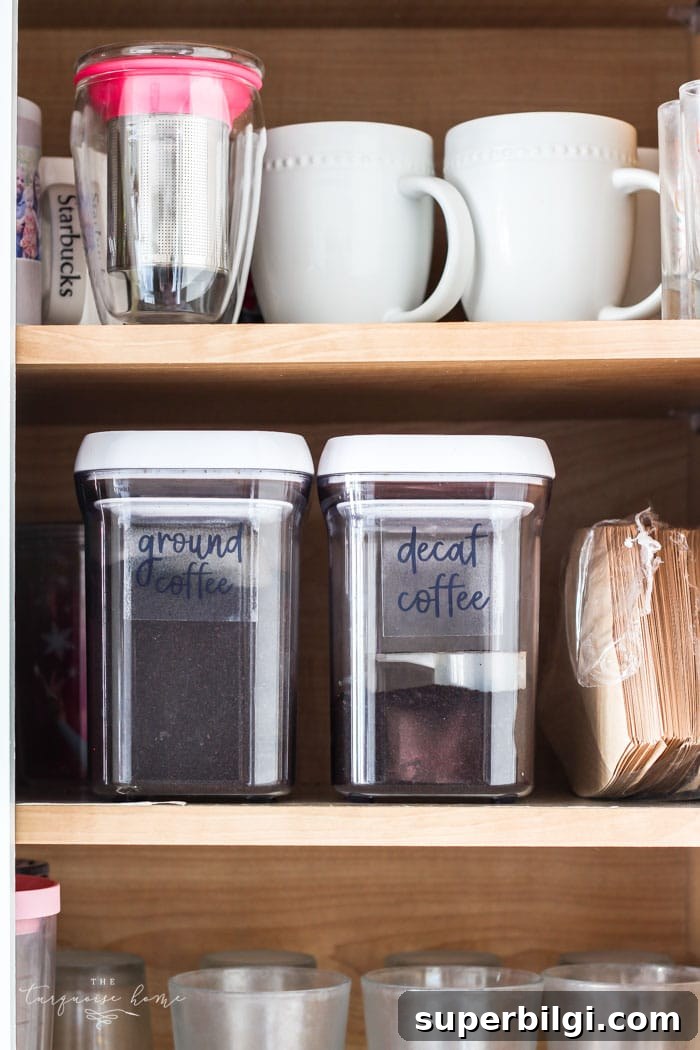
Labeling is the simplest change I’ve made that immediately improved daily life. My husband finds things faster, the kids know where items belong, and I waste less food because I can tell at a glance what needs to be used first. Once you start, you’ll want to label everything.
I don’t own a dedicated label maker (it’s on my wish list), but I enjoy designing custom labels using free fonts and basic editing tools. You can create polished labels with either a cutting machine like a Silhouette or by printing on clear sticker paper and trimming by hand.
If you’ve spent any time on Pinterest you’ve likely seen beautiful printable pantry labels with hand-lettered fonts and soft color schemes. They look great, but not every printable fits the bin sizes or category names I needed, so I made my own.
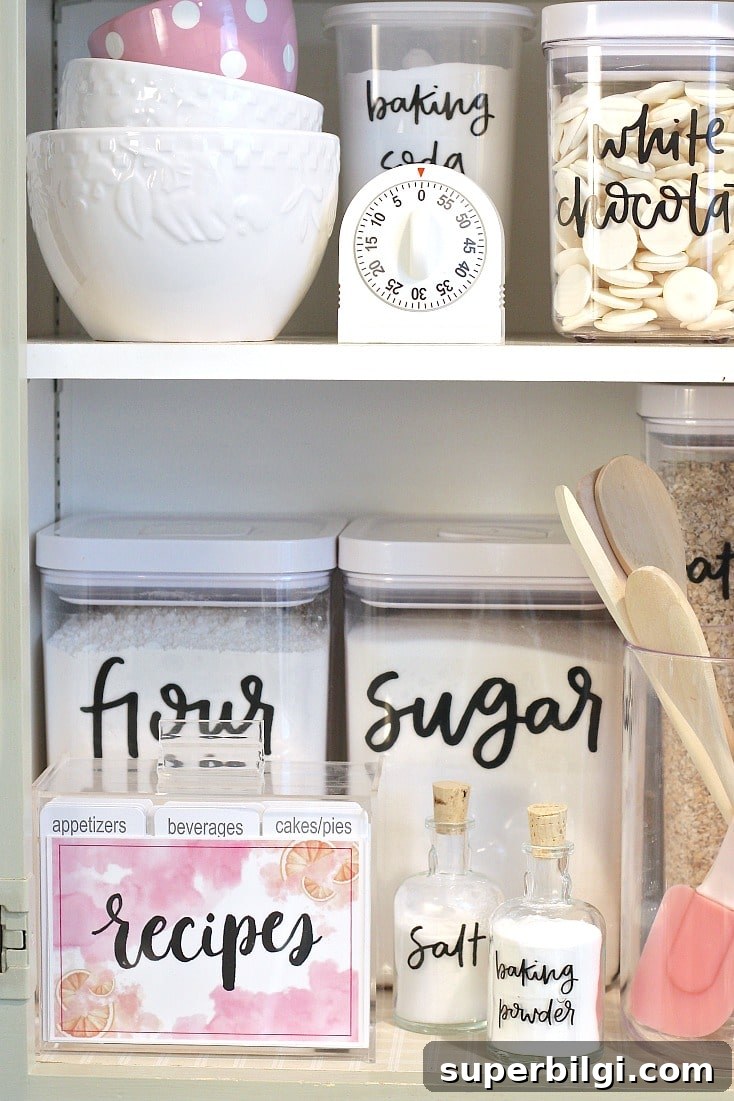
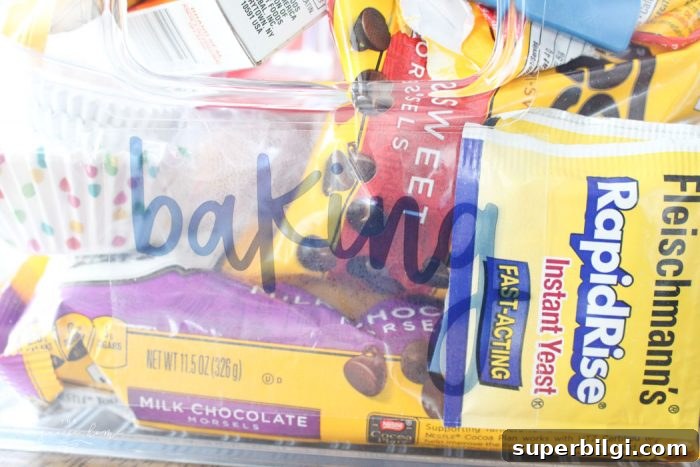
My aim was a handwritten look with clean edges and clear backgrounds so the labels would blend into the bins. I used a script-style font, a navy color for contrast, and transparent sticker paper so only the lettering shows on the containers.
To Make Your Own DIY Pantry Labels you will need …
- Image or editing software (examples include PicMonkey or Photoshop)
- A printer (inkjet works well for color prints)
- Clear sticker paper — this gives a seamless look on plastic bins and works with or without a cutting machine
- A script or handwritten-style font of your choice
- Scissors, a paper trimmer, or a cutting machine such as a Silhouette for precision cuts
How to Make Your Own Pantry Labels
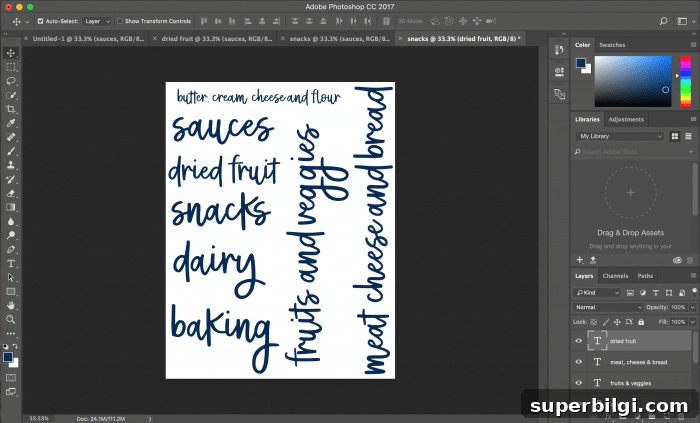
1. Choose a font that reflects your style. A casual handwritten script works great for pantry labels because it feels homey and is easy to read. Install the font on your computer so it appears in your editing program.
2. Make a list of the labels you need and measure the space on each bin or drawer where a label will go. Knowing width and height helps you design text that fits and looks balanced.
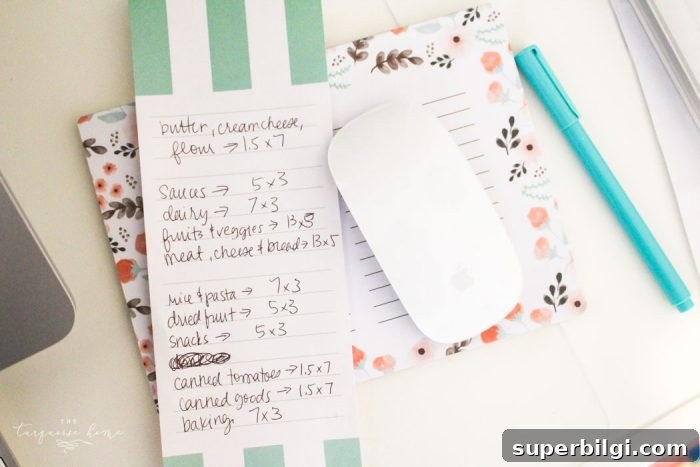
3. Design your page of labels in your editing software. If your program supports precise dimensions, set the text boxes to the exact sizes you need. If not, work on a standard 8.5 x 11″ template and print a test page on plain paper to check sizing.
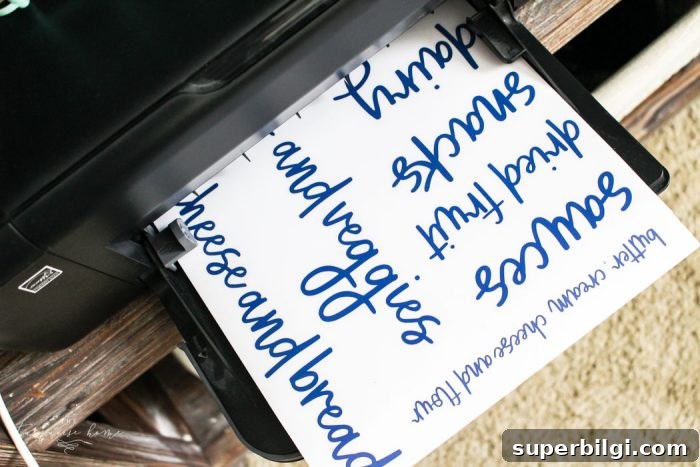
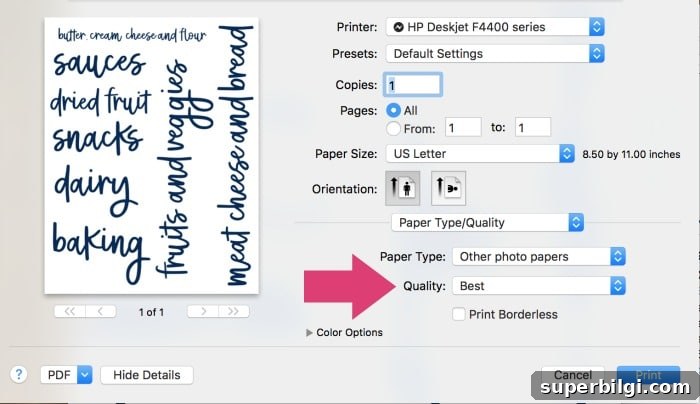
4. Print your labels on the clear sticker paper. For colored or navy text, use a color inkjet printer and set the print quality to the highest available to ensure crisp lines. Let the ink dry for 10–15 minutes to avoid smearing.
Tip: Always do a test print on regular paper first and cut the results to test placement. This prevents wasting expensive sticker sheets and helps you confirm text size and spacing.
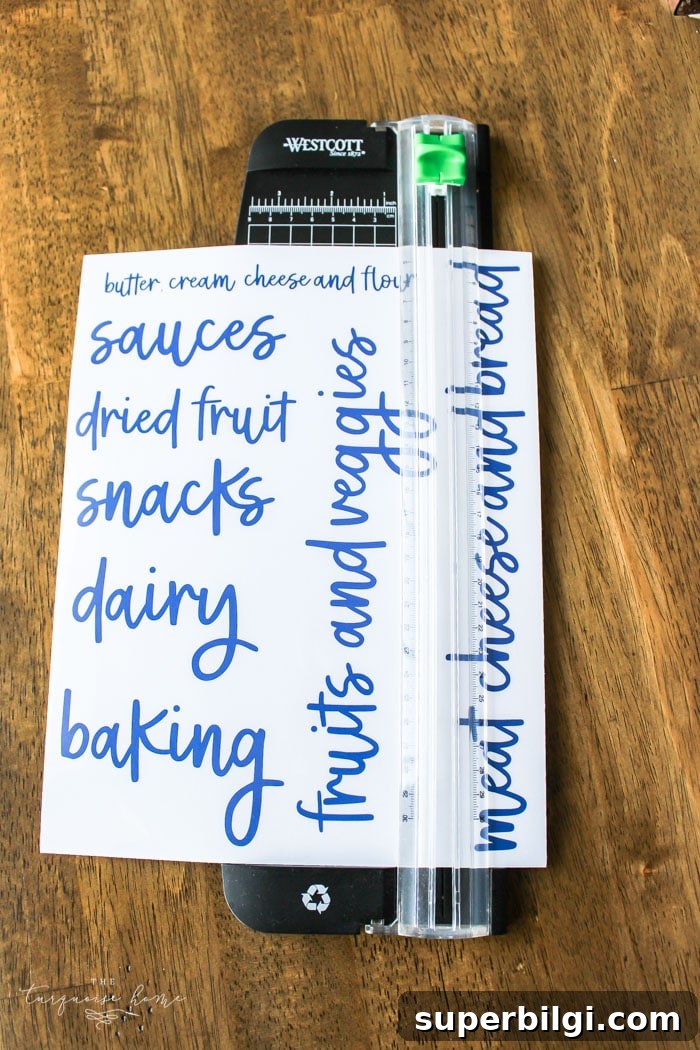
5. Trim the labels. For straight, even edges use a paper trimmer; scissors also work. Because the paper is clear, you don’t necessarily need to trim to the ink edge, but doing so gives a neater finished look and hides excess film that can show on some bins.
6. Apply the labels to clean, dry surfaces. Press firmly and smooth out any air bubbles. If you used erasable food labels for leftovers, write dates on them so you can track freshness and reduce food waste.
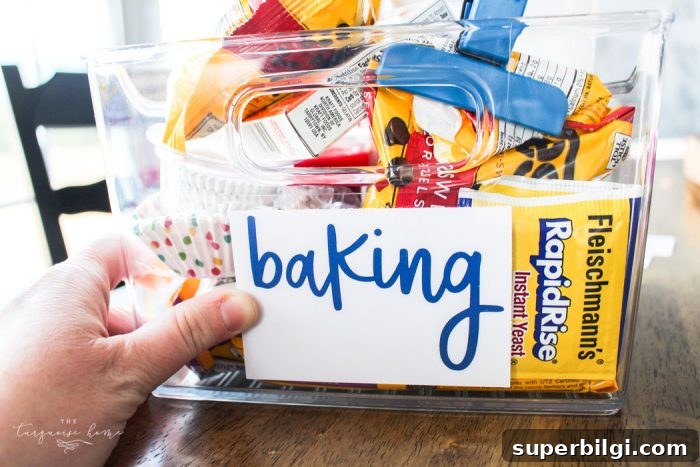
I found that labeling refrigerator drawers helped guests and family members find things quickly. It also made packing lunches faster since everyone could spot where snacks, bread, or cheese are kept.
More Label Fun!
Beyond pantry and fridge labels, I have a couple of favorite options for everyday labeling tasks:
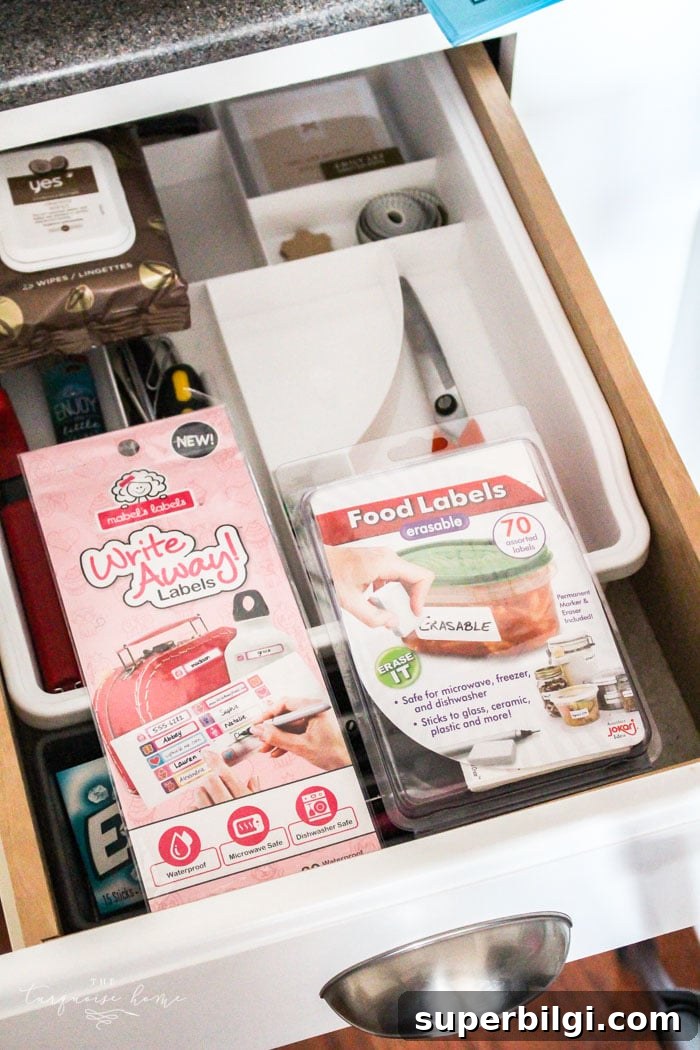
Write-on name labels work great for kid cups, lunch boxes, and school gear. Durable, dishwasher-safe labels that stay put through heavy use are worth the small investment because they save time and reduce lost items.
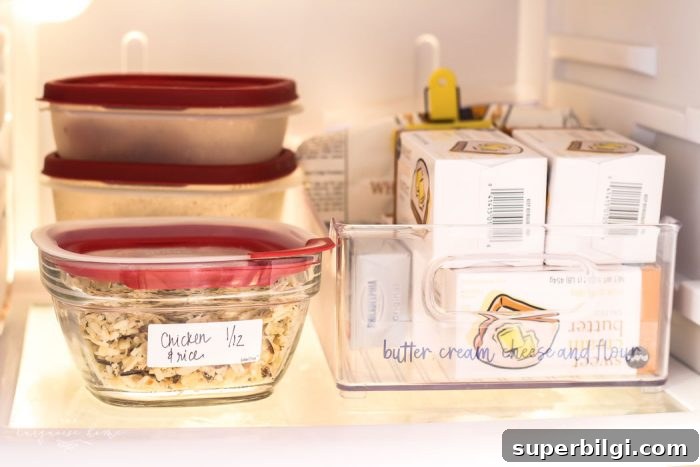
Erasable food labels are fantastic for leftovers. Write the date and contents, and erase when you’re ready to reuse the container. This small habit cuts down on food waste and keeps the fridge organized.
Labeling can be a quick project with a big payoff. Start in the kitchen, then move to the laundry room, toy bins, and storage closets. Clear, consistent labels help everyone know where things belong and keep your home running smoothly.
The Messy Work: Pick one area and label everything that will help family members know where items belong. Begin with the kitchen, then expand to other rooms. Happy labeling!
In the mess with you, Laura