
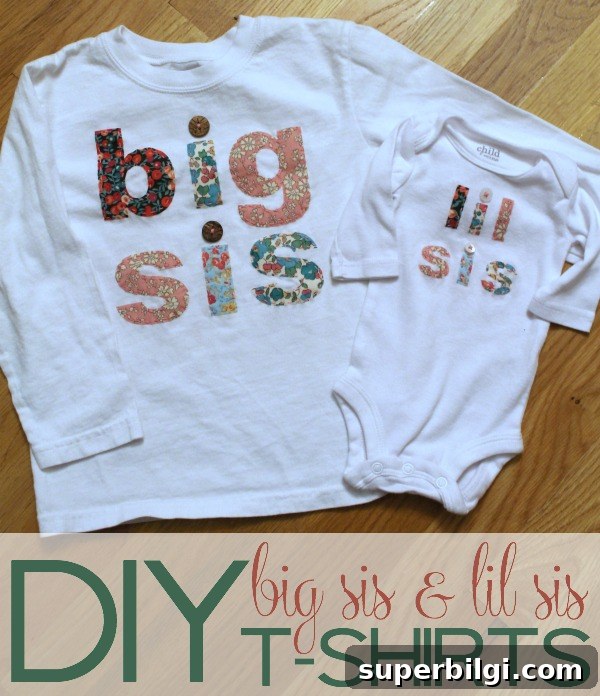
This sweet matching set—one “Big Sis” shirt and one “Lil Sis” onesie—makes a perfect gift for any girl welcoming a new baby sister.
If you’ve followed me for any length of time, you know I adore my Silhouette CAMEO. It simplifies so many projects, from cutting dozens of delicate garland pieces in minutes to creating polished, craft-store-quality items that make me look way craftier than I am. I don’t always have time to invent new projects, but when I do, the CAMEO helps me finish them quickly and efficiently.
With a new baby on the way, I wanted matching “Big Sis” and “Lil Sis” shirts for my girls to wear when they finally meet. They’re everywhere on Etsy, and while buying ready-made is tempting, I knew I could make exactly what I wanted using my Silhouette—so I did.
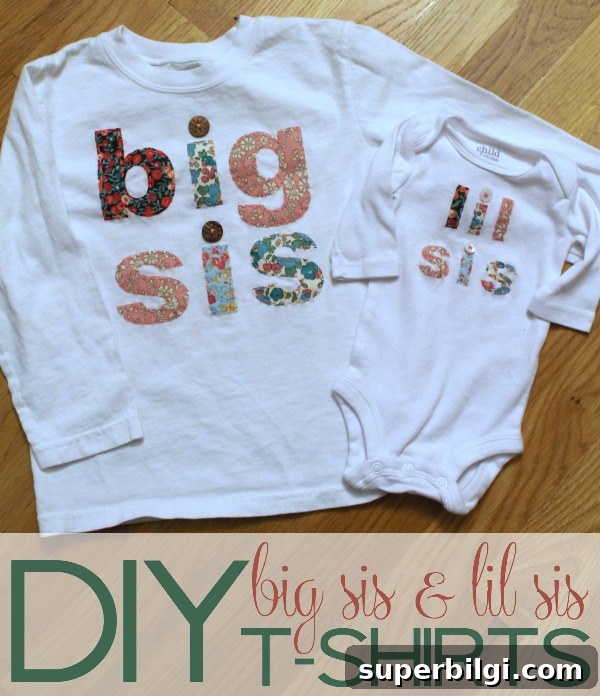
DIY Big Sis and Lil Sis T-shirts Tutorial
These fabric-lettered sibling shirts are simple, adorable, and totally customizable. Below are the steps I used, along with a few tips to make the process faster and neater.
Step 1: Wash and iron your fabrics
Always prewash your shirts, onesies, and any fabric you’ll use for applique. I learned the hard way and had to stop mid-project to wash the fabric—definitely avoid that if you can. Prewashing removes sizing and prevents future shrinking or color bleeding.
Step 2: Iron everything
Ironing makes cutting and positioning much easier. Smooth fabric feeds better through the cutter and lies flat while you arrange letters on the shirts.
Step 3: Create your design in Silhouette Studio
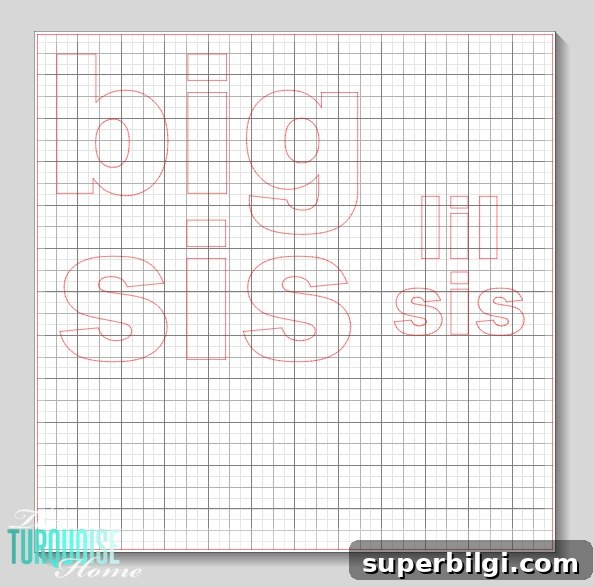
Measure the area on each garment where you want the letters, then set your design size in Silhouette Studio. I used Arial Black for bold, simple block letters that read clearly from a distance. Choose a font that suits the look you want—playful, modern, or classic.
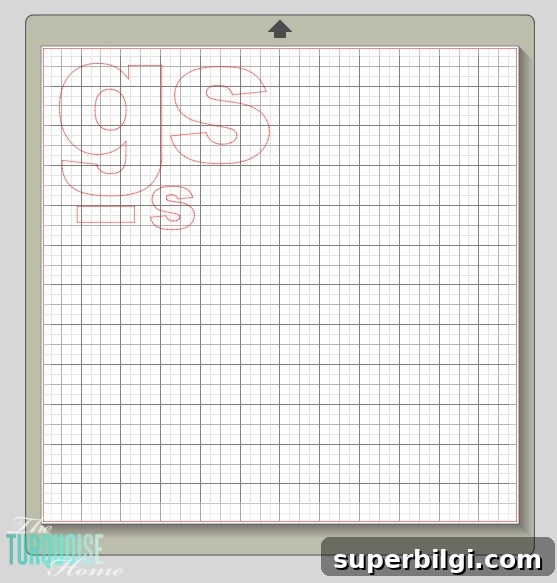
Step 4: Group letters by fabric and prepare to cut
Decide which letters will share the same fabric pattern so you can cut them together. This saves time and reduces waste. Lay out your fabric squares and match them to the letter groups in your software.
Step 5: Cut the fabric
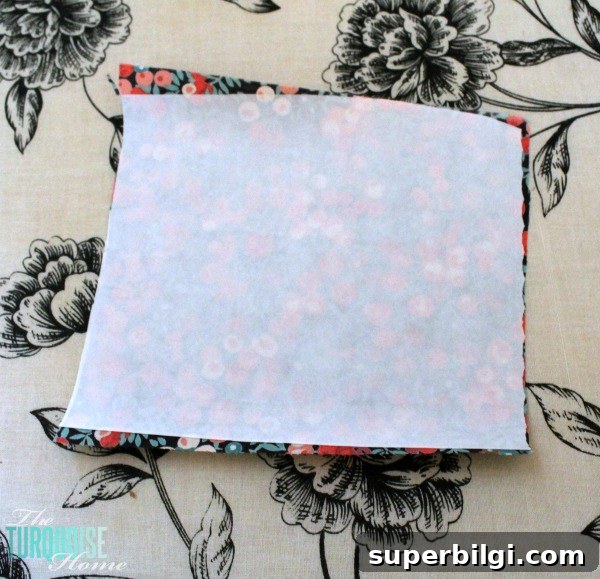
Cut fabric squares large enough for each group of letters. I used sewable fabric interfacing ironed to the back of each fabric square; it stabilizes the fabric for cutting, prevents fraying, and keeps the appliques secure on the garment while you stitch them down.
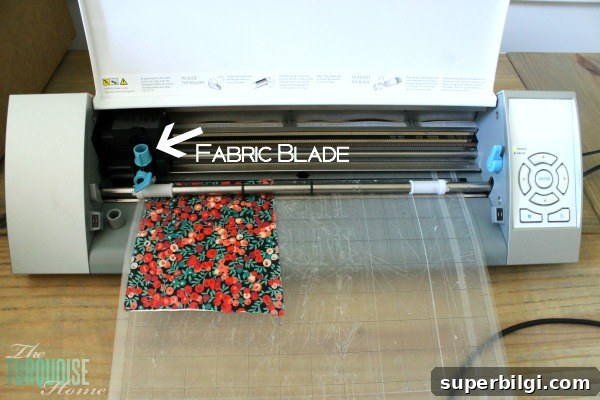
I also keep a fabric blade dedicated to cutting fabric—just like keeping a pair of fabric-only scissors. A sharp, reserved blade gives cleaner cuts and lasts longer.
Step 6: Arrange the letters on the shirt
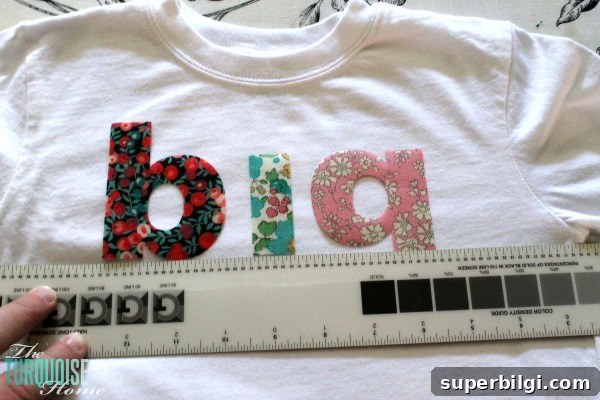
Lay the letters out on the garment and use a ruler or straight edge to keep them centered and level. Step back and adjust spacing as needed until everything looks balanced.
Step 7: Iron the letters in place
Follow the interfacing manufacturer’s instructions to iron the letters onto the shirts. The interfacing holds the fabric in place so you can sew without shifting.
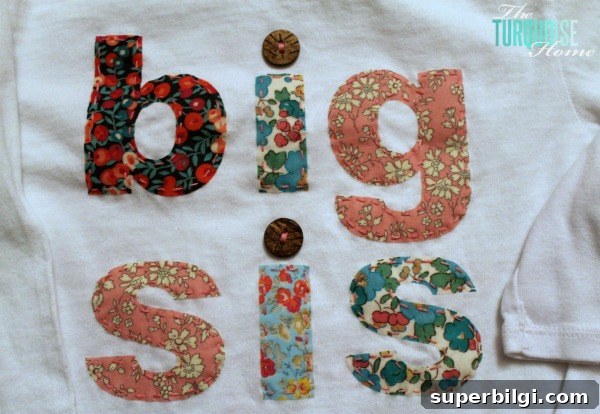
I’m more of a hand-sewer than a machine-user, so I added a small blanket or running stitch around each letter for a charming hand-finished look. For extra detail and texture, I stitched a small button over each “i.” Pink heart buttons or colorful accents would be adorable here.
Finally, dress the kids in their matching shirts and enjoy the moment. Seeing them together made all the effort worthwhile.
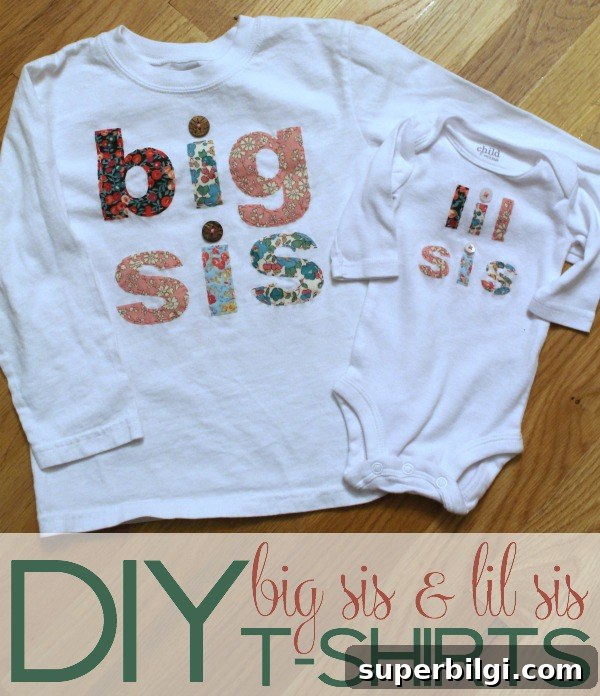
I’m really glad I made these instead of buying them. The fabrics I used came from a trip two years ago and were already part of my daughter’s room decor, so the shirts carry a bit of family history. I pulled a handful of matching buttons from my stash, but you can choose themed buttons to suit your style.
One more project checked off the list—now I’m excited to see my girls wearing these when they meet. If you own a Silhouette CAMEO and enjoy DIY apparel, this is a fast, satisfying project that produces a sentimental, wearable keepsake.
Silhouette inspiration
Looking for more ideas to use your Silhouette? Explore other projects and tutorials for crafts, personalized gifts, and home decor to get inspired and expand your DIY skills.