
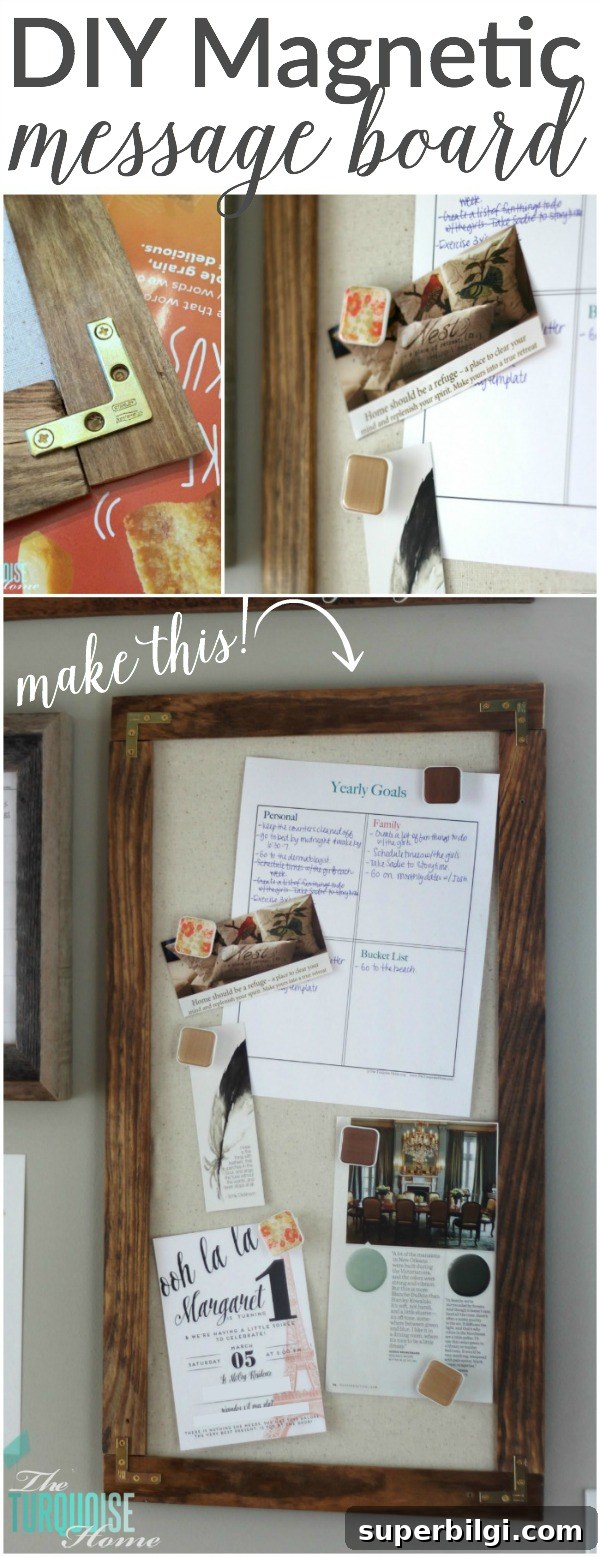
A DIY magnetic message board is a simple, attractive way to keep important paperwork, school notes, invitations, and inspirational prints in one visible place. It’s perfect for a kitchen command center, an entryway, or a home office.
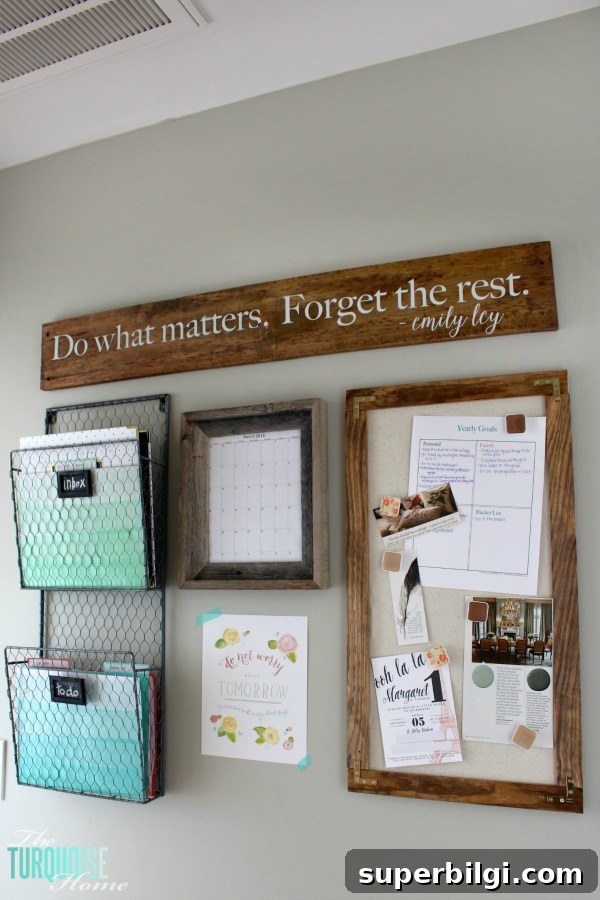
I use this magnetic message board as part of my kitchen command center. It keeps my children’s lunch calendar, activity schedules, artwork, and a few motivational quotes all in one organized place. The project is quick, inexpensive, and customizable to match your decor.
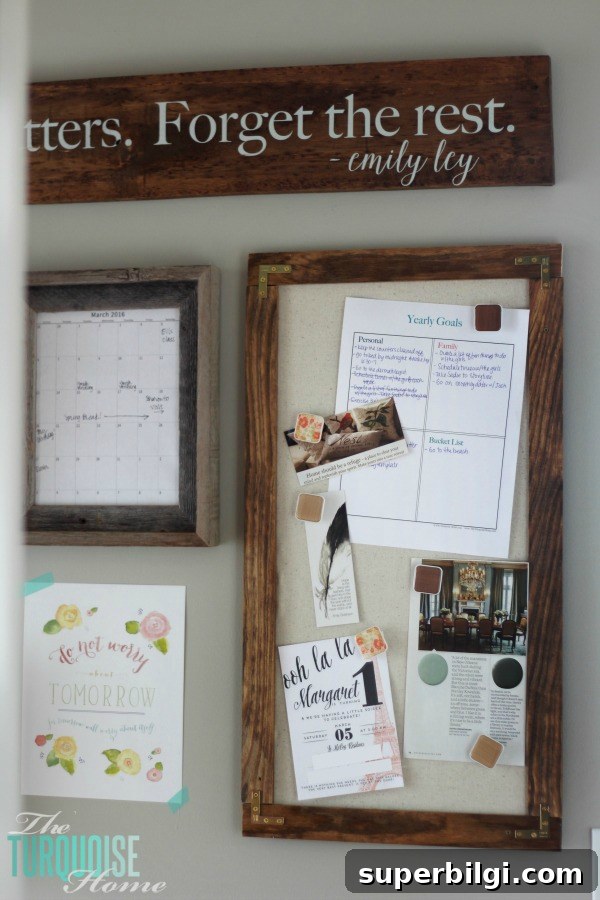
This board was easy to make because I already had many of the supplies on hand. If you need to purchase materials, they are readily available and affordable. Below are the materials and step-by-step instructions to build your own magnetic message board.
Tools and Materials for a DIY Magnetic Message Board
- Large piece of sheet metal – I used a 24″ x 12″ sheet, but choose any size you prefer. Hobby stores and hardware stores carry sheet metal in several sizes.
- Fabric – Enough to cover the sheet metal with a couple of inches extra on each side. Use a fabric that complements your room for a coordinated look.
- Wood trim for the frame – I used leftover lattice, but a sturdier option like a 1×2 board works well if you’re buying material.
- Brass L-brackets for securing the corners of the frame.
- Hot glue gun and glue sticks.
- Stain (optional) – I stained the frame for a finished look.
- Miter saw or a miter box and hand saw for cutting the trim to length.
- Adhesive strips for hanging (e.g., heavy-duty command strips) or screws and wall anchors if you prefer a more permanent mount.
- Cute magnets to hold papers and photos.
Steps to Make a Magnetic Message Board
Step 1 — Cut the Frame Pieces
Measure and cut the wood trim to frame the sheet metal. Lay the metal on a flat surface, place the trimmed pieces around it, and mark for length. A miter saw makes clean angled cuts quickly, but a miter box and hand saw will work well for small projects.
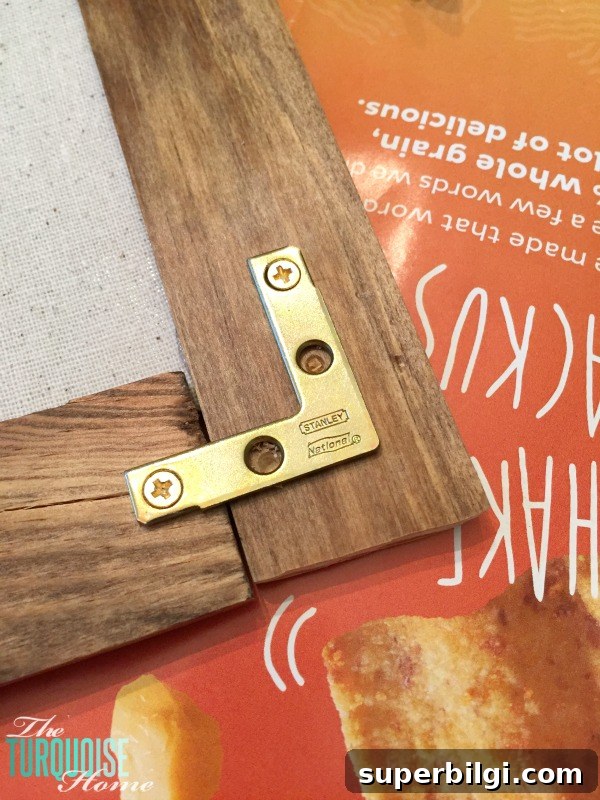
Note: If your wood splits when attaching brackets, pre-drill pilot holes before inserting screws to prevent cracking.
Step 2 — Assemble the Frame
Fasten the wood pieces together at the corners using the L-brackets. Hot glue alone won’t provide the strength needed for a durable frame, so the brackets help keep everything square and secure while maintaining a neat appearance.
Step 3 — Cover the Metal with Fabric
Cut the fabric about 2 inches larger than the metal on all sides. Pull the fabric evenly and glue it to the back of the metal with a hot glue gun, smoothing as you go to avoid puckers. The fabric adds color and texture and helps the board look finished while still allowing magnets to hold items.
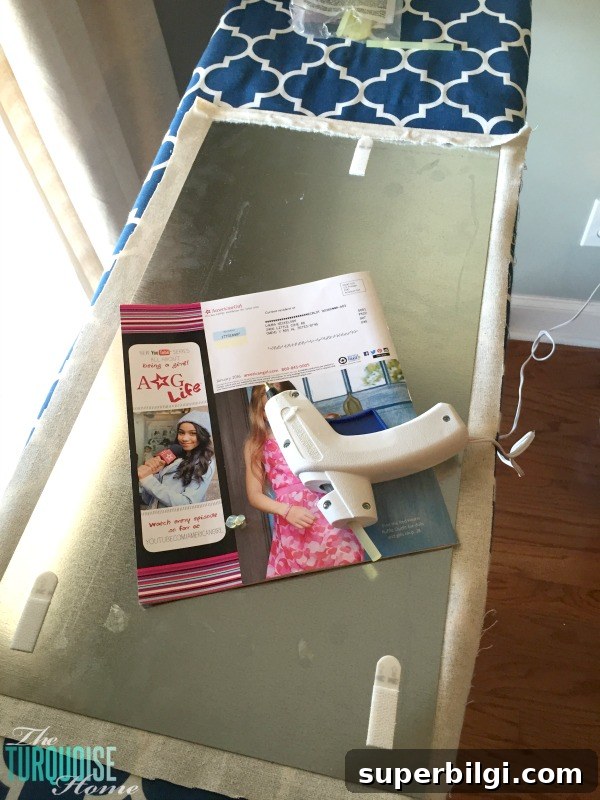
Step 4 — Attach the Frame to the Covered Metal
Align the frame over the fabric-covered metal and secure it with hot glue. Since both materials are lightweight, the hot glue provides a strong, invisible bond. Press firmly and allow the glue to cool before handling.
Step 5 — Hang and Finish
Mount your message board using adhesive hanging strips or screw it to the wall with anchors. If the screws from the L-brackets extend beyond the back of the frame, place small felt pads or bumpers on the back to protect your wall from scratches. Add your favorite magnets, photos, calendars, and reminders to start using the board.
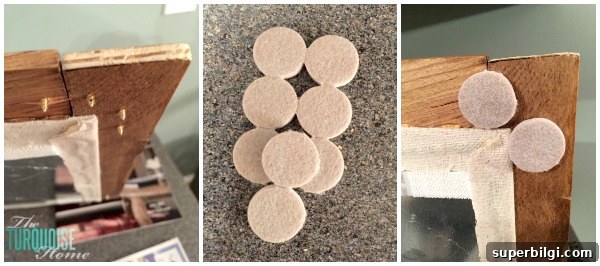
Tip: If you use thin trim like lattice, screws may protrude. Felt chair pads or small rubber bumpers applied where the screws extend will prevent the board from marking the wall. Using thicker 1×2 trim allows you to use shorter screws that won’t reach the back side.
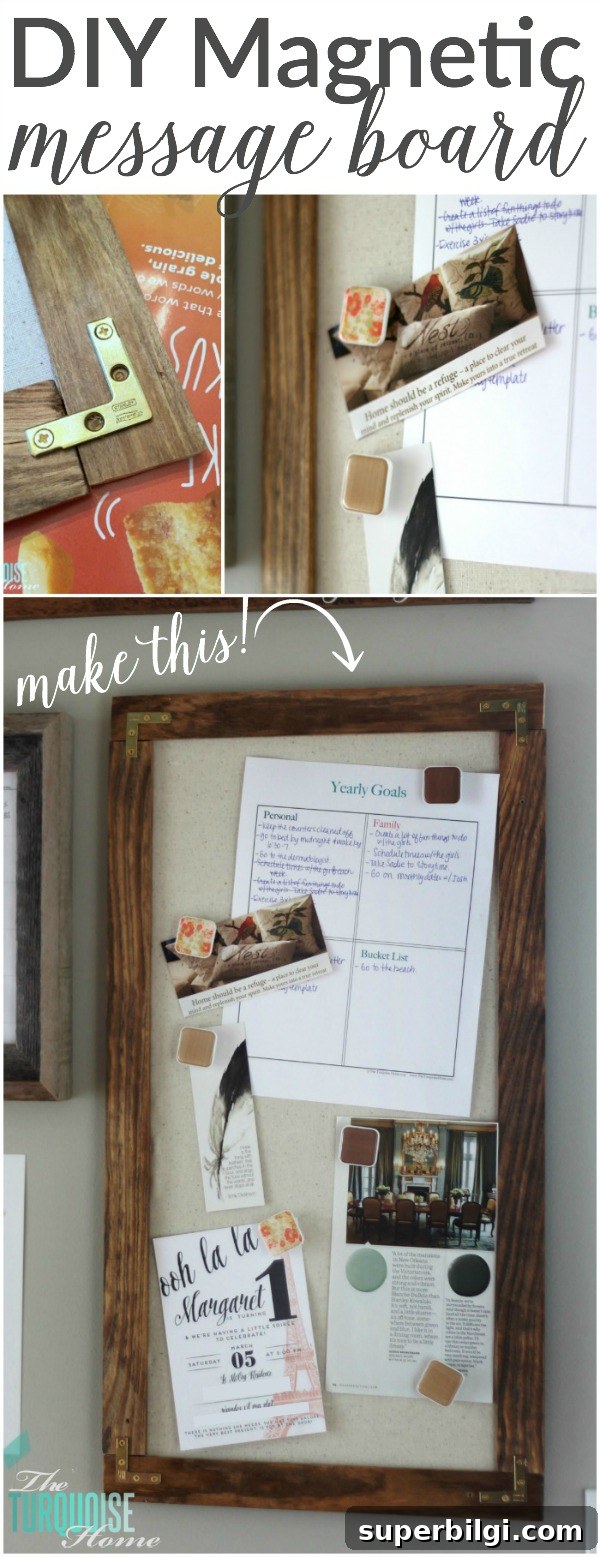
Enjoy your new magnetic message board — it’s a functional and decorative solution for taming paper clutter. If any step is unclear or you want tips for adapting the design, reach out and share a photo of your finished board. I love seeing creative variations!
More Posts You Will Love:
- The 10 Easiest Family Command Centers to Get Organized
- How to Tame the Paper Clutter: Industrial Command Center
- How to Organize a Messy Garage
- The Best Family Calendar Ideas
- DIY Dry Erase Wall Calendar