
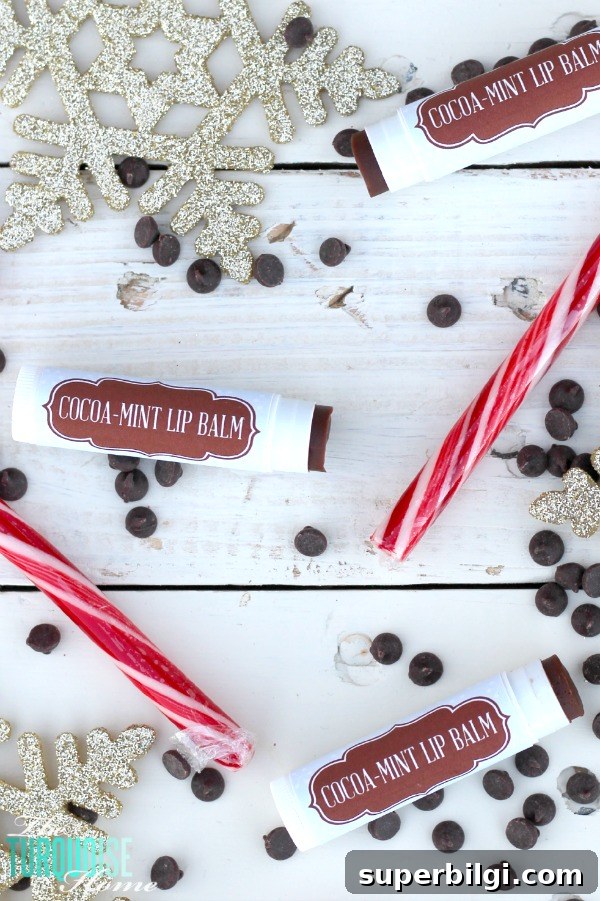
Make a luxurious, moisturizing cocoa-mint lip balm at home using peppermint essential oil and high-quality ingredients. These creamy balms make thoughtful gifts—printable labels make presentation easy.
Winter’s dry air and cold winds can leave lips chapped, tight, and uncomfortable. Rather than relying on store-bought products with unknown ingredients, you can create a nourishing, homemade cocoa-mint lip balm that restores moisture and leaves a subtle, refreshing peppermint finish.
This recipe blends beeswax, cocoa butter, fractionated coconut oil, raw honey, vitamin E, cocoa powder, and peppermint essential oil for a balm that’s richly hydrating and pleasantly scented. It’s simple to prepare, customizable to your scent and texture preferences, and ideal for gifting in small lip balm tubes or tins.
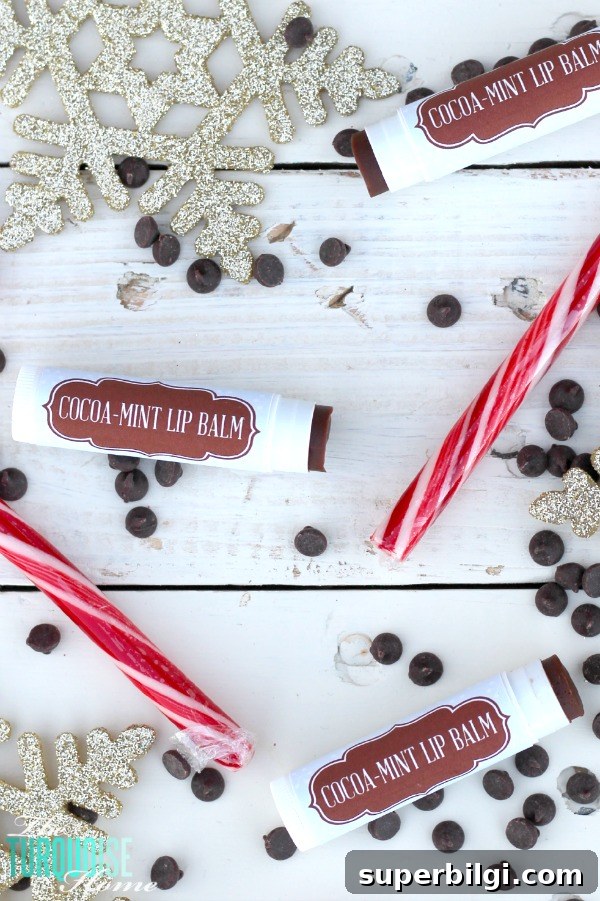
I’ve been a dedicated lip balm user for years, and once I discovered how affordable and easy homemade balms are to make, I never looked back. I’ve experimented with many scent combinations—cinnamon-mint, lavender-vanilla, lime—and this cocoa-mint version quickly became one of my favorites for its luxurious texture and subtle chocolate aroma.
When making anything for the lips, choose high-quality ingredients. Use beeswax pellets, pure unrefined cocoa butter, and a therapeutic-grade peppermint essential oil if you have access to one. Vitamin E oil acts as a natural preservative and skin conditioner. These choices help produce a safer, more effective balm.
This post includes affiliate links for convenience.
Supplies You’ll Need for DIY Luxurious Lip Balm
- 1 tablespoon beeswax pellets
- 1/8 cup fractionated coconut oil (or other lightweight carrier oil)
- 1 tablespoon pure, unrefined cocoa butter
- 1/2 teaspoon raw honey
- 1 teaspoon cocoa powder (for light color and chocolate scent)
- 1/8 teaspoon vitamin E oil
- 6 drops peppermint essential oil (adjust to taste)
- Empty lip balm containers or tubes (one batch yields roughly 8–12 small tubes depending on size)
Equipment Needed
- Double boiler or a heat-safe bowl over a saucepan of simmering water
- Small glass measuring cup or heatproof pouring vessel
- Spoons or a small whisk for mixing
- Lip balm filling tray or steady surface for filling tubes
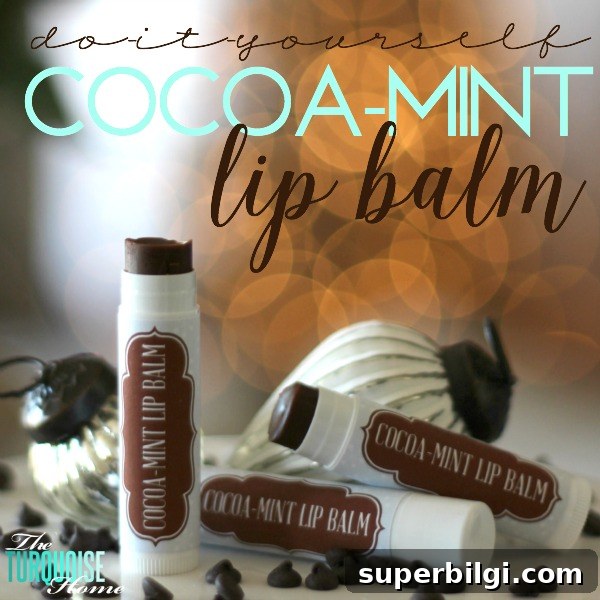
How to Make Cocoa-Mint Lip Balm
1. Gather Your Ingredients
Measure out all ingredients before you begin. Having everything prepared makes the process smooth, especially when working with melted wax and oils. Prepare your lip balm containers so they’re ready to be filled as soon as the mixture is ready.
2. Melt Beeswax, Cocoa Butter and Oil in a Double Boiler
Combine 1 tablespoon beeswax pellets, 1 tablespoon cocoa butter, and 1 tablespoon fractionated coconut oil in the top of a double boiler. Melt over low heat, stirring occasionally, until fully liquid and smooth. Keep the heat gentle so ingredients do not overheat.
3. Add the Remaining Ingredients
Remove the mixture from heat and whisk in 1/2 teaspoon raw honey, 1/8 teaspoon vitamin E oil, and 1 teaspoon cocoa powder until evenly incorporated. Honey adds humectant properties while cocoa powder contributes a mild chocolate scent and color—use sparingly for a subtle tone.
4. Add Peppermint Essential Oil
Stir in about 6 drops of peppermint essential oil, or adjust to your preference. Peppermint provides a cooling sensation and fresh aroma. If you’re sensitive to essential oils, start with fewer drops and test a small amount on the skin first.
5. Pour into Containers and Cool
Pour the warm mixture into prepared lip balm tubes or tins using a small glass measuring cup or pouring tool. Work steadily: if the mixture sits too long, heavier ingredients like honey or vitamin E can settle. Allow the balms to cool and solidify undisturbed until they develop a smooth sheen on top. Cooling in a cool, still place helps avoid surface imperfections.
For easier batching, use a lip balm filling tray or a stand to hold tubes upright while filling. A Pyrex measuring cup with a pouring spout makes filling neat and accurate.
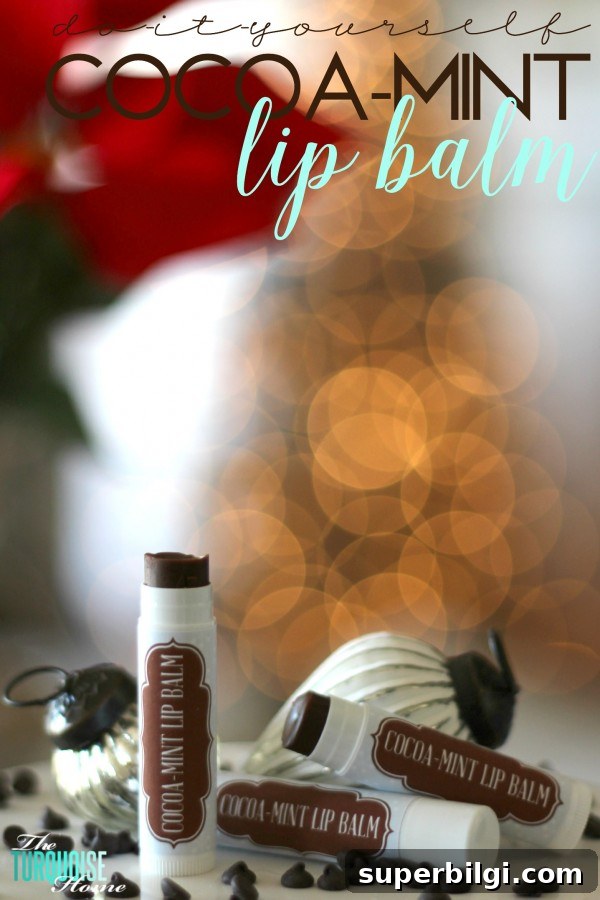
Free Printable Labels (optional)
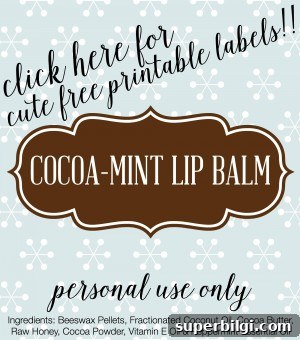
These balms make lovely gifts. Print labels on 8.5×11 white sticker paper, cut them out, and wrap them around the tubes. Include the ingredients on the label so recipients know what’s inside. Labels give a polished, professional touch for presents, party favors, or market sales.
Store finished lip balms in a cool place away from direct heat or sunlight. Properly stored, they should last several months; the vitamin E oil helps slow oxidation. If you notice any change in scent, color, or texture, discard and make a fresh batch.
Enjoy your homemade cocoa-mint lip balm—richly moisturizing with a refreshing peppermint finish and a hint of cocoa. They’re ideal for keeping lips soft all winter long or sharing with friends and family.
More posts you may enjoy:
- Homemade All-Natural Lip Balm
- DIY Lemon Sugar Scrub
- Homemade All-Natural Body Butter