
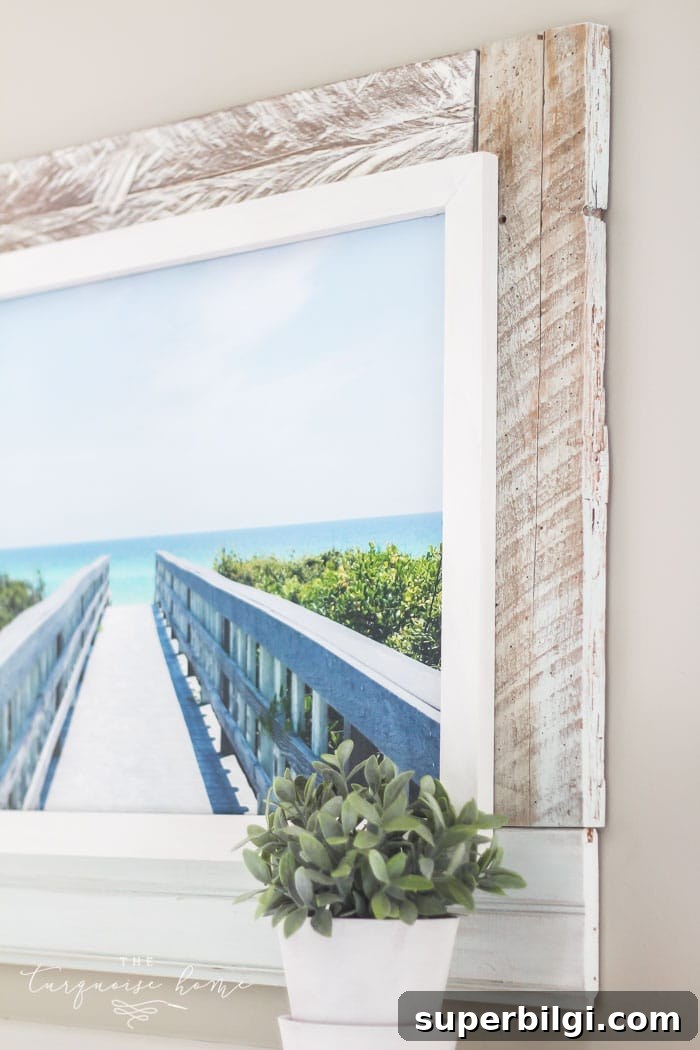
This budget-friendly DIY framed canvas art is an easy way to create a striking focal piece for your home without spending a fortune.
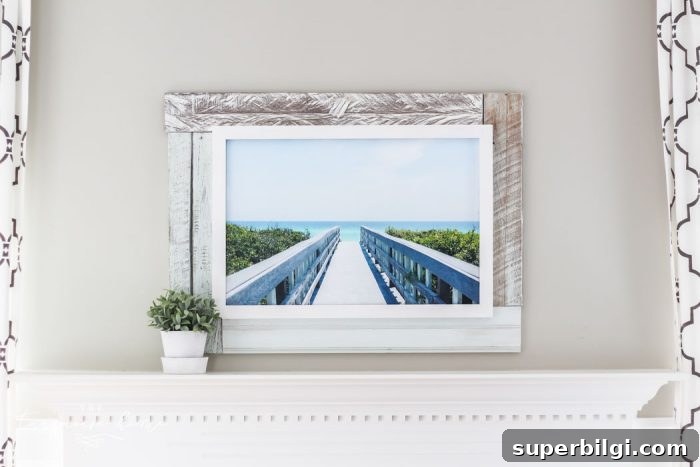
Framed canvas artwork can cost anywhere from a few hundred to thousands of dollars, and many store-bought frames are thin and lack presence. This project shows how to build a bold, oversized frame from scrap wood or inexpensive boards so your piece fills the wall the way you want it to.
Note: the beach photo used here is my own from a favorite vacation spot on 30A, Florida.
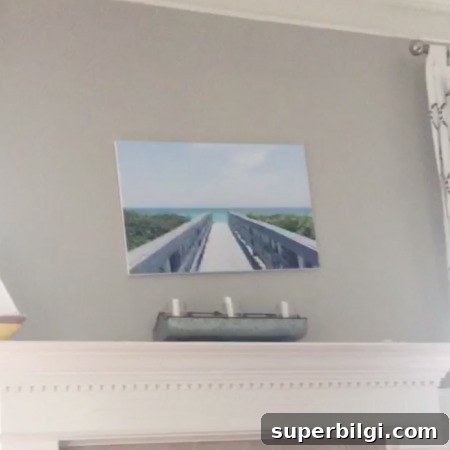
My original plan was to make a thin frame similar to a previous tutorial I published, but when I held the canvas up above the mantel it looked far too small for the space. That moment reinforced an important decorating rule: scale matters. Too-small artwork gets lost, so I opted to build a chunky, reclaimed-wood frame that gives the piece weight and visual impact.
What You’ll Need for your DIY Framed Canvas Art
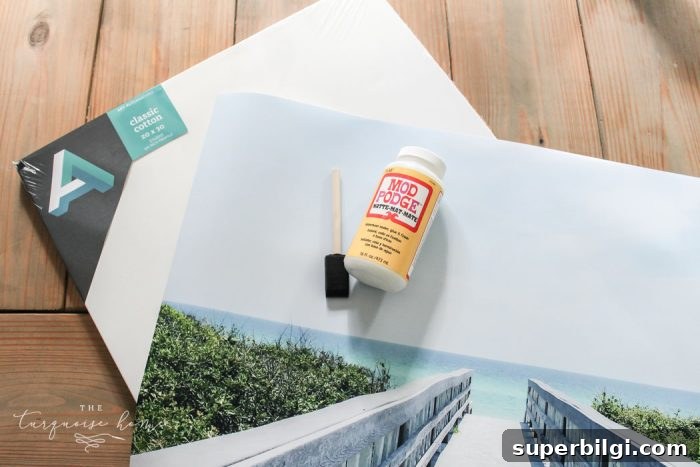
- Large canvas – e.g., 20″ x 30″
- Printed photo the same size or larger than the canvas
- Matte Mod Podge for mounting
- Small paint brush or foam brush for adhesive
- Cutting board and sharp utility knife
- Optional blank canvas to add texture
- Scrap wood or inexpensive common boards for the outer frame
- 1×2 common pine for a thin inner trim
- Kreg Jig or other joining method
- Drill and appropriate screws
- Miter saw for cutting angles
- Wood glue and sandpaper
- Paints, stain and brushes for finishing
How to Build your DIY Framed Canvas Art
Step 1. Mount the Print to the Canvas
Begin by applying a medium-to-thin coat of matte Mod Podge to the canvas surface. Carefully lay the printed photo over the adhesive, smoothing from the center outward to prevent bubbles. Turn the canvas over and place heavy, flat weights on the back to ensure good contact. Let it rest for several hours or overnight for a strong bond.
Step 2. Trim the Excess Print
With the print adhered and dry, place the canvas face down on a cutting surface. Use a sharp utility knife to trim any overhang flush with the canvas edges. Take care with straight, steady cuts for a clean finish.
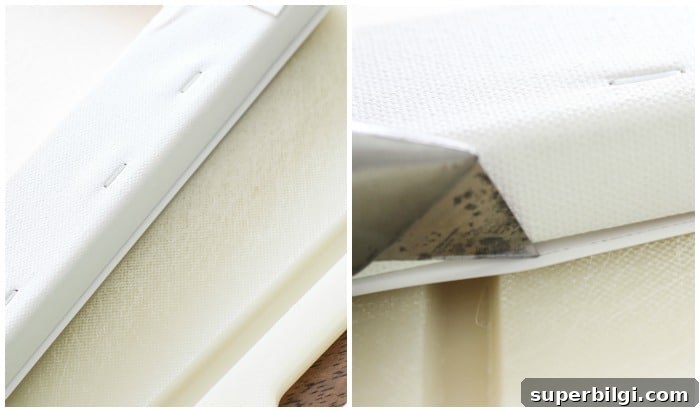
Step 3. Choose and Cut Your Frame Pieces
Select boards for the outer frame. Reclaimed wood works beautifully; you can also use new boards cut to size. Try to keep the thickness and visual weight similar around the piece, but slight variations can create a charming, rustic look. Cut boards to fit around the canvas, trimming with a miter saw as needed.
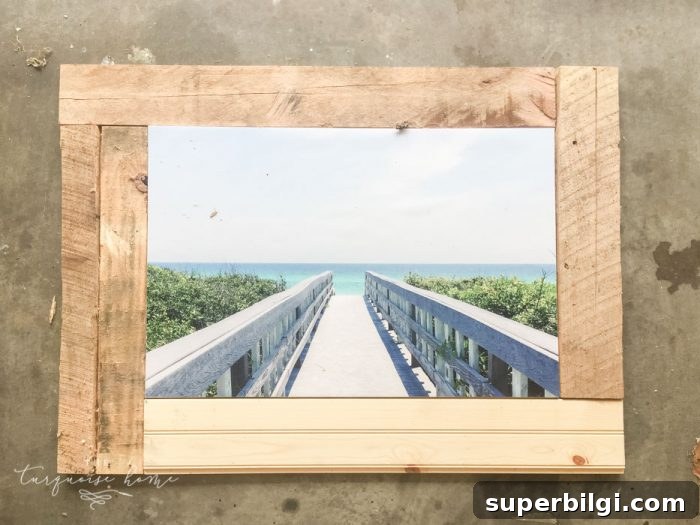
Tip: If your saw lacks a laser guide, lower the blade to touch the wood before cutting. Align the cut line to the outside of the blade and keep the portion you want to keep on the opposite side of the blade to avoid cutting pieces too short.
Step 4. Paint and Finish the Boards
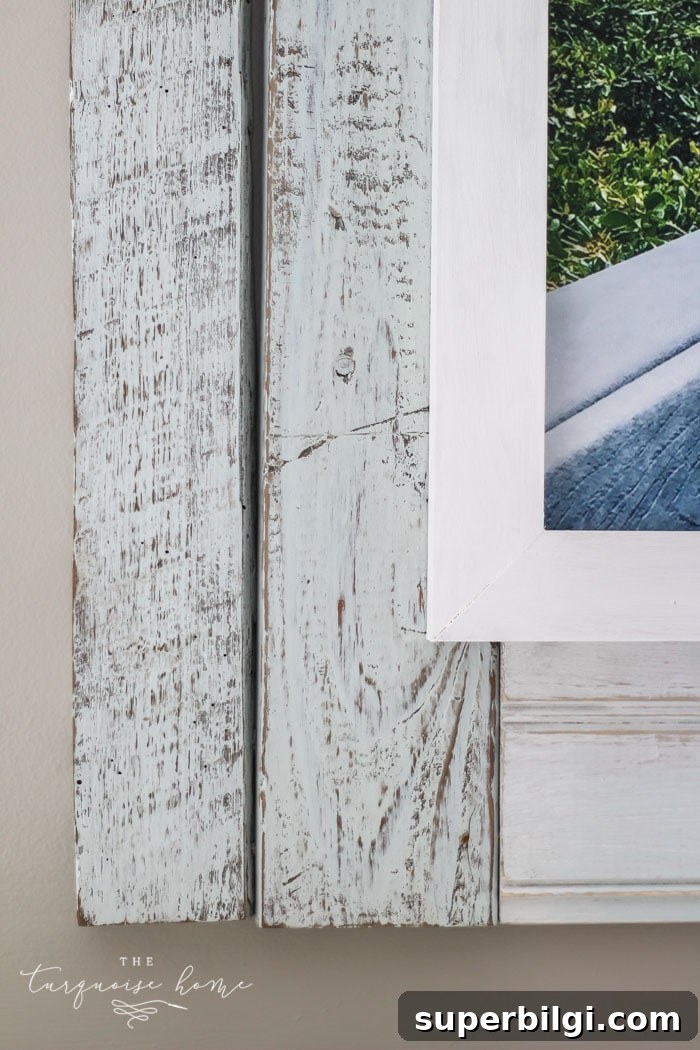
Paint or stain each board before final assembly if you want individual finishes. Choose a cohesive palette—this project used a mix of muted gray, white, and a soft blue for a beachy vibe plus a weathered product on some boards to create depth. Lightly sand after painting to distress and reveal underlying layers for a worn, coastal look. Allow all pieces to dry completely.
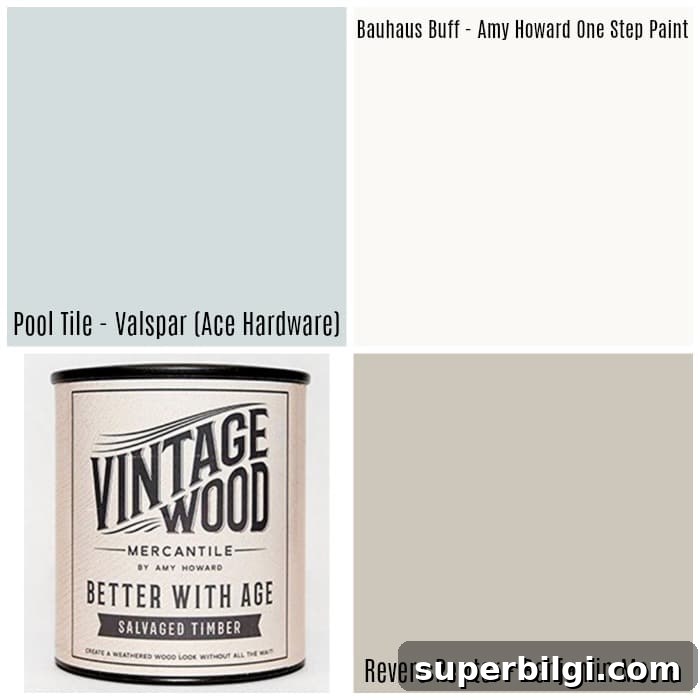
Step 5. Assemble the Frame
Dry-fit all pieces around the canvas, then attach them using wood glue and pocket screws or your preferred joinery. A Kreg Jig is ideal for strong, low-profile joints. Clamp and square the assembly as you work and recheck fit around the canvas. If needed, assemble the inner thin trim first then add the thicker outer boards.
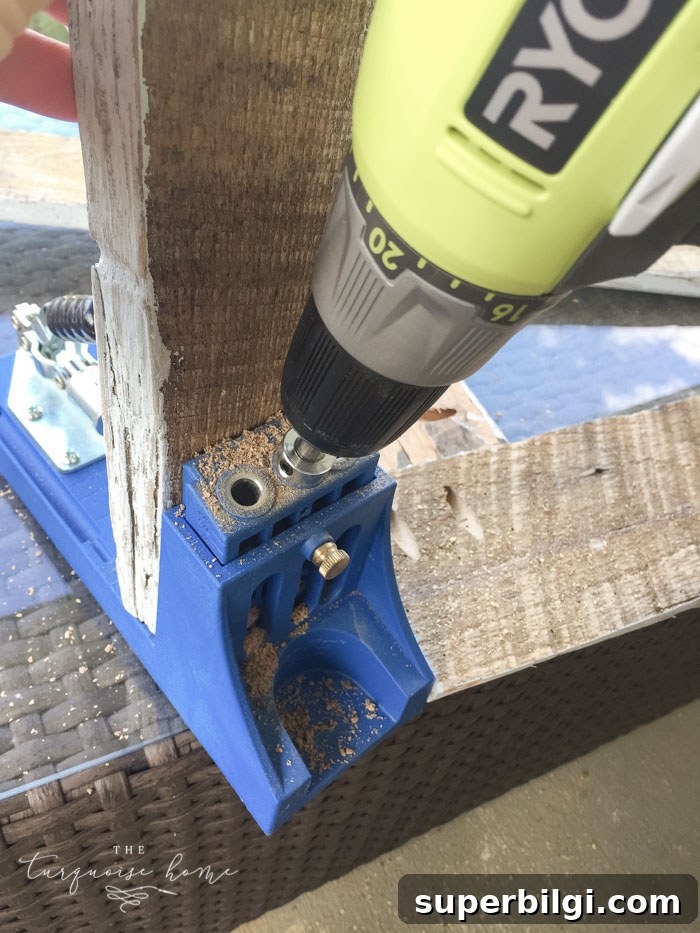
Step 6. Add Professional Canvas Texture
To give the print a more authentic canvas texture and to reduce any sheen, brush a thin layer of matte Mod Podge over the image. While the Mod Podge is wet, press a blank canvas sheet or canvas weave onto the surface, smoothing carefully. Lift straight up to transfer the texture without smearing. Repeat as necessary until the whole surface has a uniform canvas texture. Let dry thoroughly.
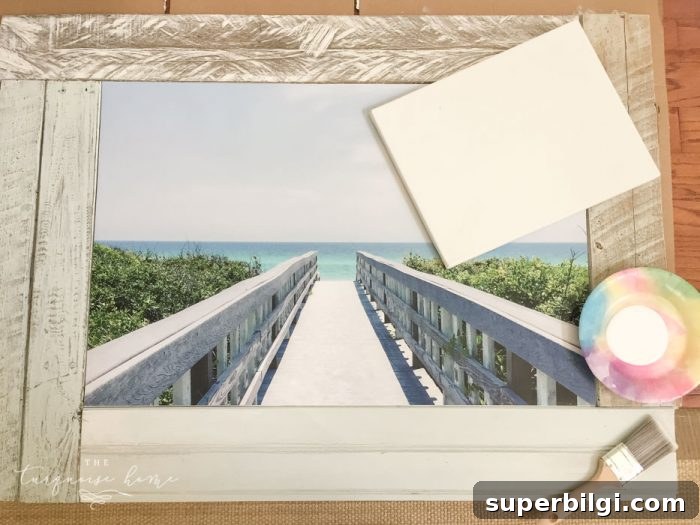
Step 7. Attach the Thin Inner Trim
Glue the thin inner trim or decorative moulding to the front of the assembled frame. Press it into place, verify alignment, and weight the corners while the glue dries. This small detail helps define the image and gives a finished, polished edge to your framed canvas.
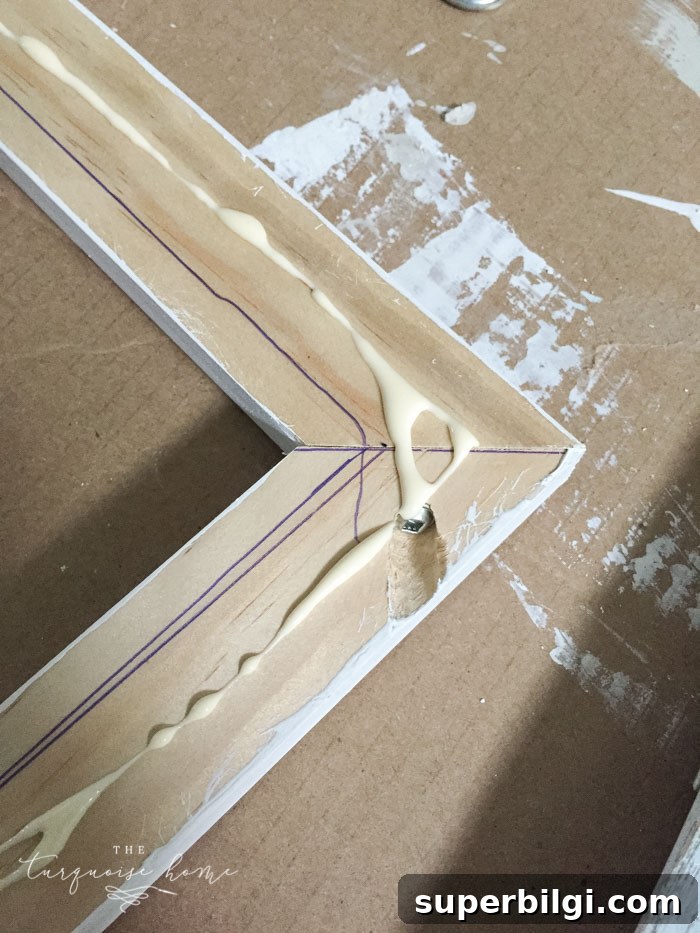
Step 8. Install a Hanger
Attach a suitable hanging device to the back—sawtooth hangers, D-rings, or a wire system depending on the size and weight of your finished piece. Make sure the hanger is centered and securely fastened so the artwork sits flat against the wall.
Step 9. Hang and Enjoy
Once everything is dry and secure, hang your framed canvas and step back to admire your work. A large, well-proportioned frame dramatically improves the presence of art in a room, and building it yourself lets you customize the look to match your decor.
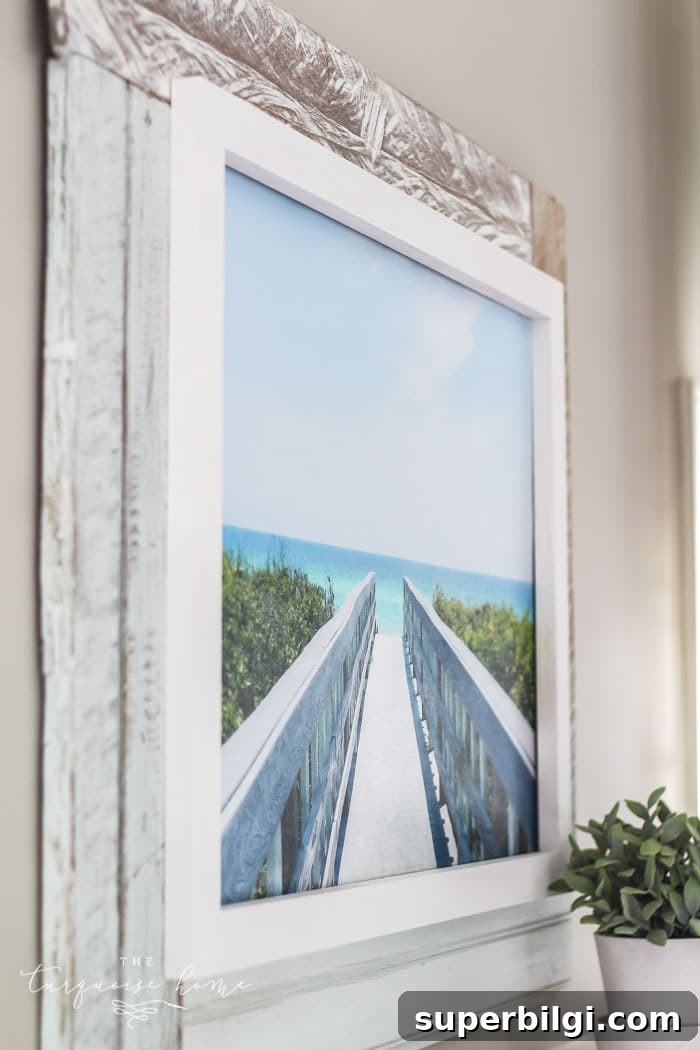
If you try this project, take a photo of your finished piece and share it—it’s always rewarding to see how a custom frame transforms an image. With a little planning and basic tools, you can achieve a high-end gallery look at a fraction of the cost.
More Posts You Will Love:
- Snake Plant Care Guide
- DIY Frame for a Flat-Panel TV
- DIY Picture Frame Moulding
- How to Create a Picture Frame Gallery Wall
- Fall Hoop Wreath with Shiplap Frame