
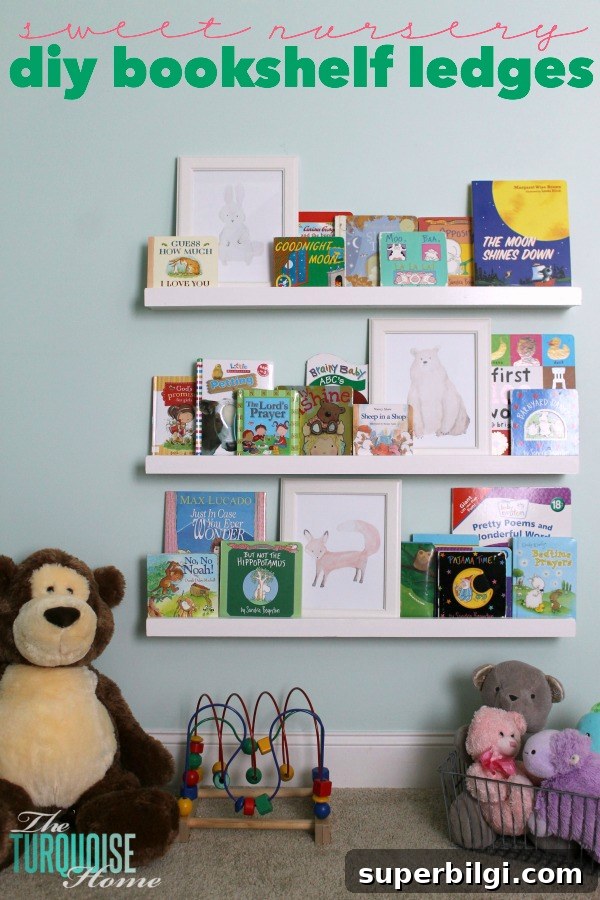
This simple DIY nursery bookshelf tutorial uses just a few affordable supplies and basic tools—perfect for making bedtime stories even more fun.
These easy bookshelf ledges were on my to-do list for ages, and now that they’re finished in Baby G’s room I can’t believe I waited so long. They are inexpensive, quick to build, and create a big visual impact. DIY nursery bookshelf ledges are an ideal solution for filling an empty wall in a child’s room or playroom while keeping books visible and accessible.
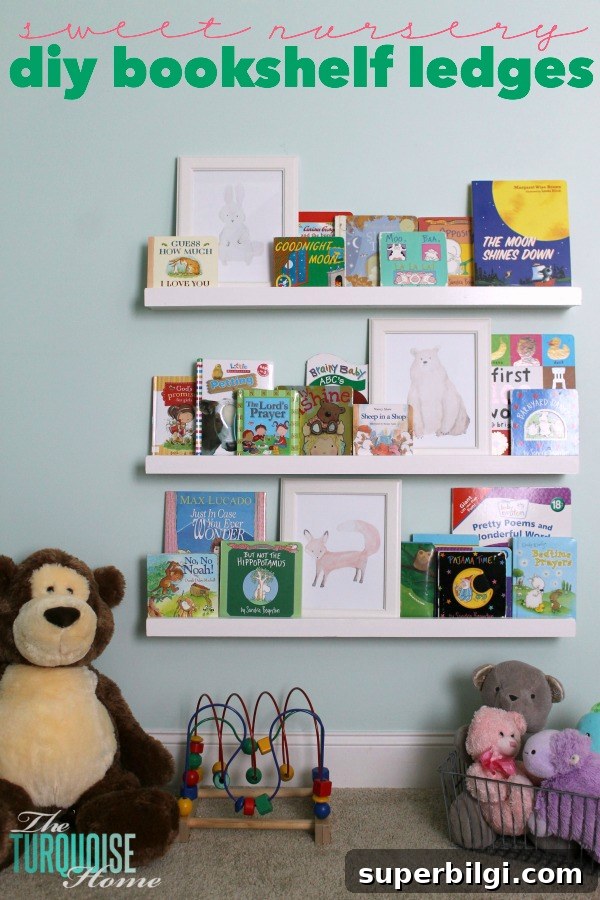
One of my favorite benefits is how the kids now see the books at eye level, which encourages more independent reading. My older daughter already brings me books more often because they’re displayed on the wall instead of tucked away on a traditional shelf.
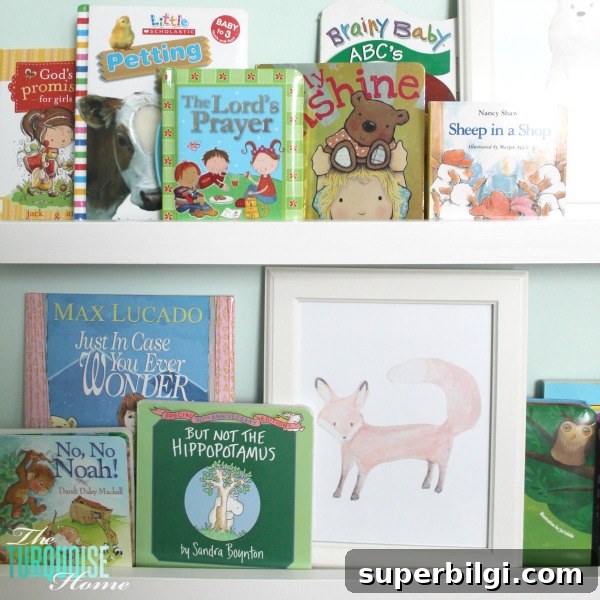
I followed a popular inexpensive ledge plan and used 1×3 boards instead of 1×4. They’re often called “$10 ledges” because an 8-foot ledge can cost around ten dollars; since I made mine 3 feet long, each one cost even less.
Here’s a clear, step-by-step guide to build and install these DIY nursery bookshelf ledges.
Supplies You’ll Need for DIY Bookshelves:
1. 1×2 boards cut to the length you want (I used enough for three 3-foot ledges)
2. 1×3 boards cut to the same length (two per ledge)
3. Miter saw or circular saw (optional—many stores will cut boards for you)
4. Pocket-hole jig (optional) or standard wood screws and pilot holes
5. Drill and drill bits
6. Wood glue
7. Sander and/or sandpaper
8. Screws (2″ worked well for me)
9. Paint (I used a durable semi-gloss white)
10. Paint brush or roller
11. Wood putty or spackling to fill holes
12. Level and pencil for layout
How to Build the DIY Nursery Bookshelf Ledges
1. Cut your boards to the desired length. I bought 6-foot boards and cut them in half for three 3-foot ledges. A miter saw makes this quick, but many hardware stores will cut boards for you if you prefer.
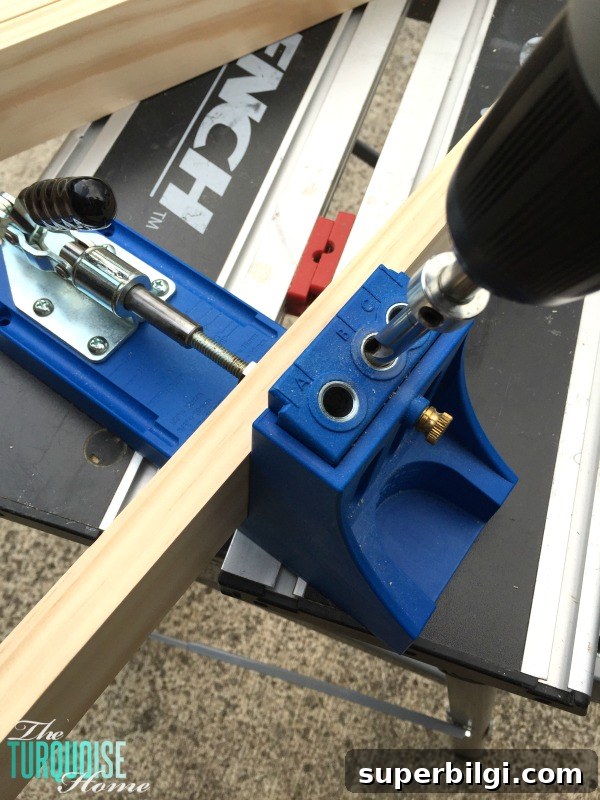
2. If using a pocket-hole jig, drill pocket holes along one 1×3 board so you can join the pieces neatly. If you don’t have a jig, plan to clamp, glue, and screw through pilot holes instead.
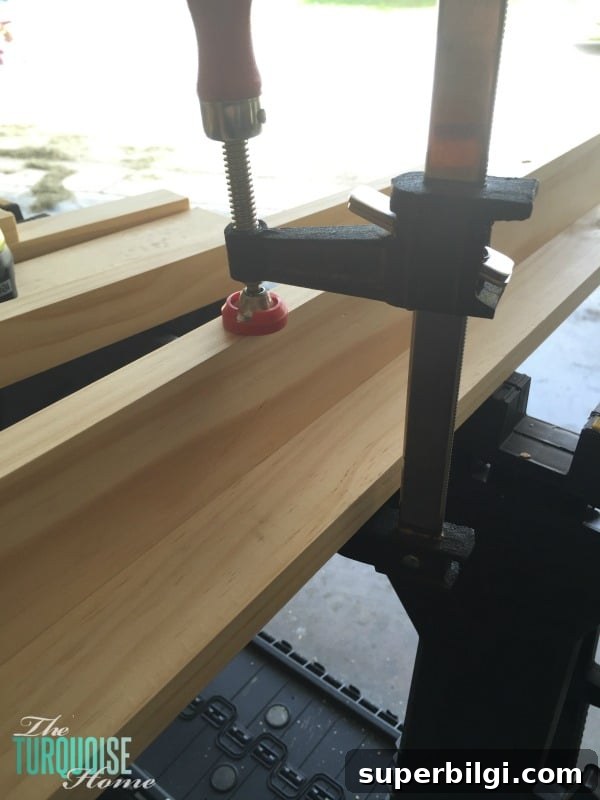
3. Clamp the second 1×3 to the first, apply a bead of wood glue between the joints, and fasten using the pocket holes or screws. Repeat by attaching the 1×2 to the other side, forming the shelf ledge profile.
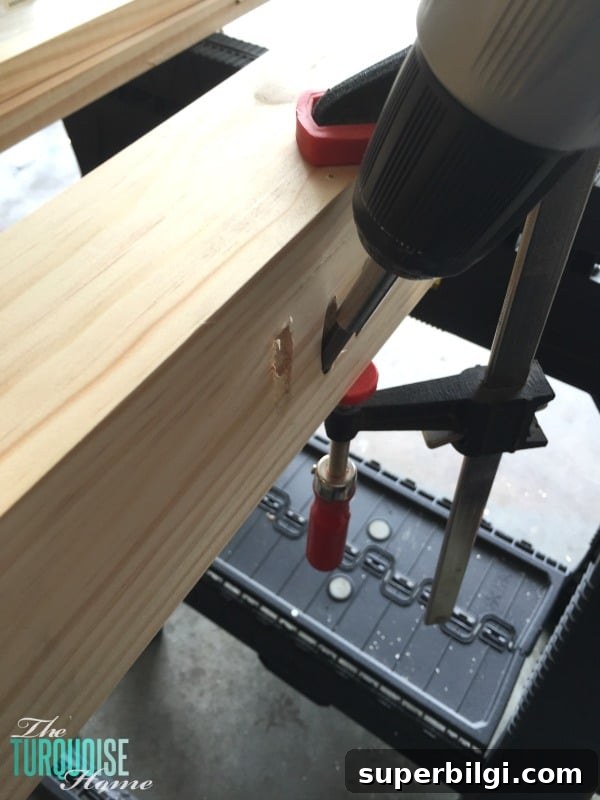
4. Fill any visible screw or pocket holes with wood putty or spackling. These holes are on the bottom of the ledge so they could be left open, but I prefer a finished look for when the kids sit on the floor.
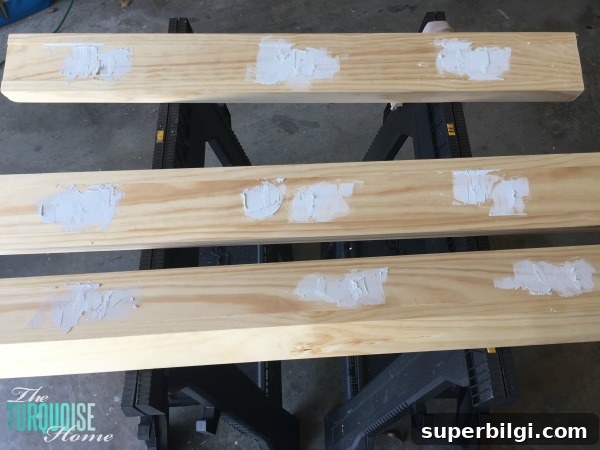
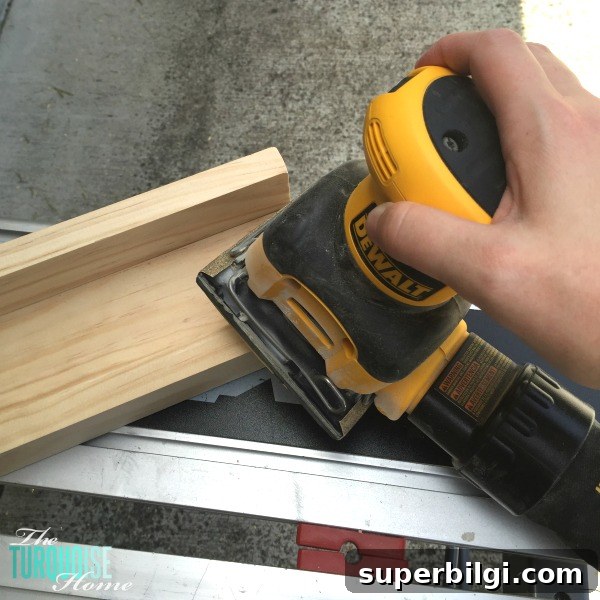
5. When the putty has dried, sand all surfaces smooth and round the front corners slightly so they aren’t sharp—especially important in a nursery where little ones might bump into them.
6. Paint the ledges in your chosen color. If using a paint with primer included you may need three thin coats, or use primer plus two coats of paint for full coverage. Let each coat dry fully between applications for a professional result.
How to Install the Ledges
There are several secure ways to hang these ledges. Because these shelves are in a nursery and may be used as a handhold for a crawling or walking child, I attached mine directly to the wall studs for maximum sturdiness. You could also use a French cleat or similar hanging system.
Mark the stud locations on the wall and transfer those marks to the inside of the ledge. Pre-drill pilot holes through the ledge at the stud locations so driving the screws is easier and the wood won’t split. Use a level to ensure the ledges are perfectly horizontal before final tightening.
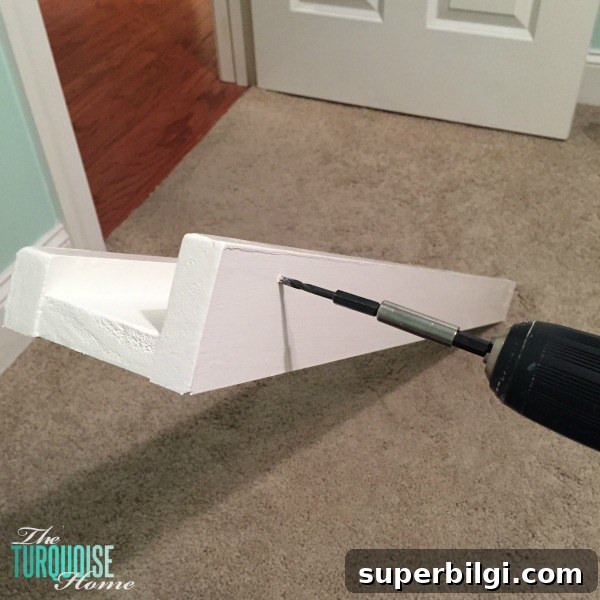
I used 2″ screws and countersunk them so I could fill and paint over the heads for a seamless finish. Use a tall book or a scrap piece of wood as a spacer while screwing the ledge to the wall—this makes positioning consistent across the entire row.
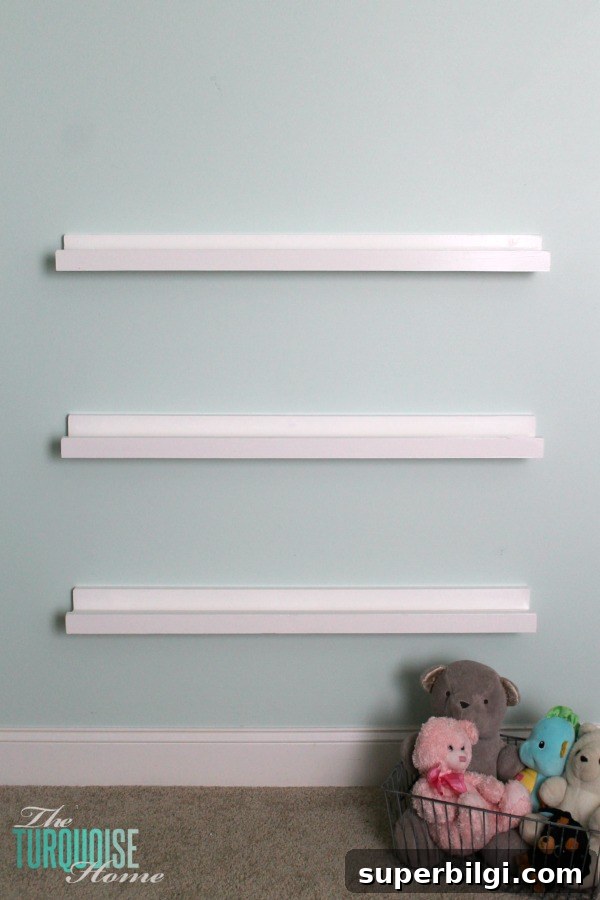
After the ledges are mounted, fill the screw holes with putty, sand smooth, and apply touch-up paint. Then load the shelves with favorite baby and toddler books—displaying covers forward makes titles easy to browse and invites grabbing and reading.
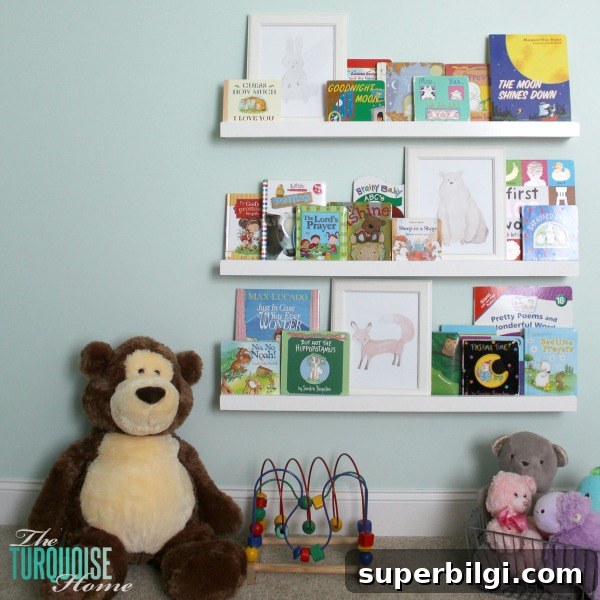
I love how these ledges fill the wall and make books a visible part of the room. They’re functional, stylish, and encourage children to explore books on their own. The artwork above the ledges—simple watercolor animal prints in inexpensive frames—adds a sweet, cohesive look to the nursery.
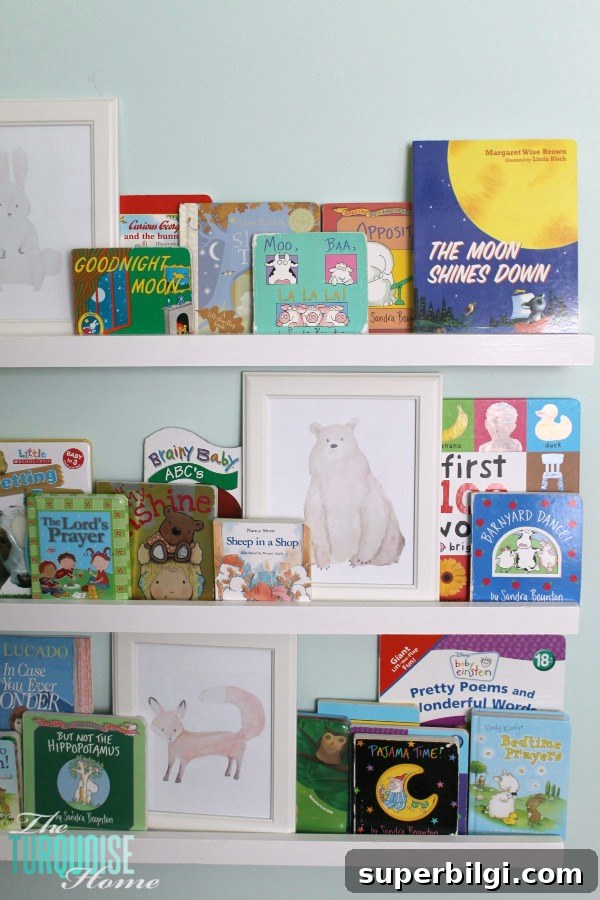
This project is one of the final touches for Baby G’s woodland-themed nursery, and it has made a big difference in both style and function.
Check out other kids room projects and ideas for styling shelf decor and easy shelving if you want more DIY inspiration.
MORE POSTS YOU WILL LOVE:
- Simple Formulas for Styling Bookshelf Decor
- DIY Closet Shelves {beginner tutorial}
- DIY Farmhouse Shelves for less than $40