
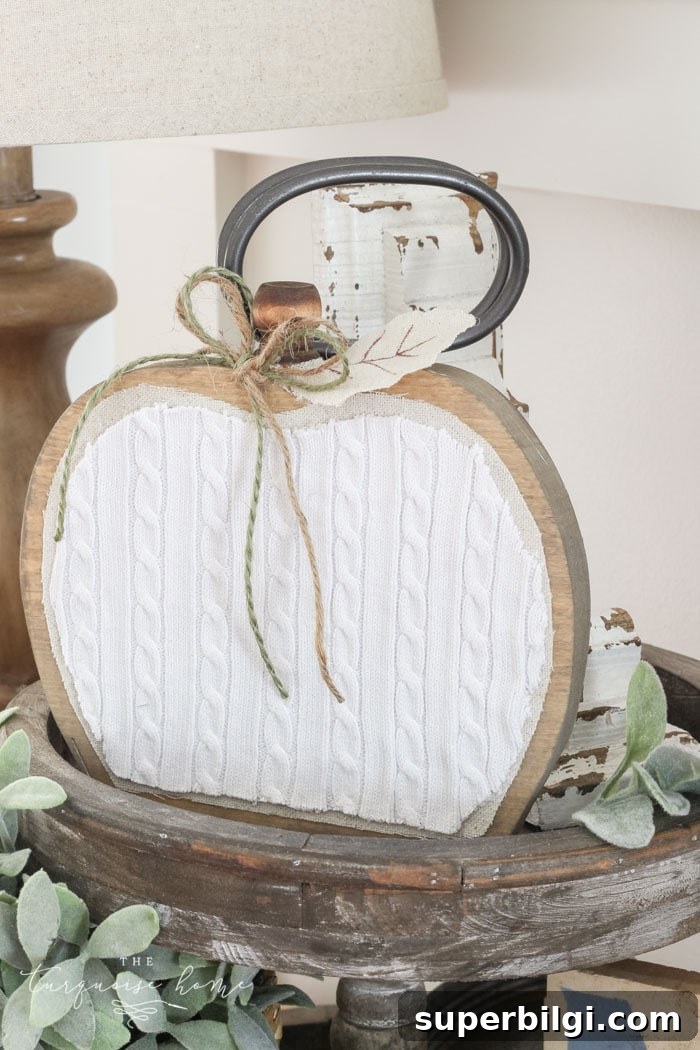
Create a charming farmhouse wooden pumpkin using scrap wood and small craft bits you already have at home — simple, cozy, and perfect for fall decor.
If you have leftover boards, fabric scraps or an old sweater tucked away, now is the perfect time to put them to use. This easy DIY transforms basic materials into rustic wooden pumpkins that bring warm, autumnal character to a mantel, entryway vignette, or tiered tray.
These wooden pumpkins are understated and farmhouse-style rather than cartoonish, so they work well with neutral fall palettes and layered seasonal decor. The project is flexible: adjust sizes, textures and finishes to suit your space and available supplies.
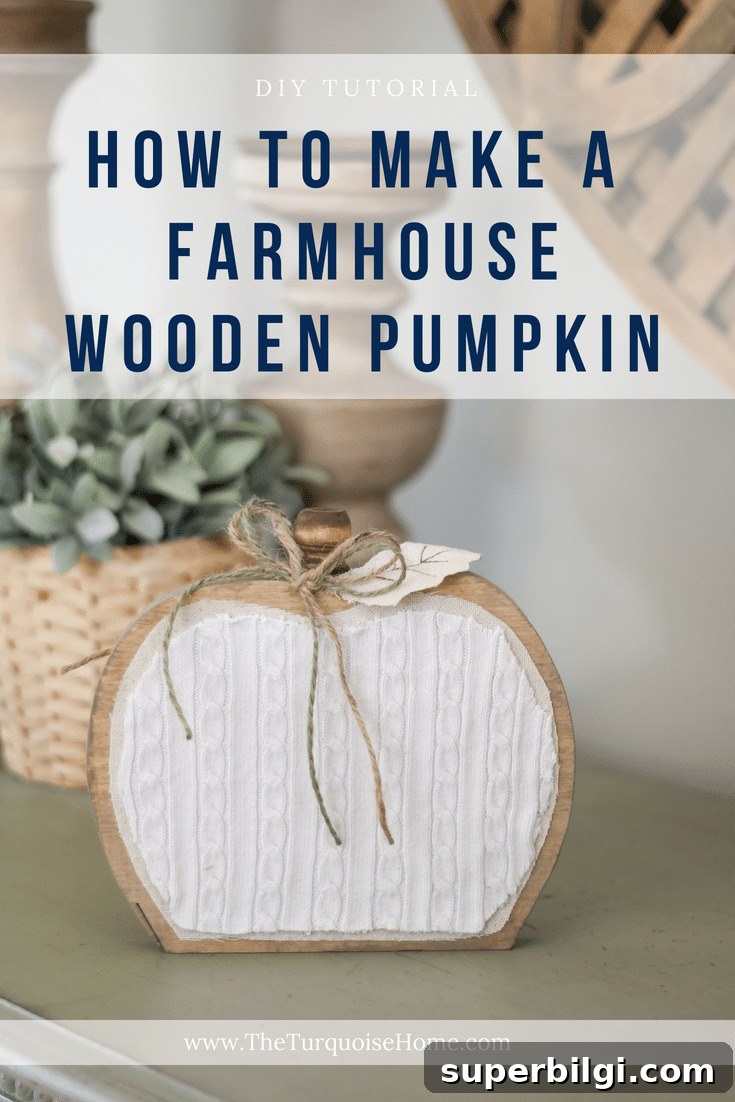
I’m drawn to small wooden pumpkins because they add instant fall charm without feeling over the top. They’re an inexpensive, high-impact way to refresh seasonal styling—especially when made from materials you already have on hand.
This tutorial focuses on using scraps and repurposed fabric, so it’s budget-friendly and low-waste. Follow the step-by-step instructions below, and feel free to adapt any step based on the supplies you have.
Wooden Pumpkins You Can Buy
If you prefer to skip the crafting, many retailers sell farmhouse-style wooden pumpkins in a variety of sizes and finishes. Look for neutral tones, natural wood, or painted distressed finishes to match this rustic aesthetic.
Supplies & Tools Needed to Make Wooden Pumpkins
- Board (1″ x 8″ or similar) — about a foot long per pumpkin; adjust board size to create larger pumpkins.
- Printable template (optional) — a pumpkin outline template helps with consistent shapes.
- Mod Podge or similar decoupage glue — for adhering fabric to wood.
- Sandpaper — medium and fine grits for smoothing cut edges.
- Stain & brush — choose a warm or weathered stain to complement your decor.
- Burlap or drop cloth — for a rustic textured finish; any fabric will work.
- Cable-knit sweater or cozy fabric — adds soft texture and visual interest.
- Finial or small wooden knob — to use as the pumpkin stem; size it to the thickness of your board.
- Hot glue gun & glue sticks — for attaching the stem and embellishments.
- Jigsaw or coping saw — to cut the pumpkin outline from the board.
Step-by-Step: How to Make a Farmhouse Wooden Pumpkin
1. Trace a pumpkin outline on your board.
Draw a pumpkin shape directly on the board or trace a template. Keep the bottom flat so the finished pumpkin will stand securely. Position the flat edge along the board’s side if that makes cutting simpler.
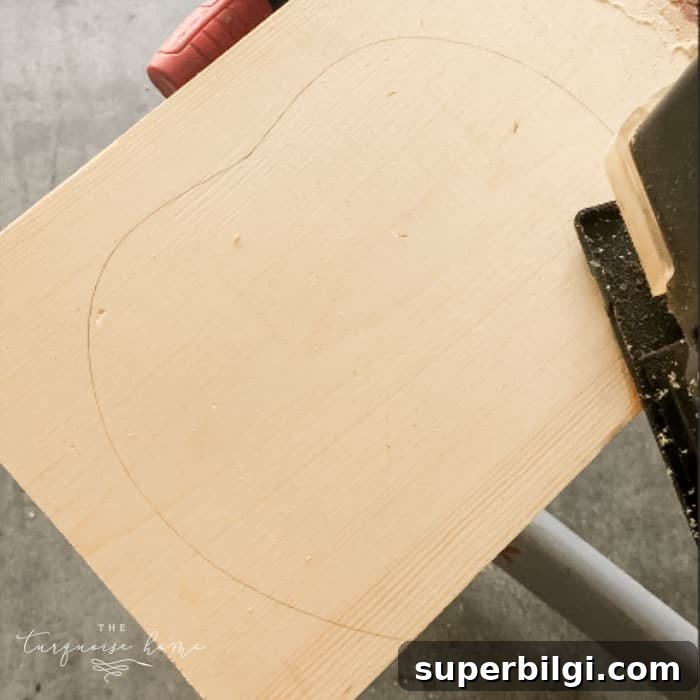
2. Cut the pumpkin shape with a jigsaw.
Carefully cut along your outline using a jigsaw or coping saw. Cut slowly around curves to avoid splintering. Once cut, sand all edges smooth with medium then fine grit sandpaper.
3. Apply stain to the wooden pumpkin.
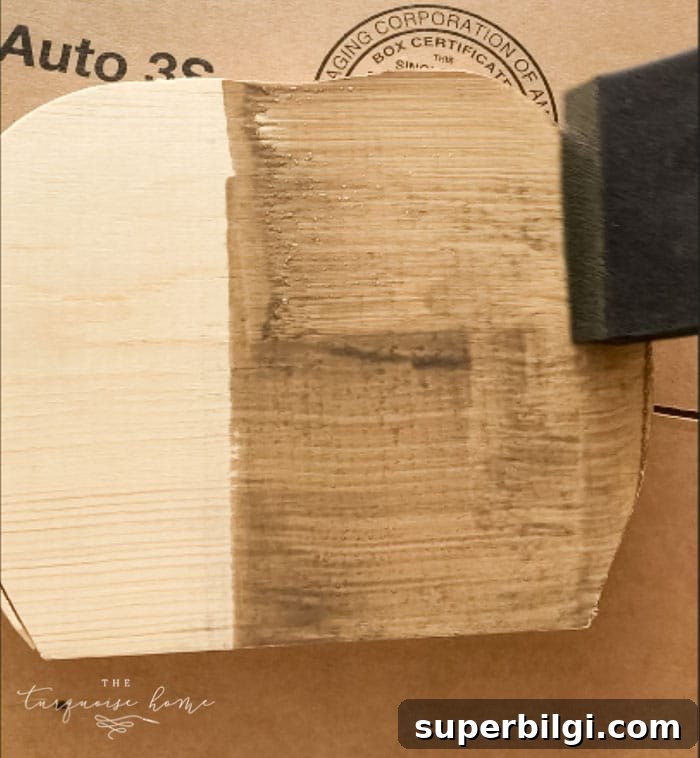
Choose a stain that fits your decor—weathered, early American, or a warm brown are all great options. Apply a thin coat and let it dry fully. Staining brings out wood grain and creates a finished, rustic look.
4. Cut fabric to fit the pumpkin shape.
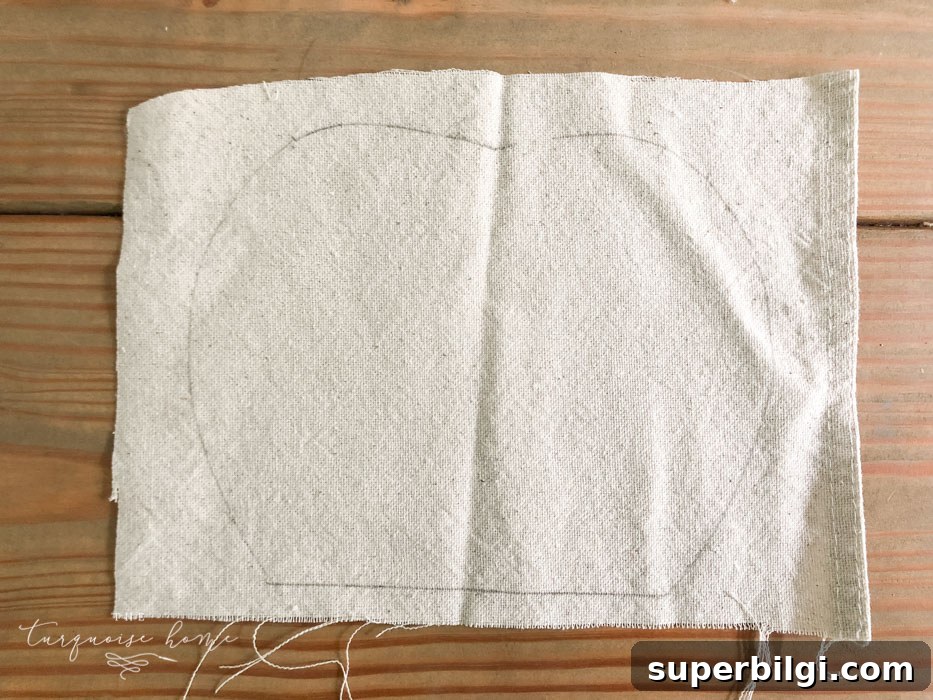
Use the wooden cutout to trace a matching shape onto burlap, drop cloth, or sweater fabric. Trim the fabric slightly smaller than the wood outline so it sits neatly within the wood edge.
5. Adhere the fabric using Mod Podge.
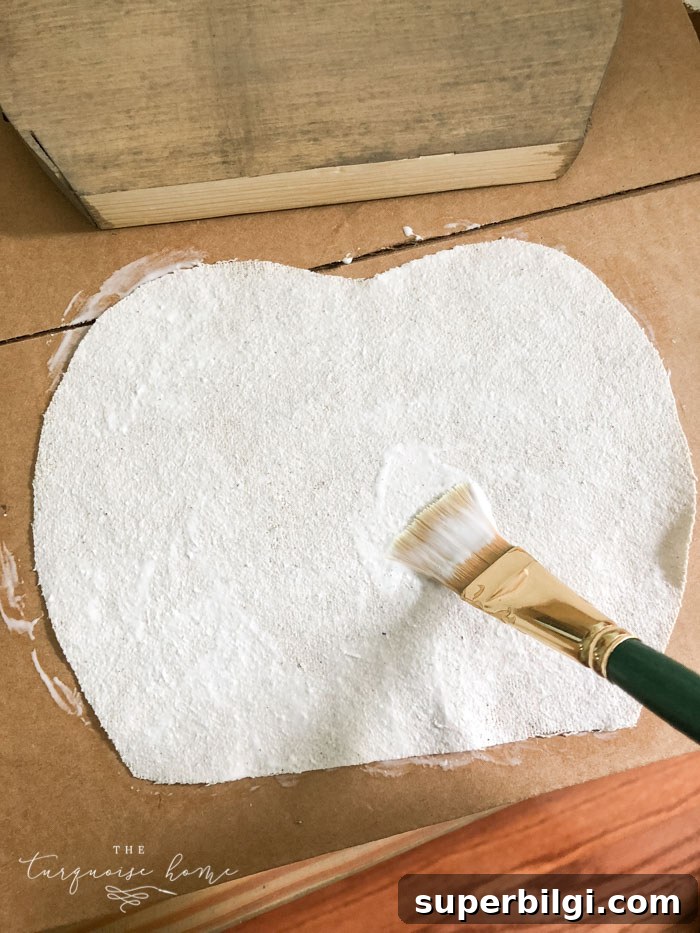
Brush decoupage glue onto the wood or the fabric backing and press the fabric into place. Smooth out bubbles or wrinkles and let dry. Mod Podge seals the fabric and helps it adhere evenly.
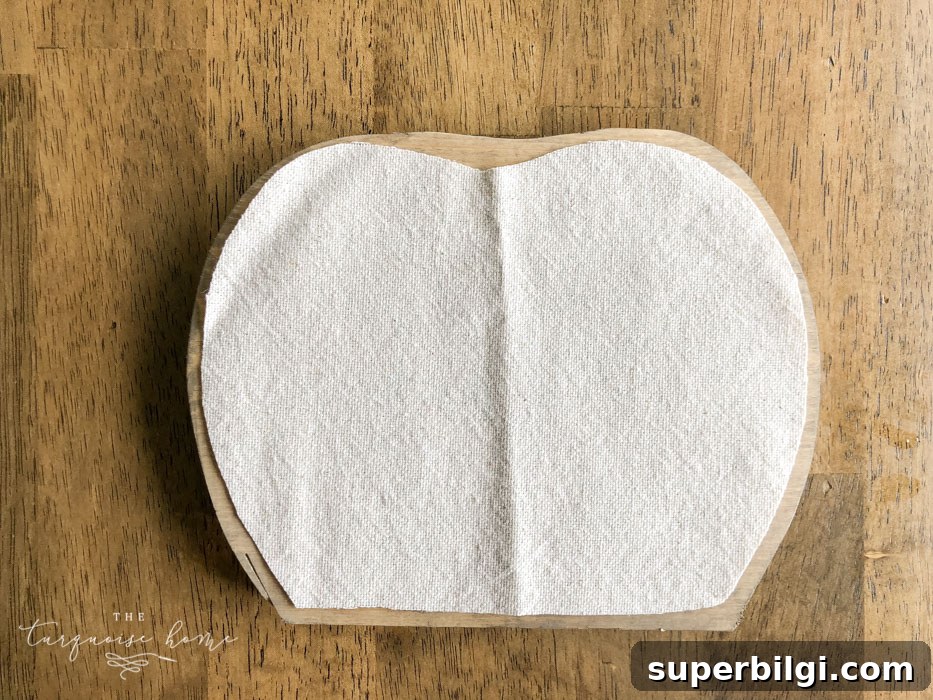
6. Layer a sweater piece for cozy texture.
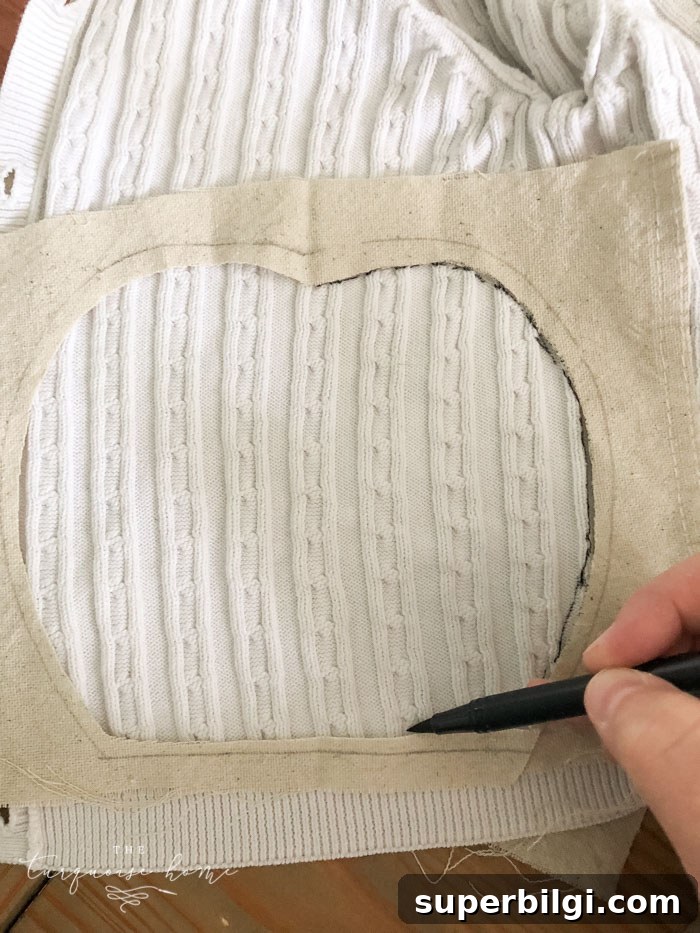
For added interest, cut a slightly smaller pumpkin shape from a cable-knit sweater or another textured fabric and glue it on top of the burlap. This creates a cozy, layered look perfect for farmhouse styling.
7. Stain and attach the finial as the stem.
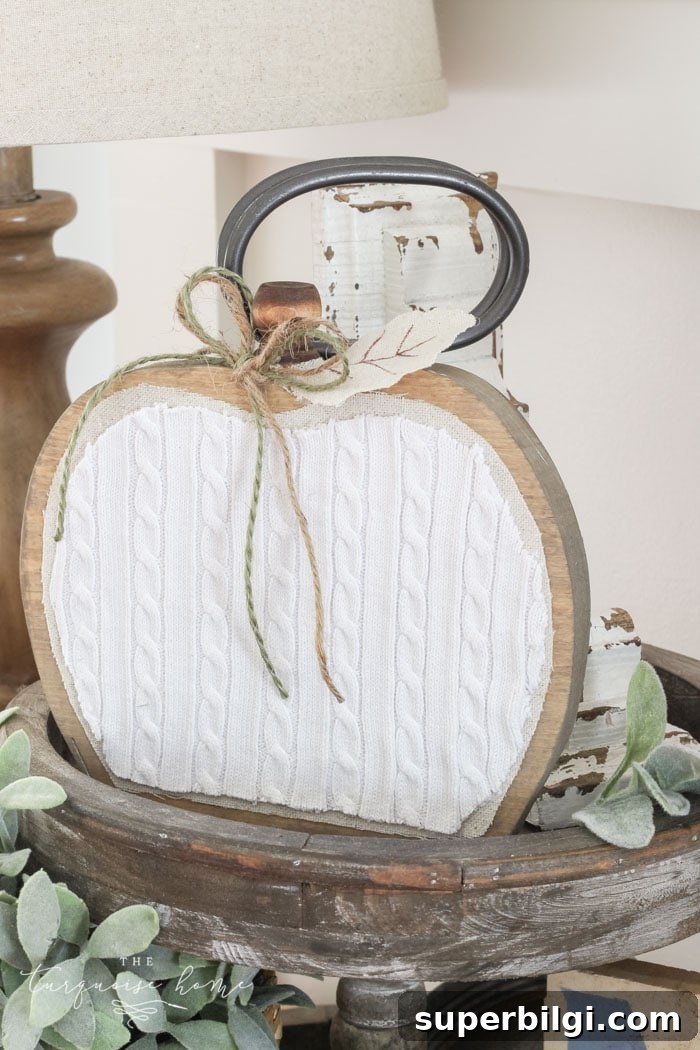
Stain a small finial or wooden knob to match the pumpkin and attach it to the top using hot glue. Ensure it’s centered and secure so the pumpkin can be picked up without the stem coming loose.
8. Finish with simple embellishments.
Add a jute bow, a small fabric leaf, or a few hand-drawn leaf veins with a brown marker for a finishing touch. Subtle details like a tiny leaf or twine bow enhance the handmade, rustic charm.
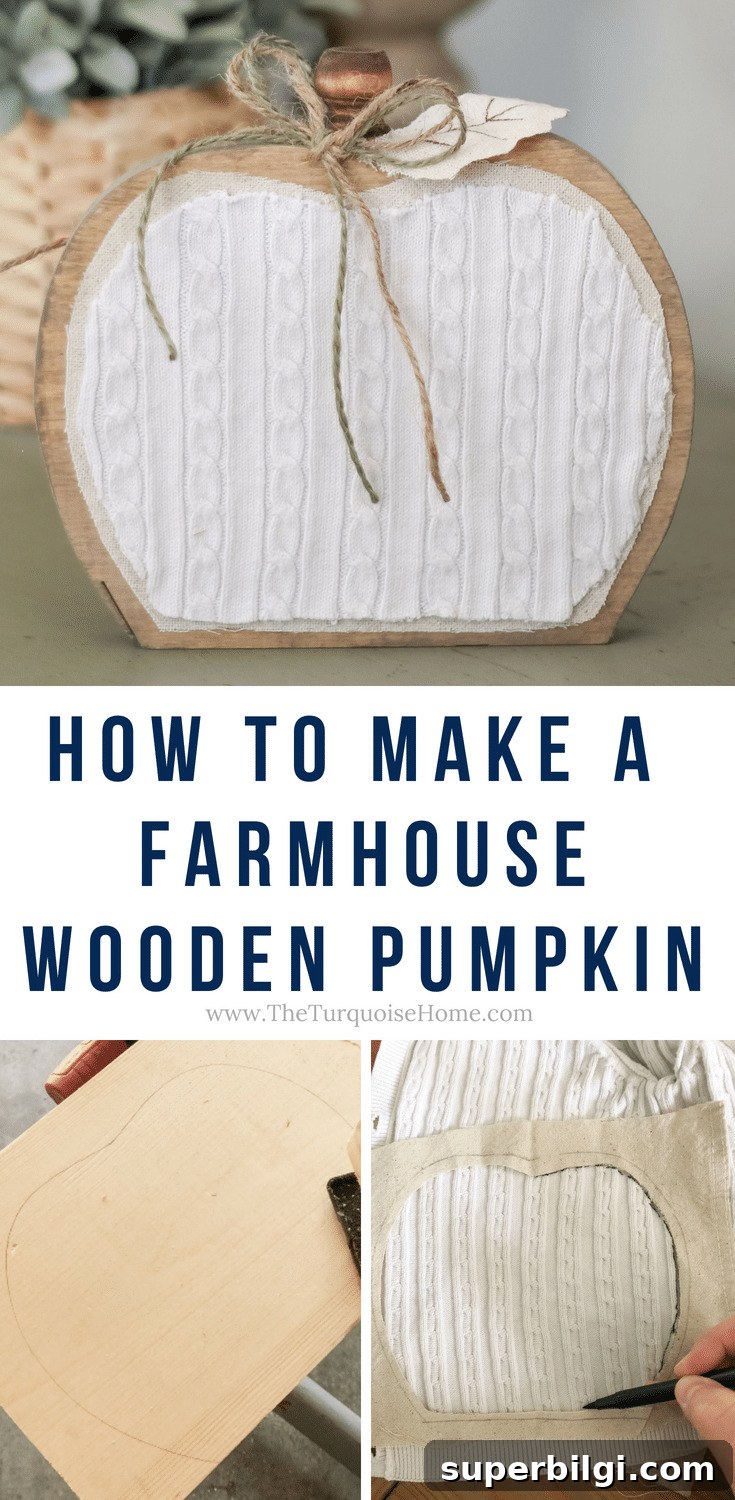
This project is forgiving and customizable—make a collection of small pumpkins in different fabrics and stains for a layered look, or scale up the pattern for a larger statement piece. Using reclaimed boards and fabrics keeps the cost low and the environmental footprint smaller.
If you make one, display it on a mantel, bookshelf, or entry table alongside natural elements like acorns, dried hydrangea, or a simple candle to create an inviting fall vignette.
More pumpkin-inspired project ideas
- Lighted pumpkin candy holder — a fun twist for seasonal entertaining.
- Mason jar lid pumpkin craft — a small, easy accent for shelves.
- Scrappy fabric pumpkin decor — use tiny fabric scraps to make coordinating pumpkins.
- Pumpkin chocolate chip muffins — a cozy fall recipe to enjoy while you craft.