
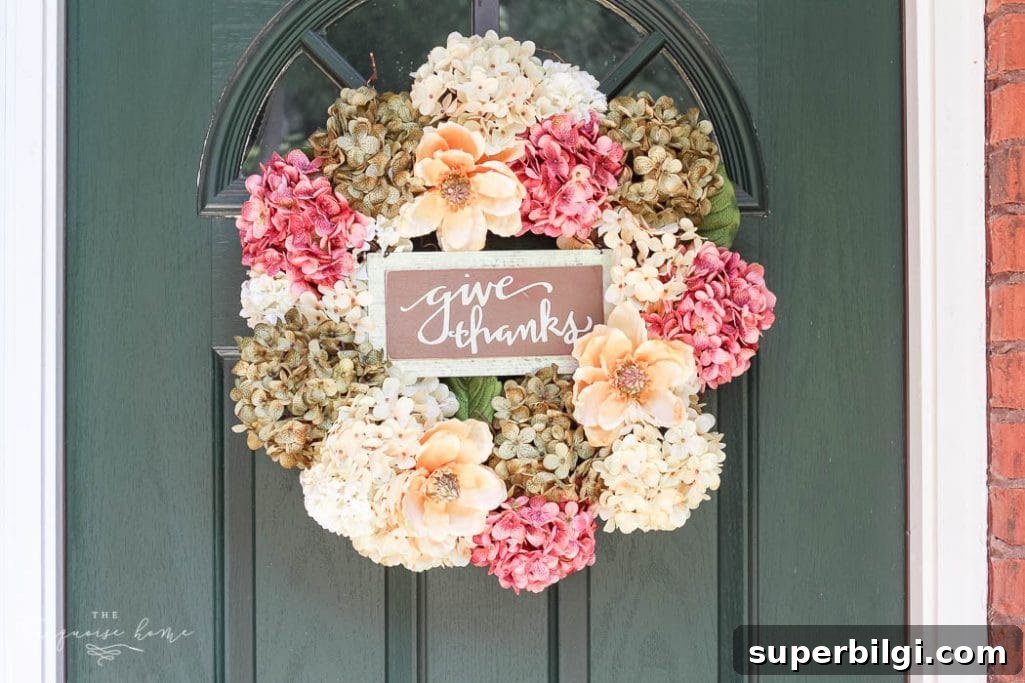
If you’re anything like me, you love welcoming a new season with a fresh wreath on the front door. This year I made a fall hydrangea wreath that’s cozy and classic using just a few faux stems and a grapevine base. It’s an easy DIY that brings warm autumn colors to your entryway and only takes about 20–30 minutes to complete.
This hydrangea wreath project is so simple I almost kept it to myself. But if you’ve ever thought wreaths were intimidating, this one proves they’re not. With a few faux stems and a grapevine wreath form, anyone can create a beautiful seasonal accent for their door.
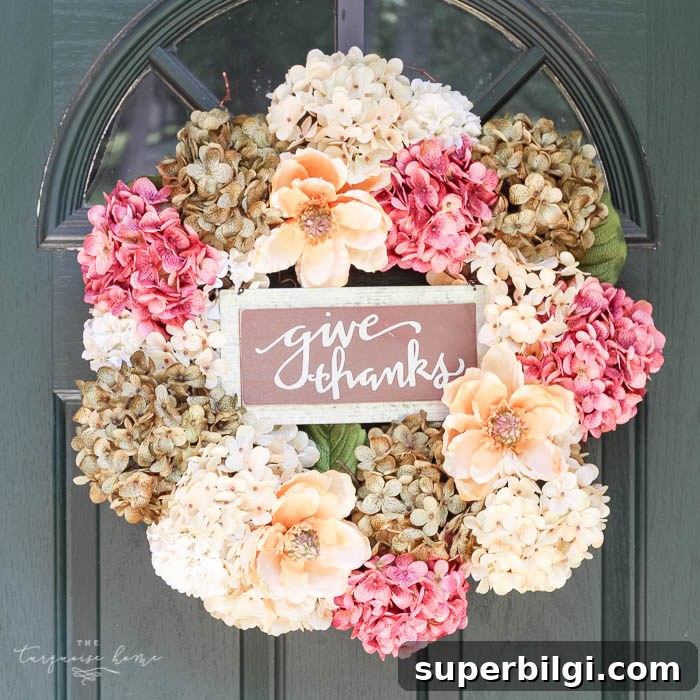
I used a store-bought fall wreath in past seasons, but I wanted something new this year. I love that this hydrangea wreath doesn’t shout “orange pumpkins,” so you can display it through much of the season. It was inspired by dried hydrangea wreaths, but because I didn’t have access to real dried blooms, I used faux hydrangeas and magnolia stems instead. Faux florals are durable and keep this wreath looking fresh year after year.

I’m not much of a gardener, so the floral aisle at my craft store is my go-to. Even if you have real hydrangeas in your yard, faux stems are a good choice for wreaths because they withstand handling and storage.
This post contains affiliate links for your convenience. See my full disclosure policy.
Supplies Needed for Your Fall Hydrangea Wreath:
- 14–18 inch grapevine wreath
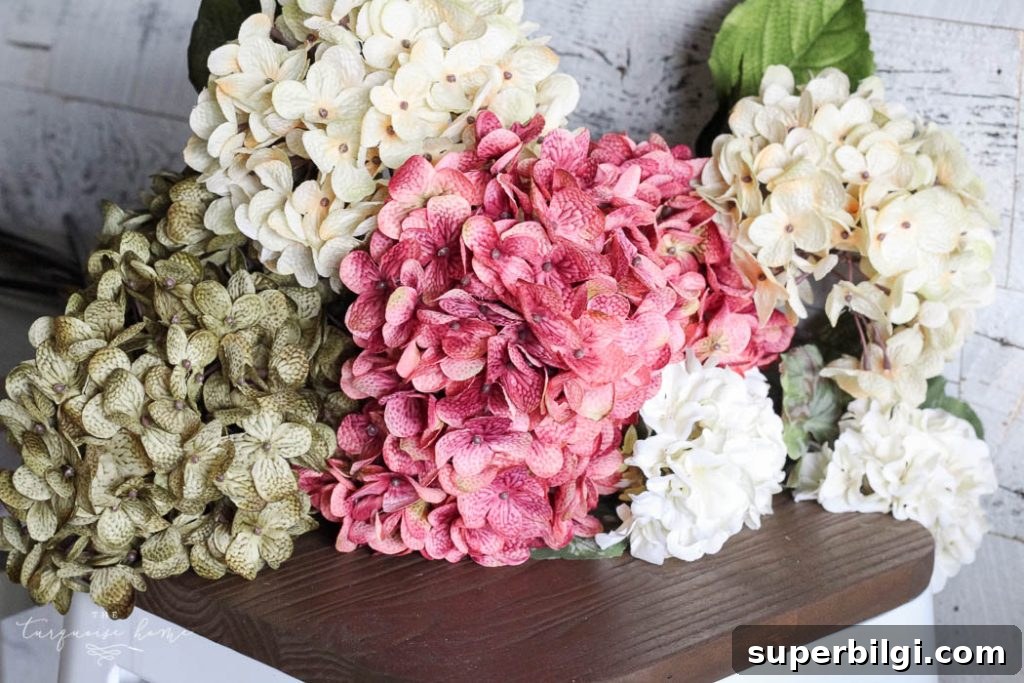
- 6–8 faux hydrangea and magnolia stems in fall colors (rust, cream, plum, blush)
- Additional small blooms, greenery, or fall leaves (optional for filling gaps)
- Floral wire or a hot glue gun
- Floral wire cutters
- Small fall-themed sign (optional)
This is truly a simple project that looks much more polished than the effort involved. Below are clear steps to make your own fall hydrangea wreath.
Steps to Make a Fall DIY Hydrangea Wreath
1. Gather Your Supplies
Set your grapevine wreath base on a flat workspace and lay out all your faux stems. If you’re upcycling an older wreath form, give it a quick clean or shake off loose debris. Having everything visible and organized makes assembly faster and easier.
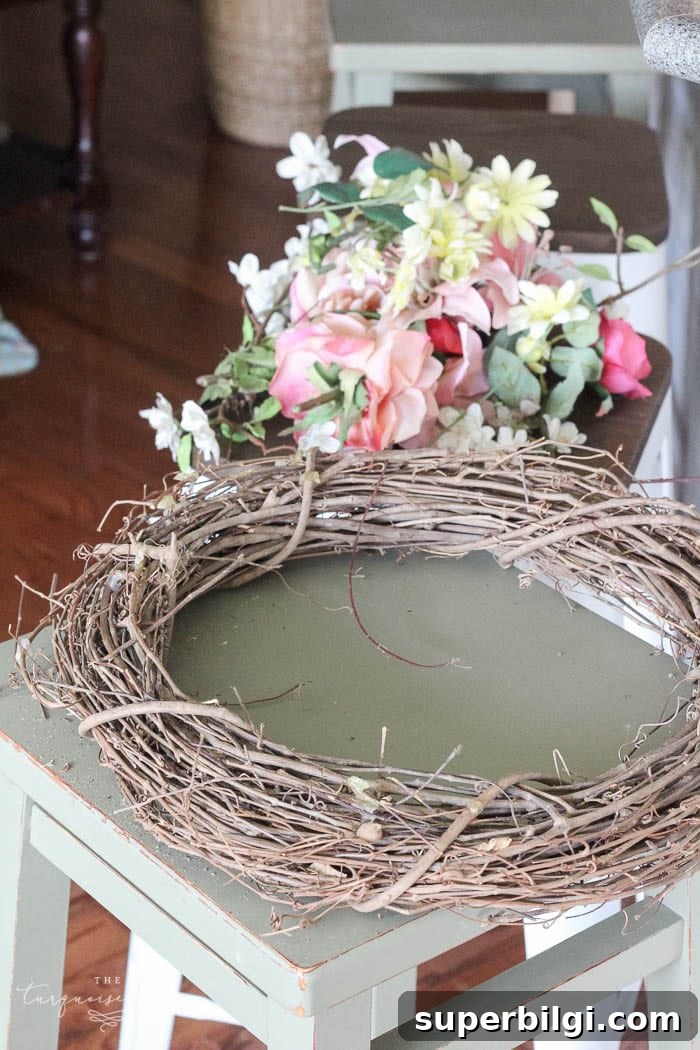
I upcycled a beloved grapevine wreath that had become weathered over time. Upcycling is a great way to save money and give a sentimental piece new life.
2. Prep the Stems
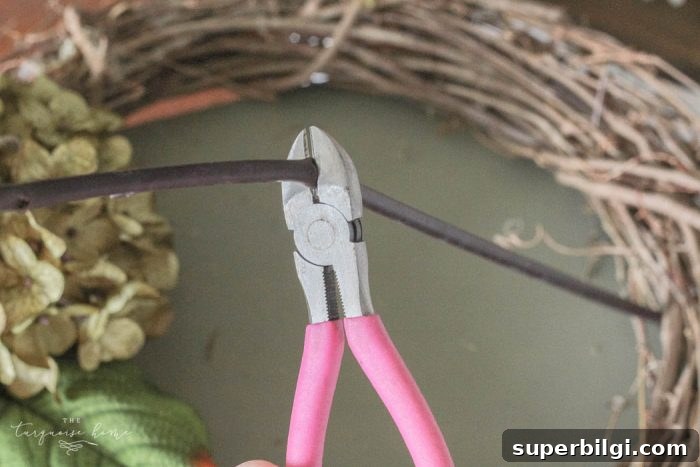
Trim each stem with floral wire cutters, leaving about 8–12 inches so you have enough length to weave through the wreath form and secure at the back. Remove any excess leaves or small branches that might add unwanted bulk.
3. Arrange the Floral Stems in the Wreath
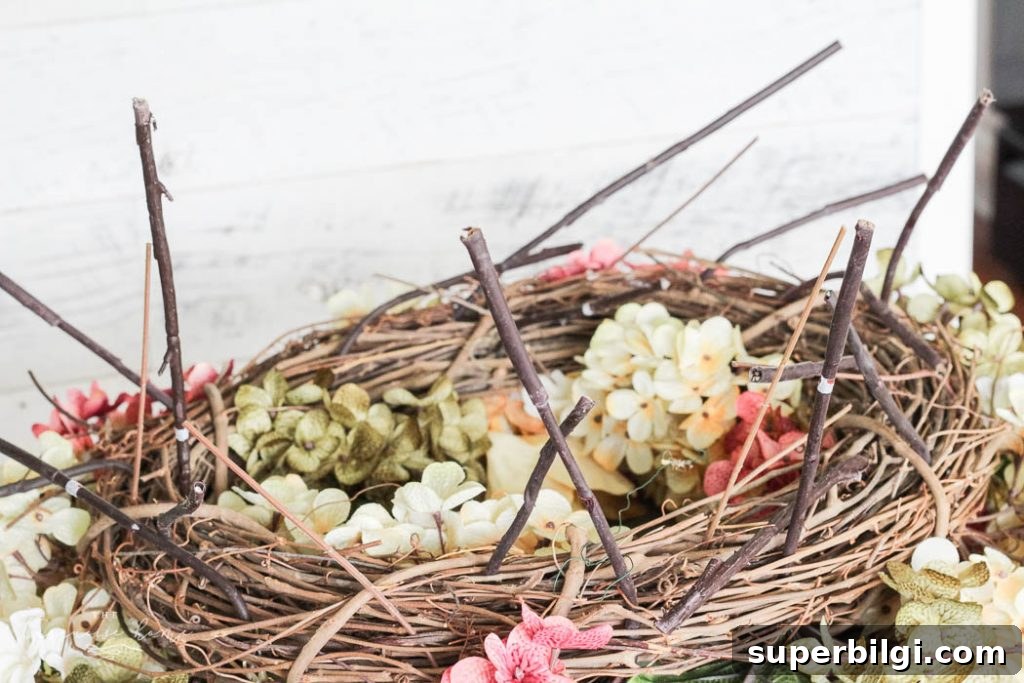
Push each stem through the grapevine wreath form, placing blooms in the direction you want them to sit. Overlap stems slightly to create a full, layered look. Add magnolia or other accent blooms as you go, and use smaller flowers or greenery to fill gaps while maintaining a consistent flow.
4. Secure the Stems in Place
After arranging the blooms, flip the wreath over and tuck the stem ends into the underside of the grapevine base. For extra security, wrap floral wire around grouped stems at the back or dab hot glue where needed. Trimming stem ends shorter before gluing keeps the back neat and helps the wreath hang flat.
5. Optional: Add a Cute Sign
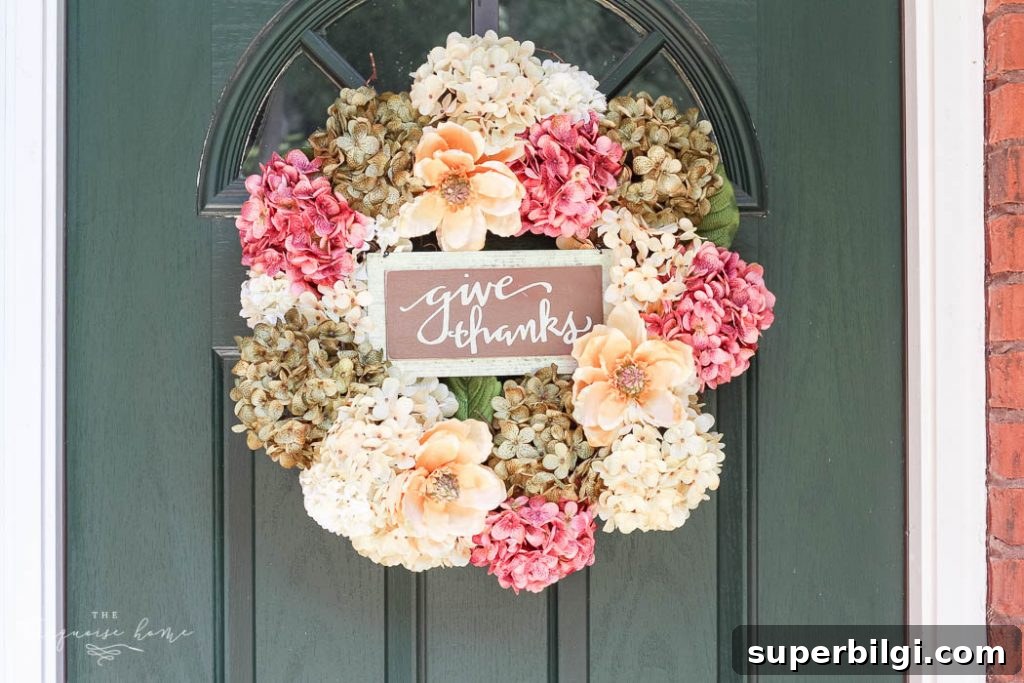
If you like, add a small sign in the center or slightly off-center using floral wire. A brief seasonal phrase or a simple “Give Thanks” sign adds a personal touch. You can also leave the sign off for a subtler look and add it later as the season progresses.
6. Hang and Enjoy Your Beautiful Fall Hydrangea Wreath
From start to finish this wreath took about 20–30 minutes. Hang it on a covered door or porch to protect it from direct weather. The faux hydrangeas keep the wreath looking fresh and welcoming throughout the season.
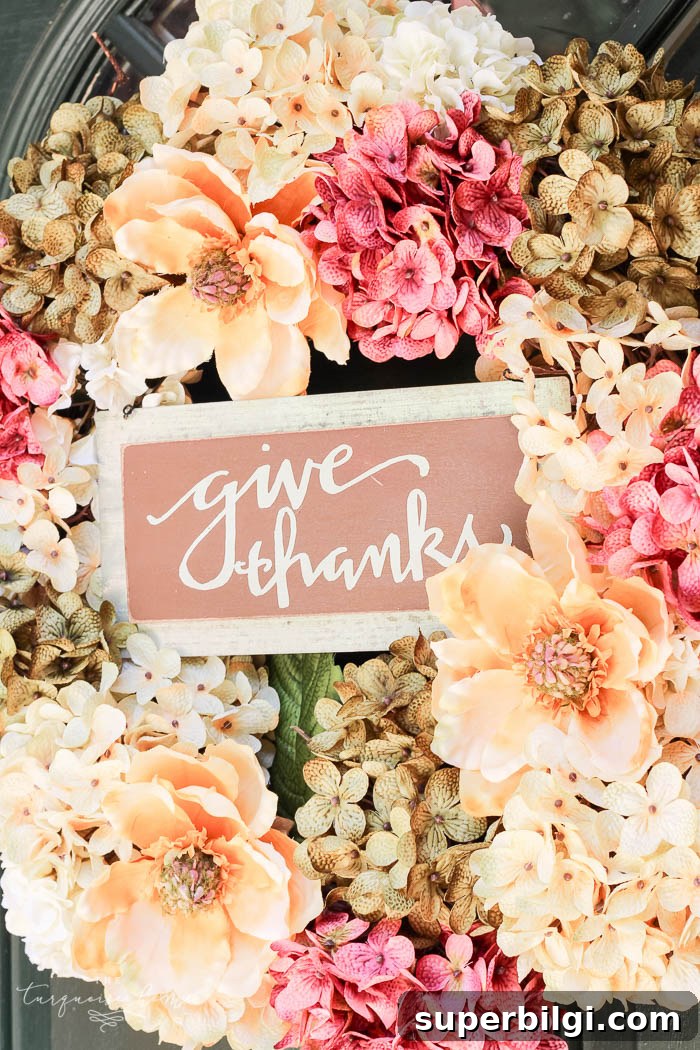
I love how this fall hydrangea wreath instantly makes the front door feel warm and inviting. Handmade accents like this bring a cozy, seasonal touch to your home.
Would you make a wreath like this for your entryway?
Tips for Styling Your Wreath
To enhance your fall hydrangea wreath, tie a velvet or linen ribbon at the bottom, or display neutral-toned pumpkins and lanterns nearby to create a cozy vignette. Rotate your wreath placement throughout the season or layer it with other door decor for added dimension.
If you enjoyed this project, try pairing it with other seasonal DIYs like faux pumpkins or complementary fall decorating ideas to carry a cohesive look through your home.
Hydrangea Wreaths to Purchase
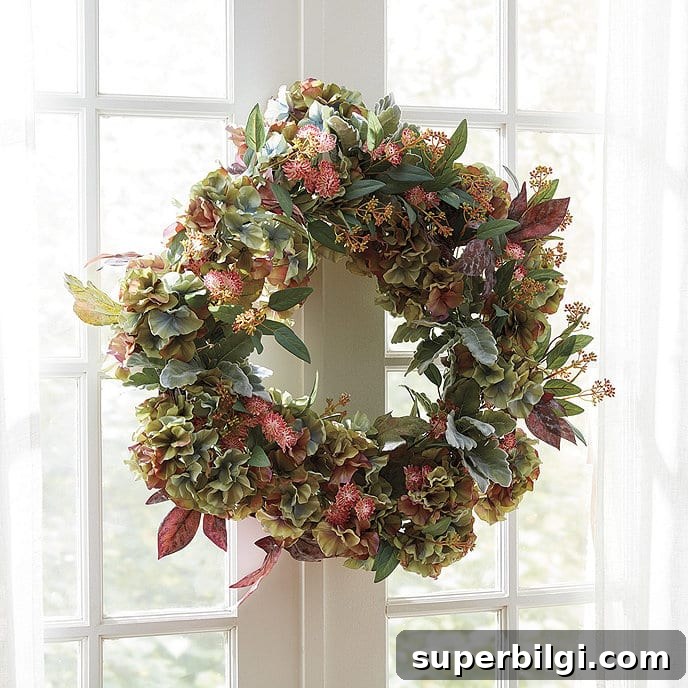
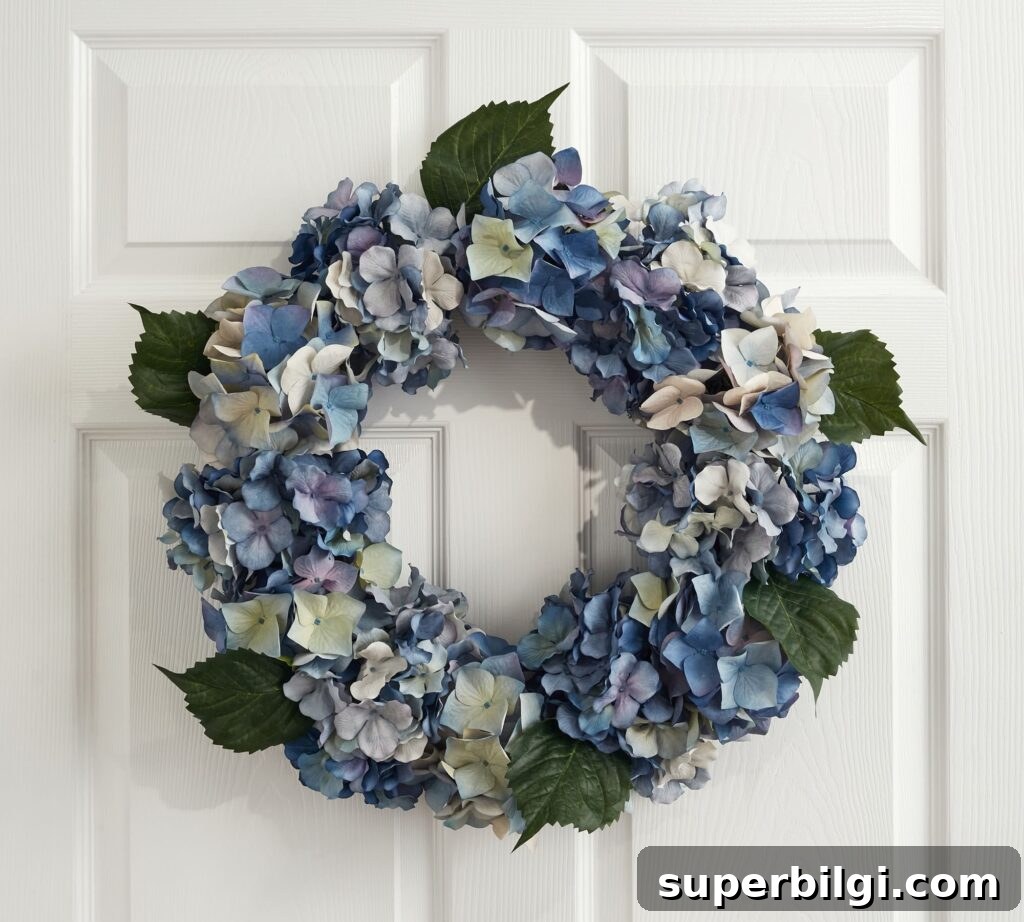
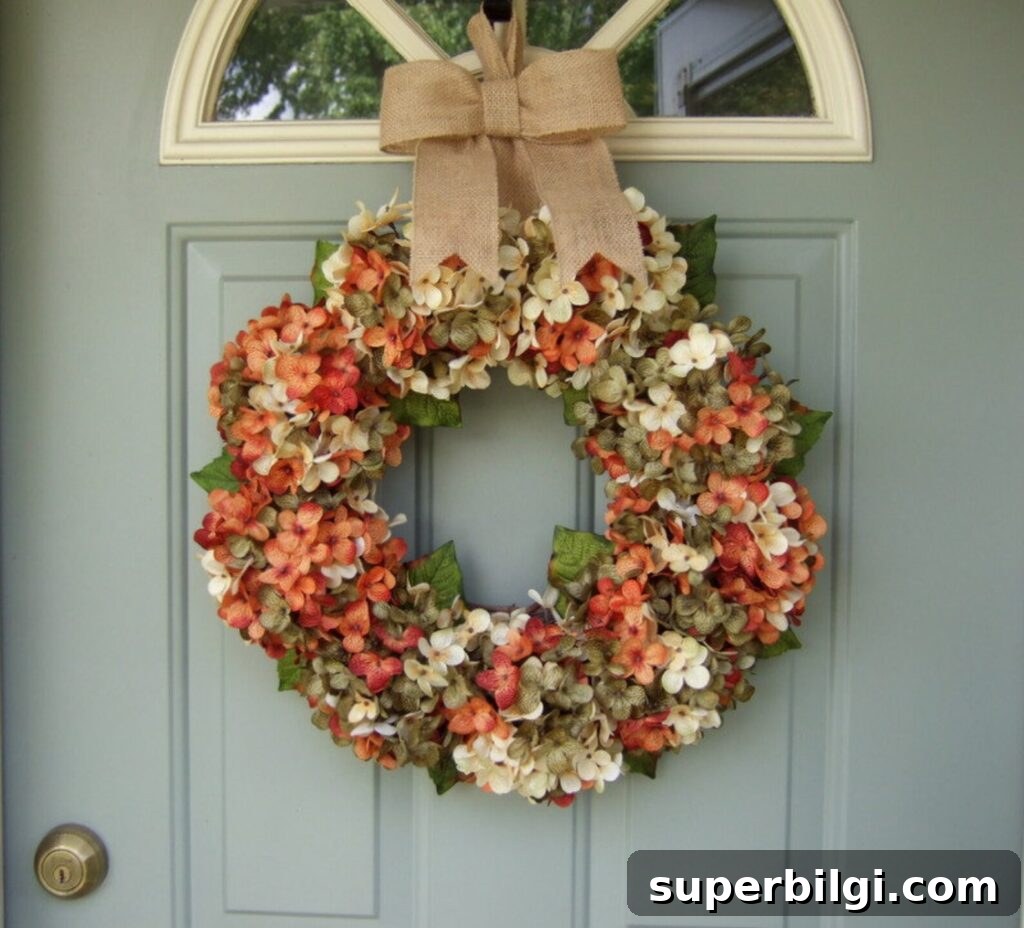
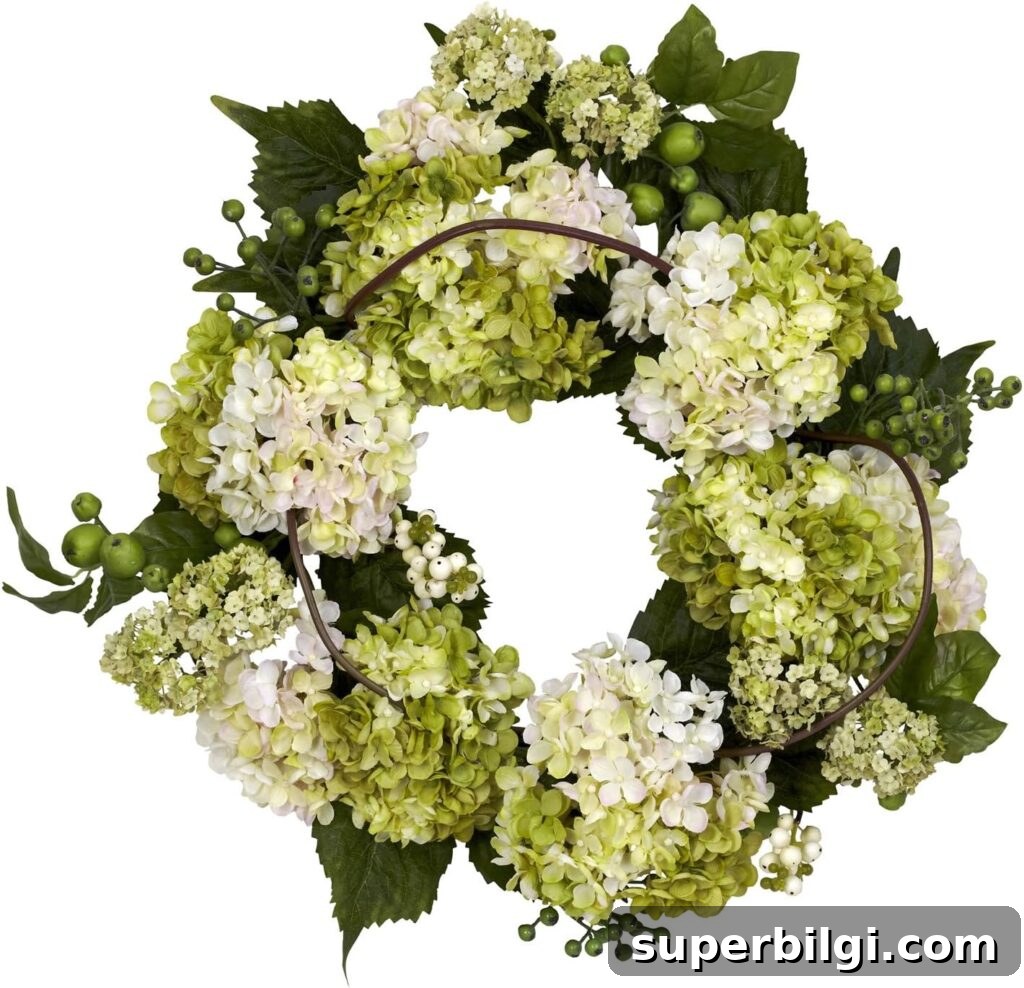
Short on time? Look for ready-made faux hydrangea wreaths in a variety of colorways, from classic blues and greens to orange-and-cream fall palettes. A purchased wreath can be a quick way to achieve a similar polished, seasonal look.


More DIY Wreath Ideas For You
- How To Make A Patriotic Wreath
- DIY Winter Wreath with Bells
- DIY Summer Lemon Wreath
- DIY Boxwood & Bicycle Spring Wreath
- Simple Spring Wreath with Peonies
- Cotton Wreath with Free Printable Monogram